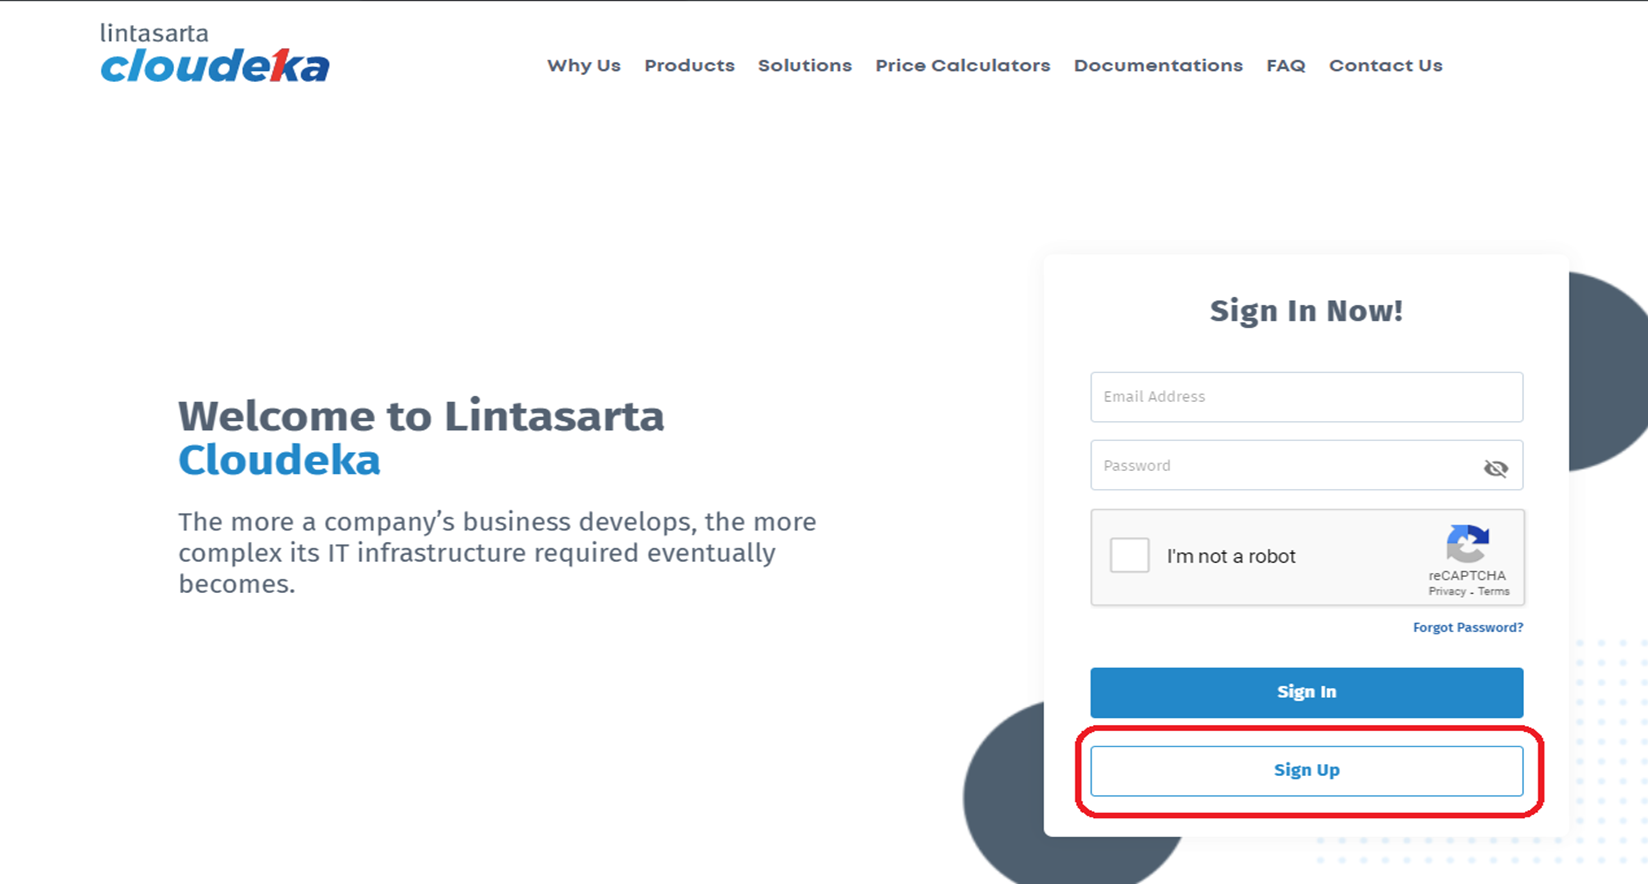
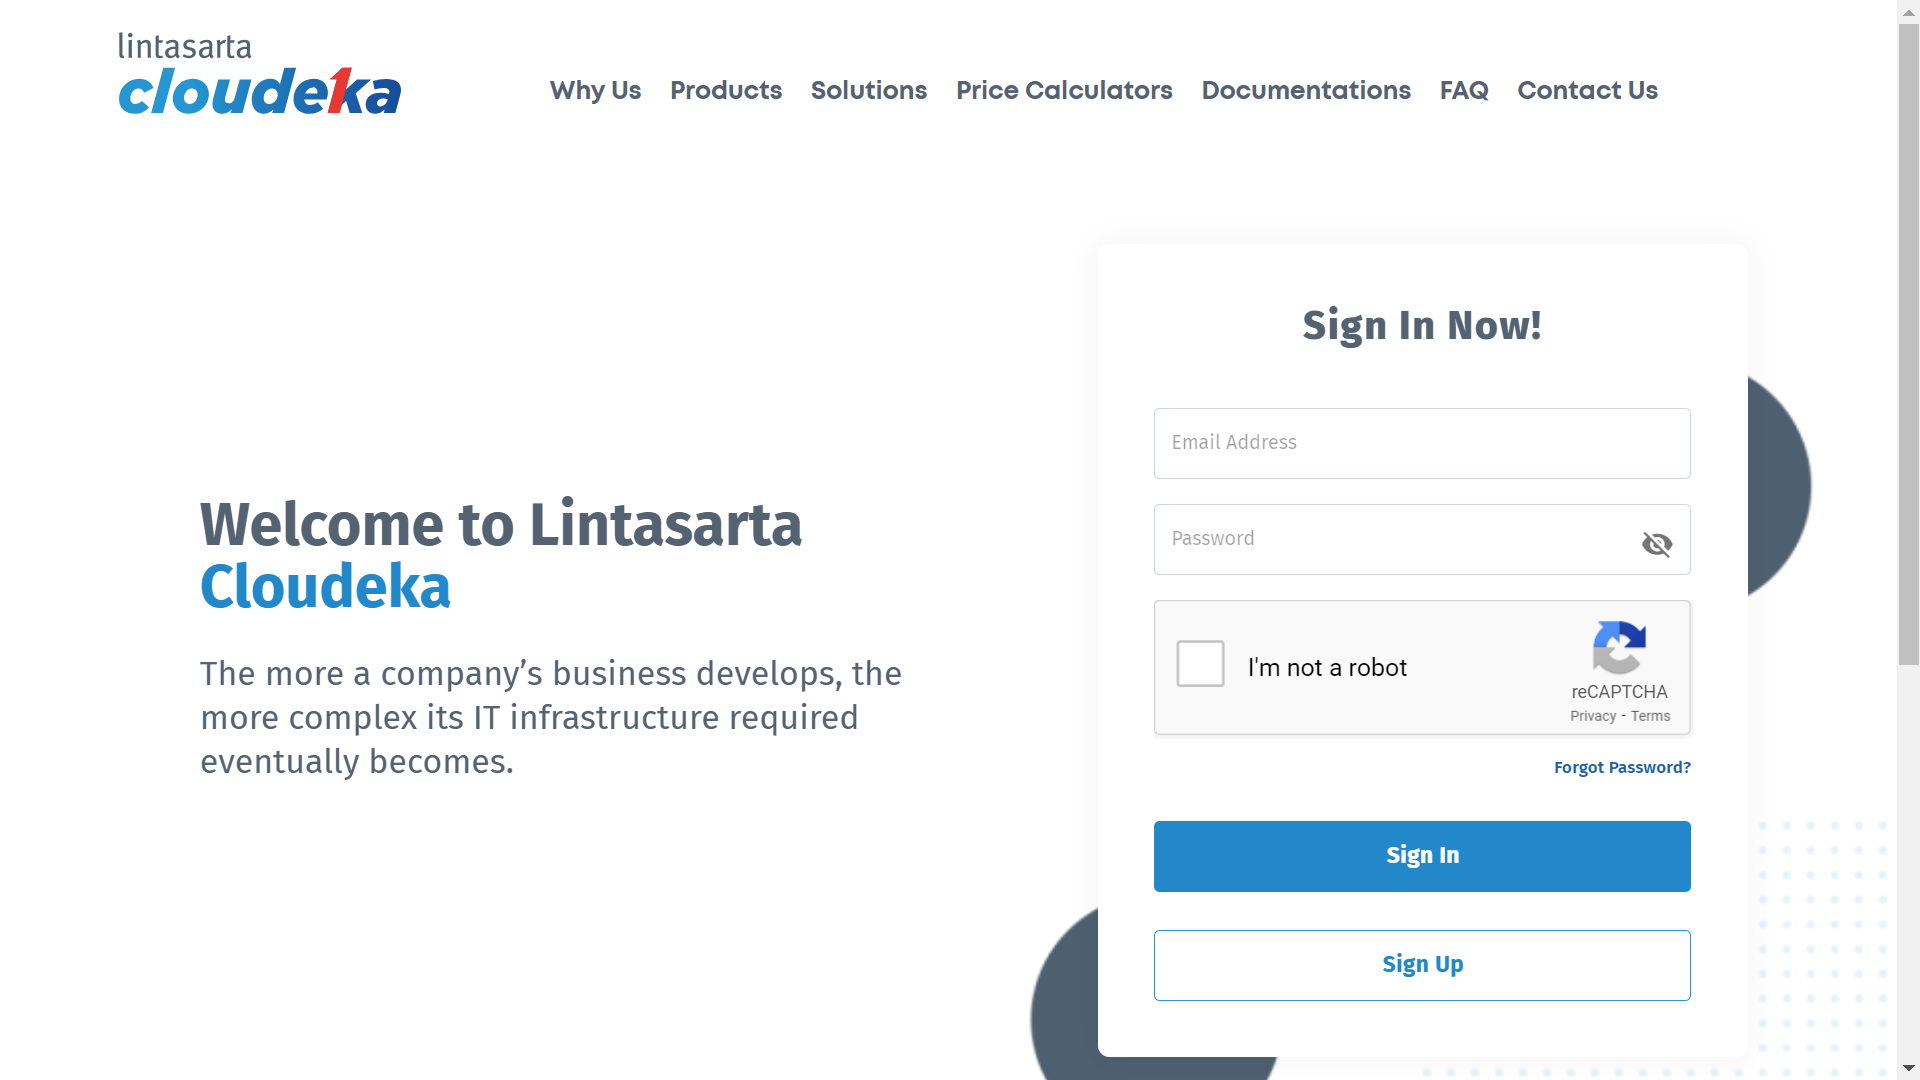
Sign In Now page
Sign In Now page
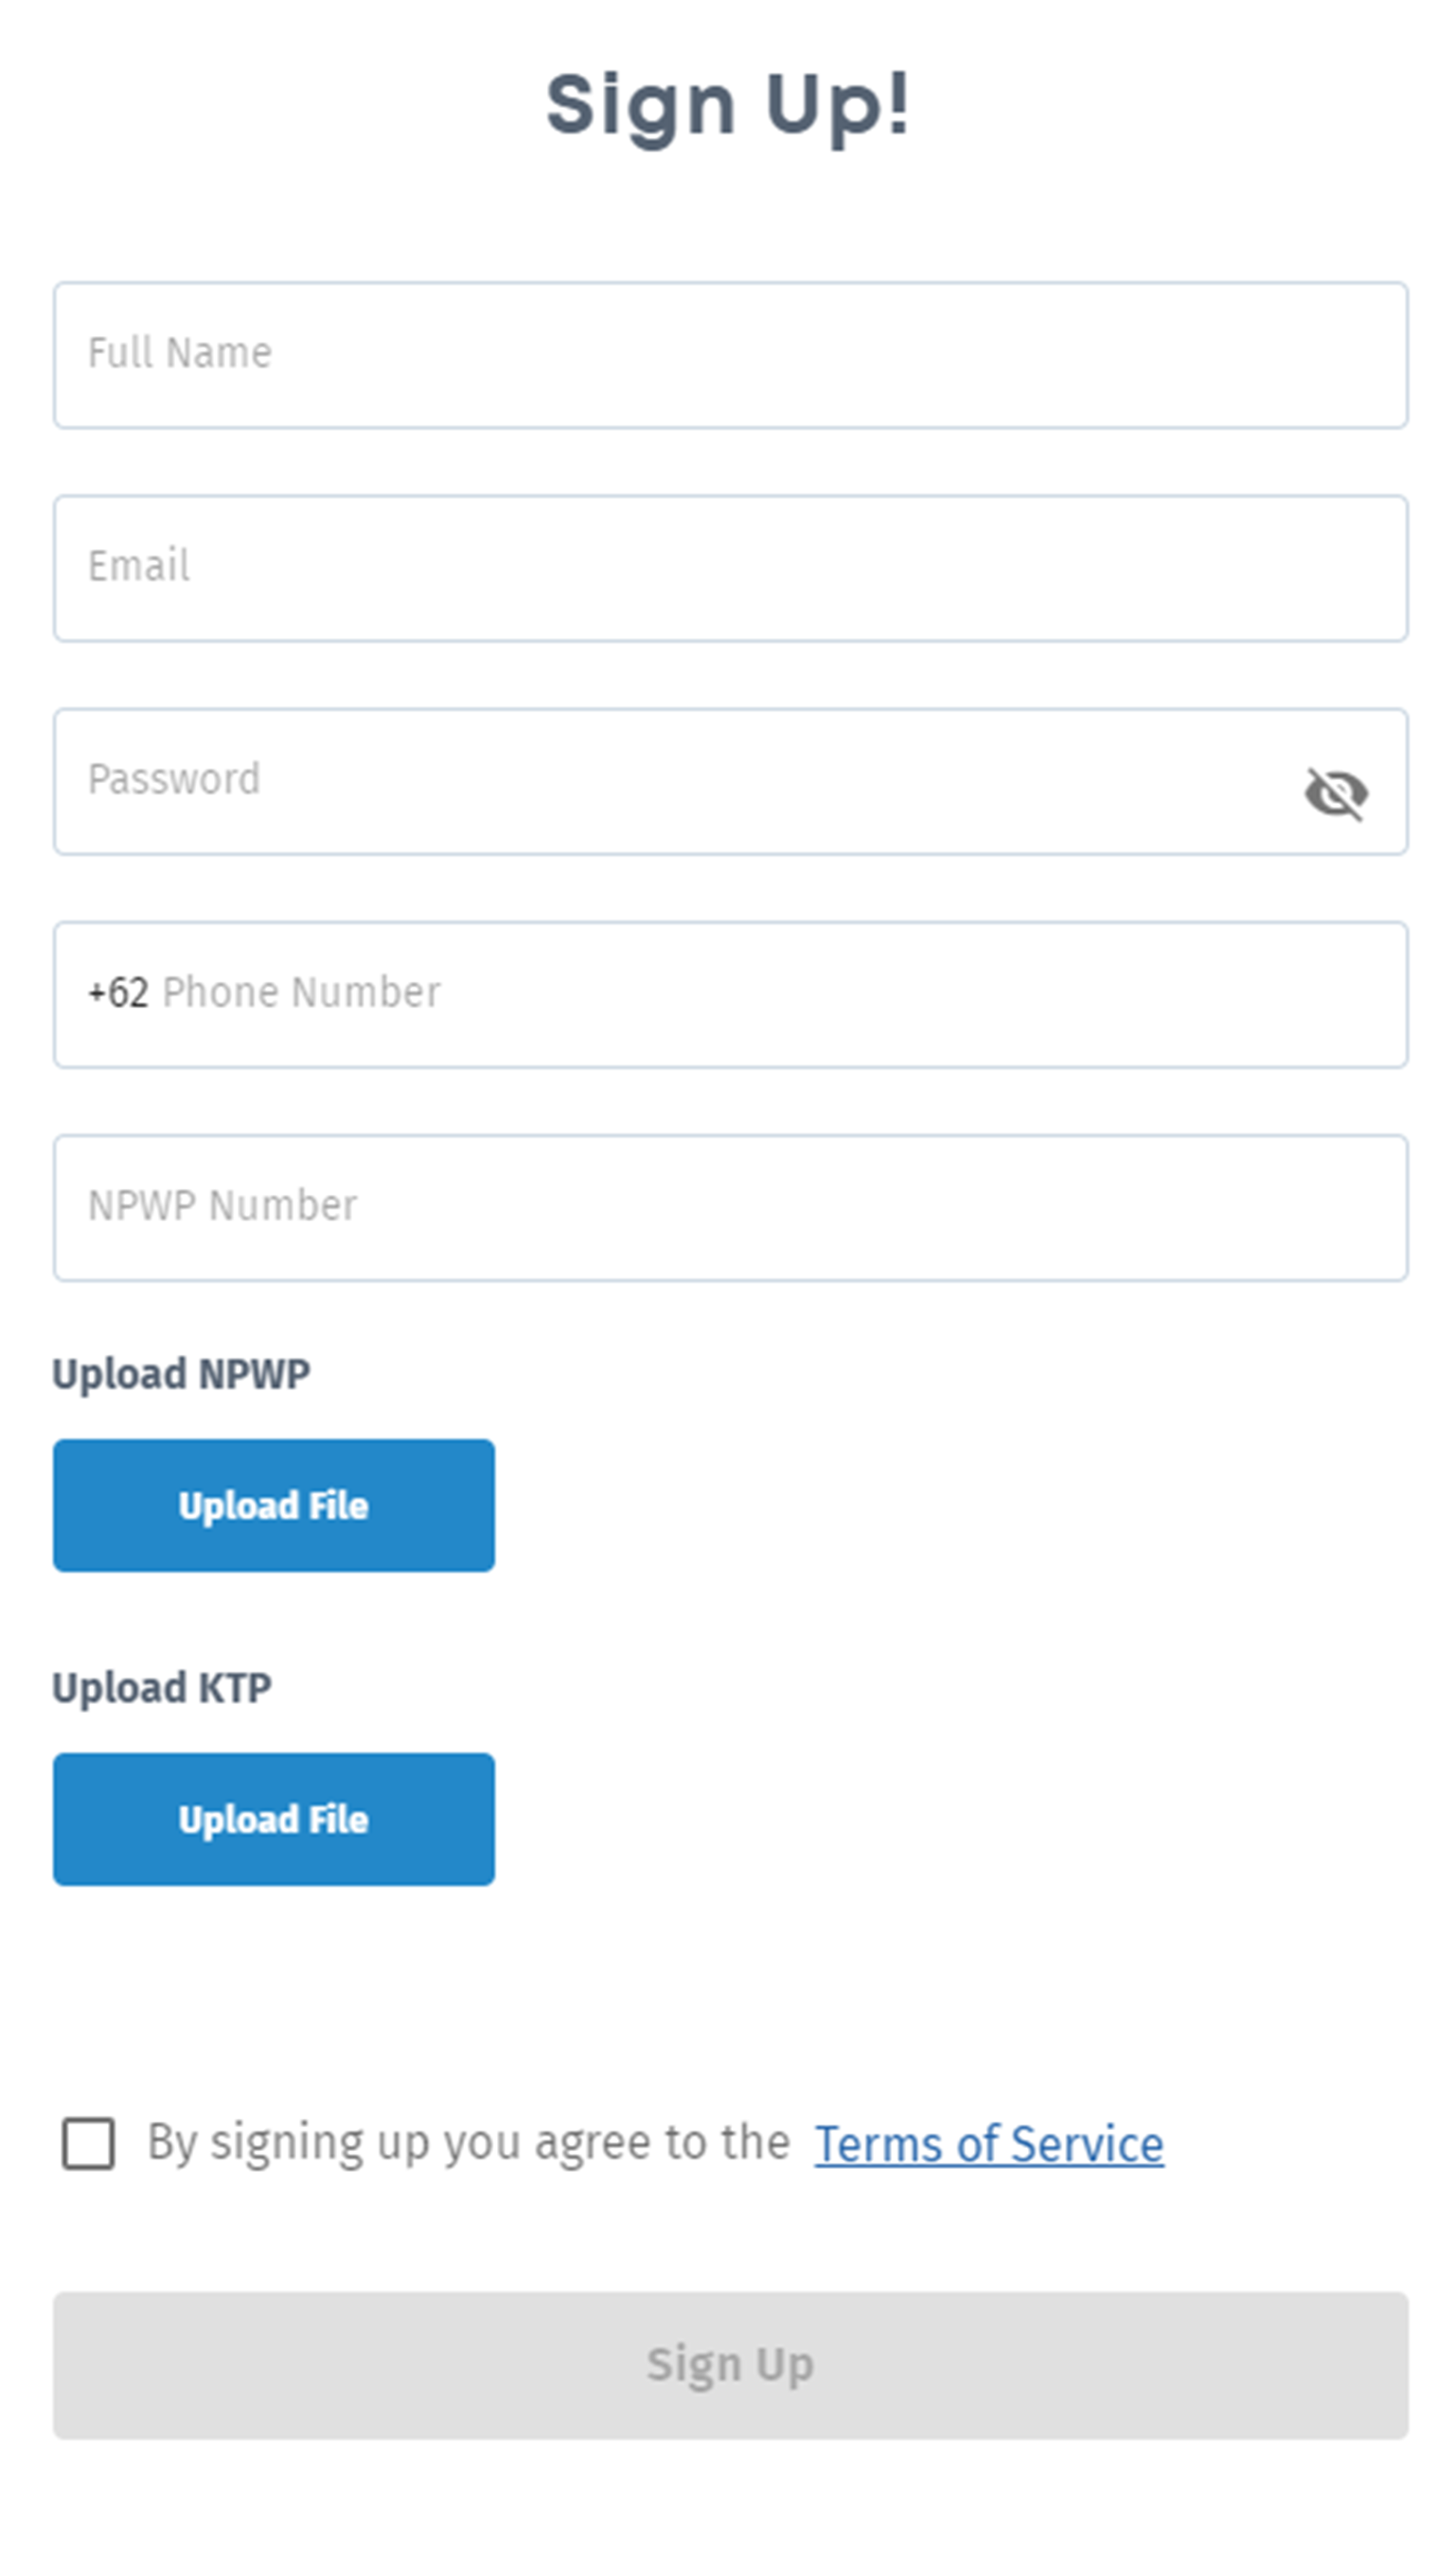
Form Sign Up
| Column | Description |
|---|---|
| Full Name | User's full name |
| Used when signing in, email currently only supports corporate email | |
| Password | Consists of a minimum of 8 characters using a combination of uppercase, lowercase, numbers and symbols. This is made for customer data security. If the password created is not in accordance with the existing conditions, a warning will appear, for example:must Include symbol |
| Phone Number | User's telephone number |
| NPWP Number | NPWP number of prospective users |
| Upload NPWP | Upload a photo of the user's NPWP |
| Upload KTP | Upload a photo of the user's KTP |
Command Check Email
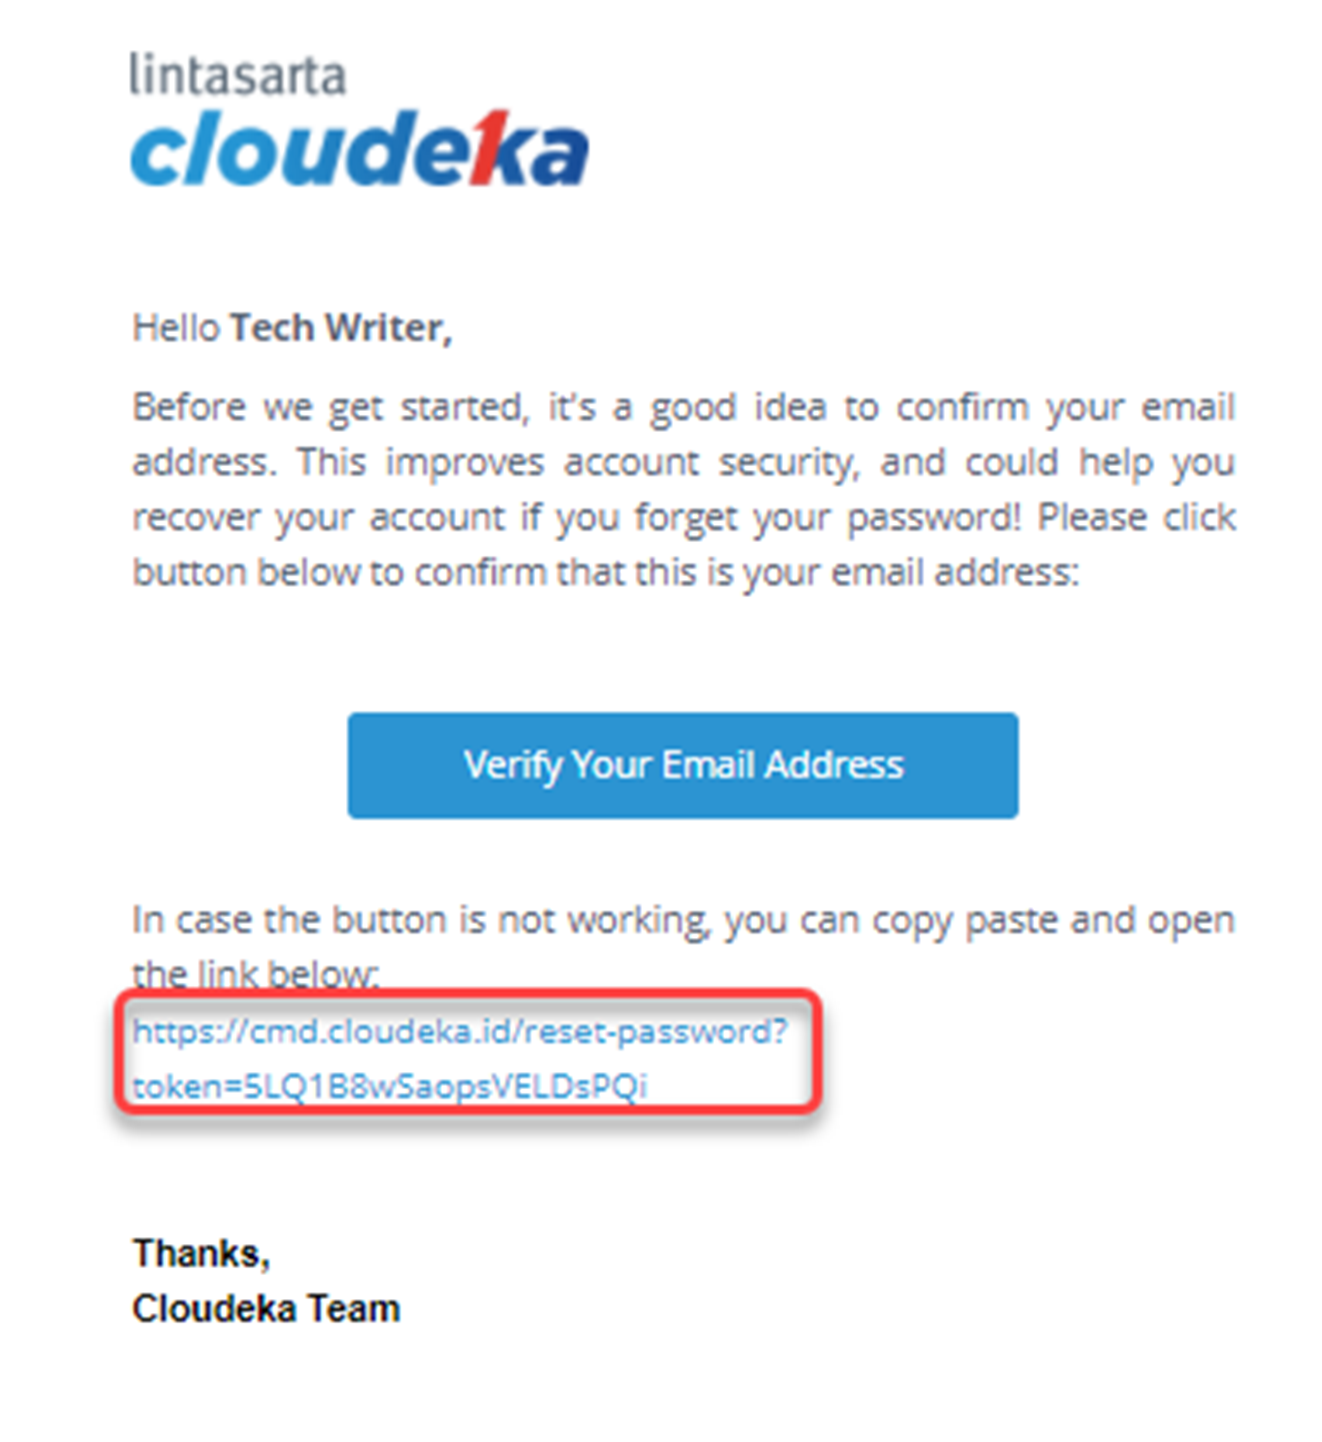
Email Verification
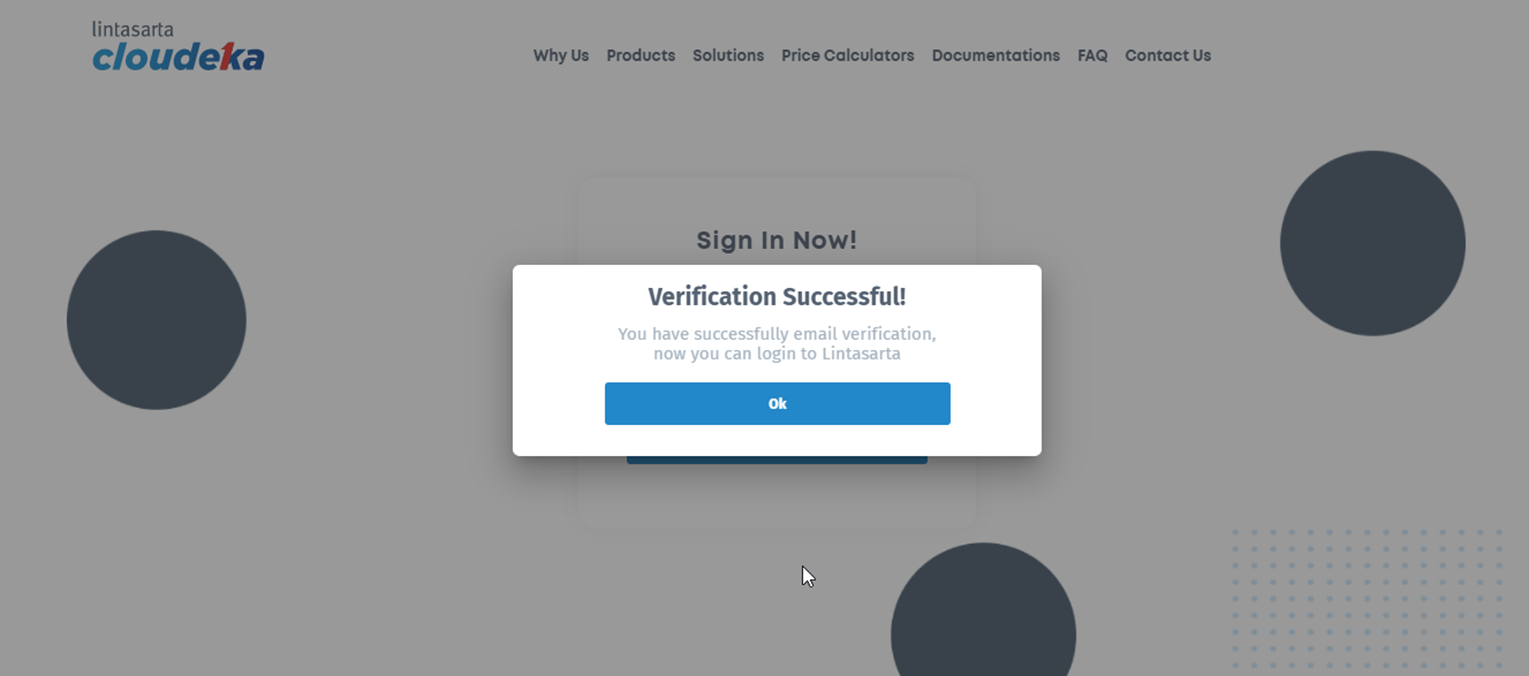
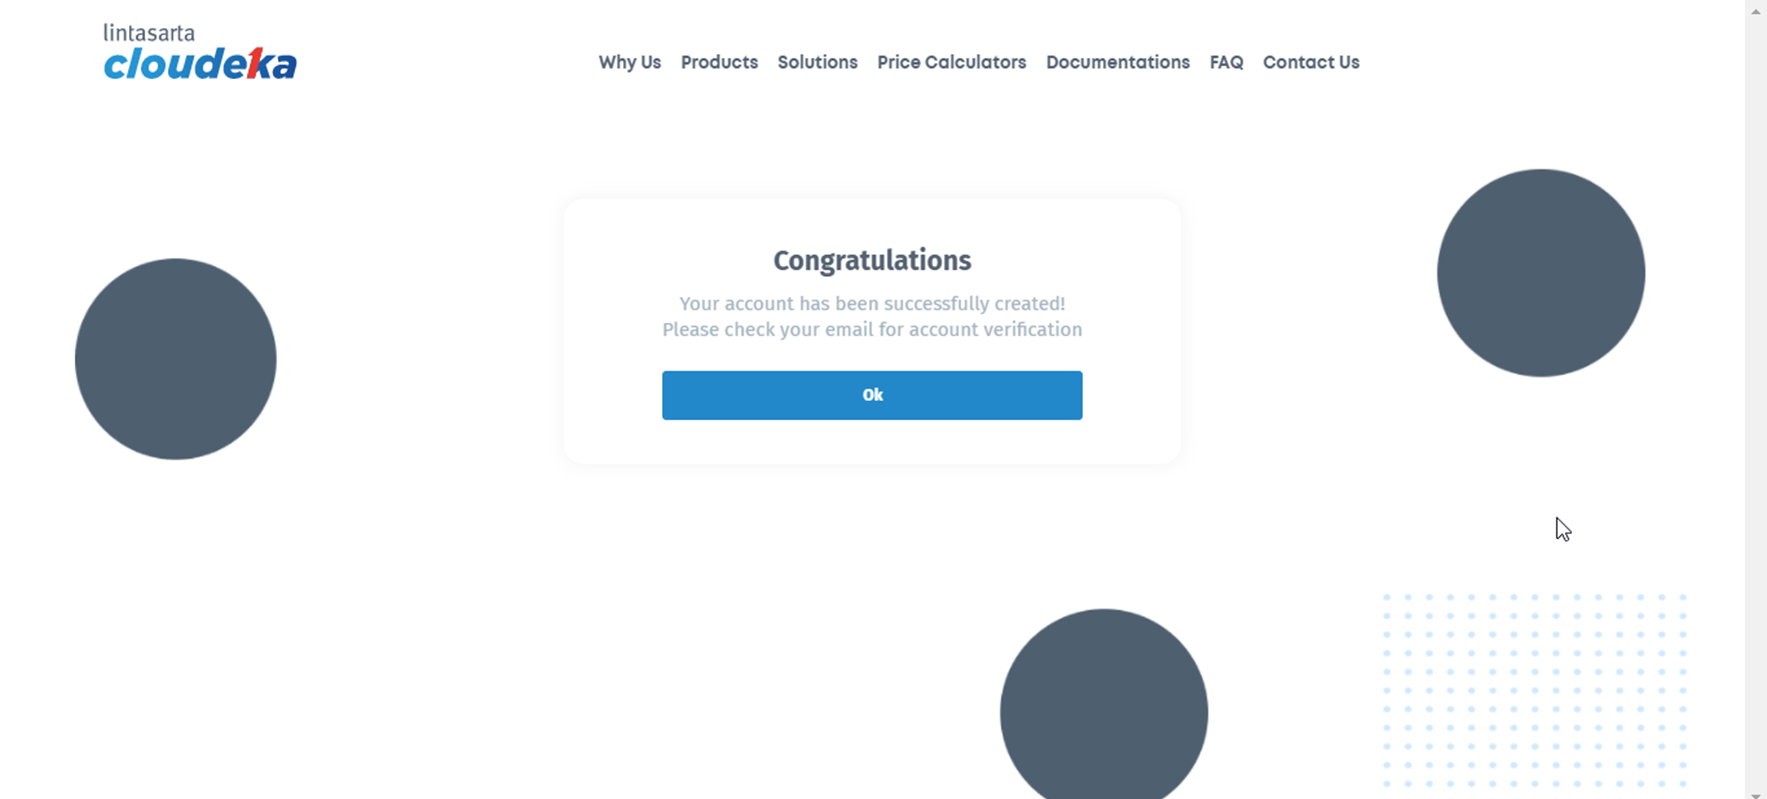
Success Verification
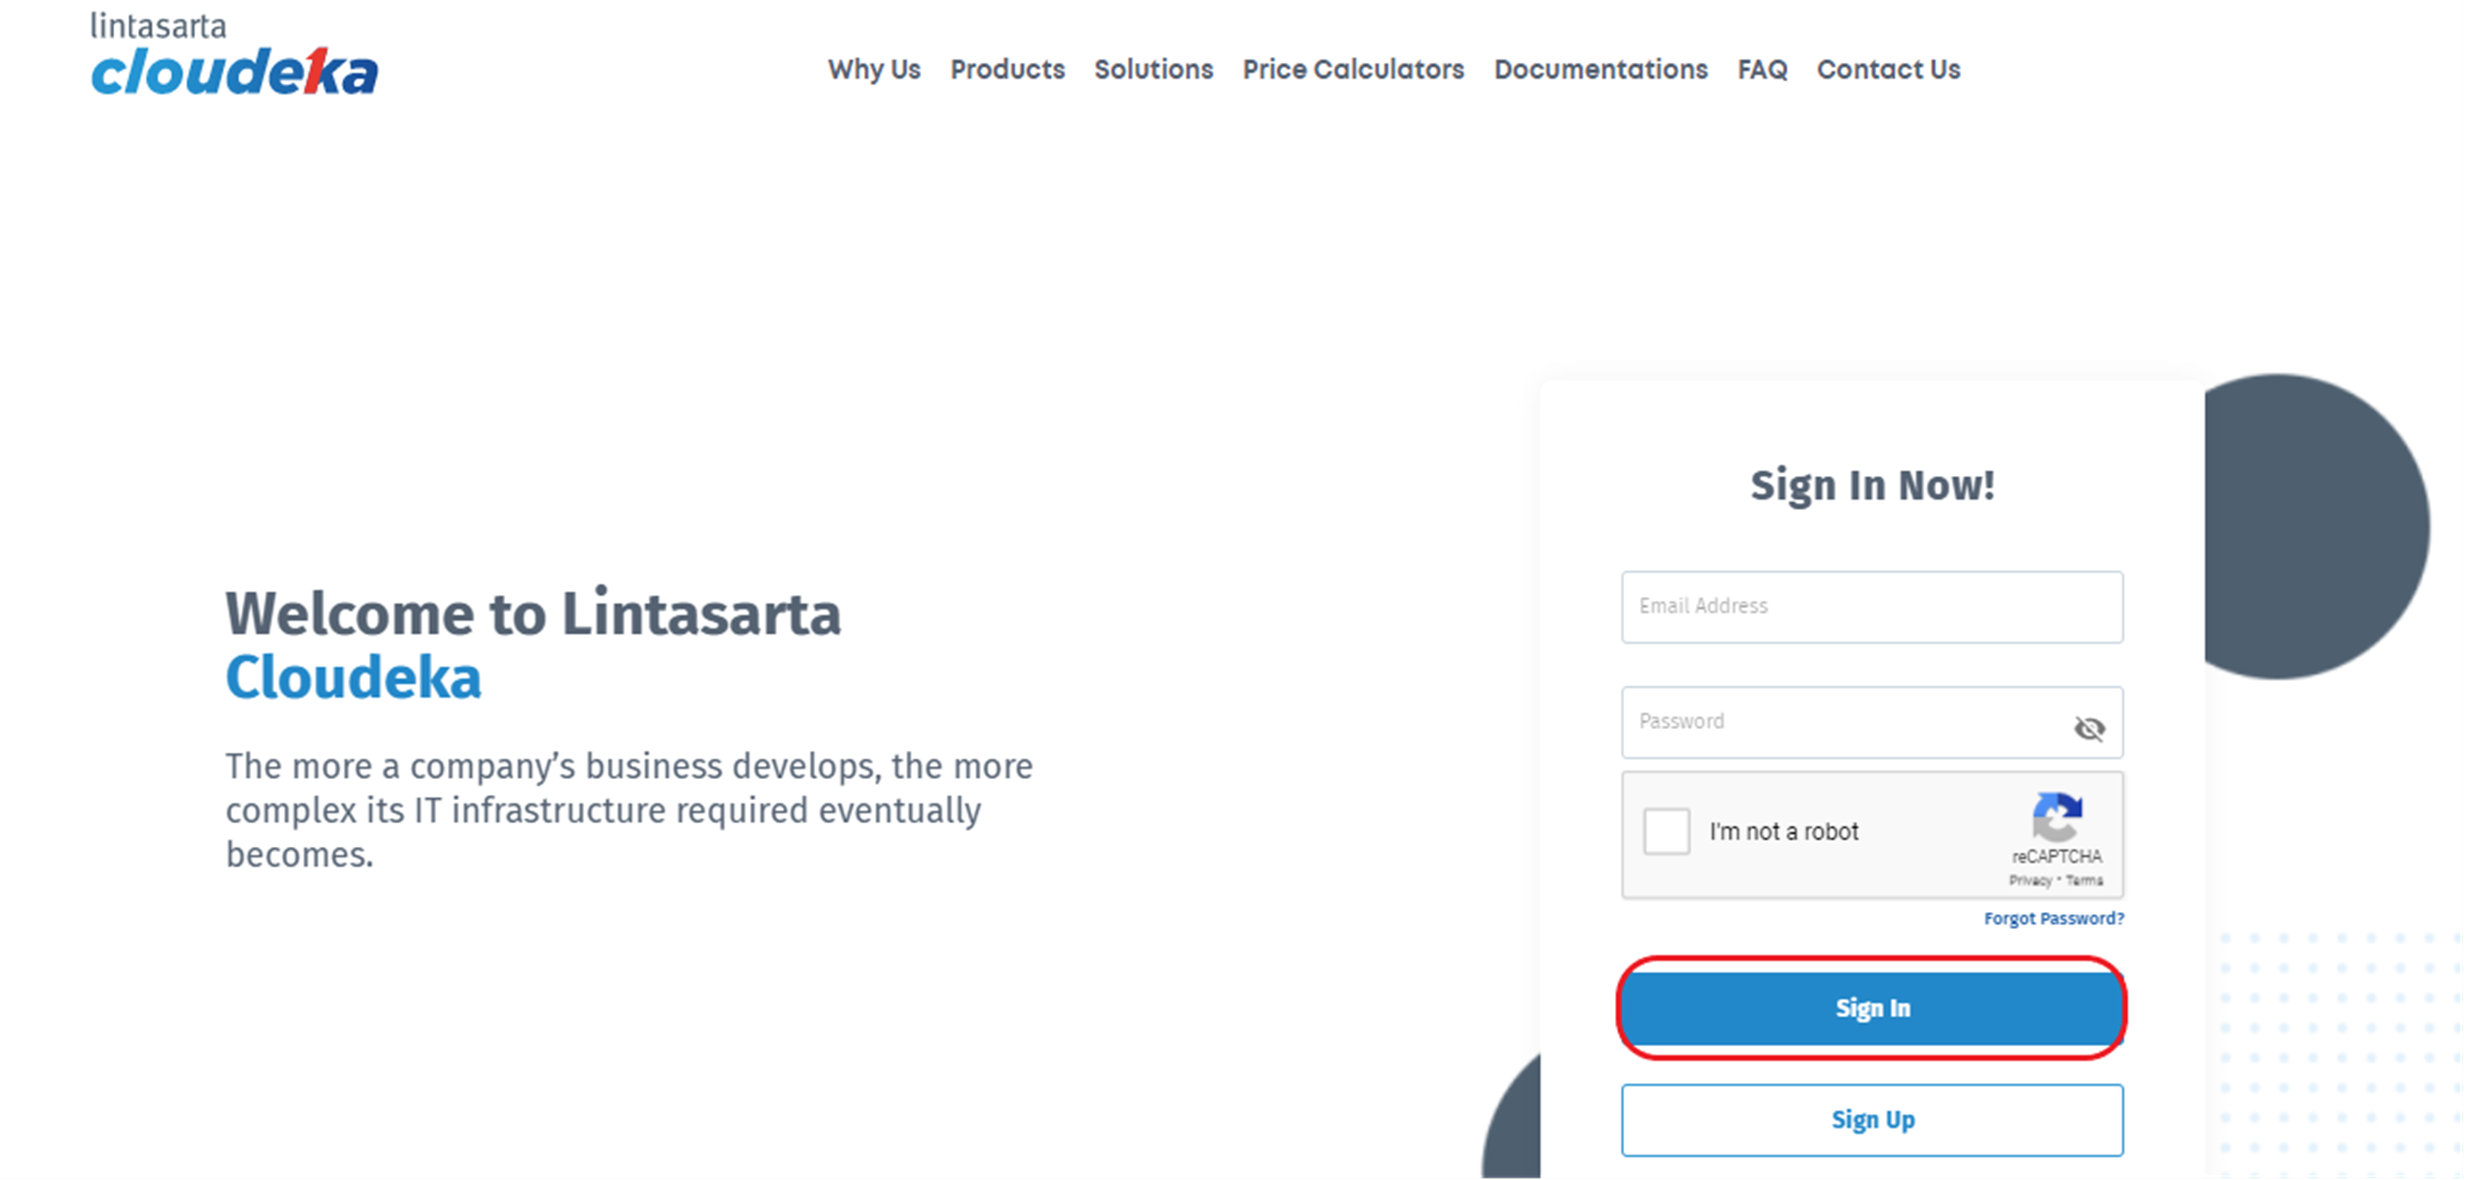
Sign In Now page
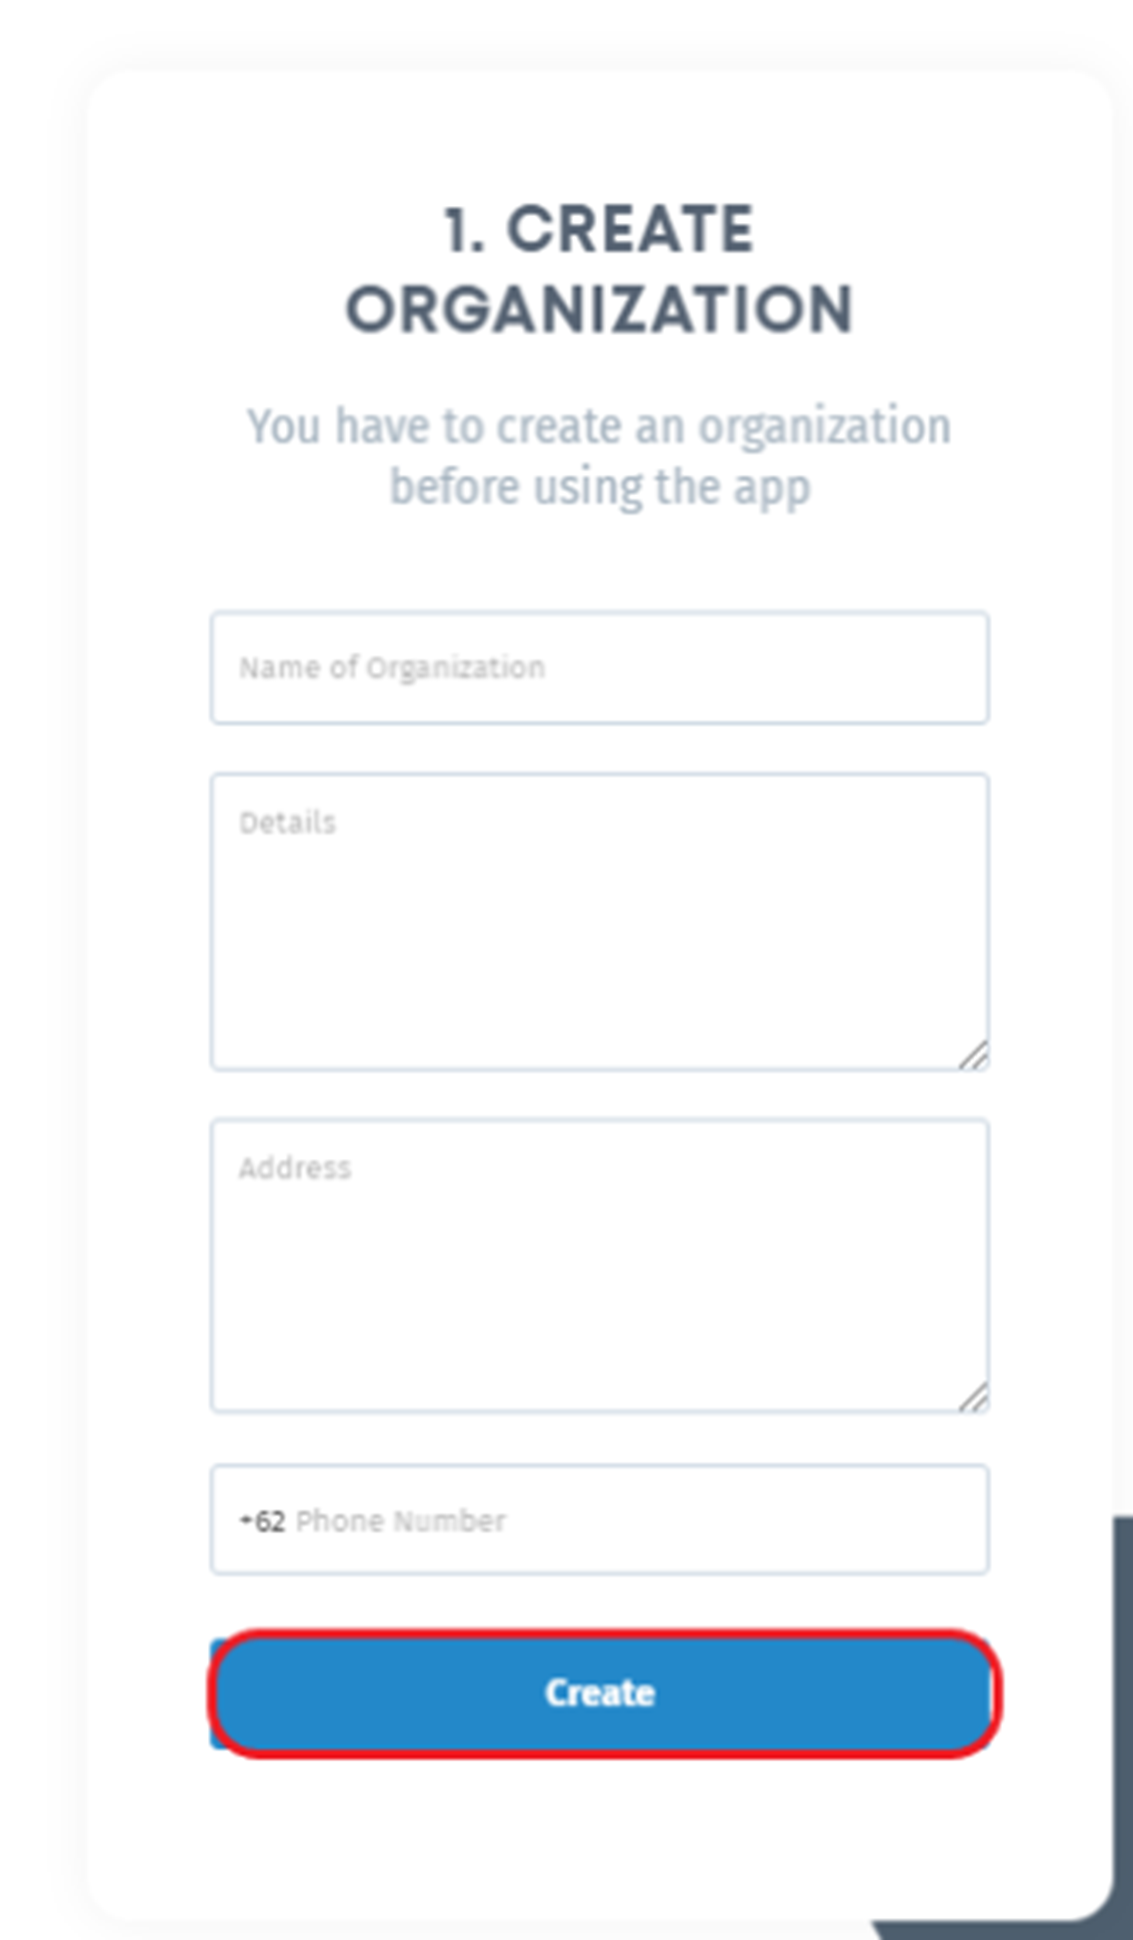
Create Organization Form
| Column | Description |
|---|---|
| Name of Organization | Organization Name |
| Details | Organization Description |
| Address | Organization Address |
| Phone Number | Organization Phone Number |
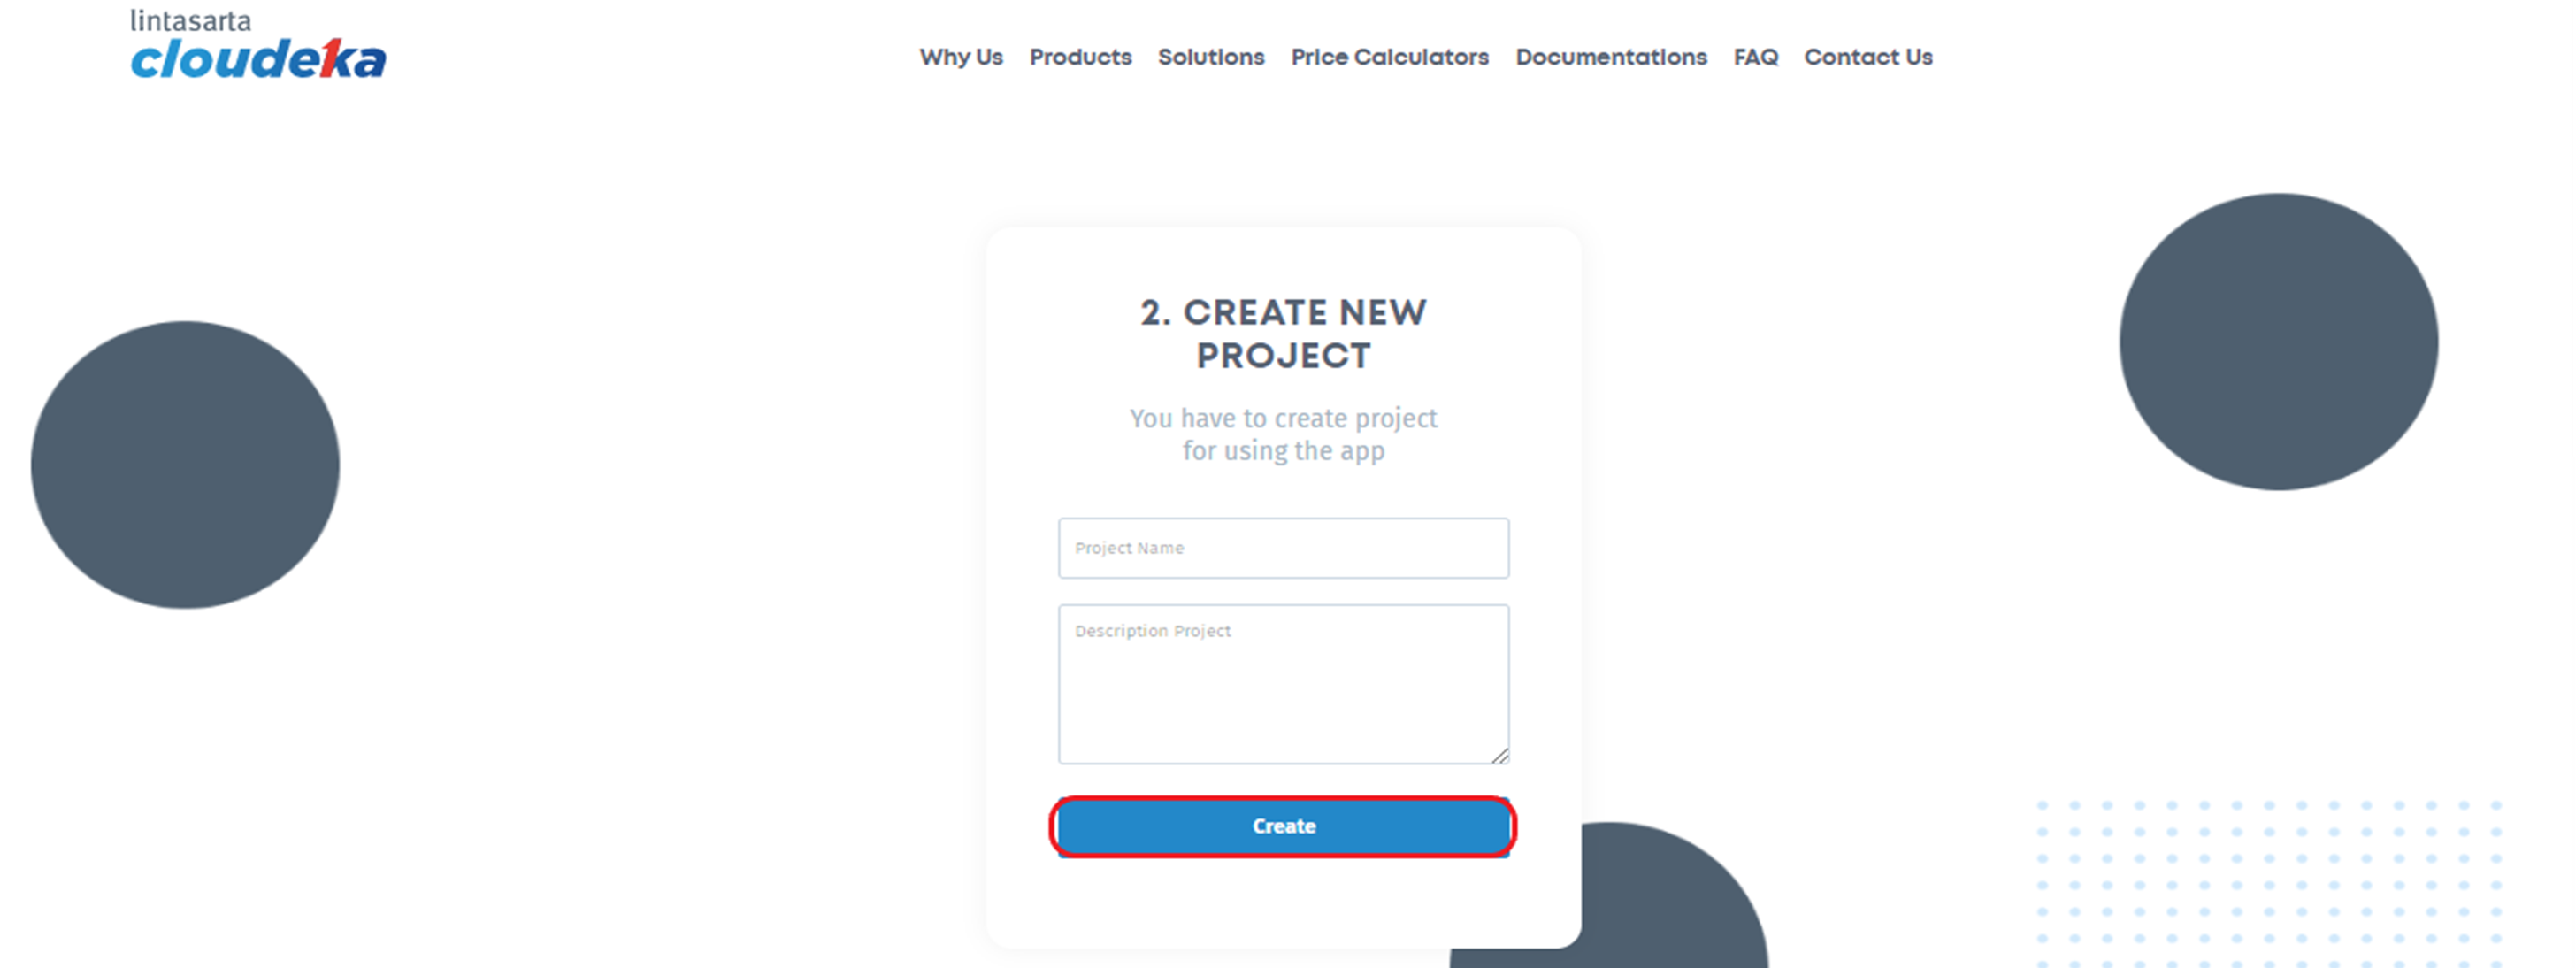
Create New Project
| Column | Description |
|---|---|
| Project Name | Project name |
| Description Project | Description about the project |

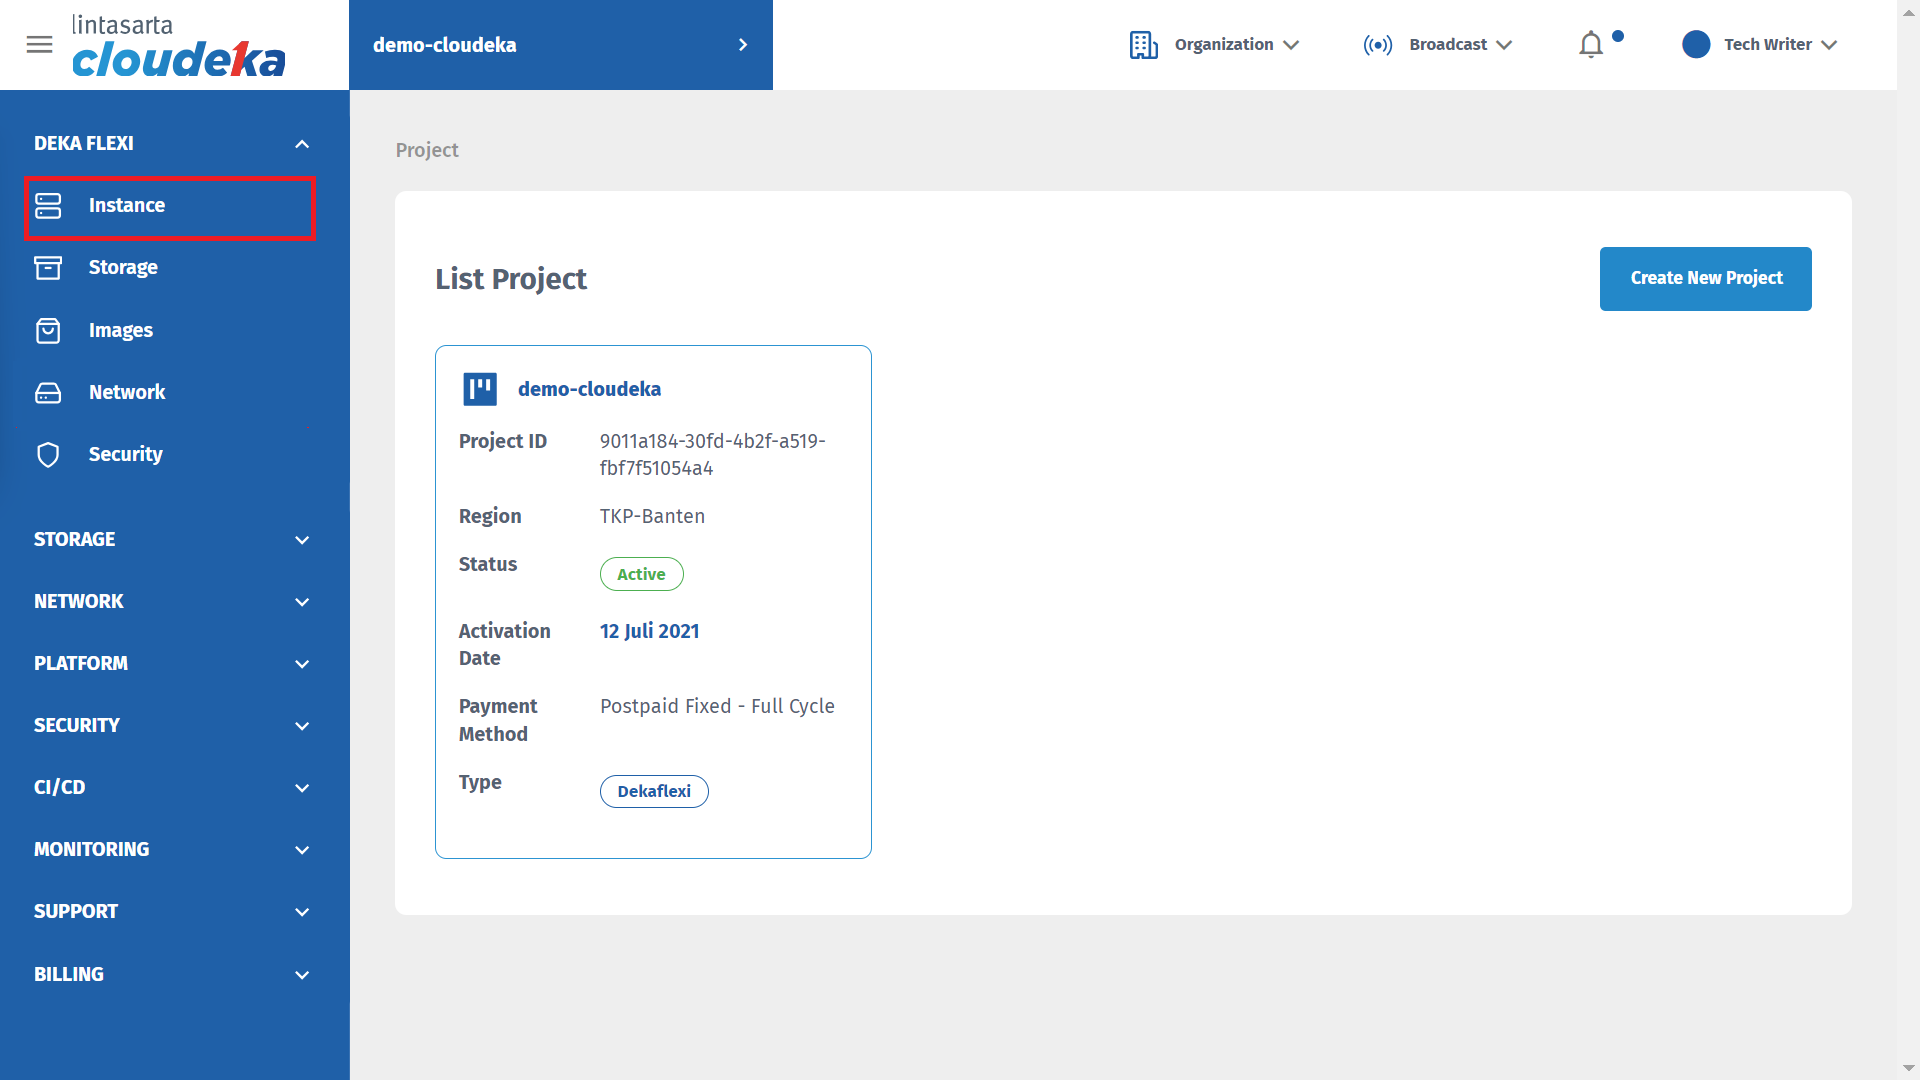
Project list

Customer Name
Sign In Page

Network Page
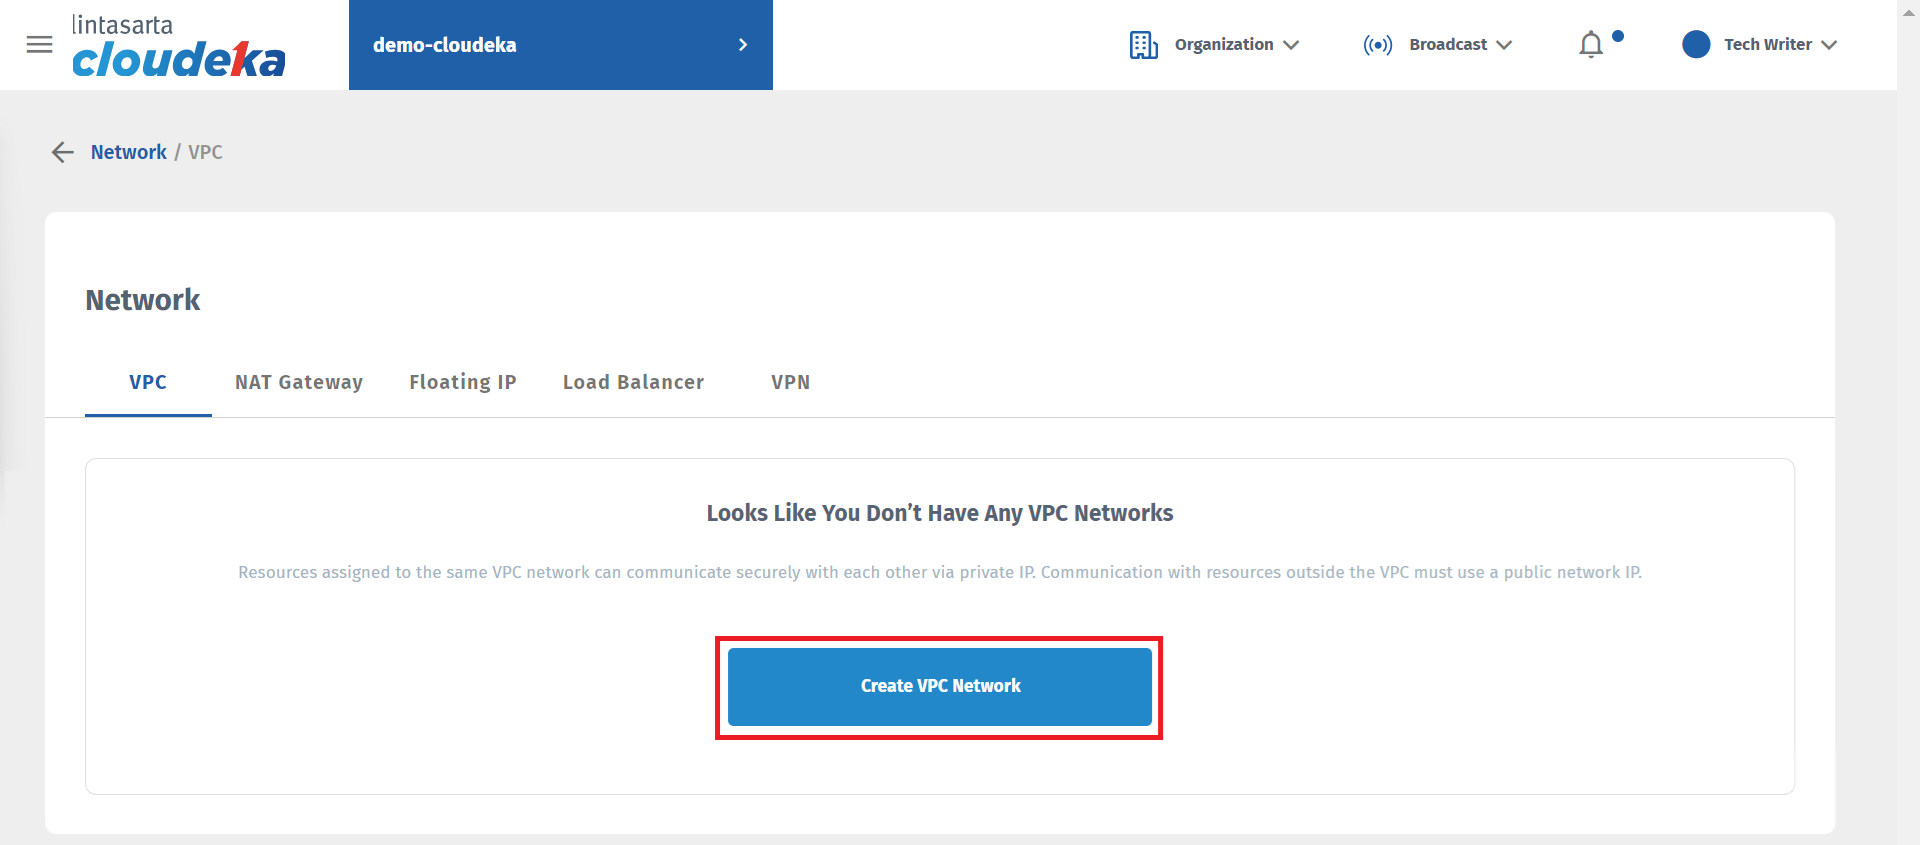
Network Page - create VPC
.png)
Create VPC Network (a)
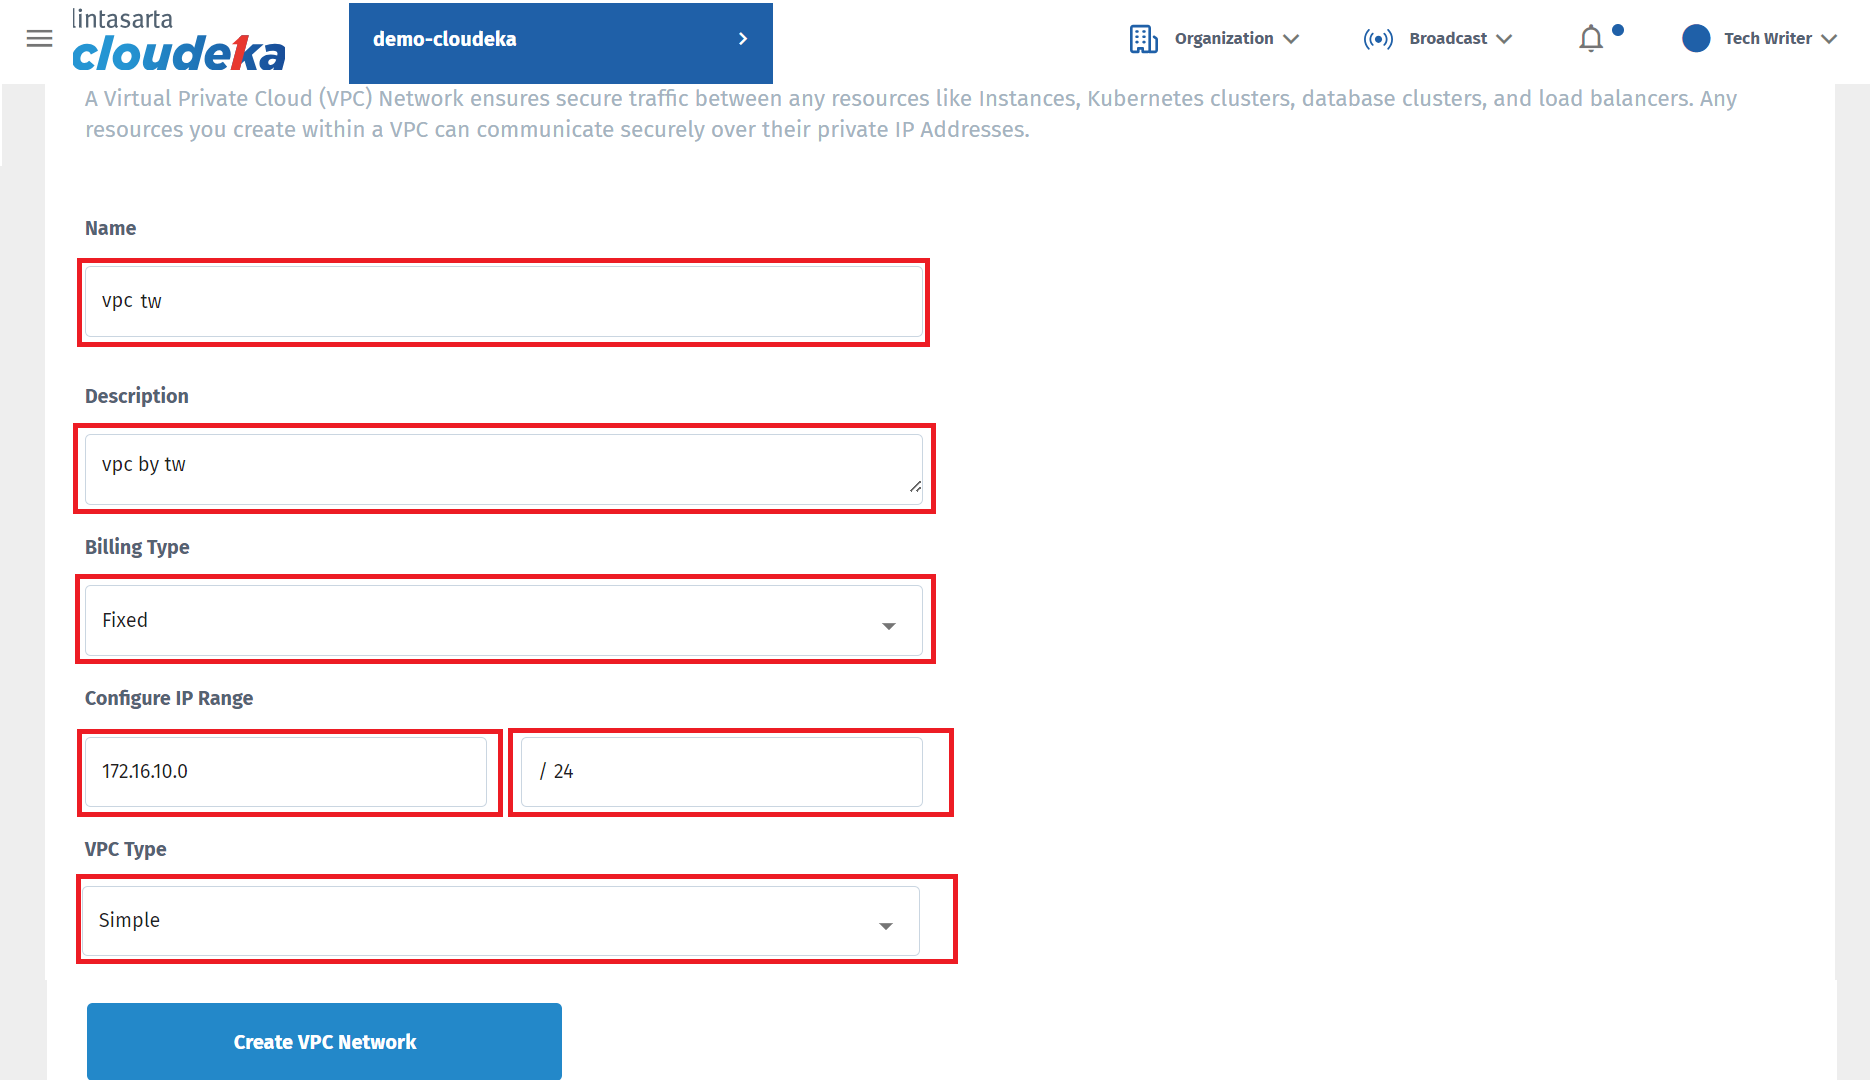
Create VPC Network (b)
| Column | Description |
|---|---|
| Name | Name of VPC Network. |
| Desciption | A brief description of VPC. |
| Billing Type | For payment types according to project type.
|
| Configure IP Range | Enter Private IP Address also the subnetmask, The Internet Assigned Number Authority (IANA) has assigned several address ranges to be used by private networks. Address ranges to be use by private network are: - Class A: 10.0.0.0 to 10.255.255.255 - Class B: 172.16.0.0 to 172.31.255.255 - Class C: 192.168.0.0 to 192.168.255.255 An IP address within these ranges is therefore considered non-routable, as it is not unique. Any private network that needs to use IP addresses internally can use any address within these ranges without any coordination with IANA or an Internet registry. Addresses within this private address space are only unique within a given private network. |
| VPC Type | There are two types available on the VPC:
VPC type difference is the simple type you can add Floating IP to the network configuration. |
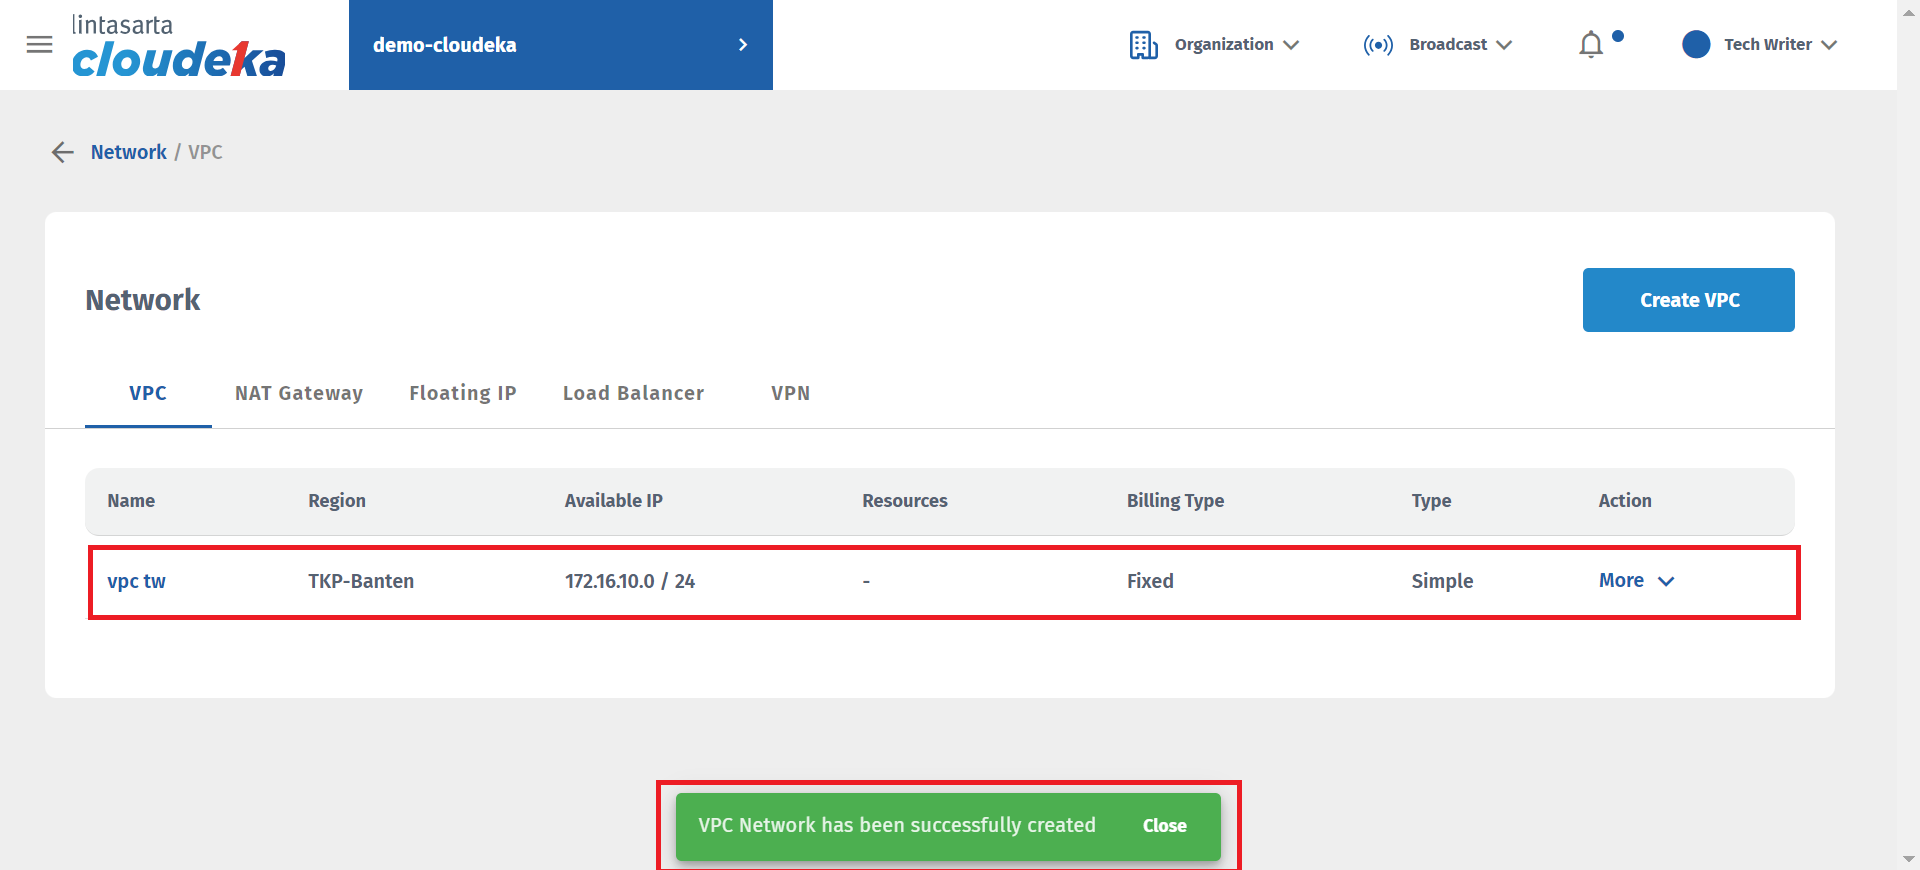
Notification
Instances Page
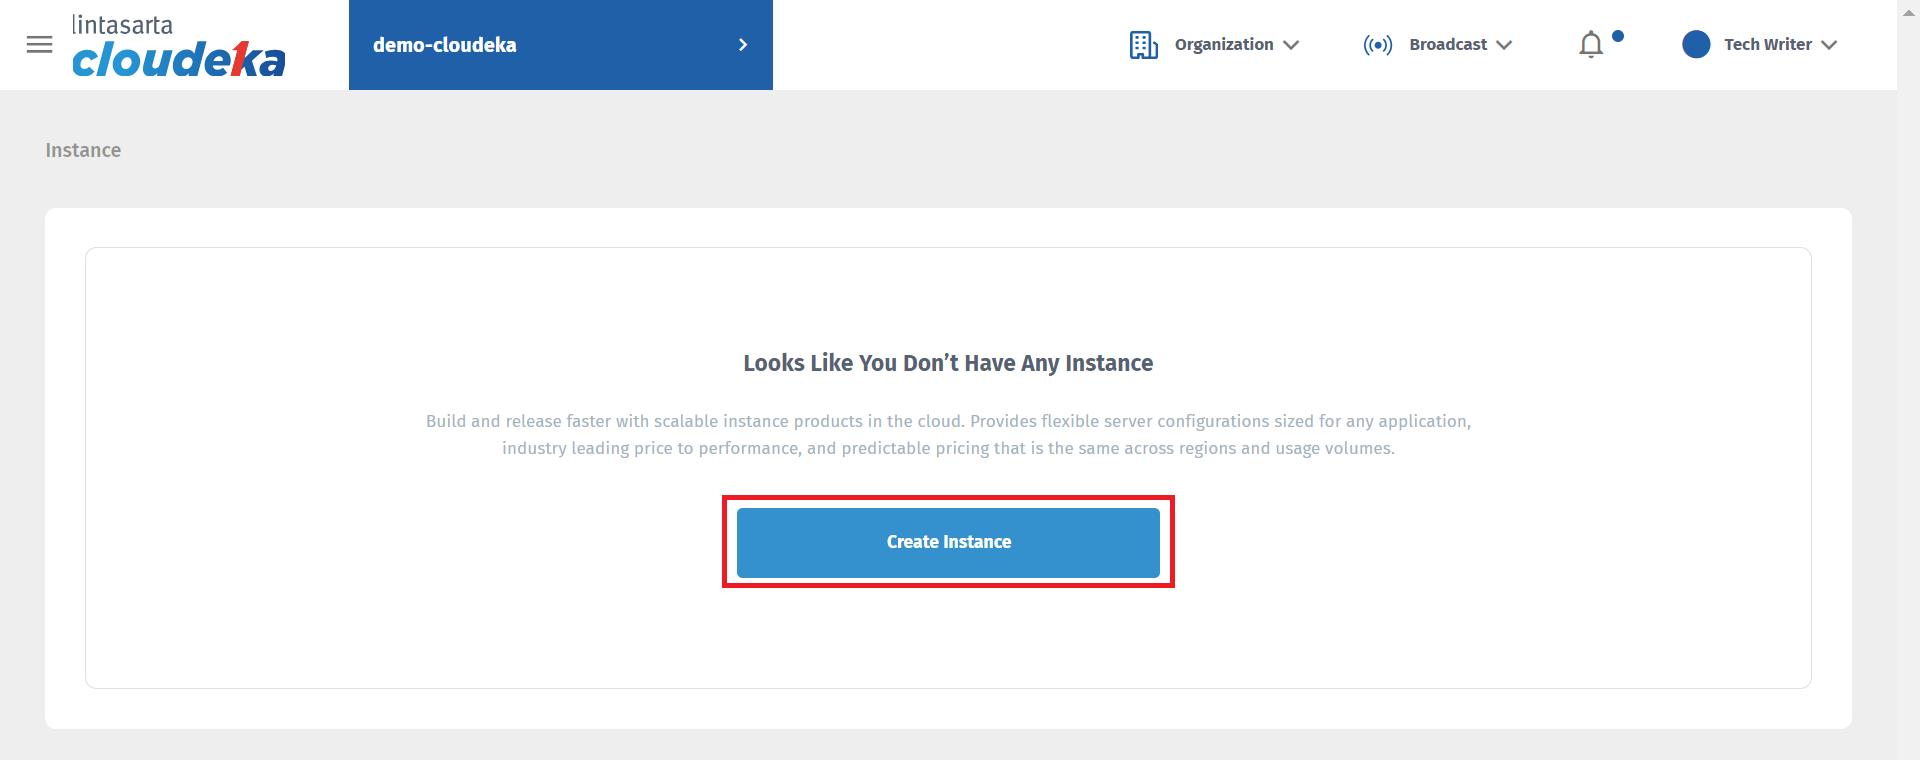
Instance Page - Create Instance
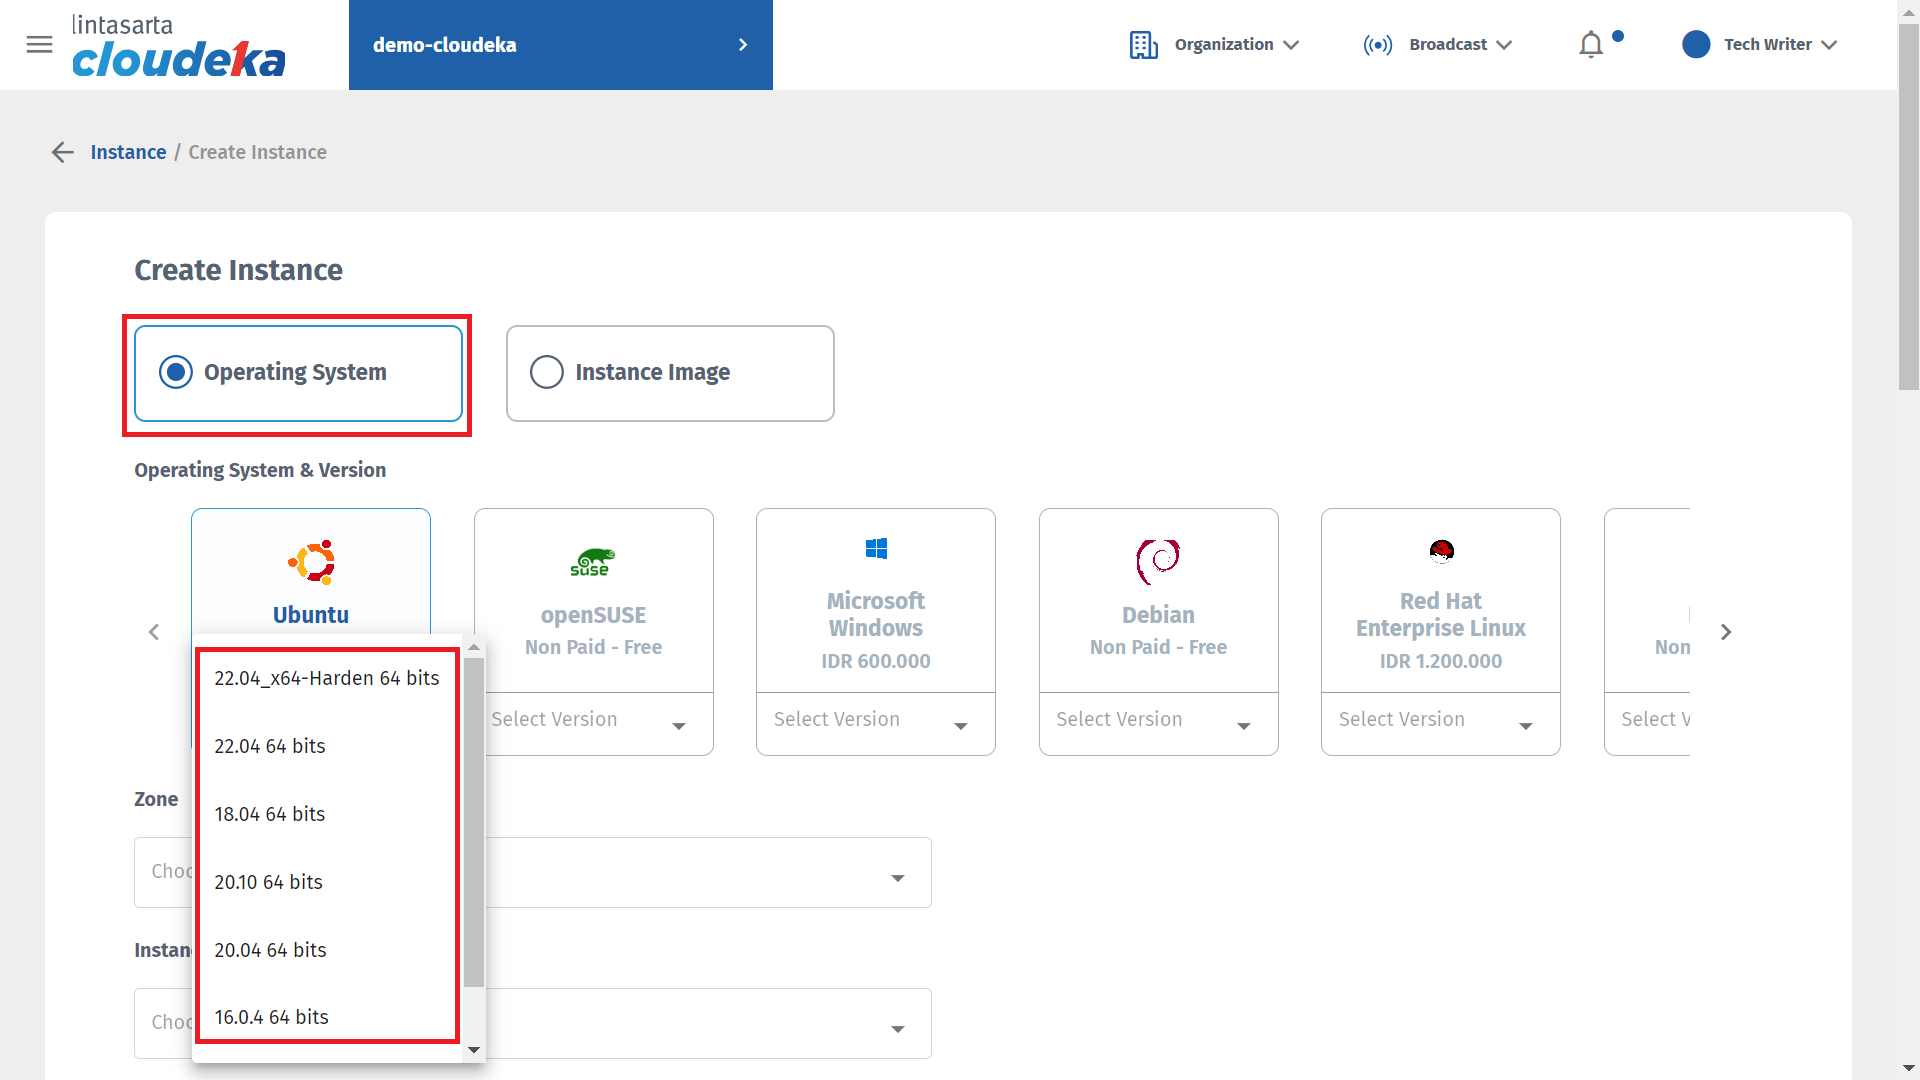
Create Instance - Select Operating System
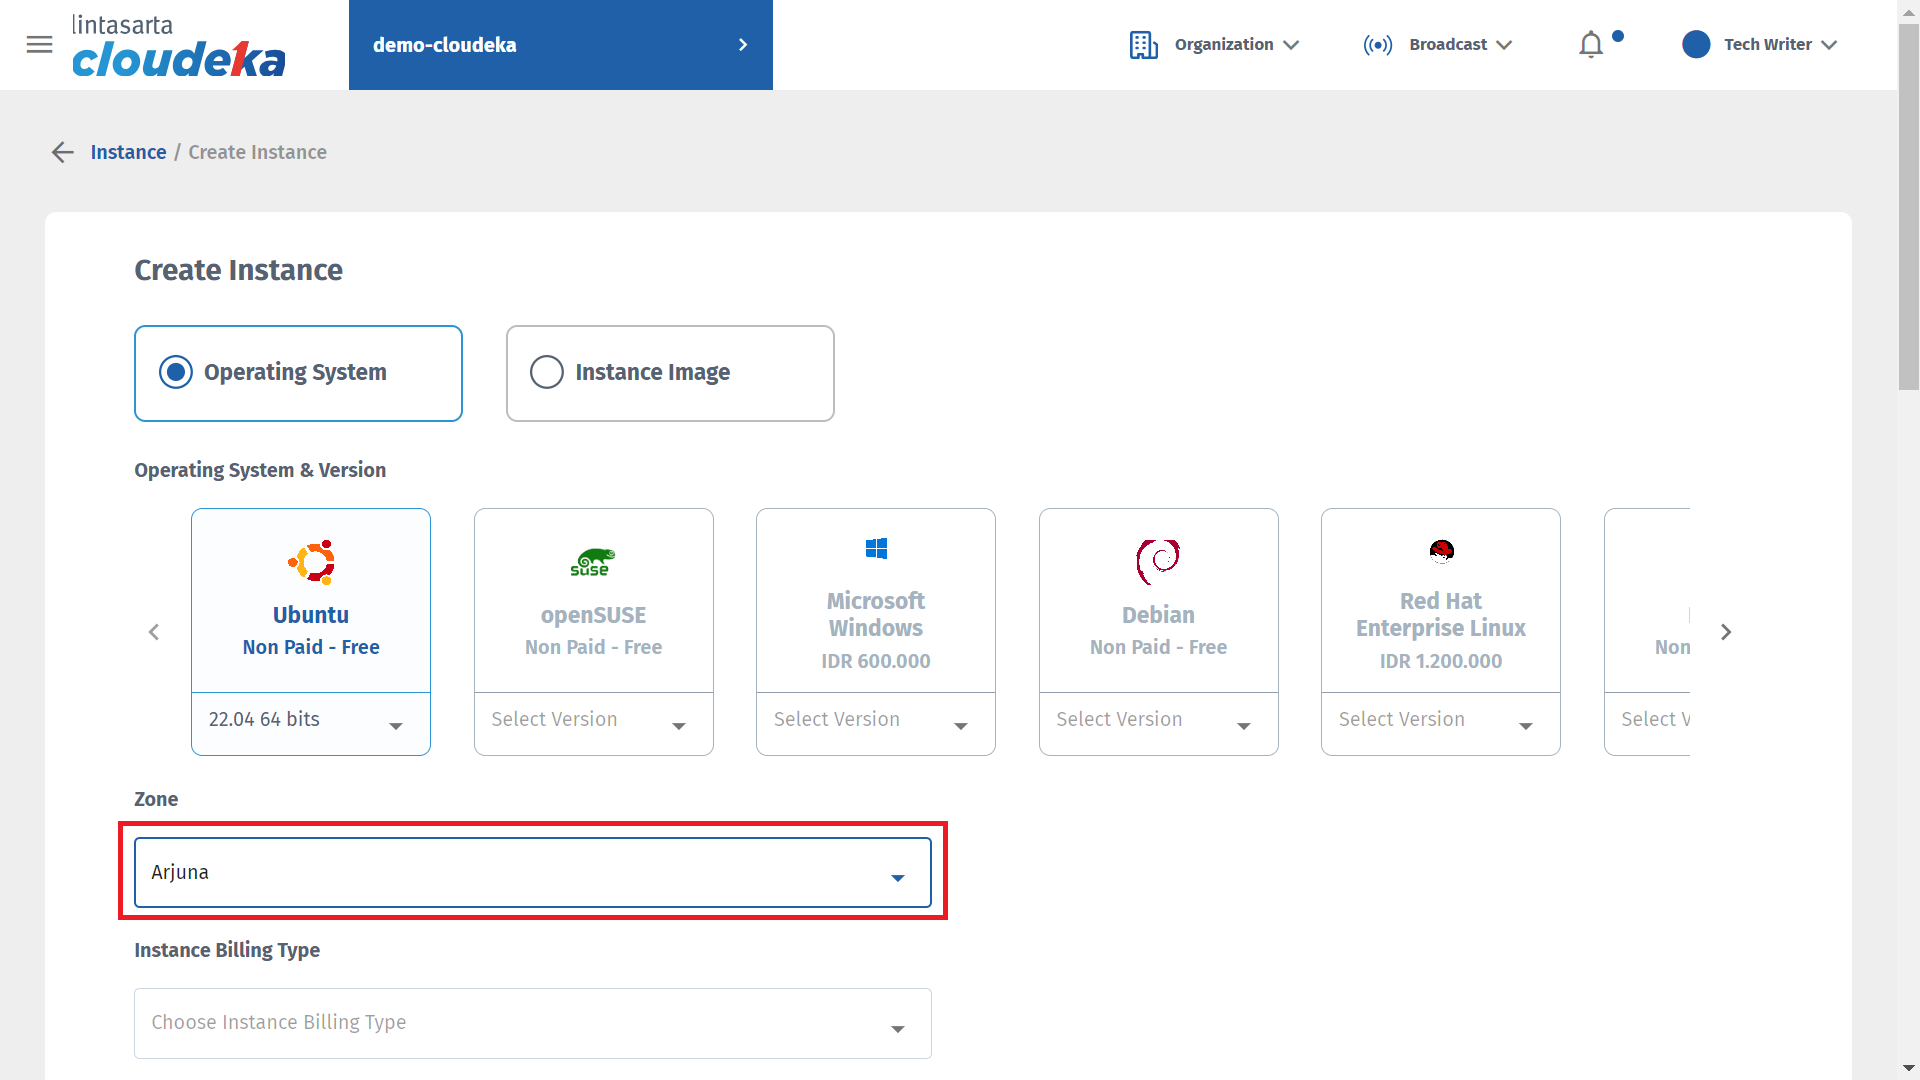
Create Instance - Select Zone
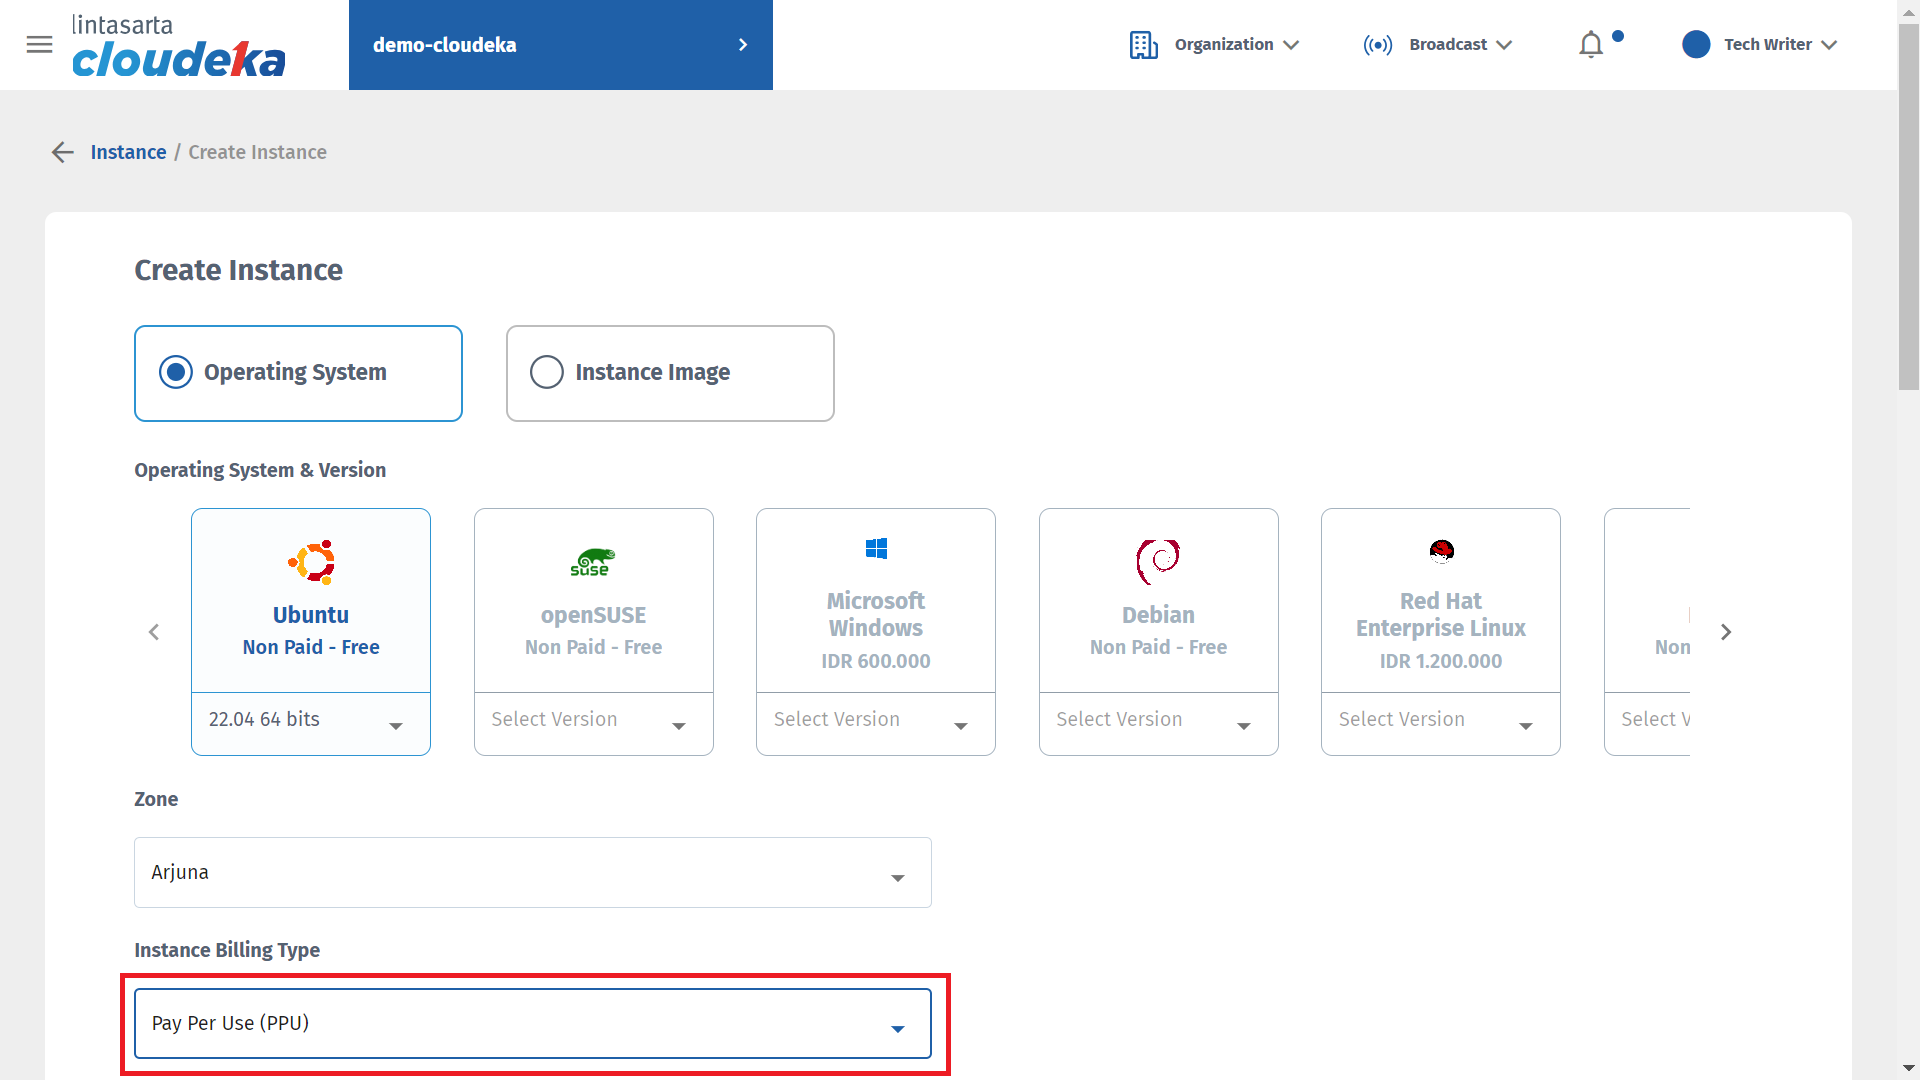
Create Instance - Select Billing Type
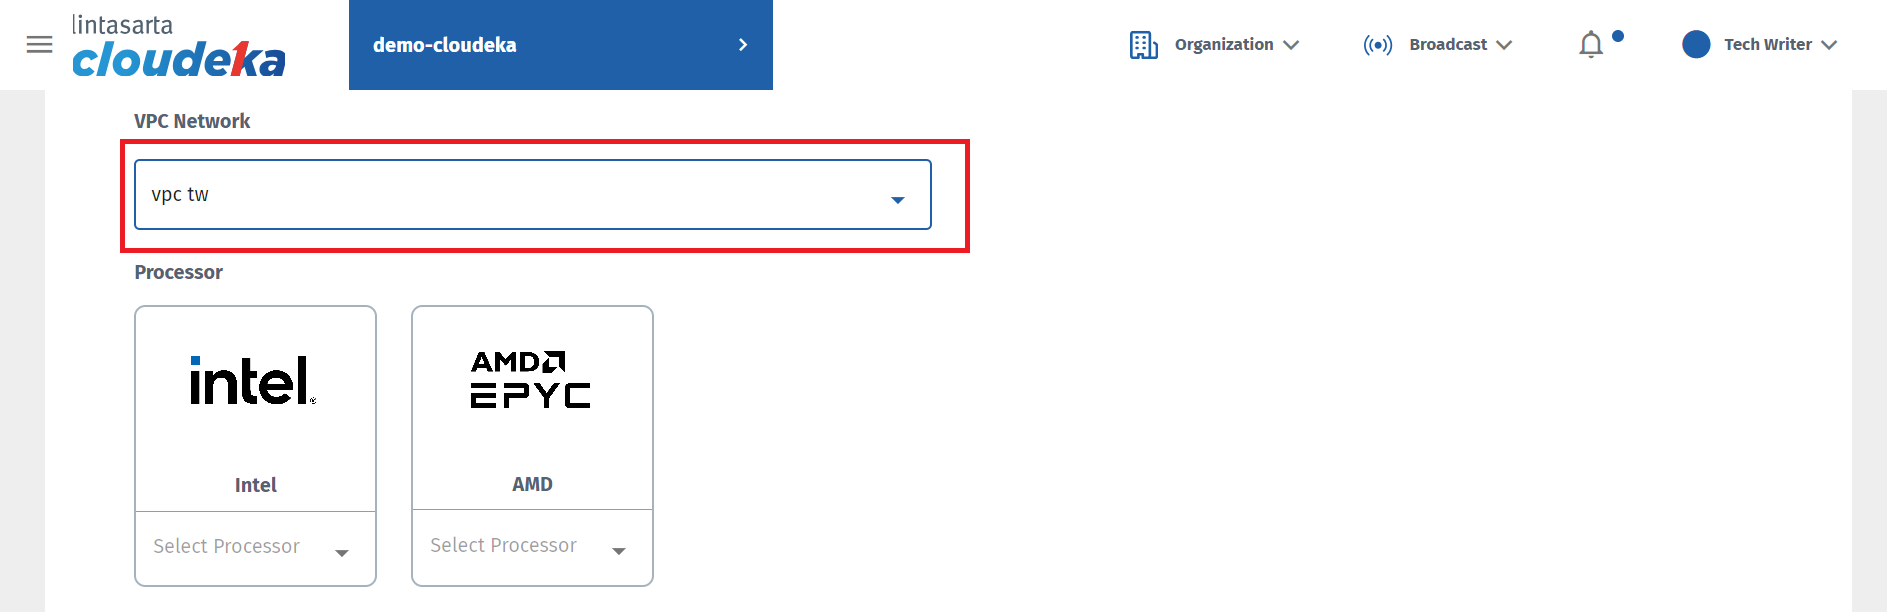
Create Instance - Select VPC Network
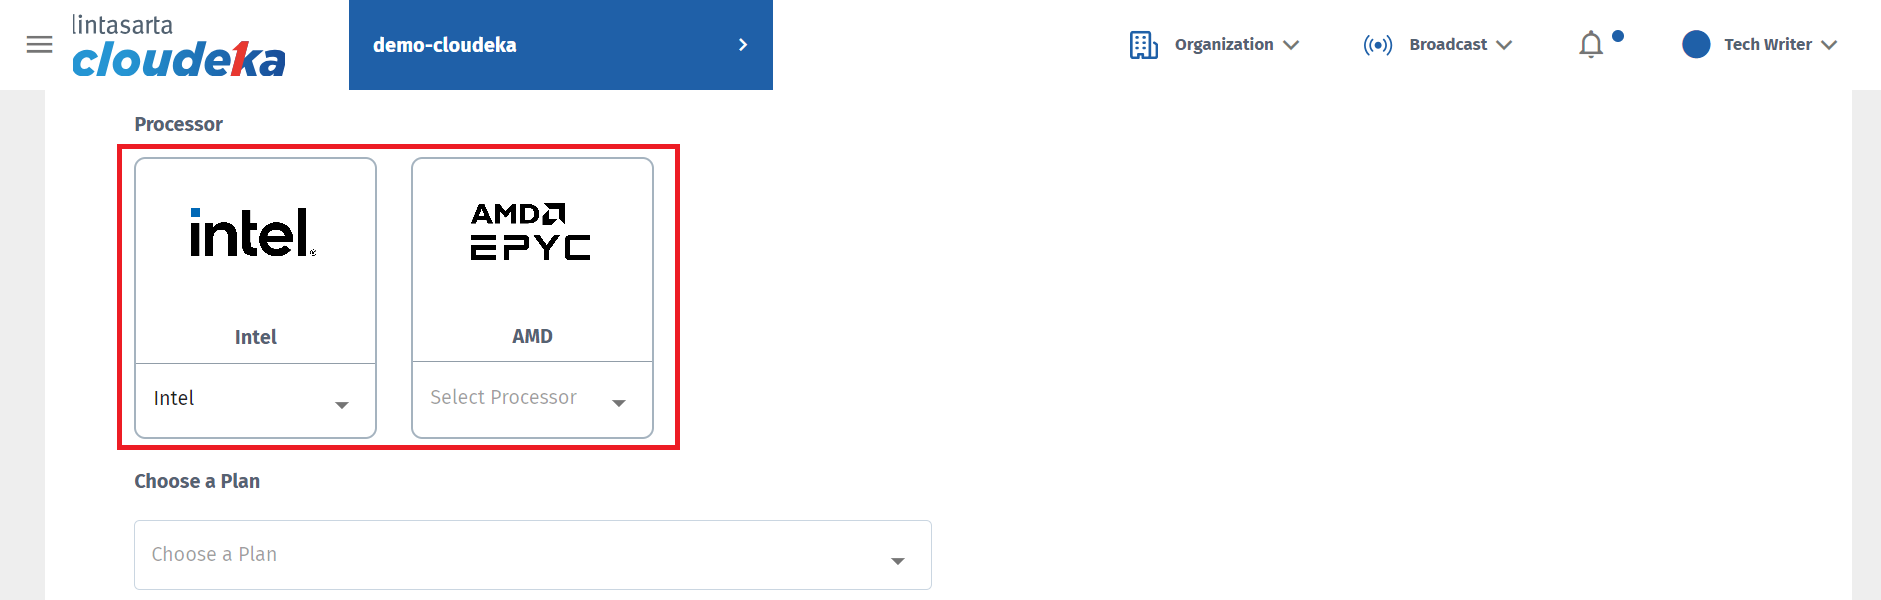
Create Instance - Select Processor
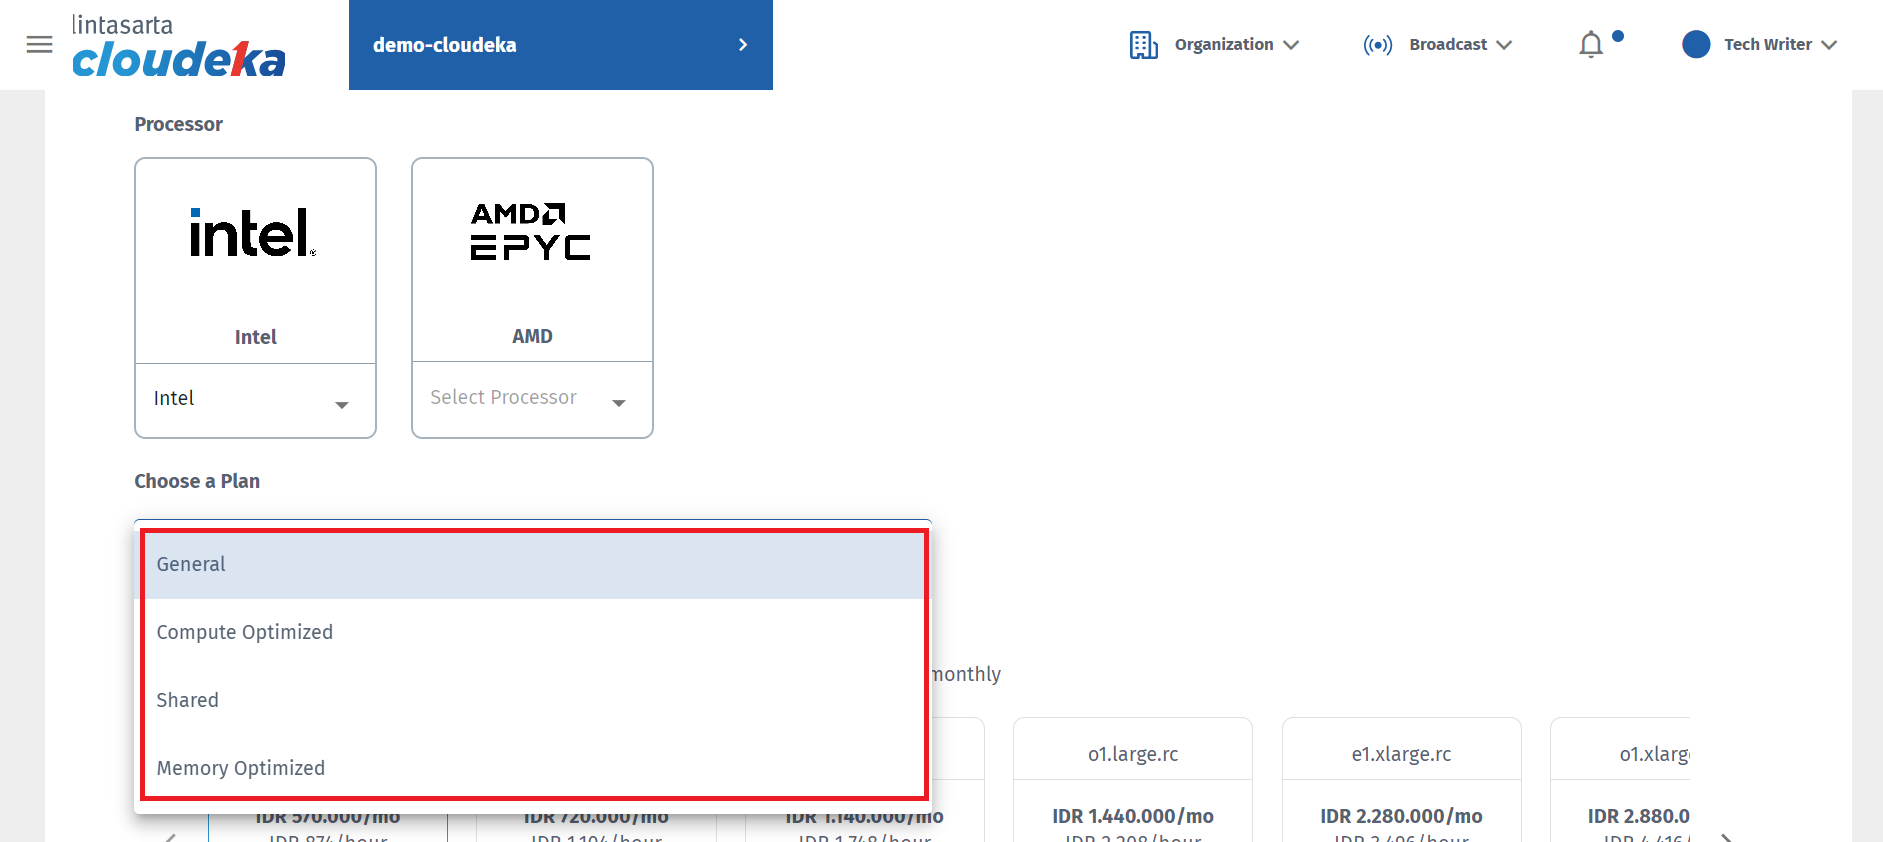
Create Instance - Select Choose a Plan
| Column | Description |
|---|---|
| General | VM size provides a balanced CPU to memory ratio. |
| Compute Optimized | Delivers the highest performance CPU in Compute Engine and is optimized for compute-intensive workloads. |
| Shared | Provides a cost-effective method for running small applications that are not resource-intensive. |
| Memory Optimized | Provides a high memory to CPU ratio, optimized for memory-intensive workloads. |
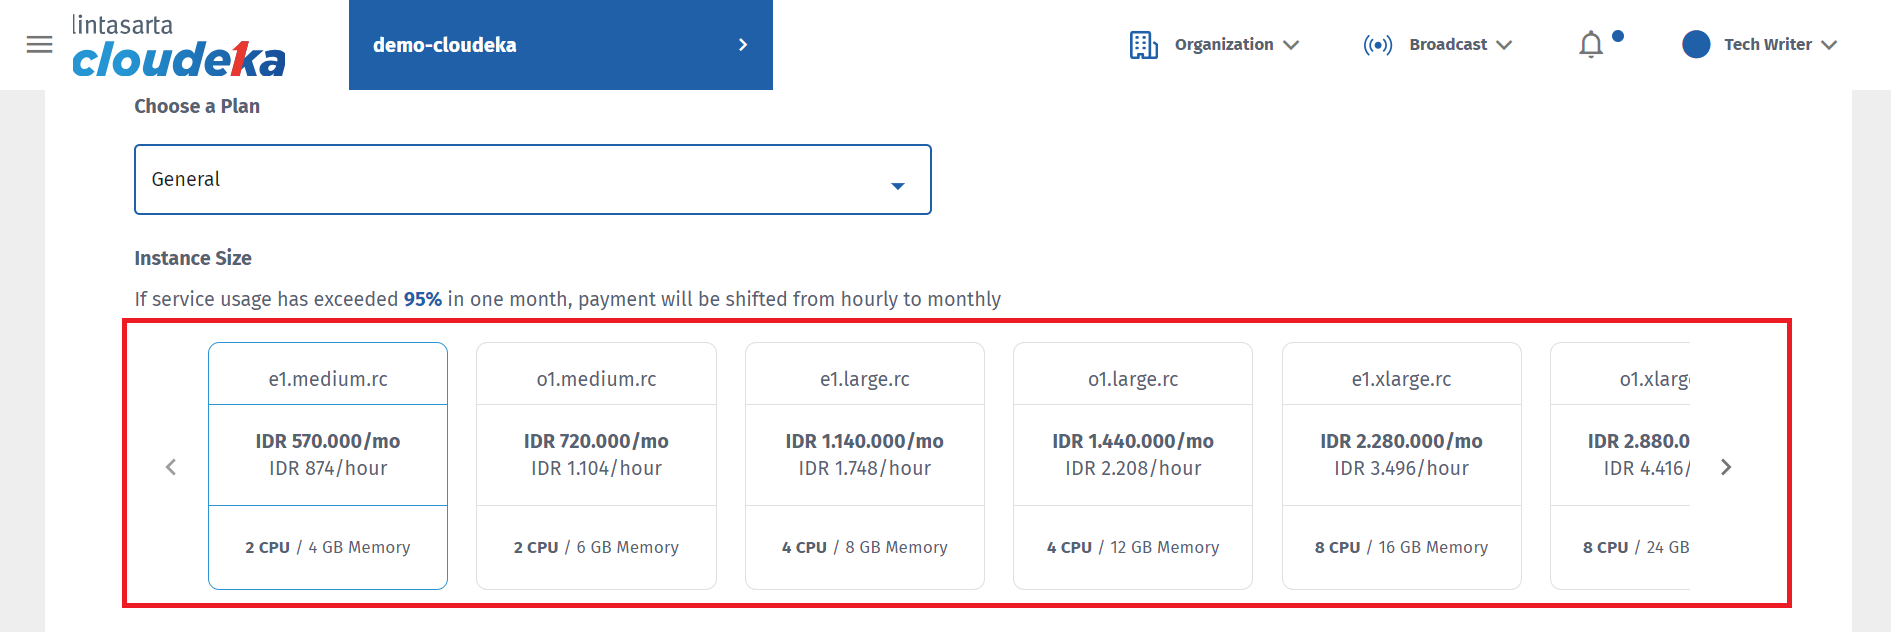
Create Instance - Instance Size
| Type | Description | vCPU/RAM |
|---|---|---|
| Shared | Based on 1 vCPU | 1 vCPU/1GB, 1 vCPU/3GB, 1 vCPU/4GB |
| General | CPU:RAM eq 1:2, 1:3 | 2vCPU/4GB, 2vCPU/6GB, 4vCPU/8GB, 4vCPU/12GB, 8vCPU/16GB, 8vCPU/24GB, 16vCPU/32GB, 16vCPU/48GB, 32vCPU/64GB, 32vCPU/96GB |
| Compute Optimized | CPU:RAM eq 1:1 | 2vCPU/2GB, 4vCPU/4GB, 8vCPU/8GB, 16vCPU/16GB, 32vCPU/32GB |
| Memory Optimized | CPU:RAM eq 1:4 | 2vCPU/8GB, 2vCPU/16GB, 4vCPU/16GB, 4vCPU/32GB, 8vCPU/32GB, 16vCPU/64GB, 32vCPU/128GB |
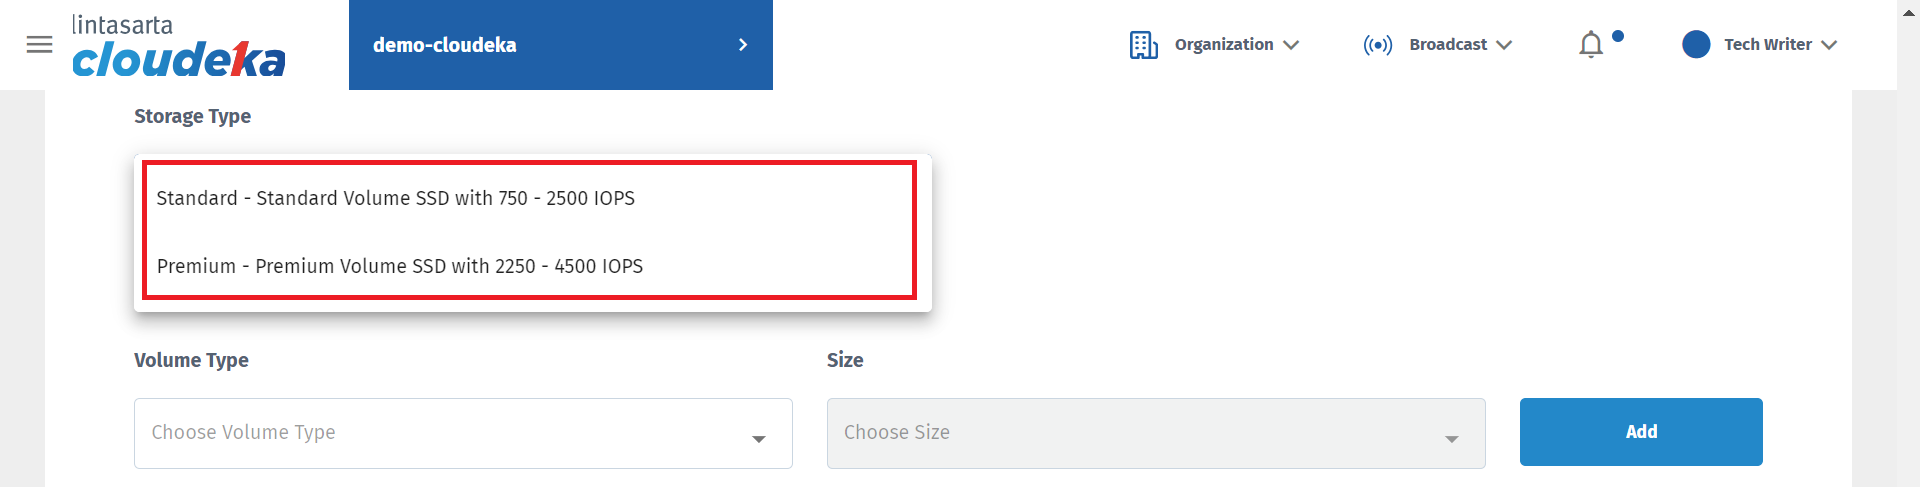
Create Instance - Storage Type
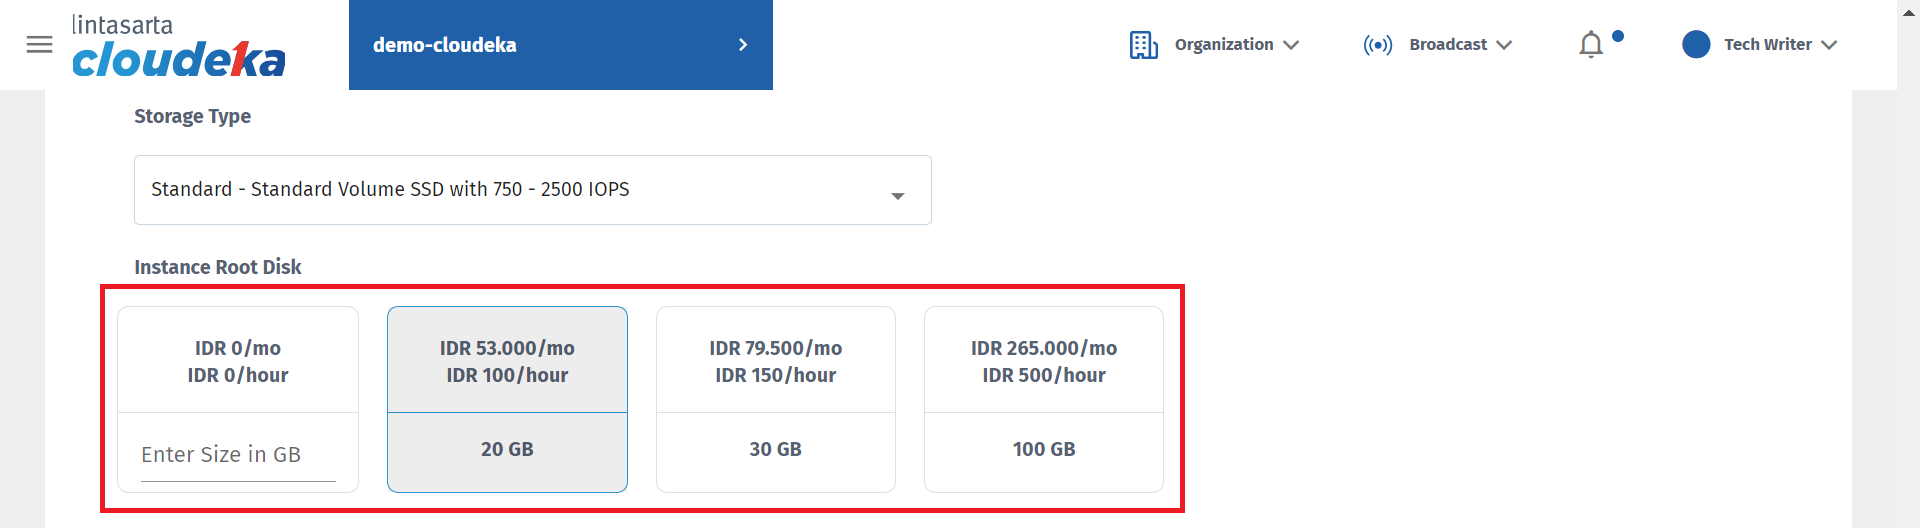
Create Instance - Instance Root Disk Size
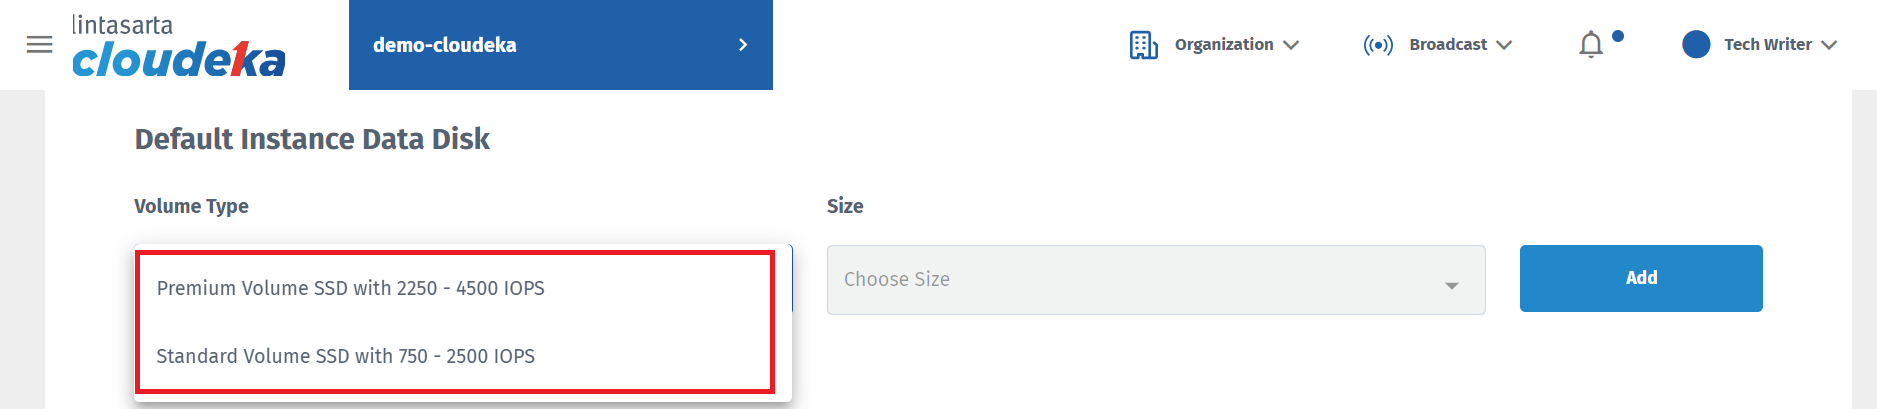
Create Instance - Data Disk Storage Type
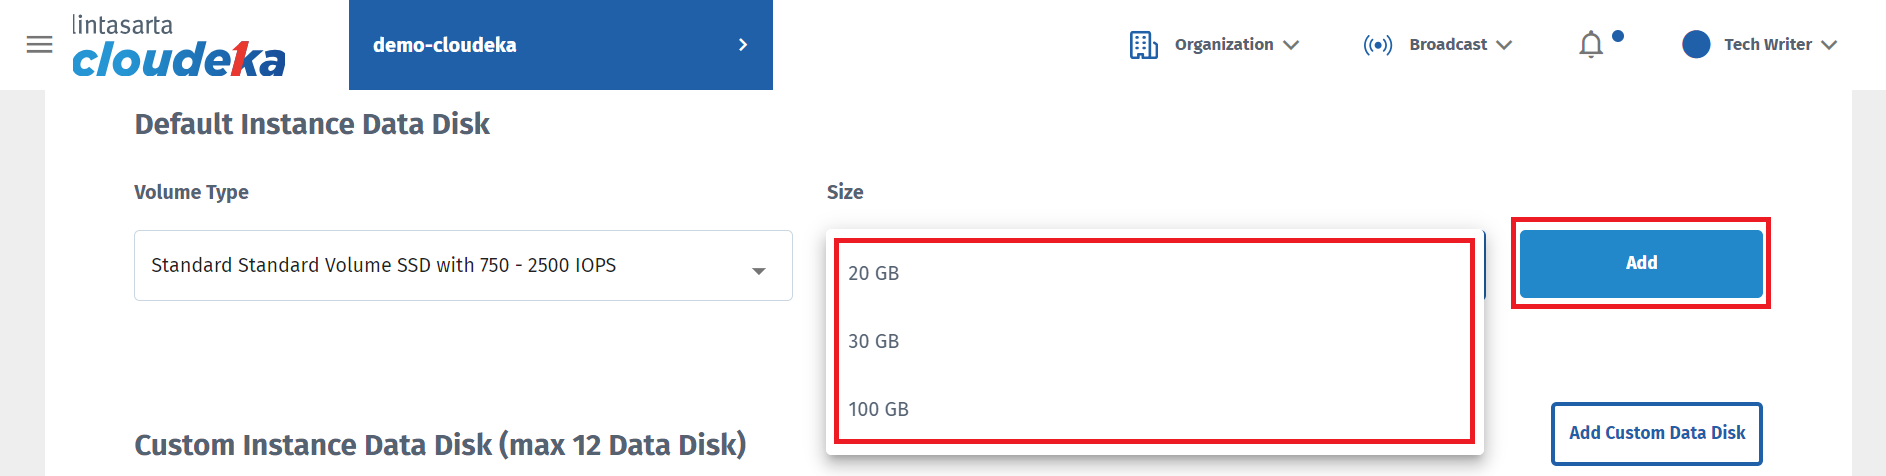
Create Instance - Instance Data Disk Size

Create Instance - Add Instance Data Disk Size
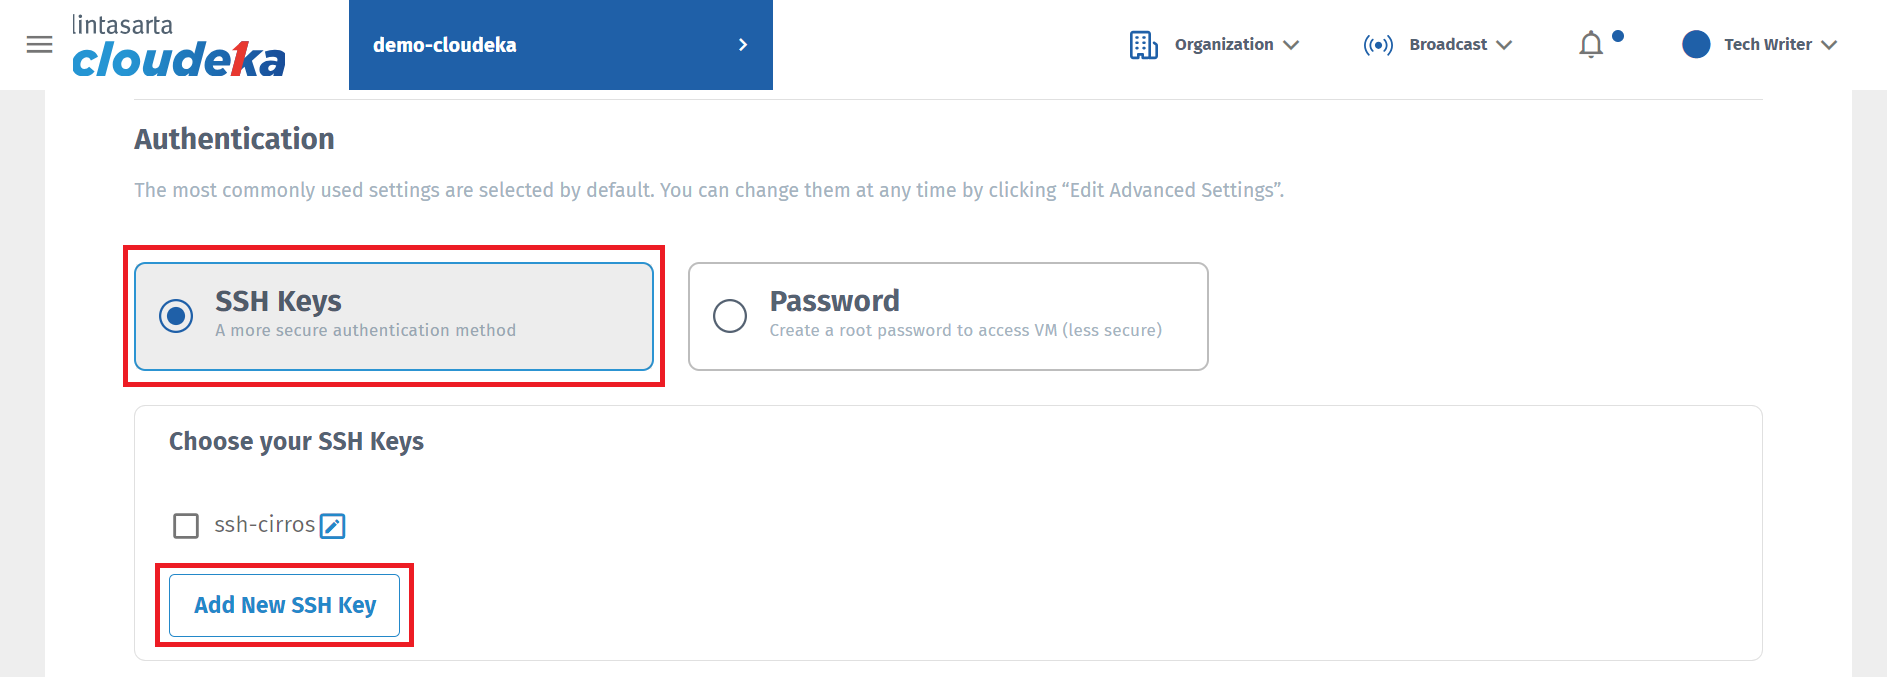
Create Instance - Authentication
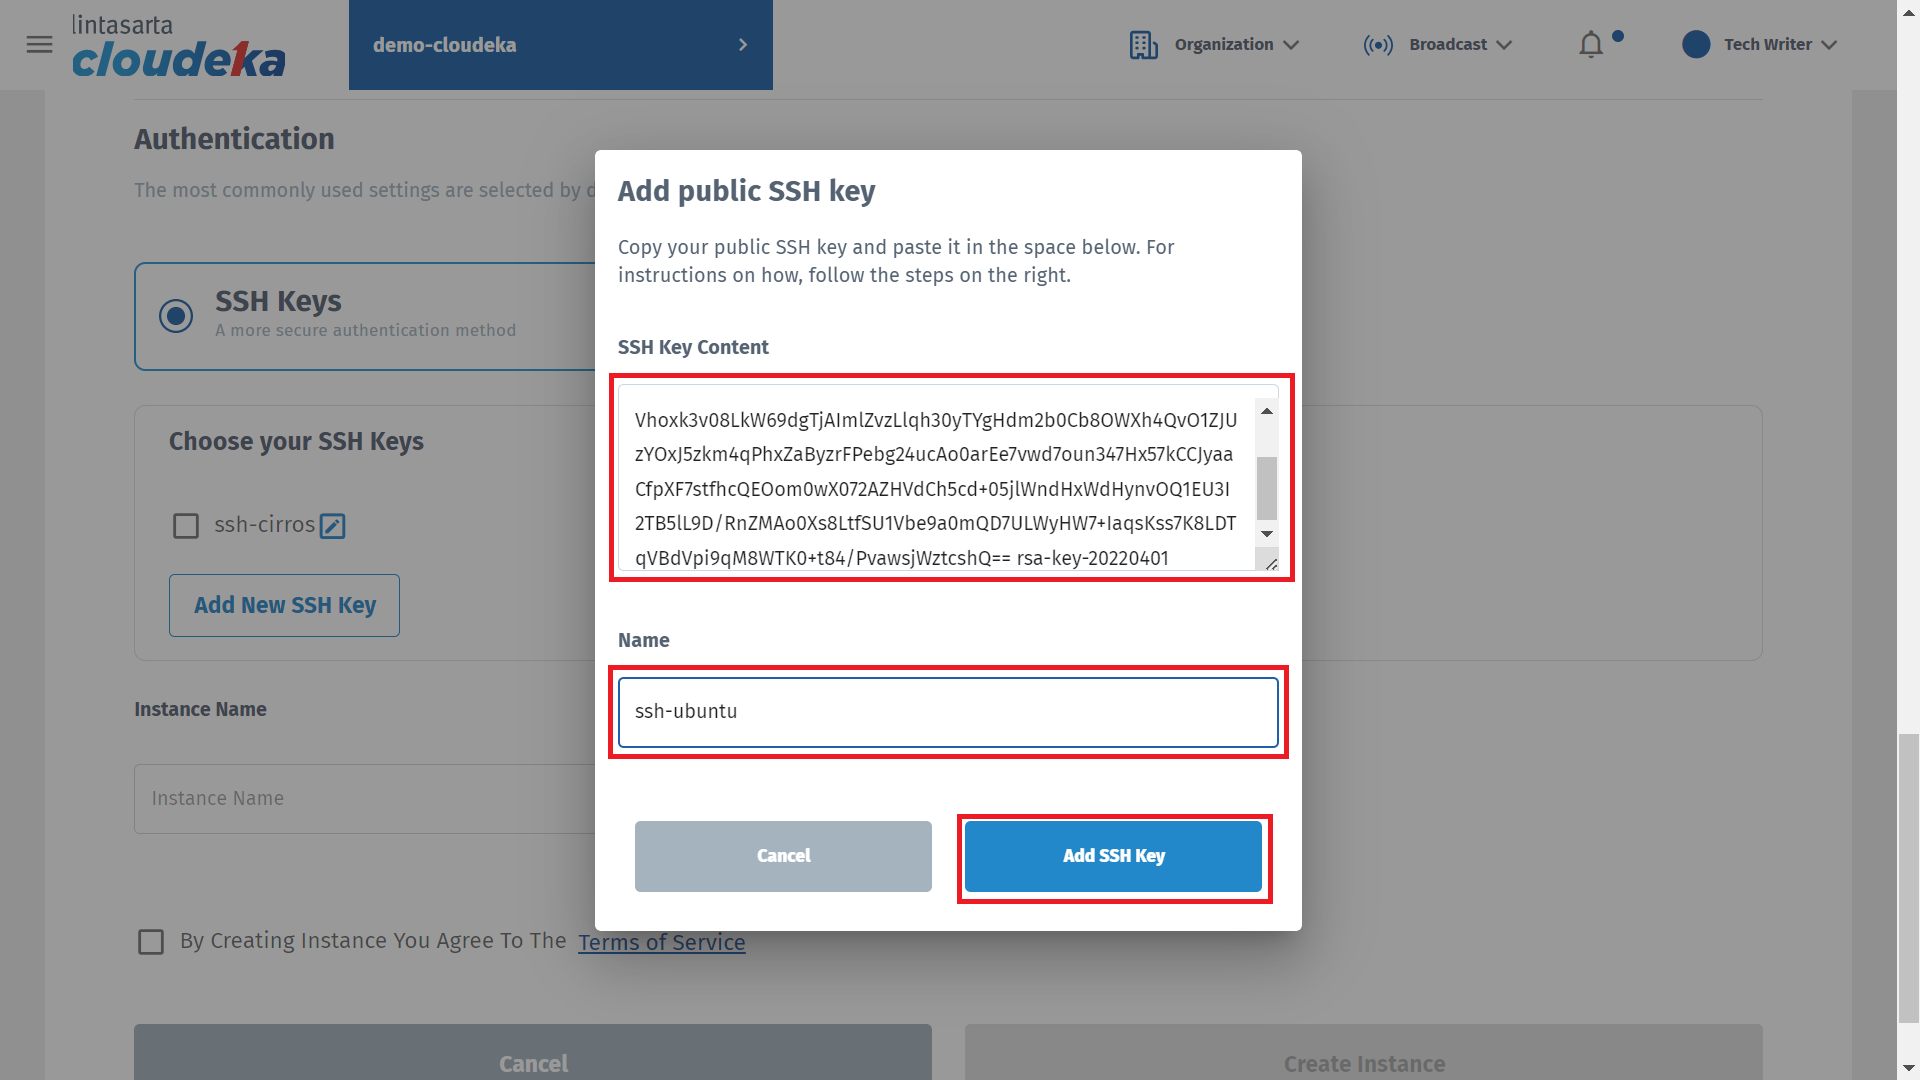
Create Instance - SSH Key page
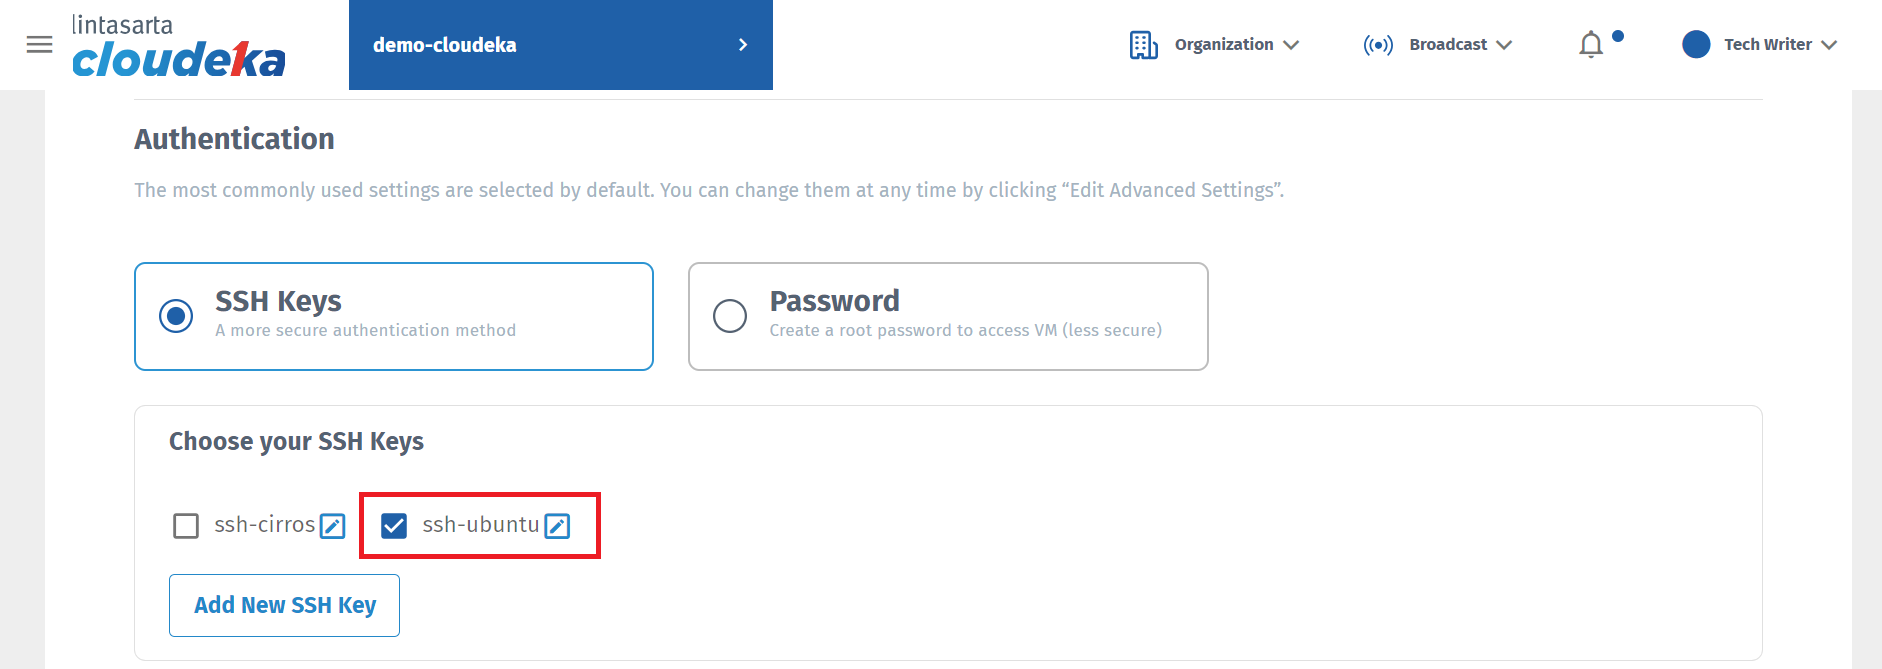
Create Instance - Checklist SSH Key
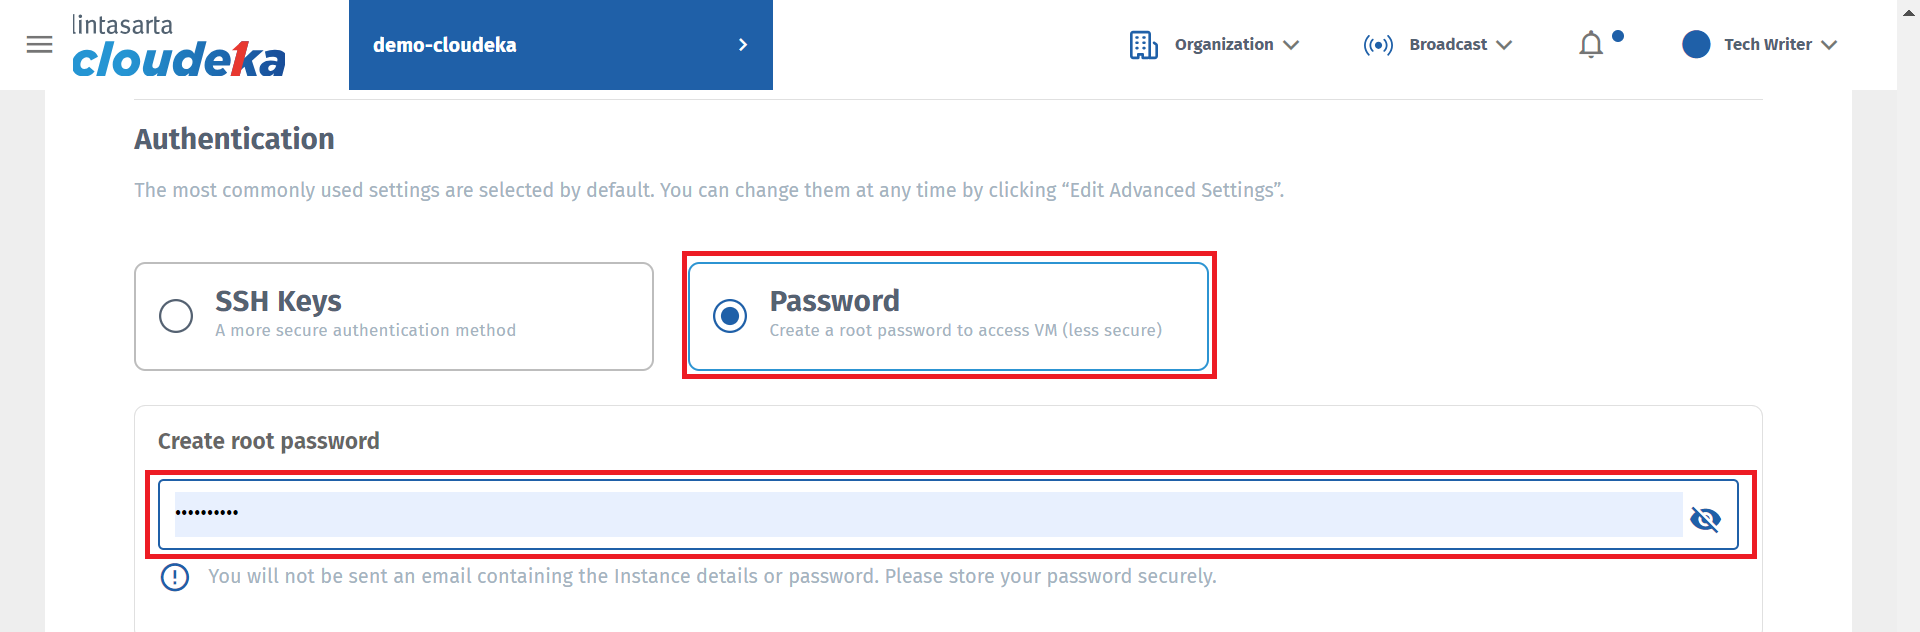
Create Instance - Password page
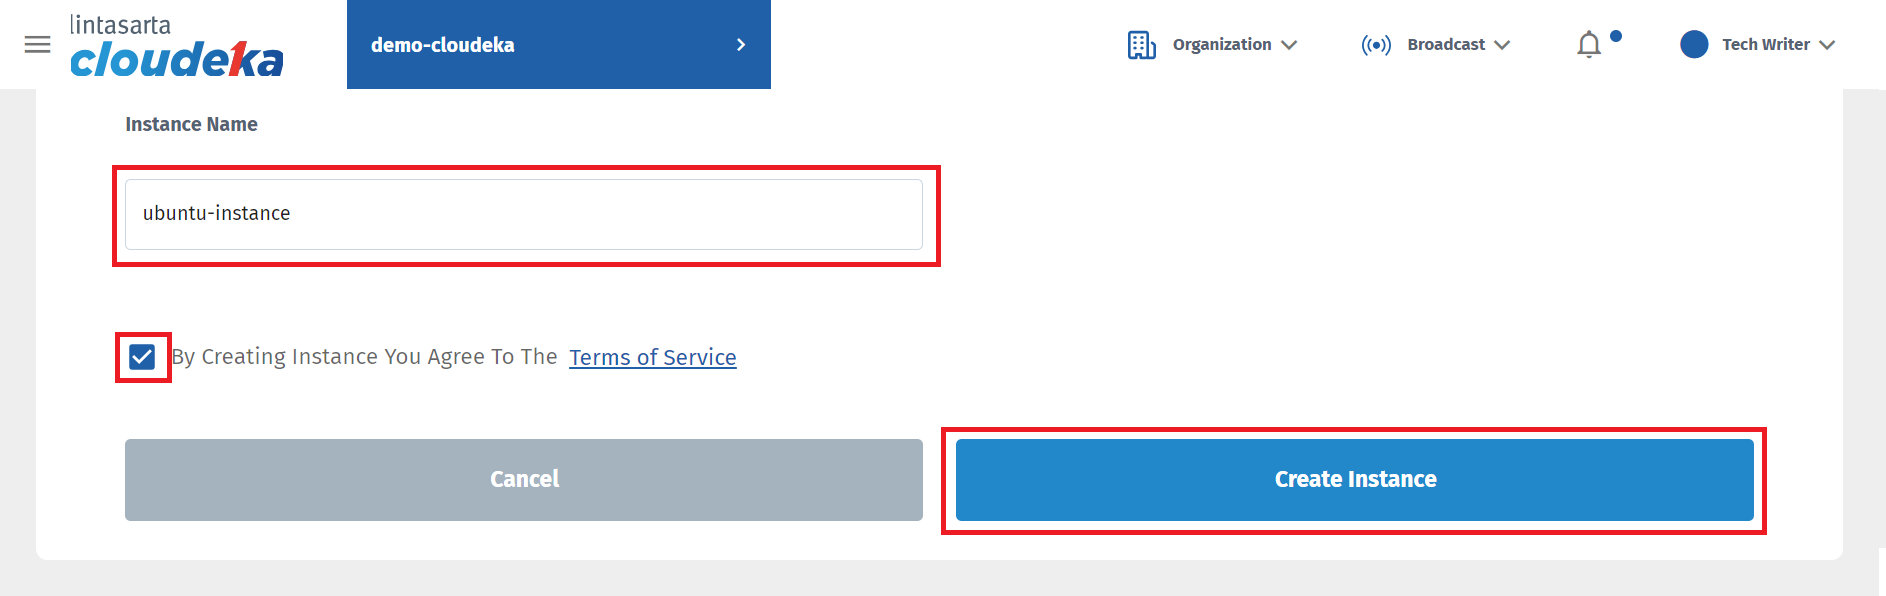
Create Instance - Instance Name
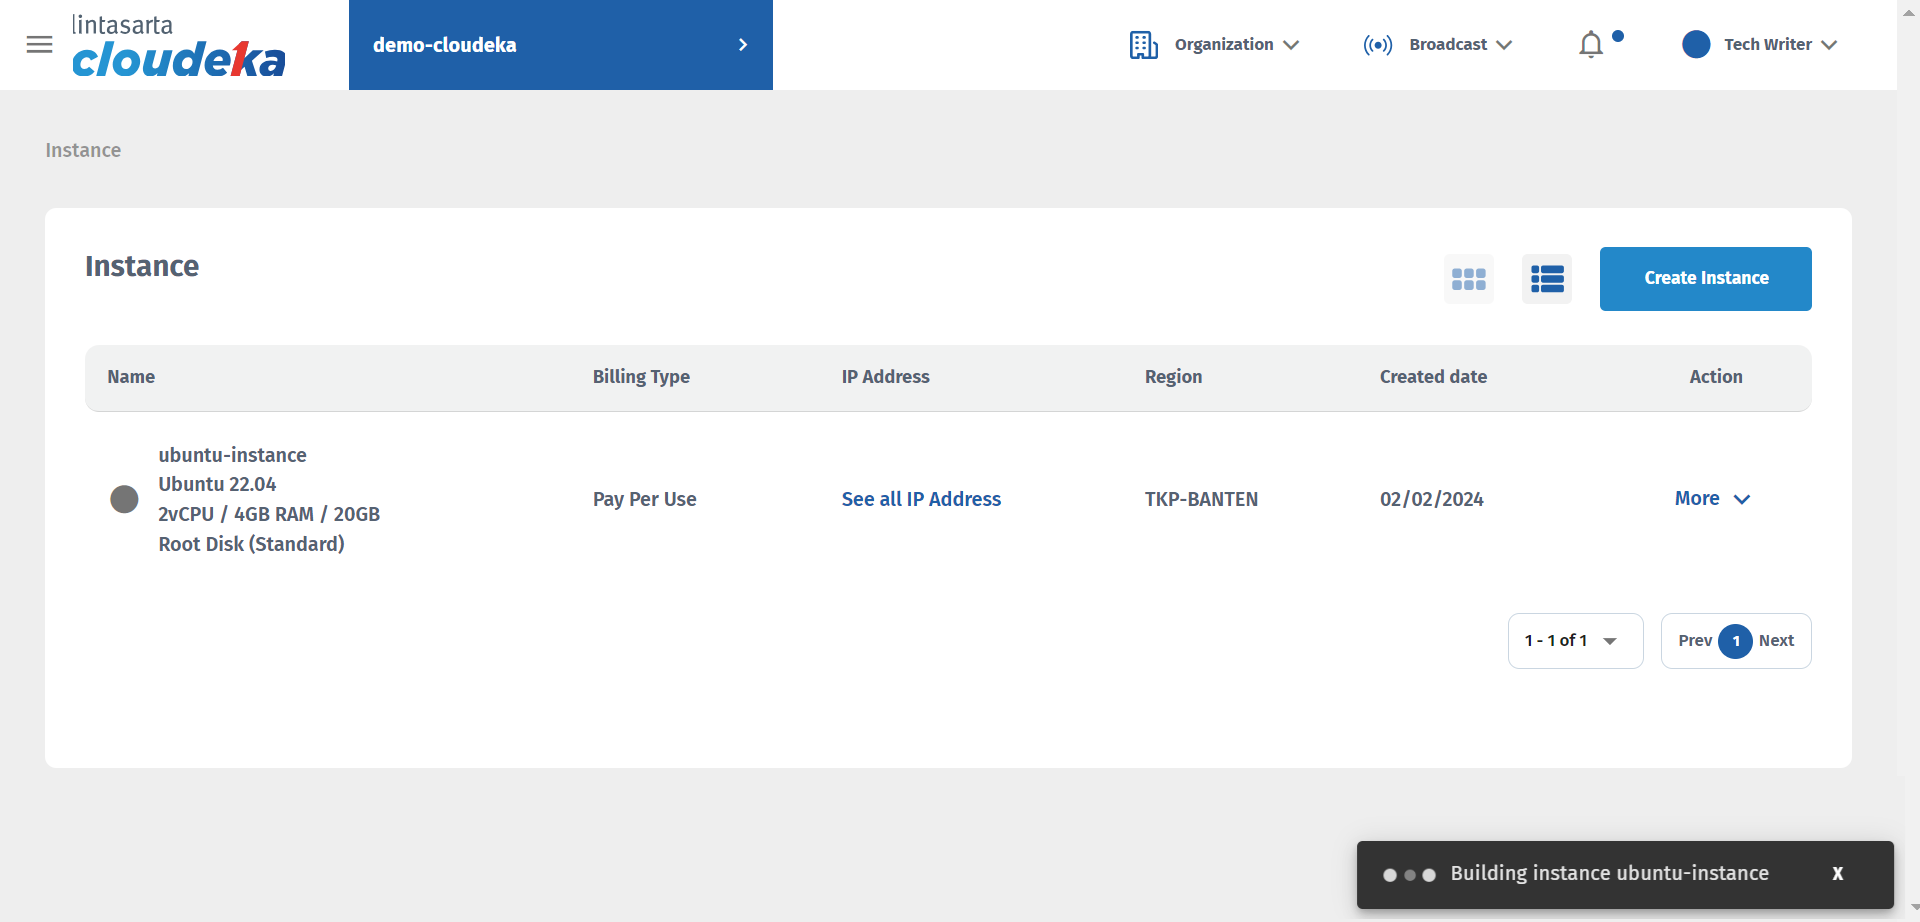
Create Instance - Build Instance Notification
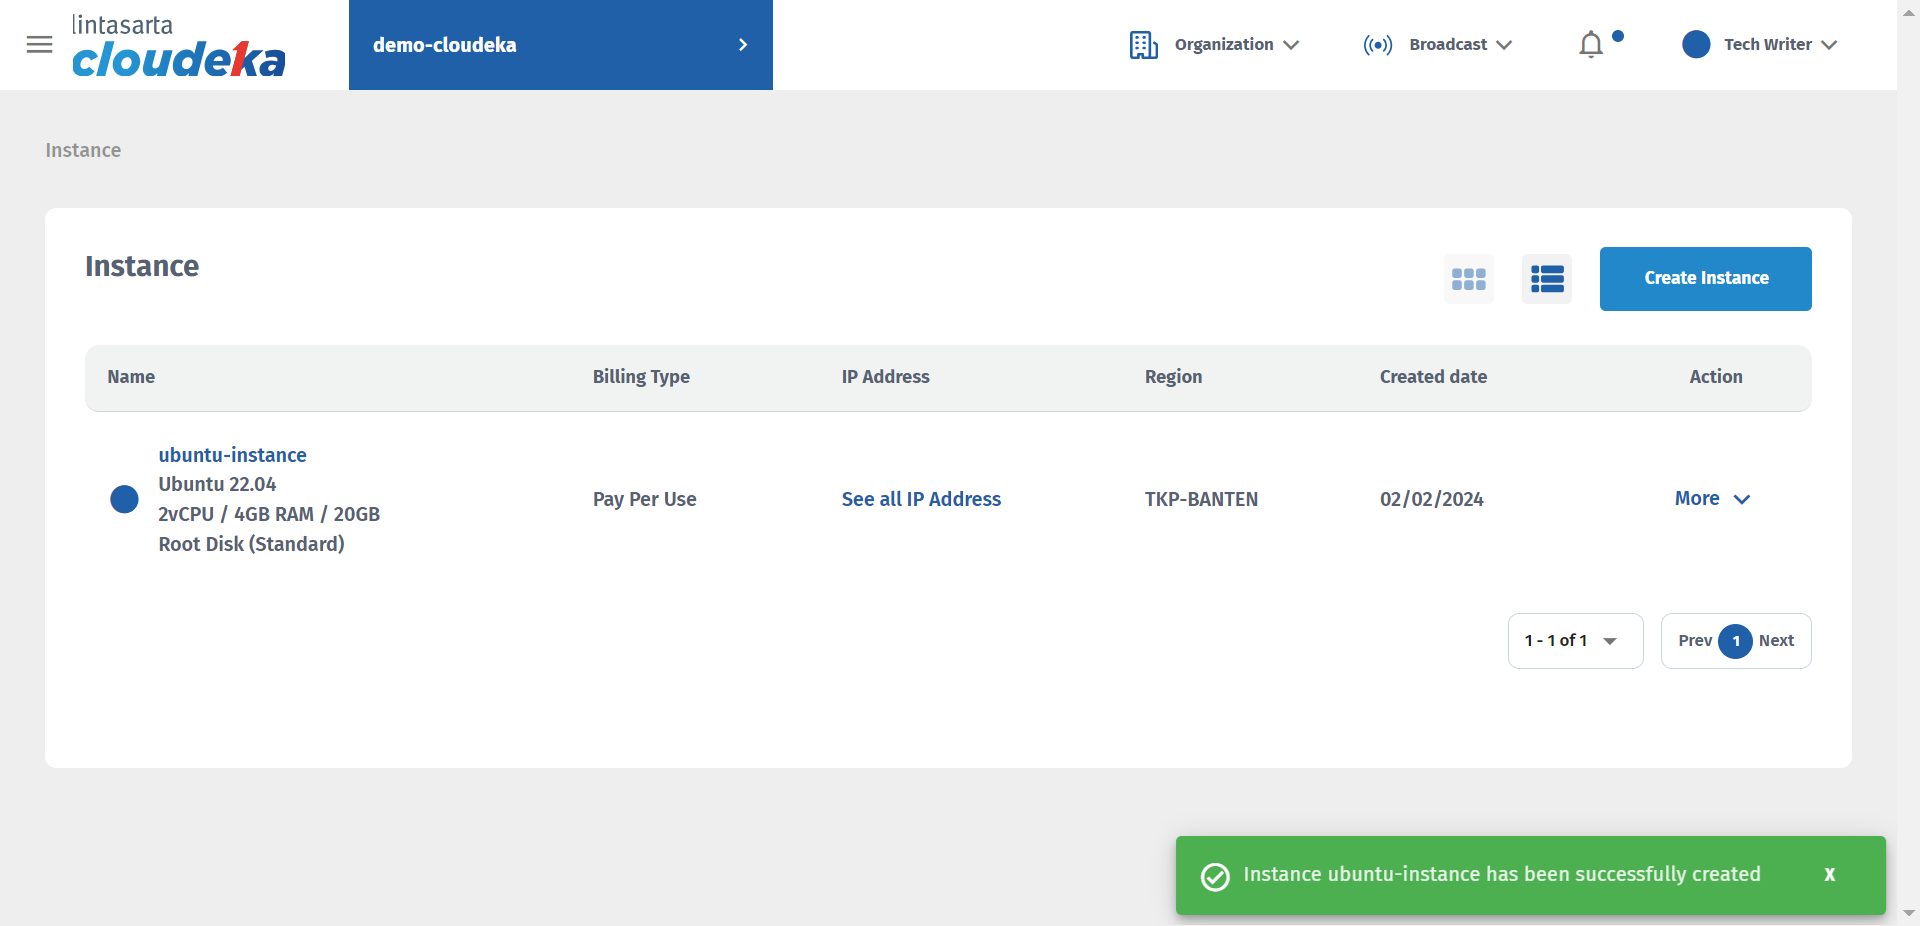
Create Instance - Success Notification
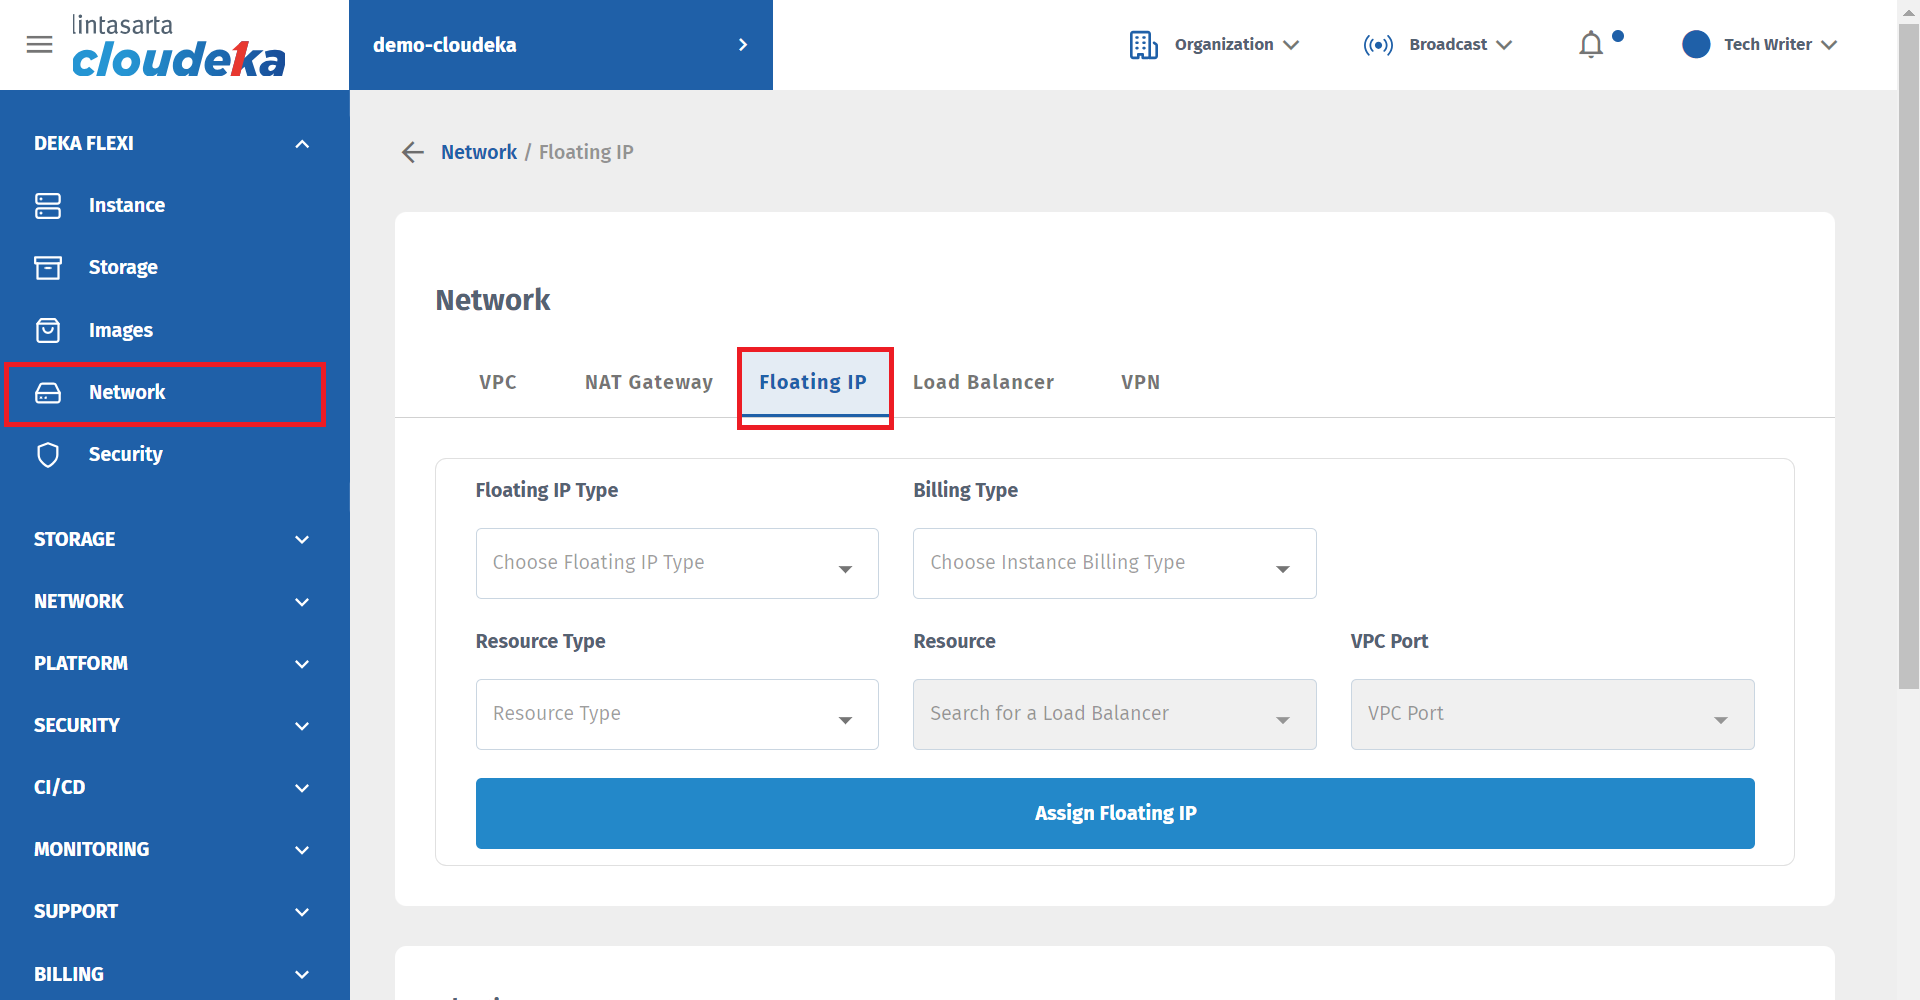
Network Page - Floating IP
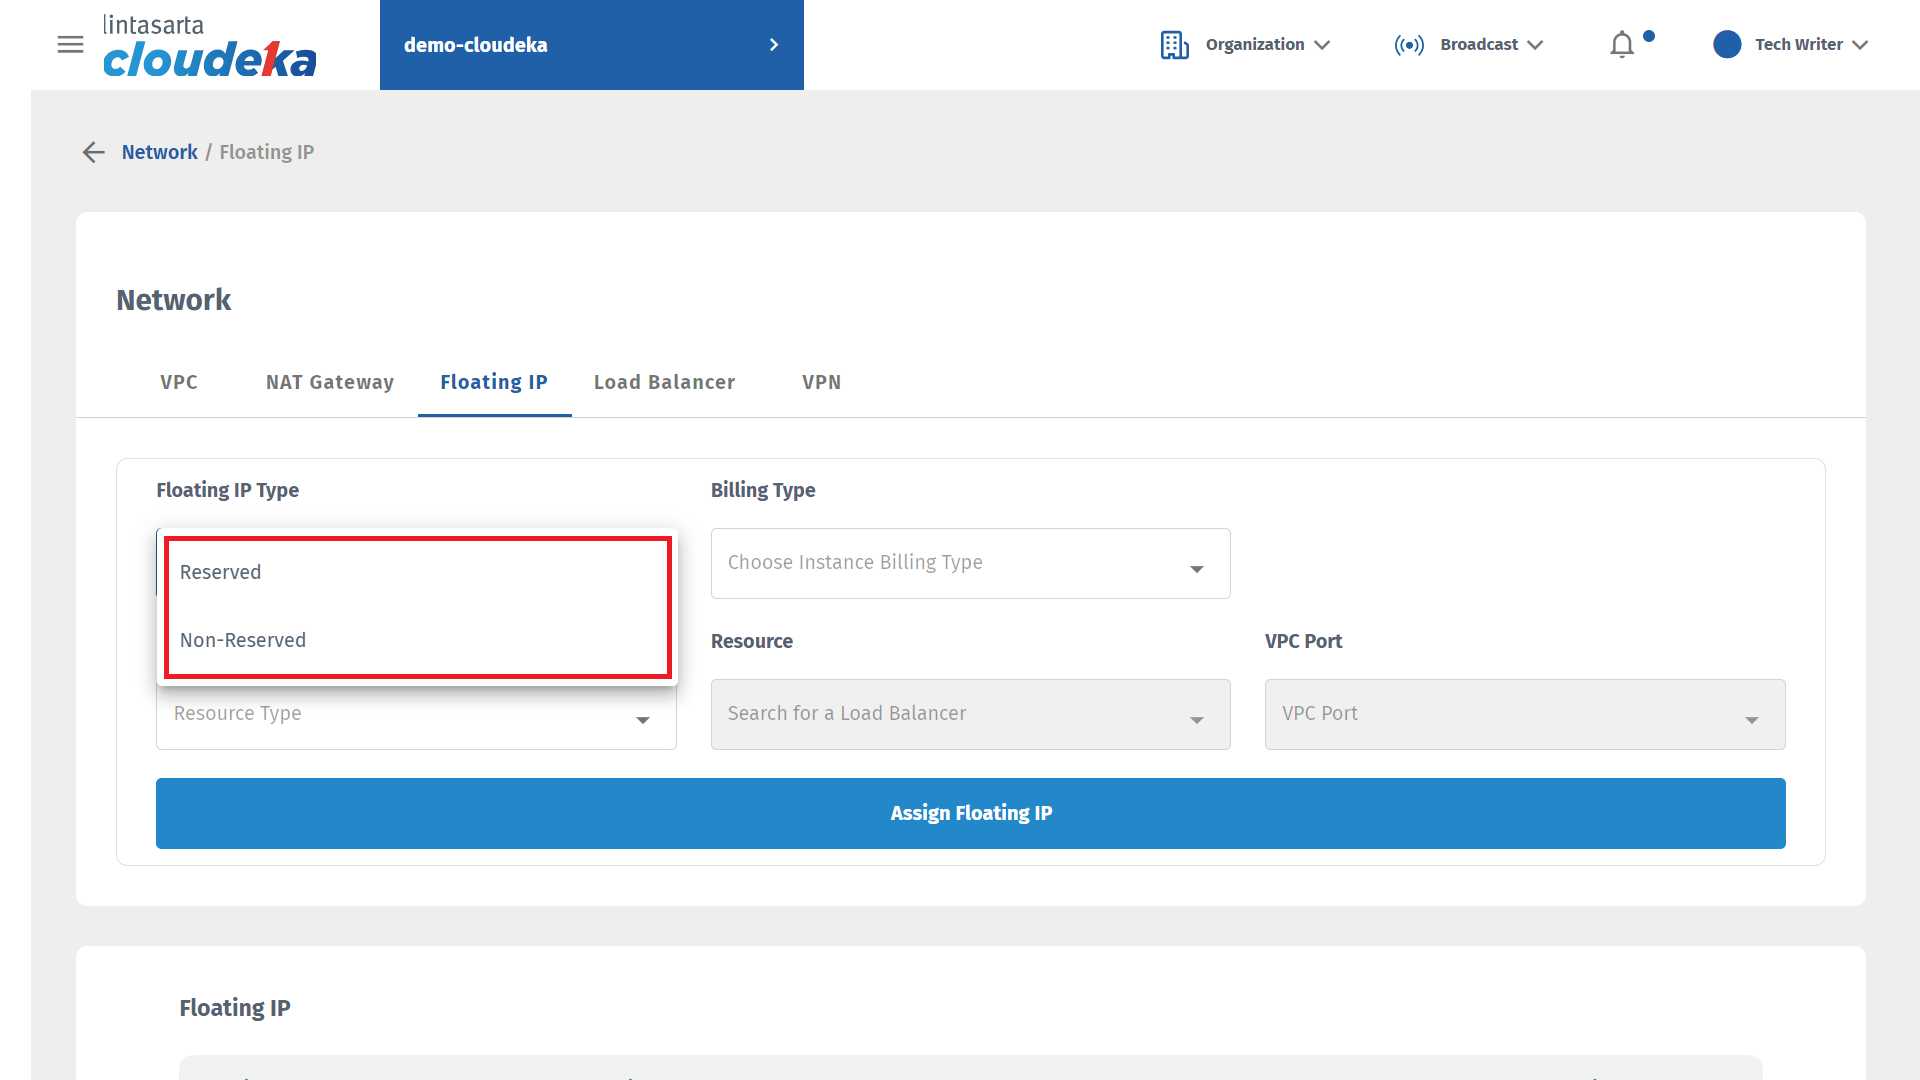
Network Page - Floating IP
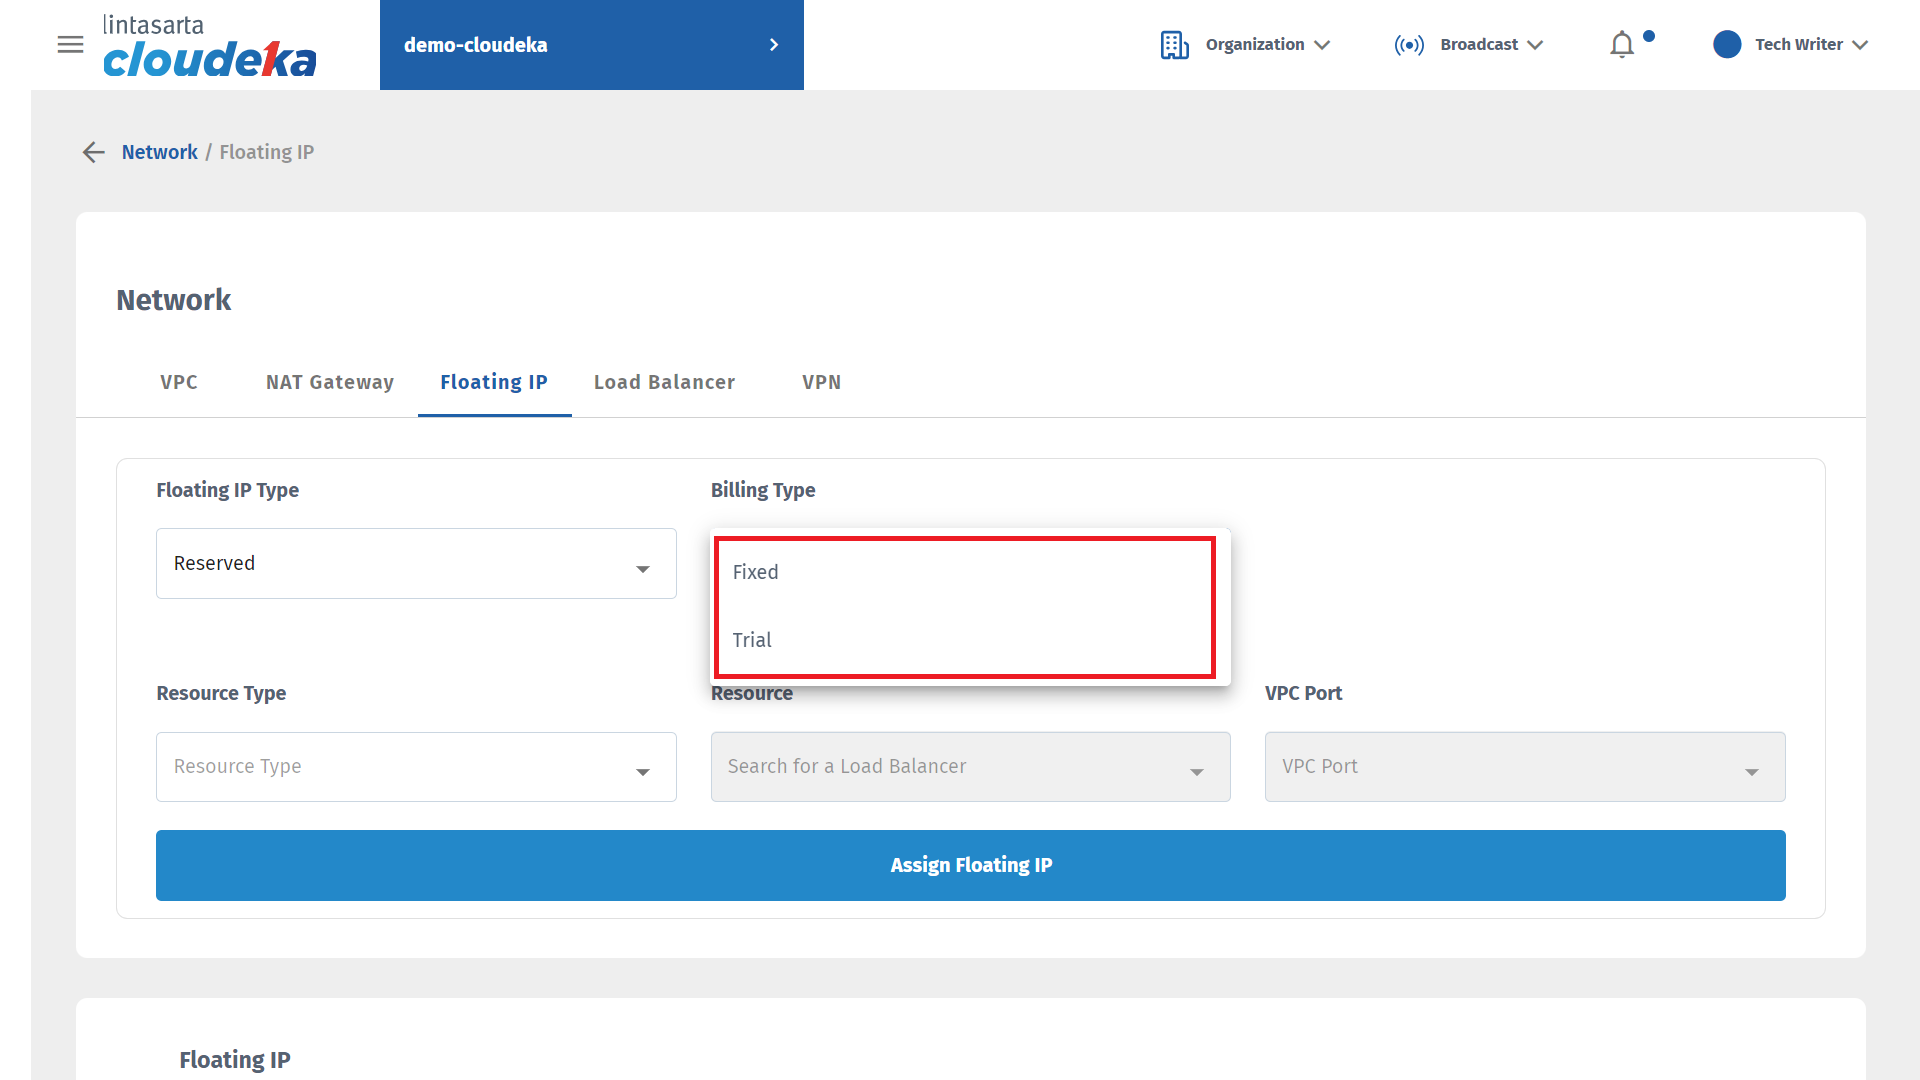
Network Page - Billing Type
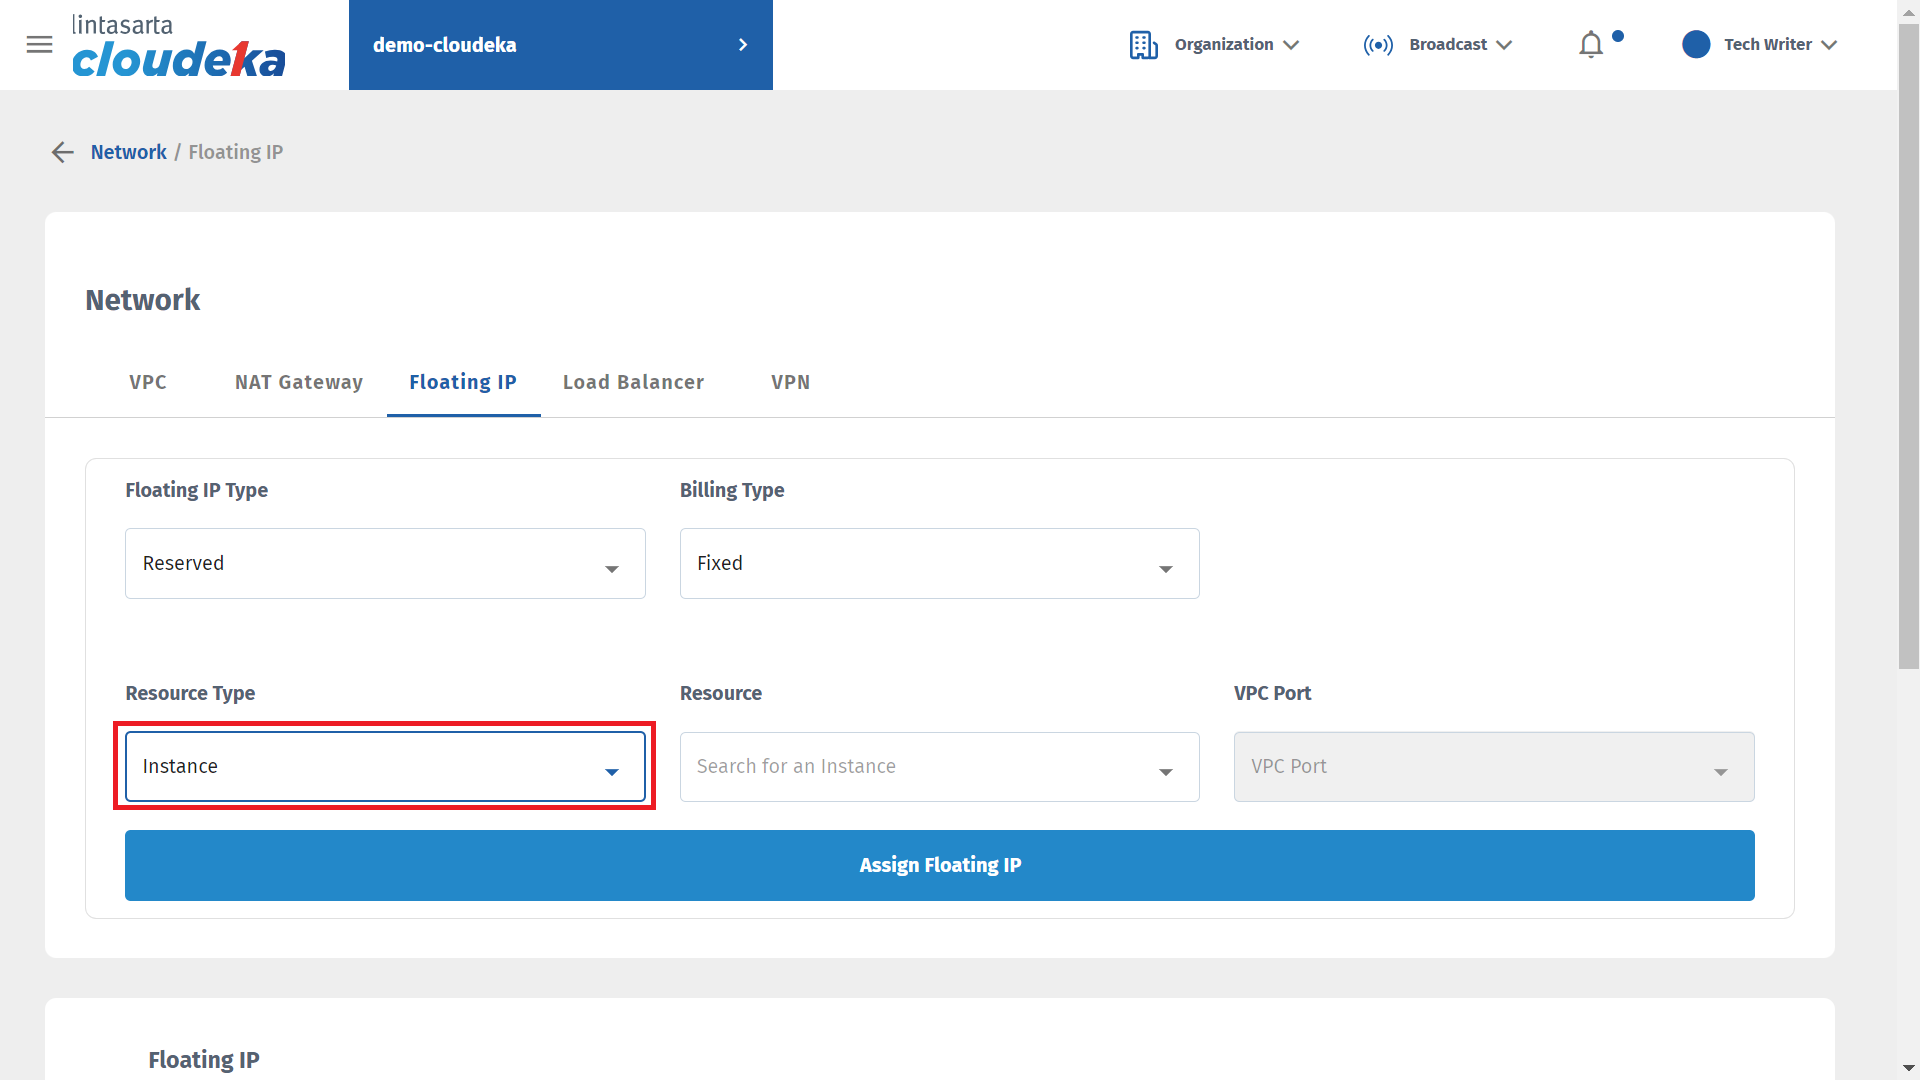
Network - Resource Type

Network - Resource VPC Port
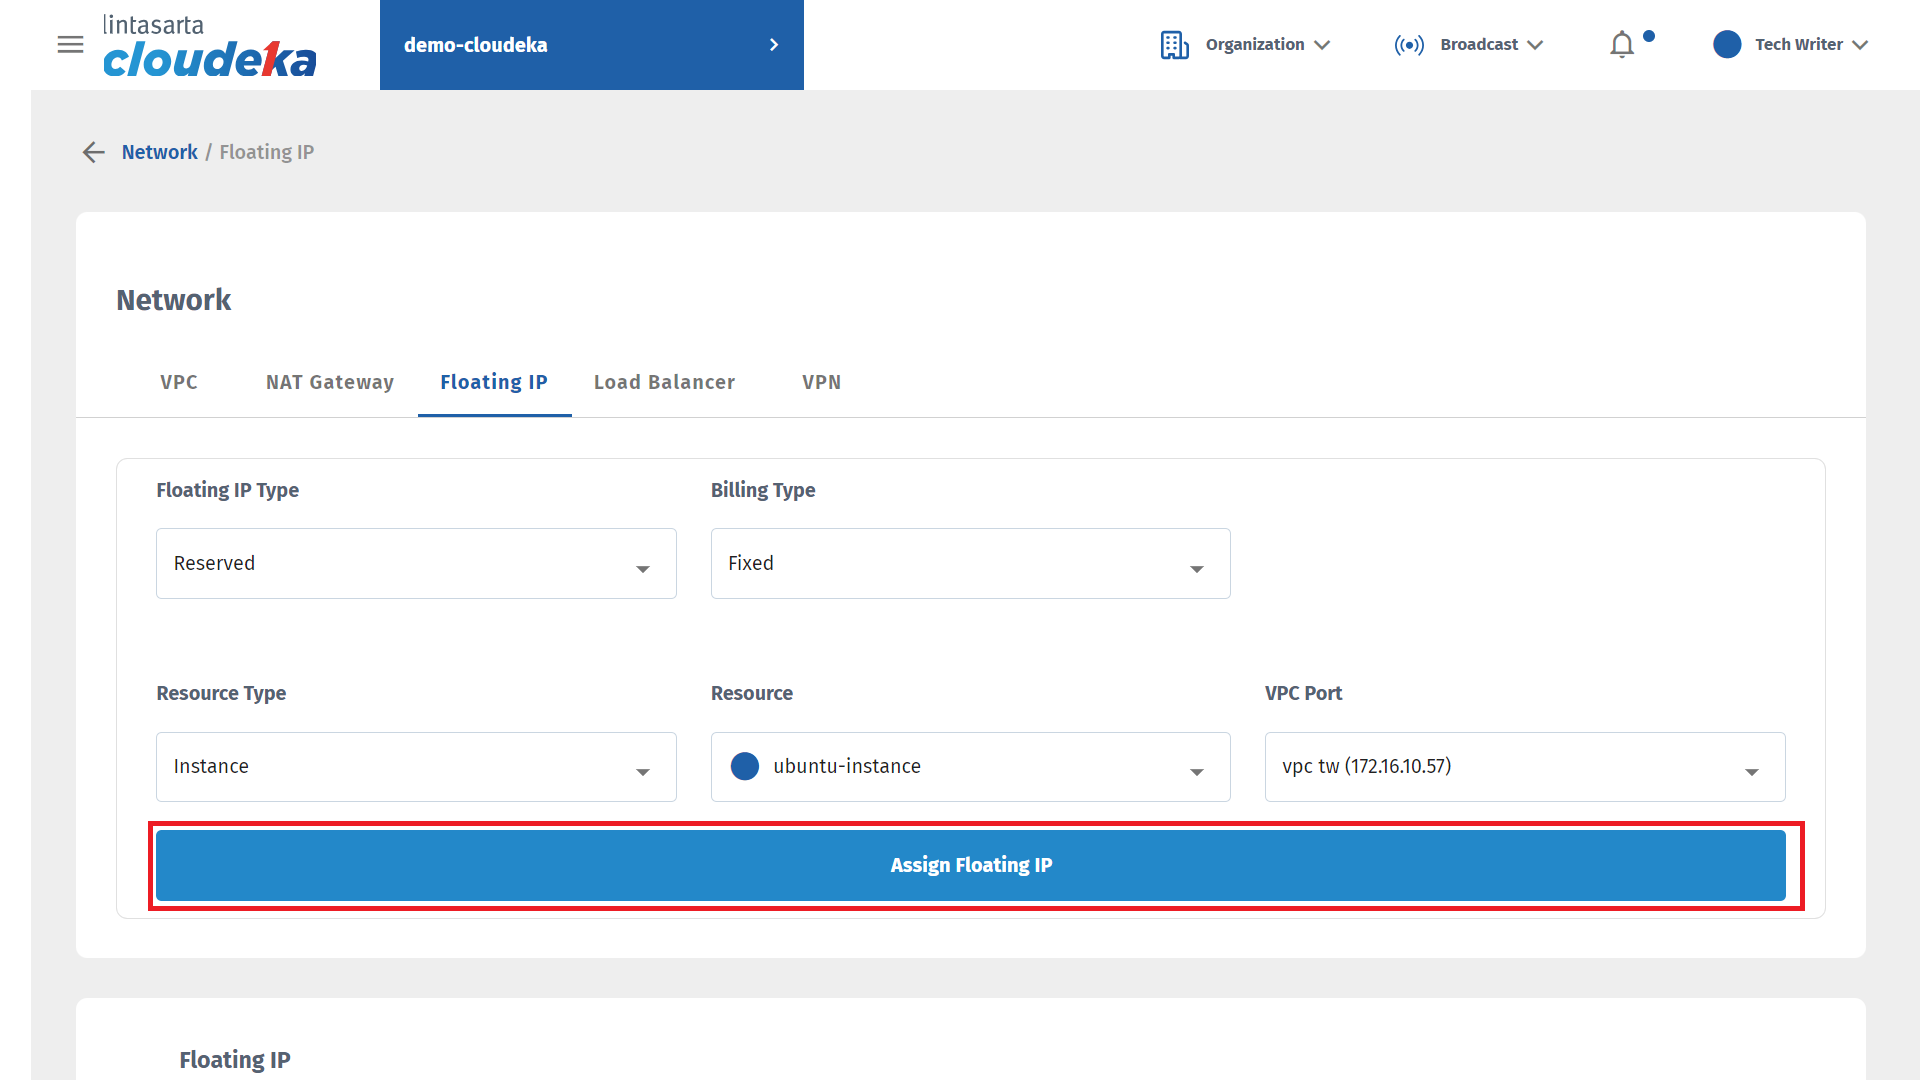
Network - Assign Floating IP
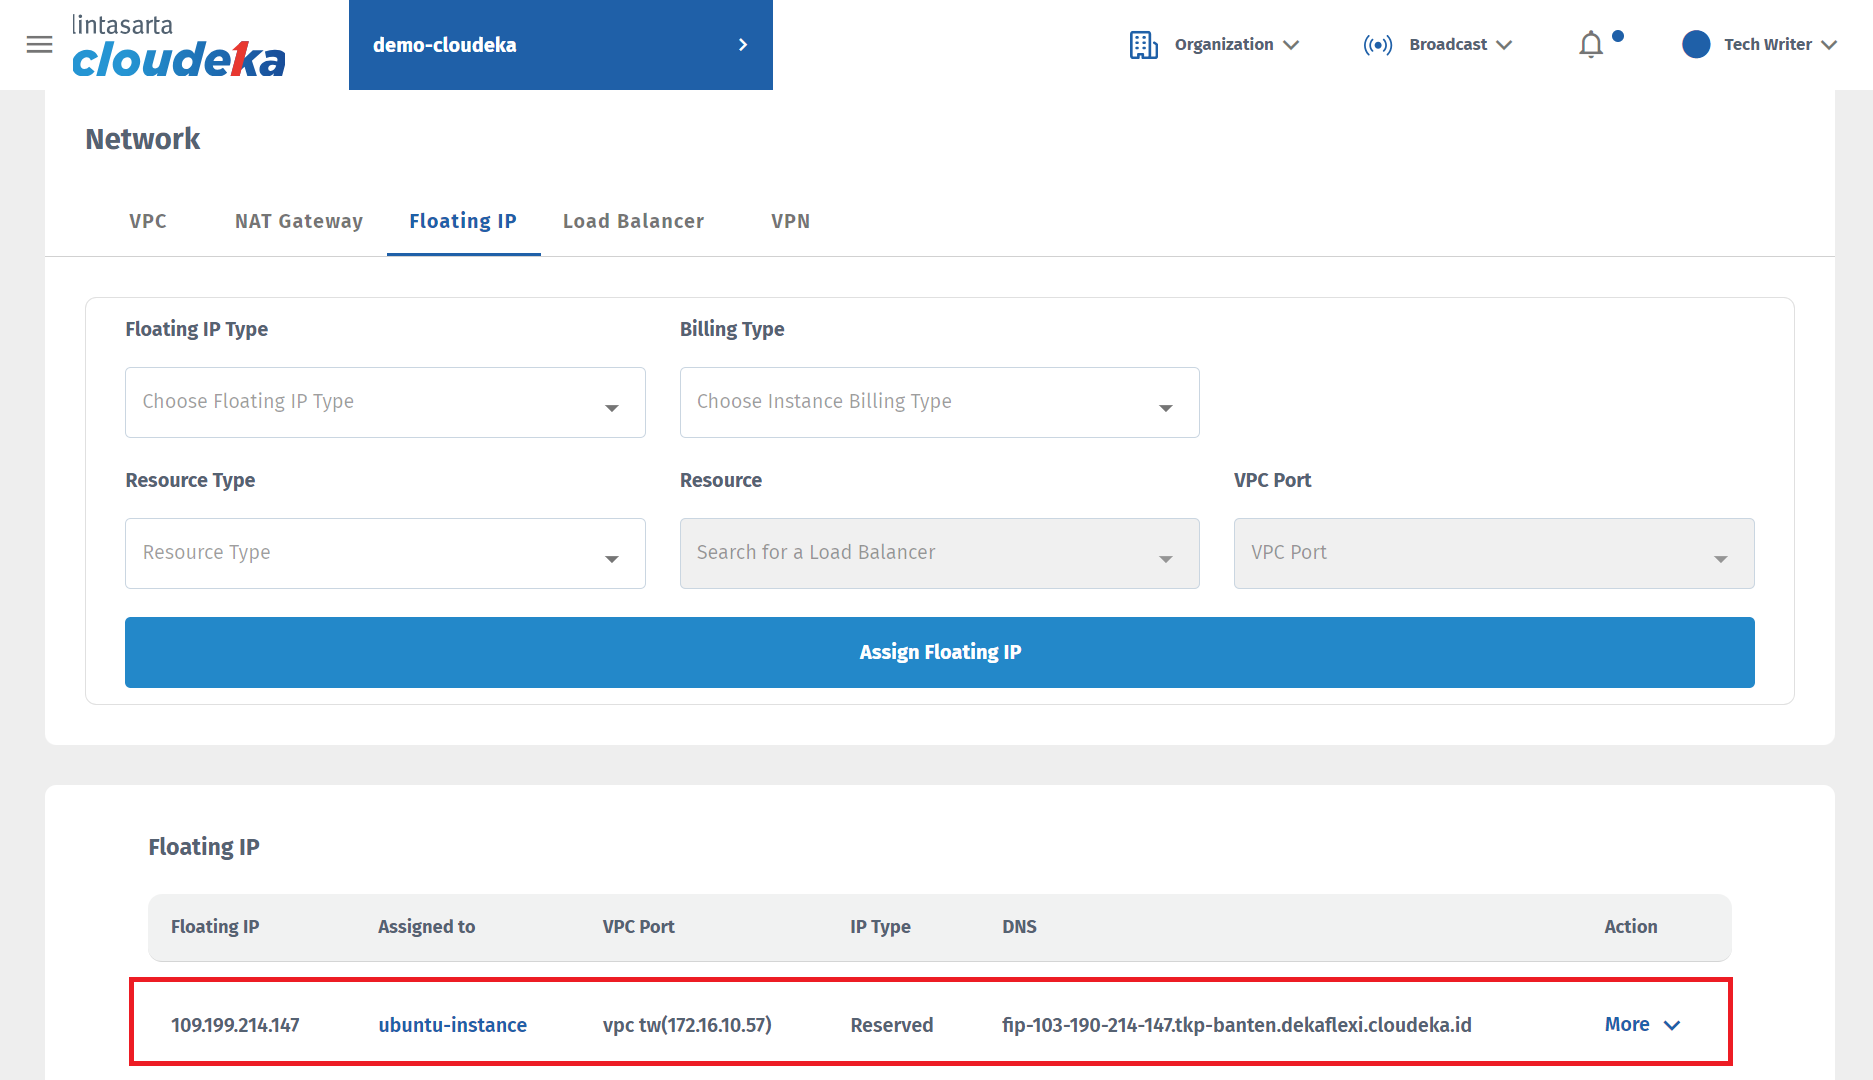
Network - Result Floating IP
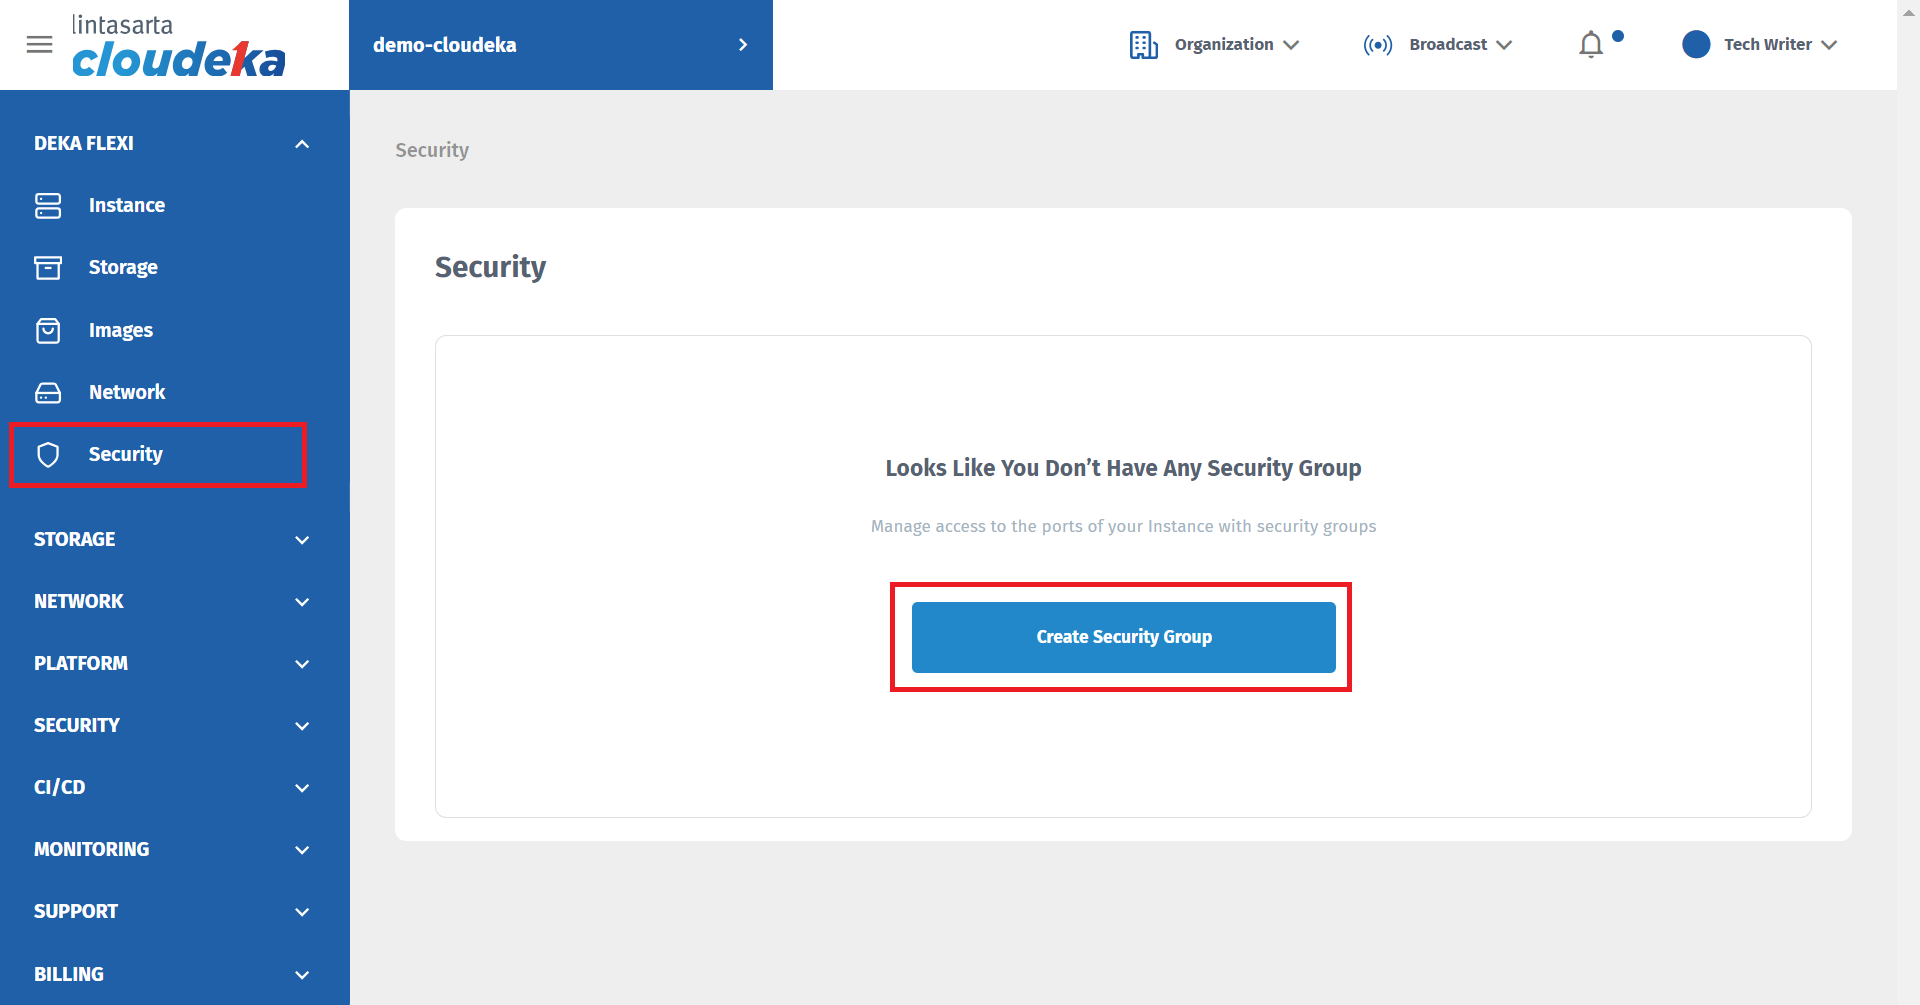
Security Menu
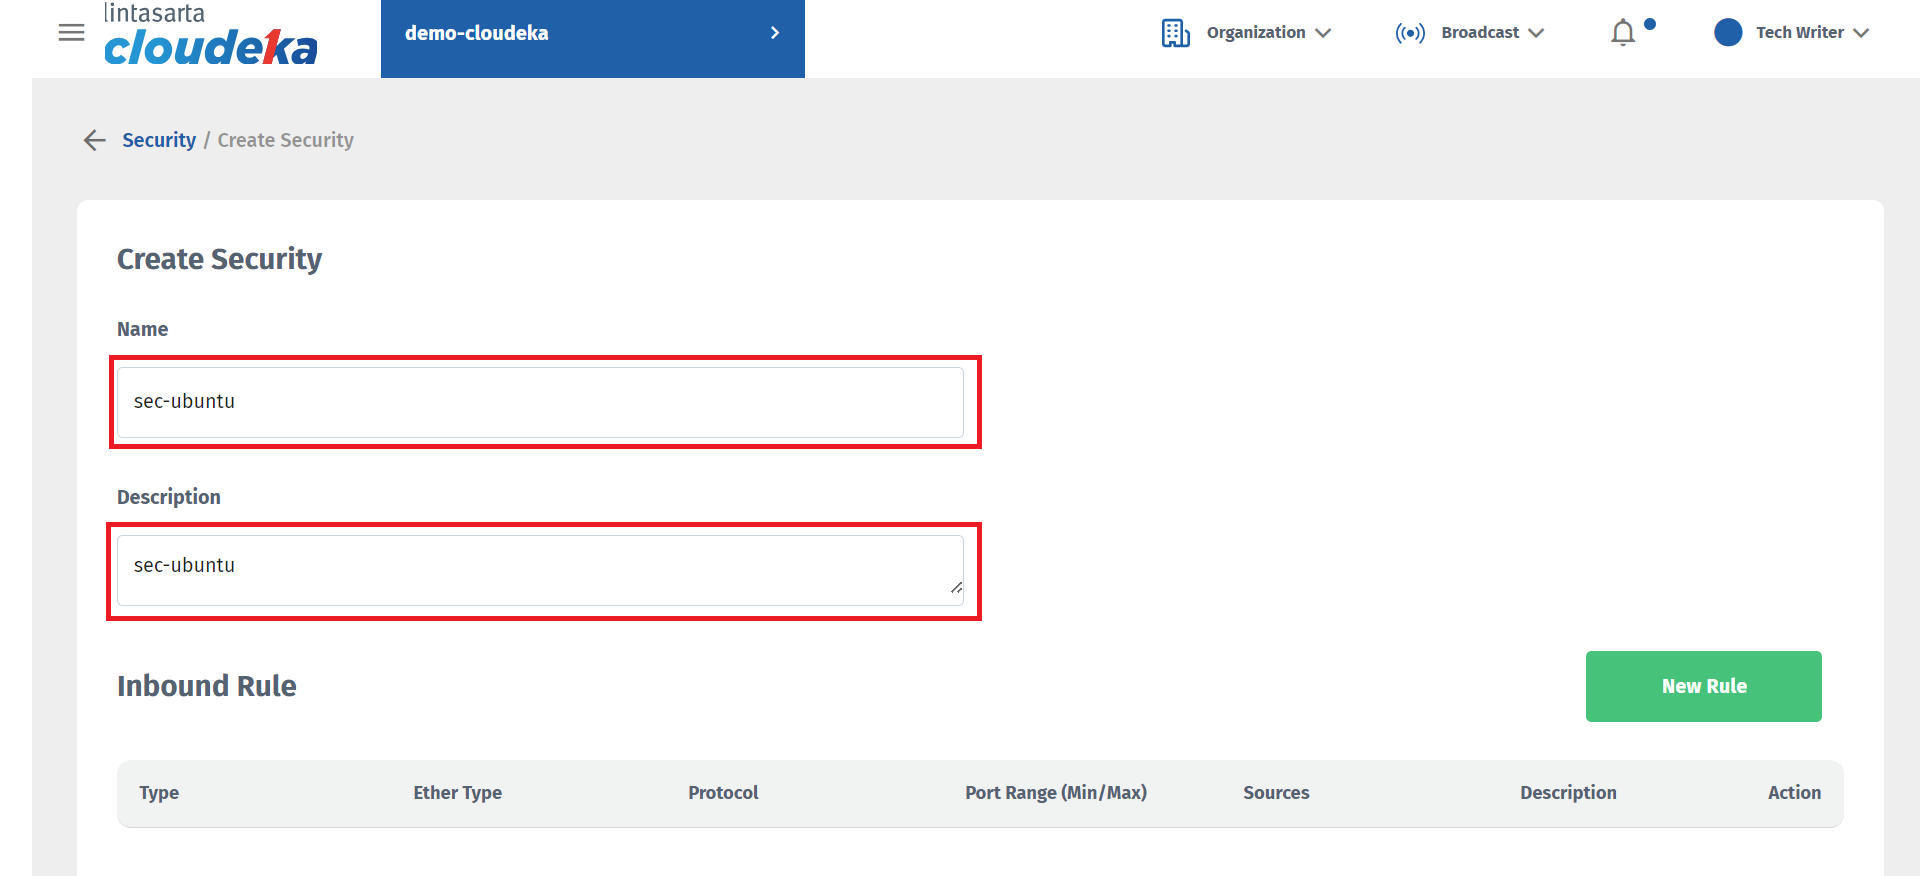
Create Security
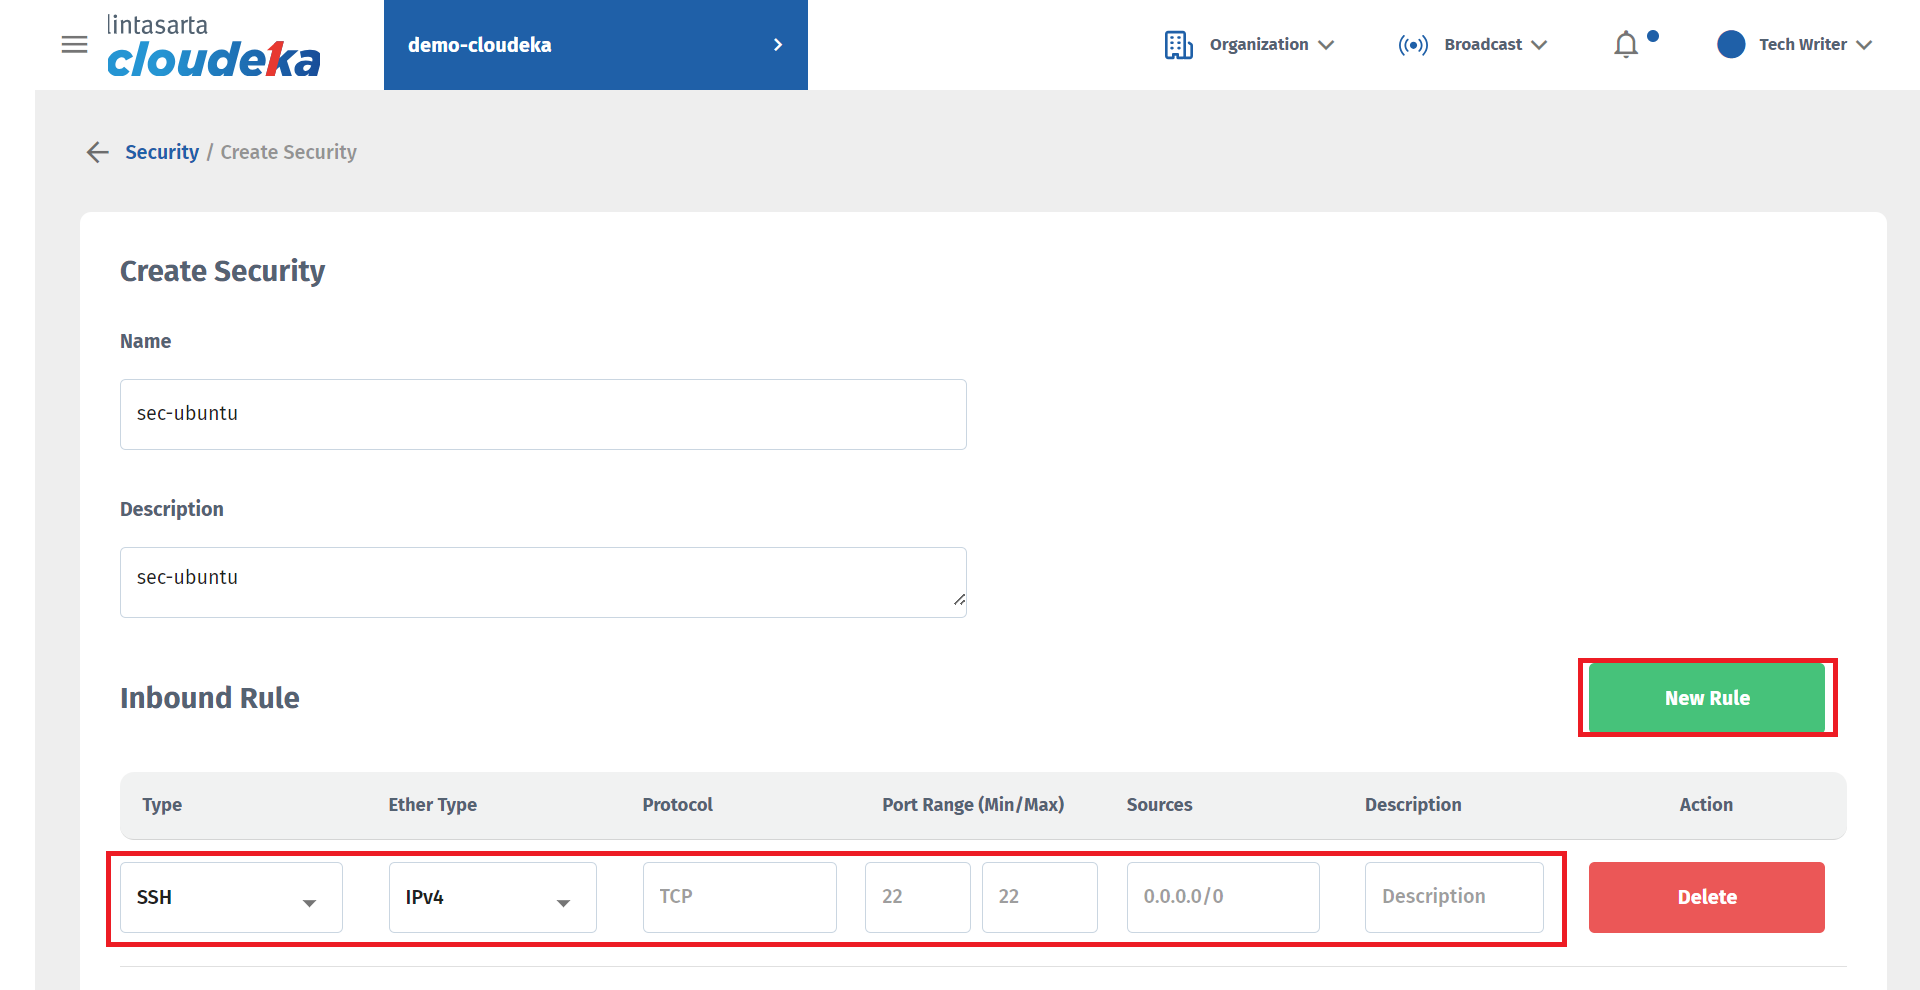
Create Security
| Column | Description |
|---|---|
| Name | Nama Security. |
| Description | Is a column to make a description of the security created. |
| Inbound Rule | Specify traffic allowed to instances on which ports and from which sources. |
| Outbound Rule | Specify traffic that is allowed to leave the instance on which port and to which destination. |
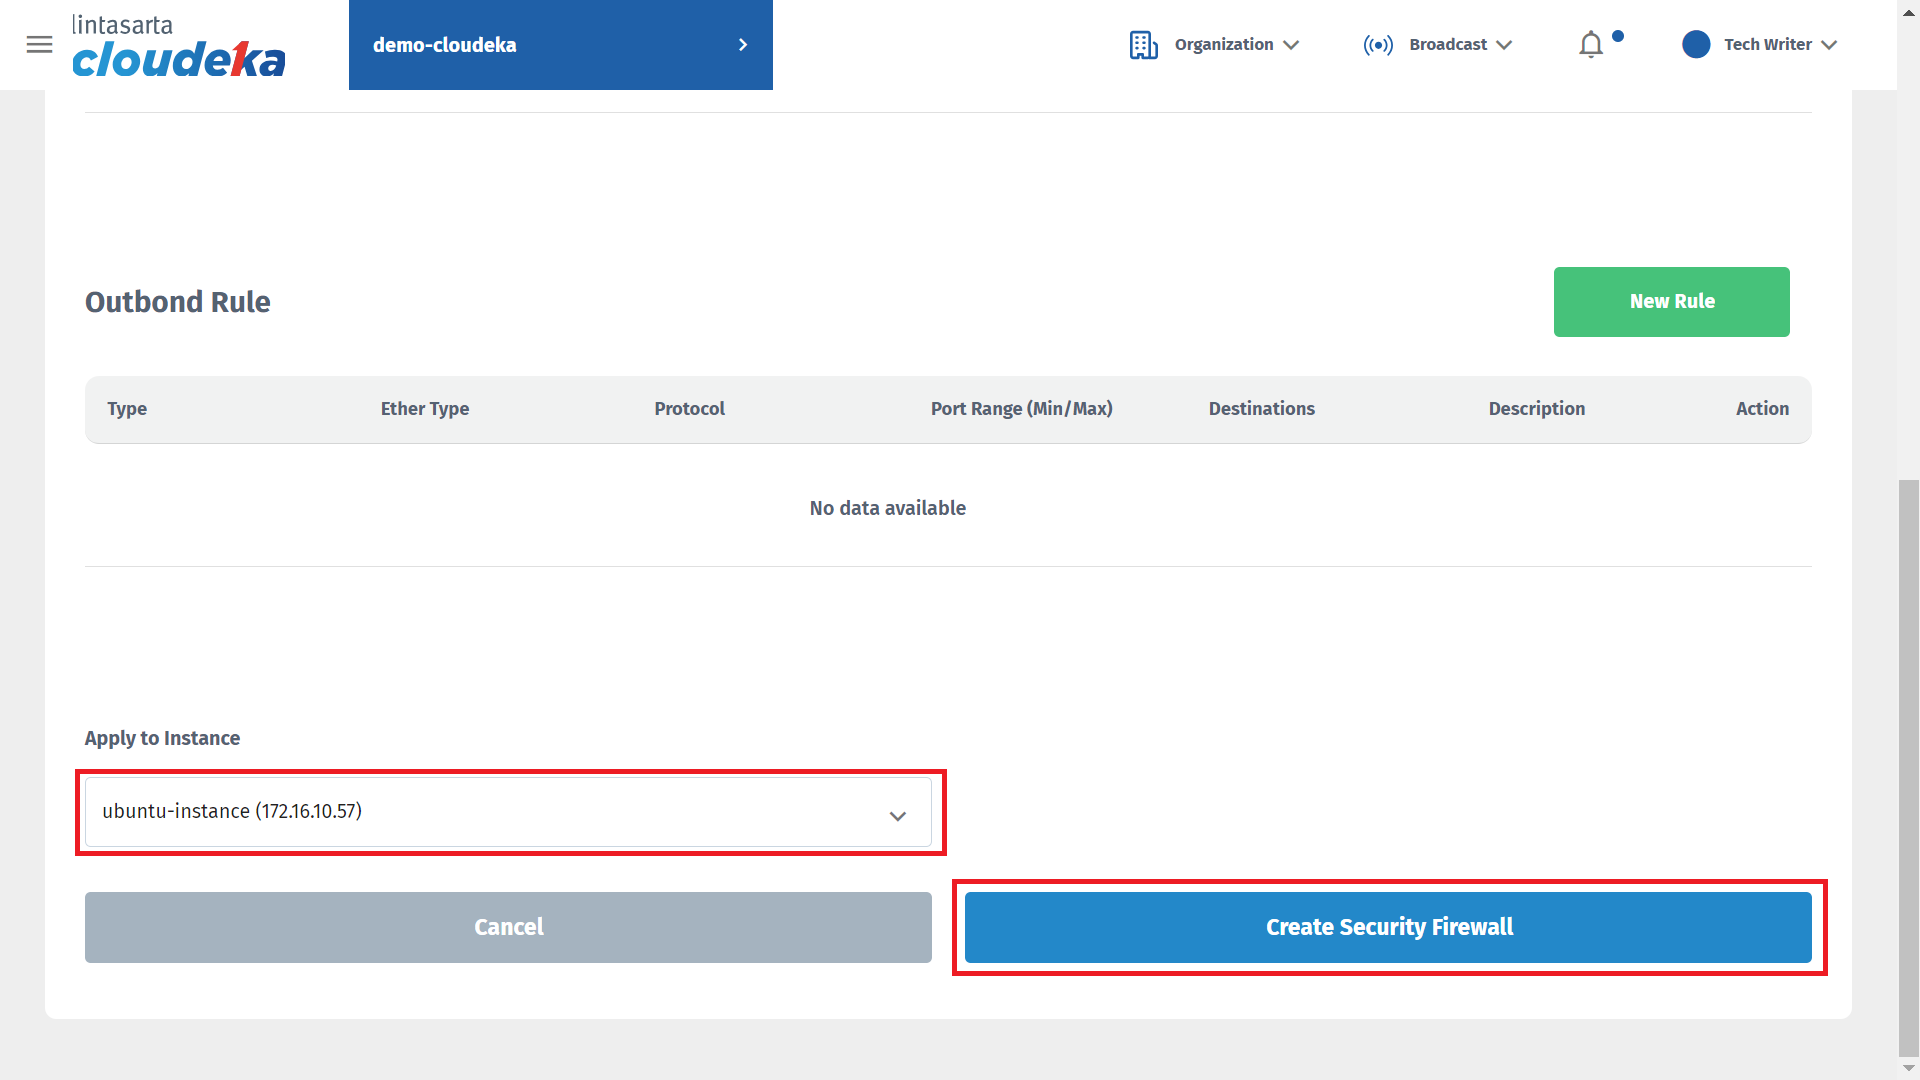
Apply to Instance
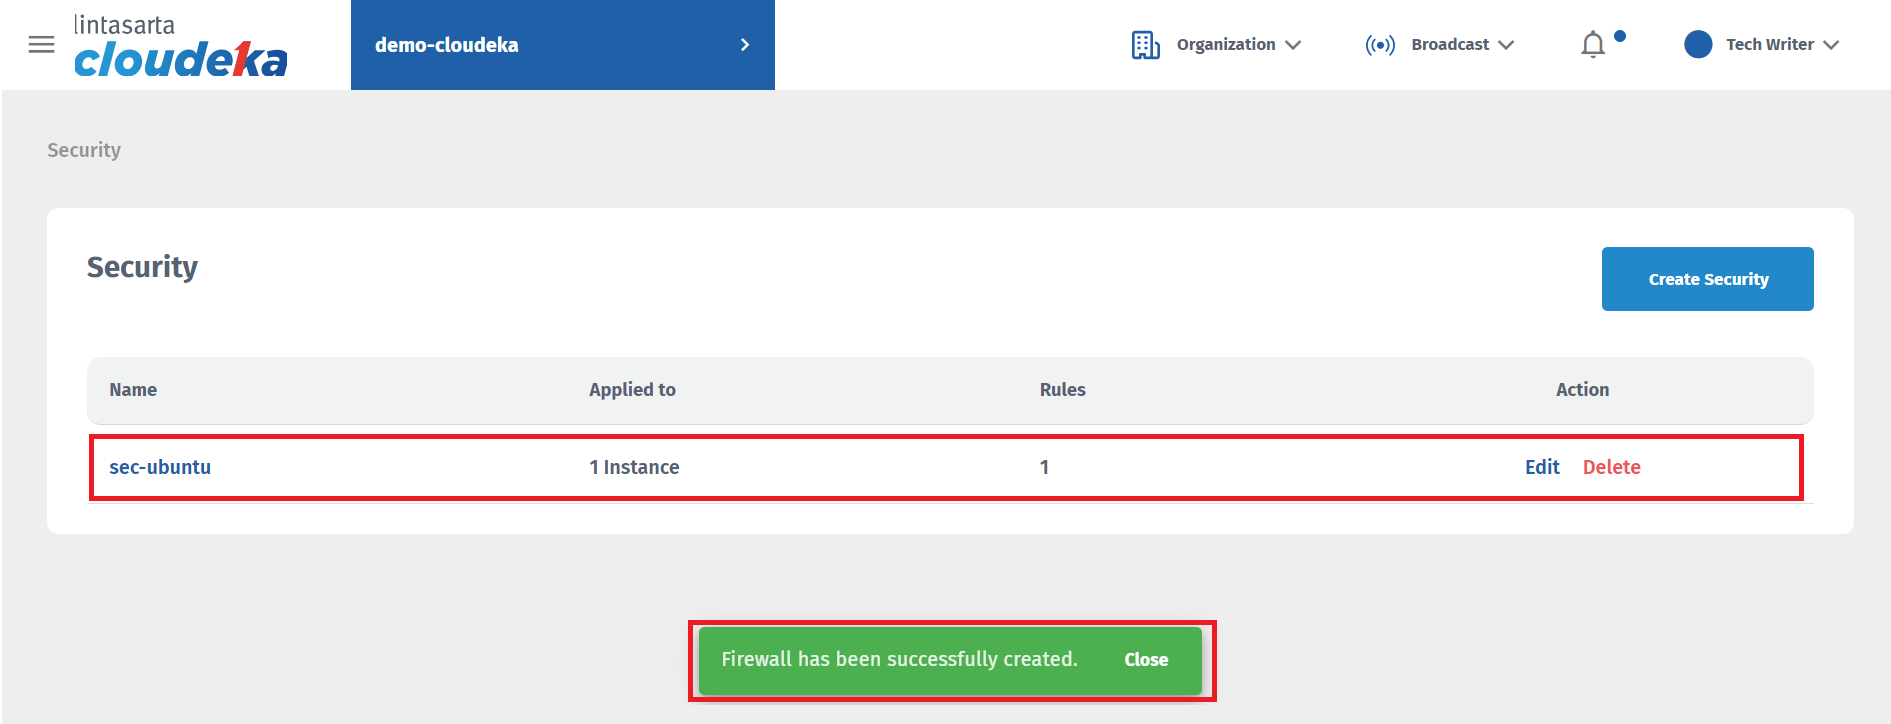
Notifications