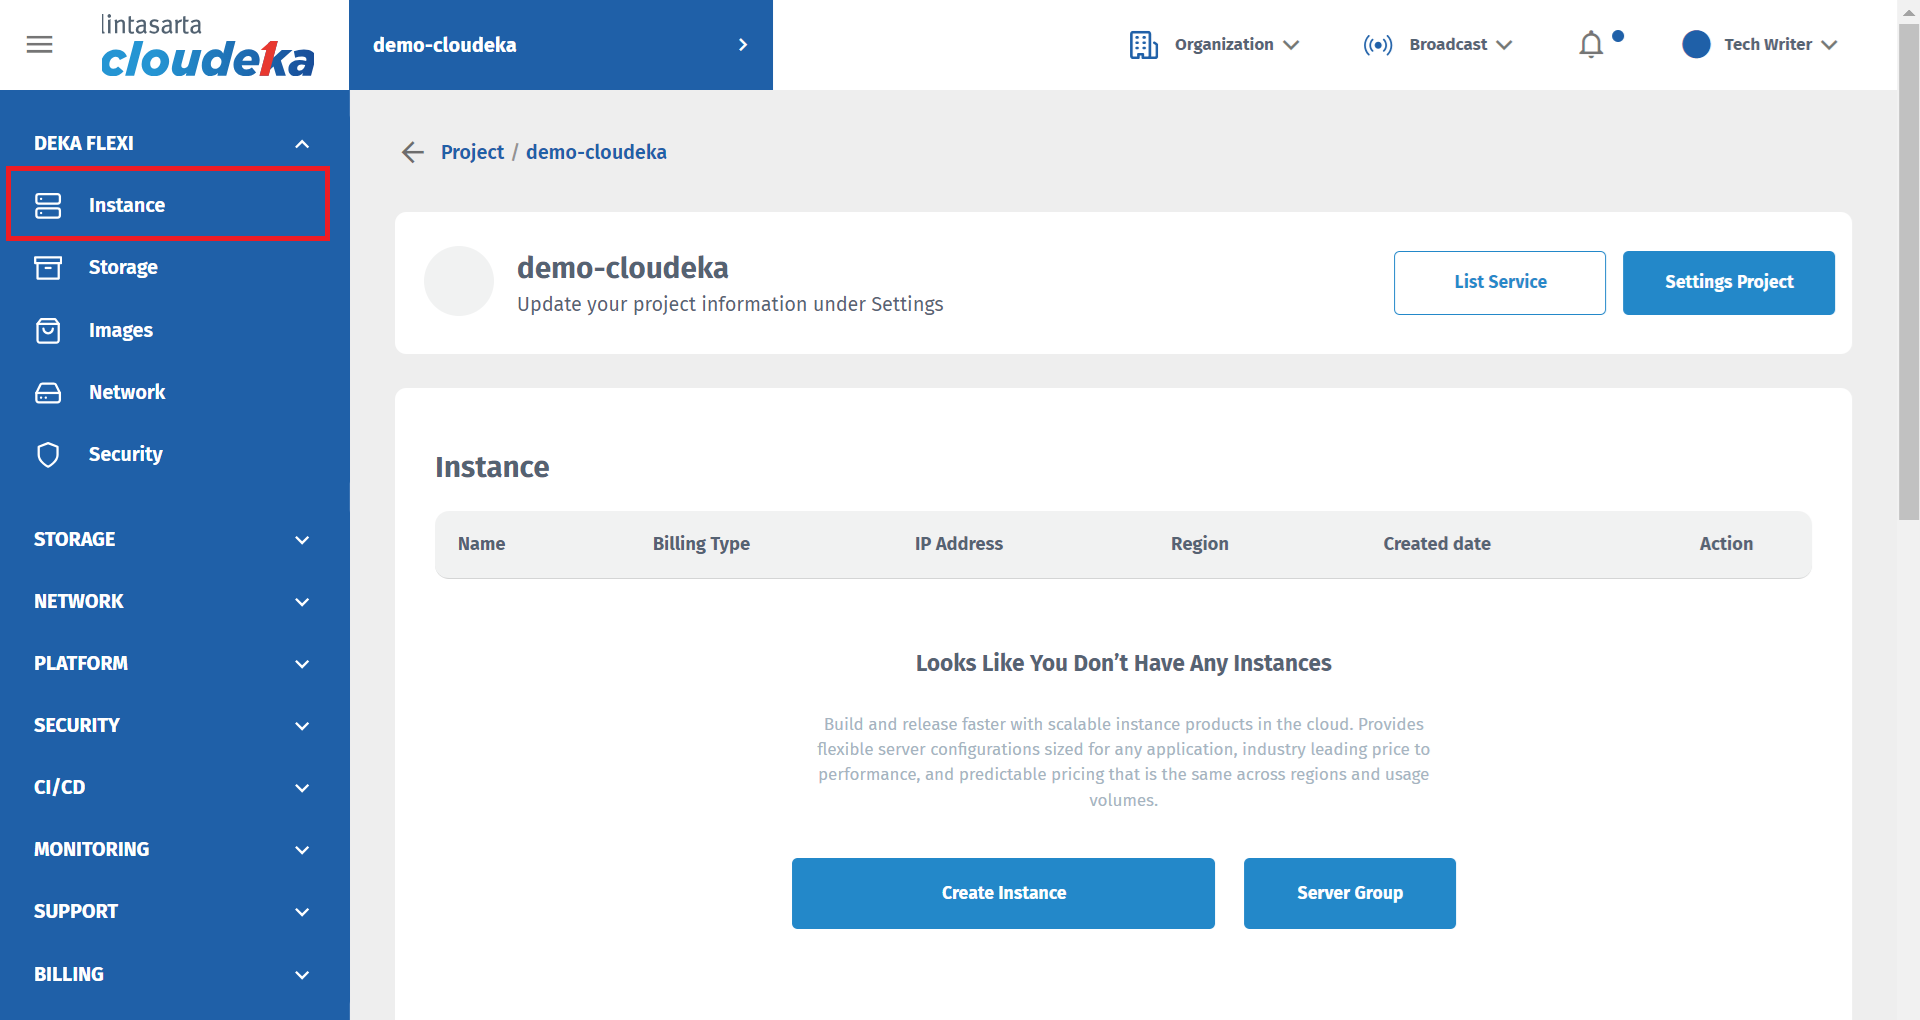
Instance Page
Instance Page

Instance Page - Create Instance
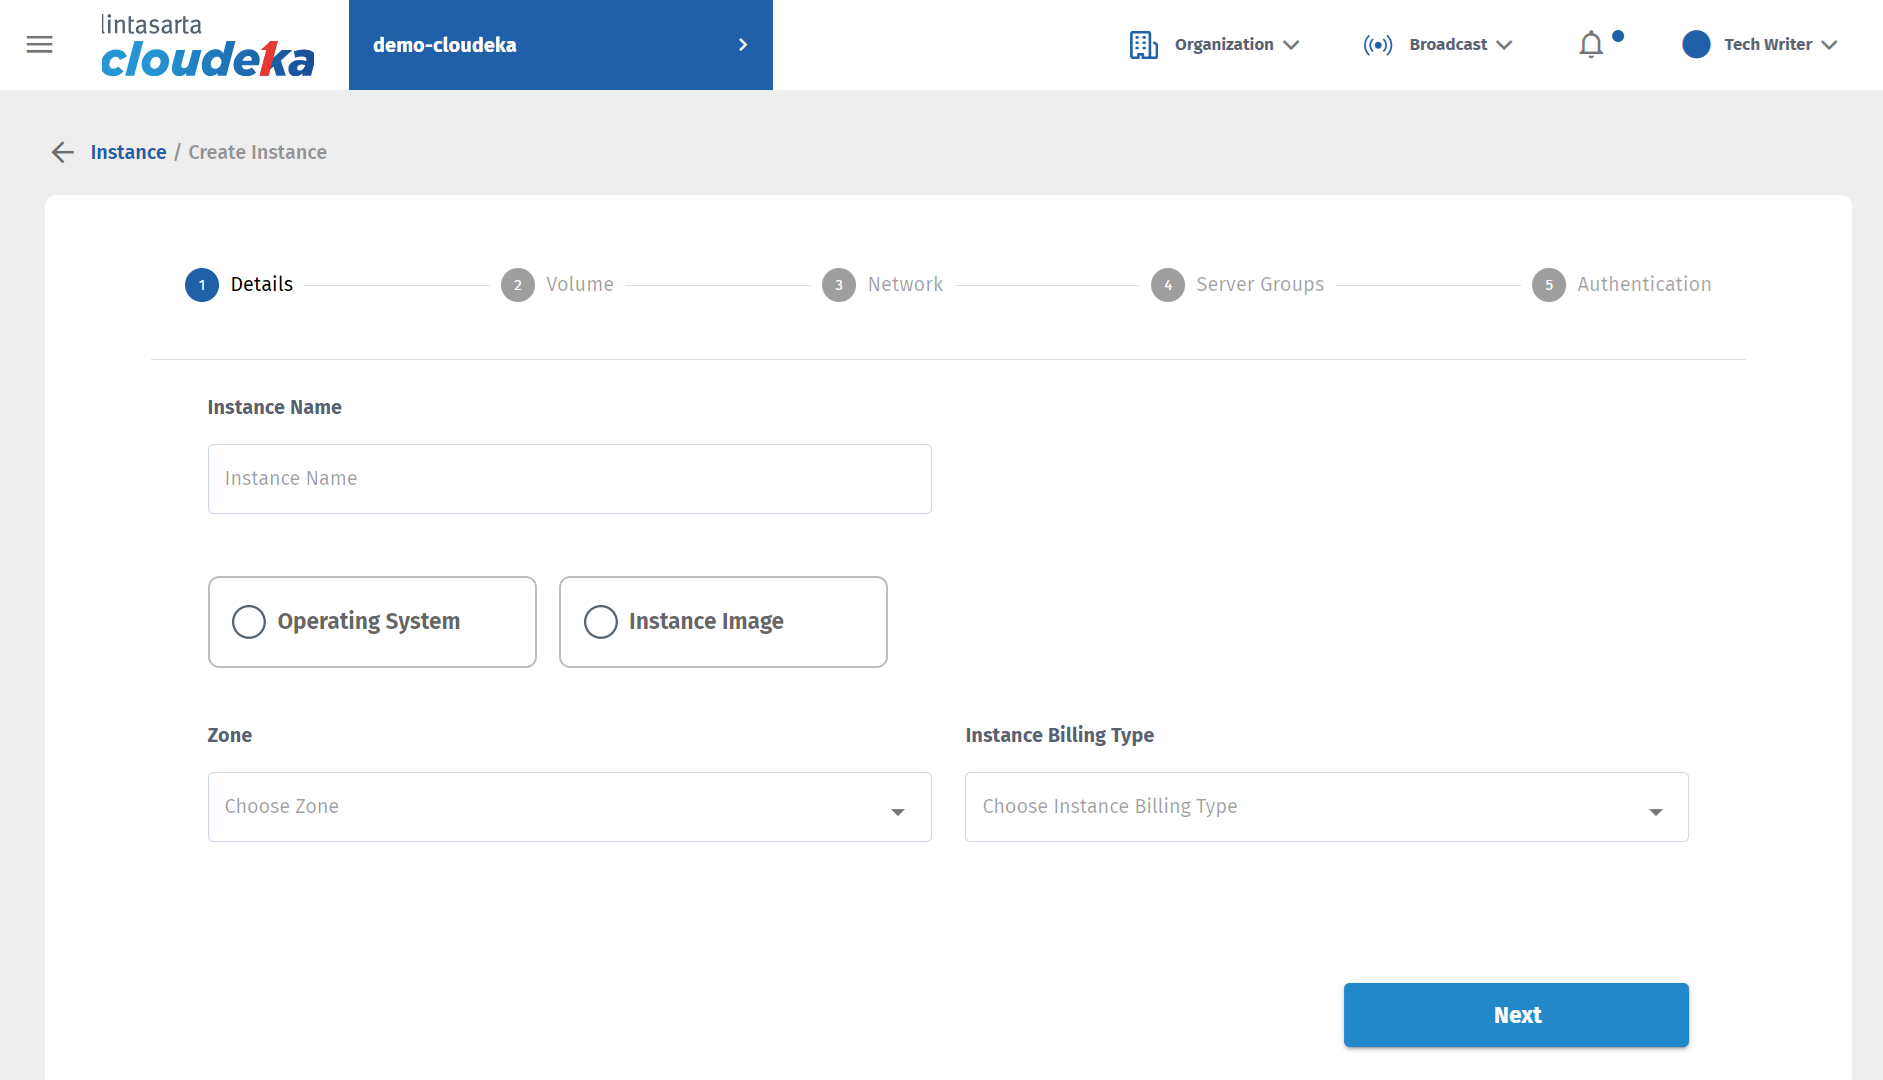
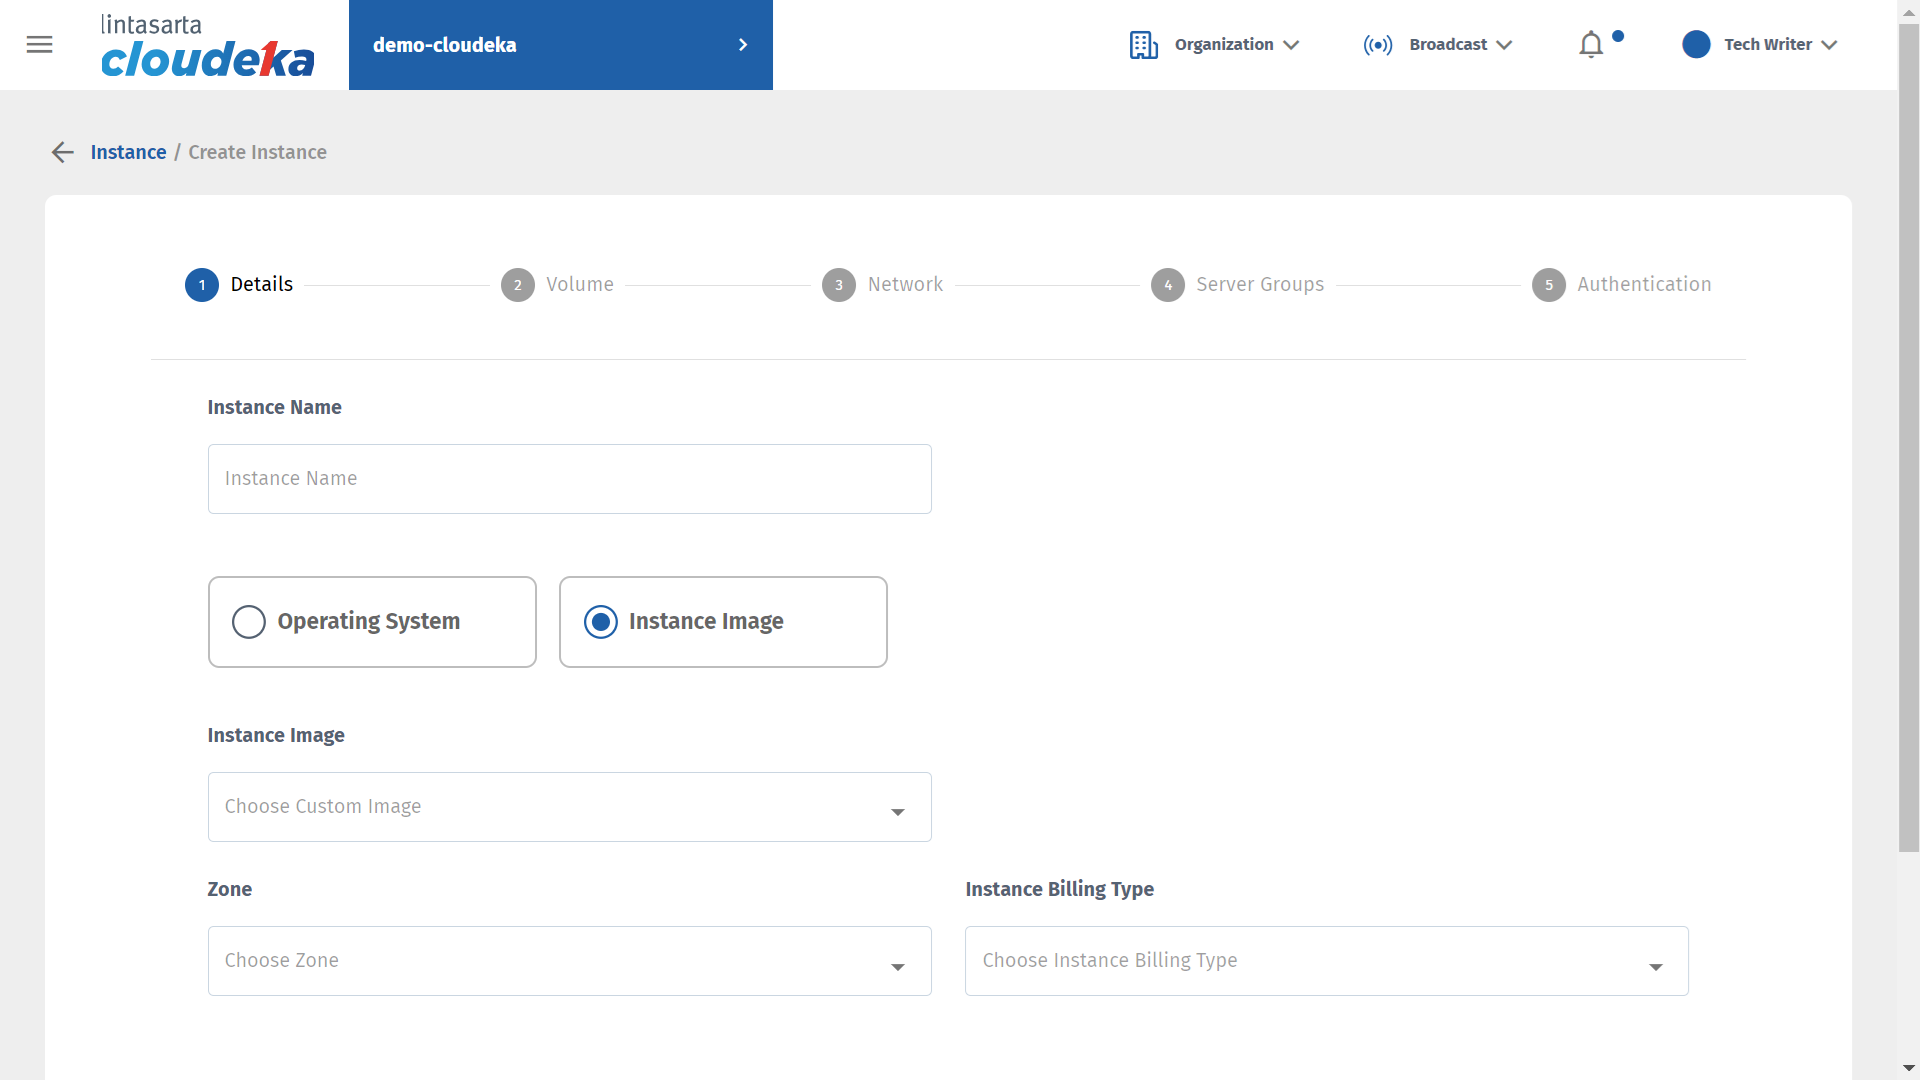
Create Instance - Details
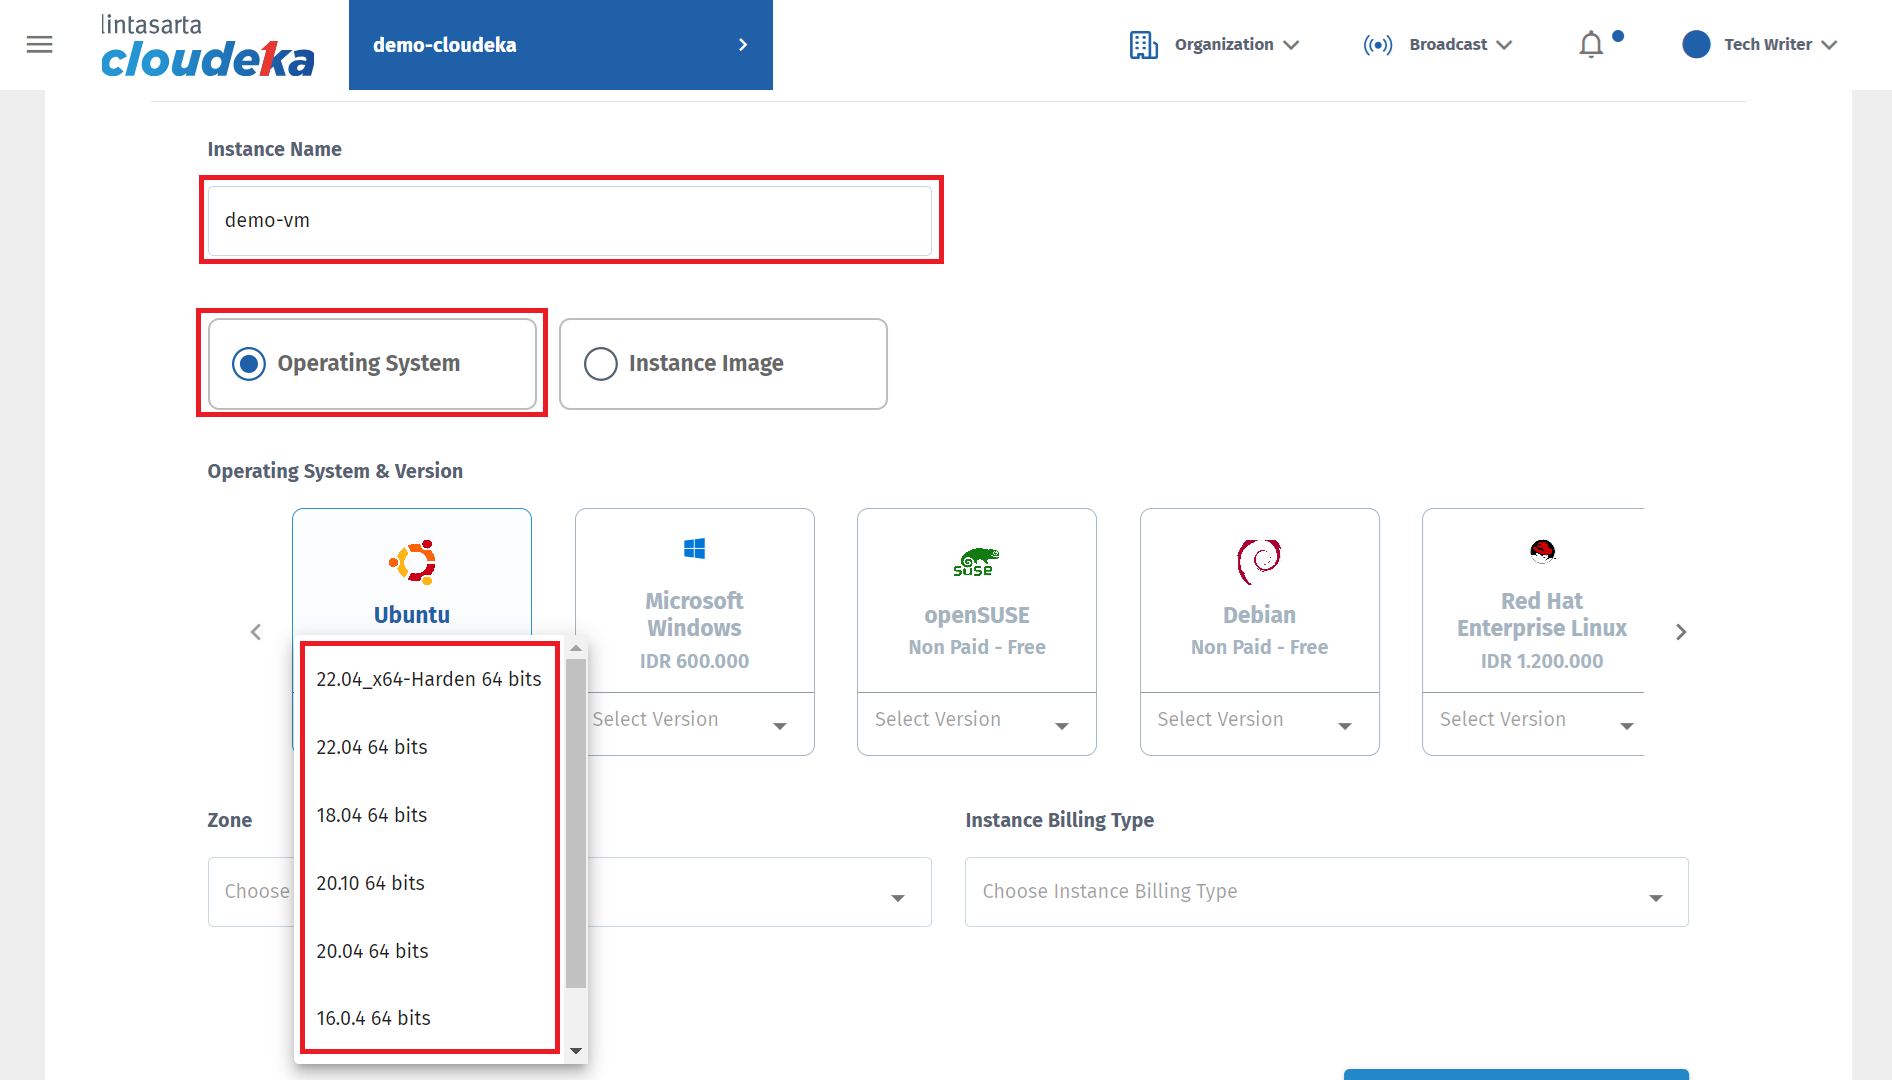
Create Instance - Operating System
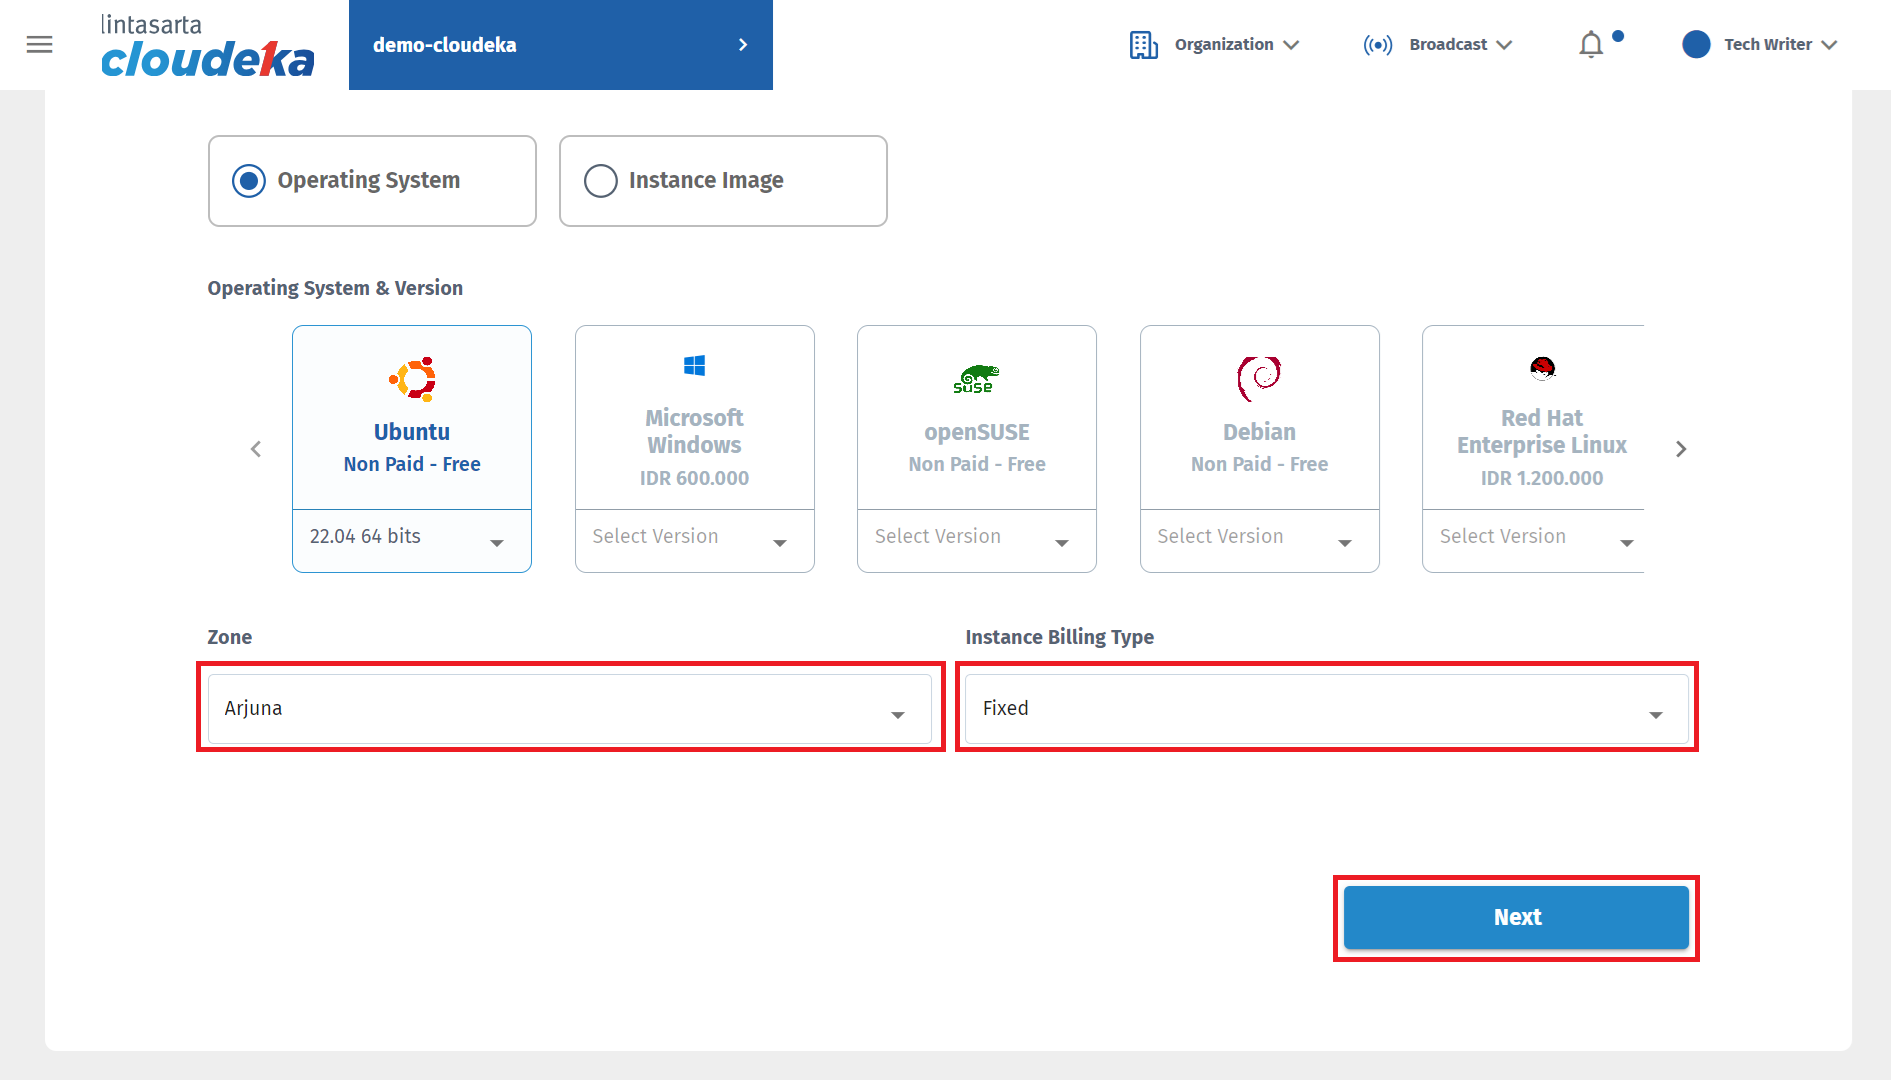
Create Instance - Zone and Billing Type
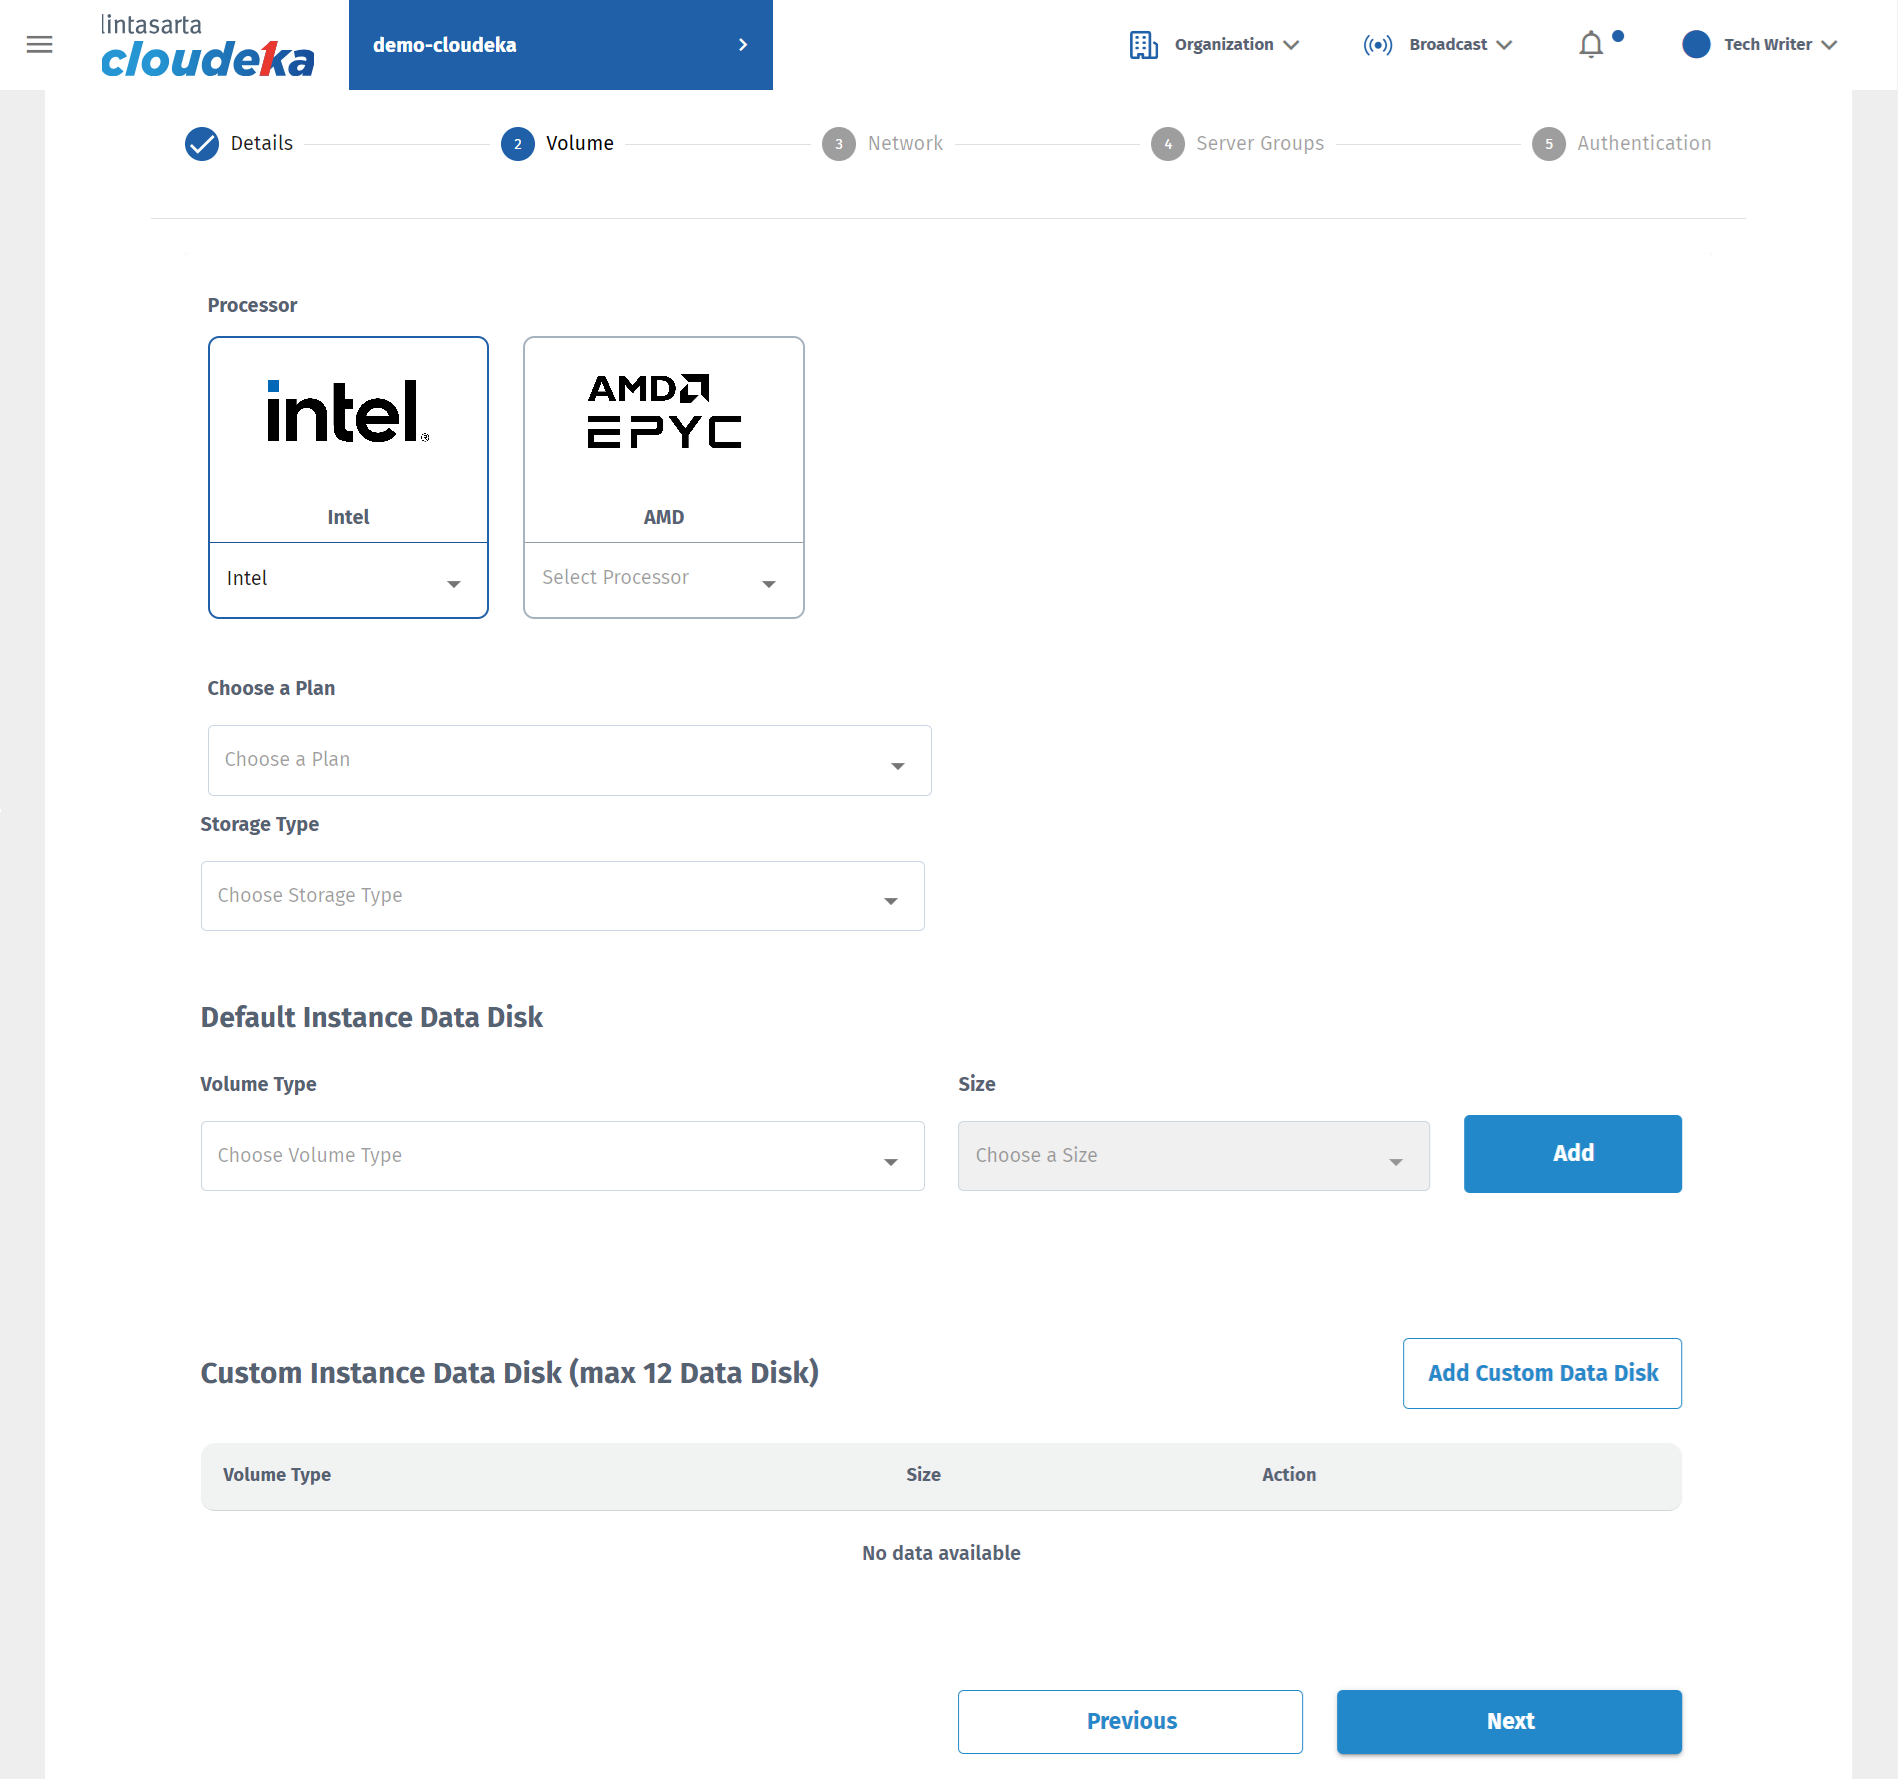
Create Instance - Volume
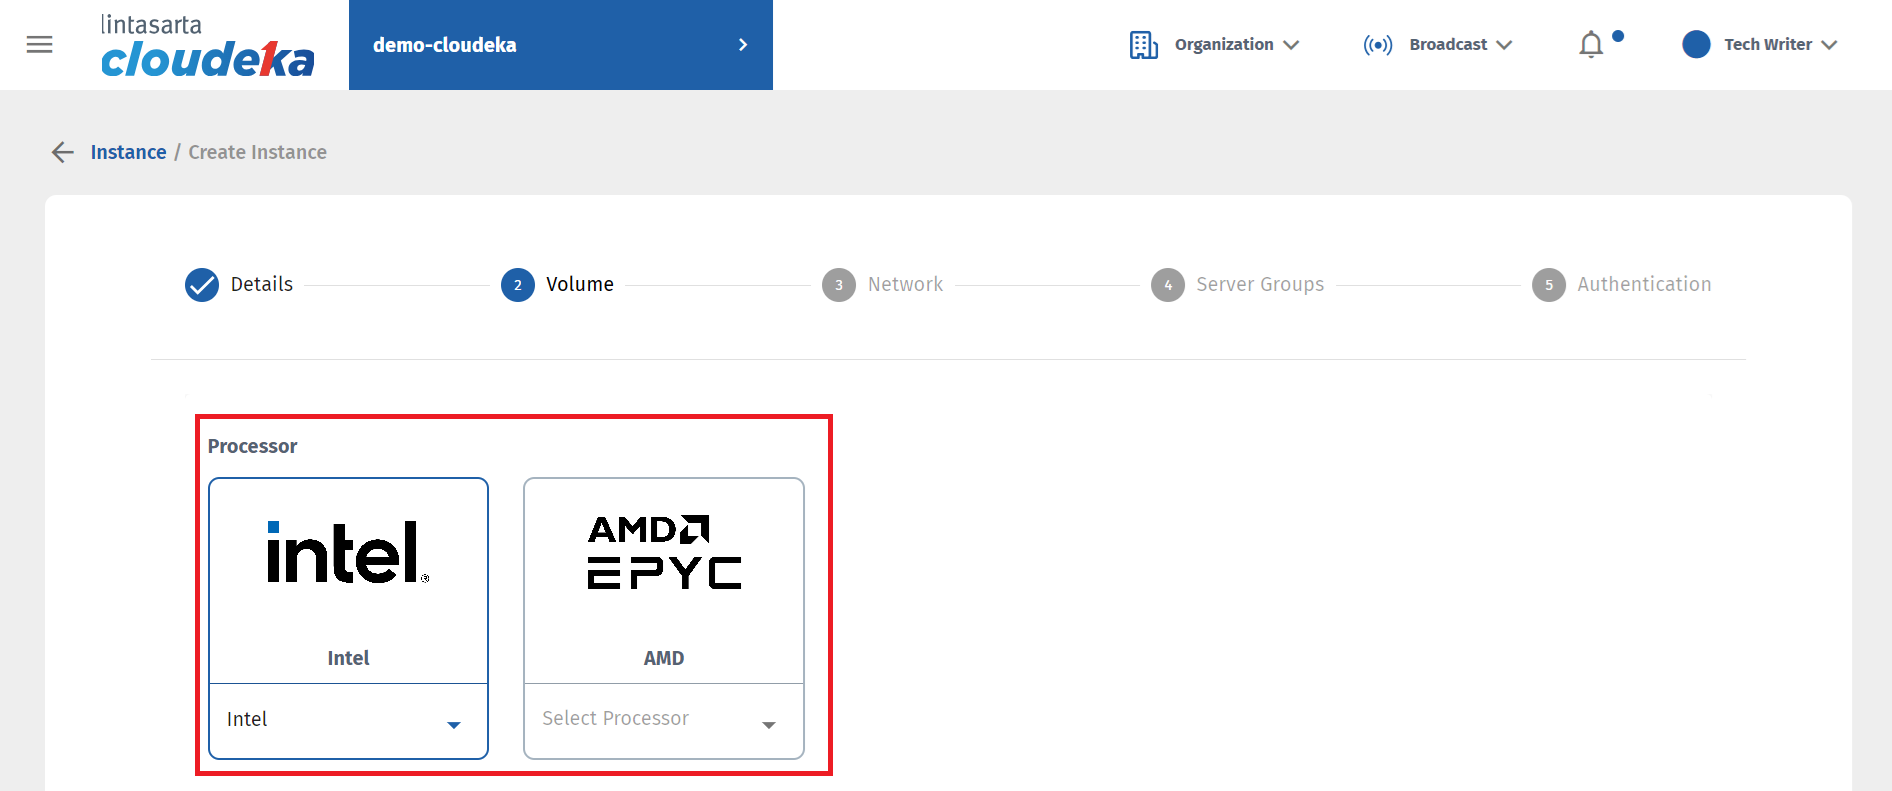
Create Instance - Volume - Processor

Create Instance - Volume - Plan
| Description | |
|---|---|
| General | The VM size provides a balanced CPU to memory ratio. |
| Compute Optimized | Delivers the highest performance CPU in Compute Engine and is optimized for compute-intensive workloads. |
| Shared | It provides a cost-effective method for running small applications that is not resource intensive. |
| Memory Optimized | Provides high memory to CPU ratio, optimized for memory-intensive workloads. |

vCPU/RAM
| Type | Description | vCPU/RAM |
|---|---|---|
| General | CPU:RAM eq 1:2,1:3 | In General there are several Instance size options including:
|
| Compute Optimized | CPU:RAM eq 1:1 | In Compute Optimized there are several Instance size options including:
|
| Shared | Berdasarkan 1 vCPU | In Shared there are several Instance sizes that can be used:
|
| Memory Optimized | CPU:RAM eq 1:4 | In Memory Optimized there are several Instance sizes that can be used:
|

Create Instance - Storage Type
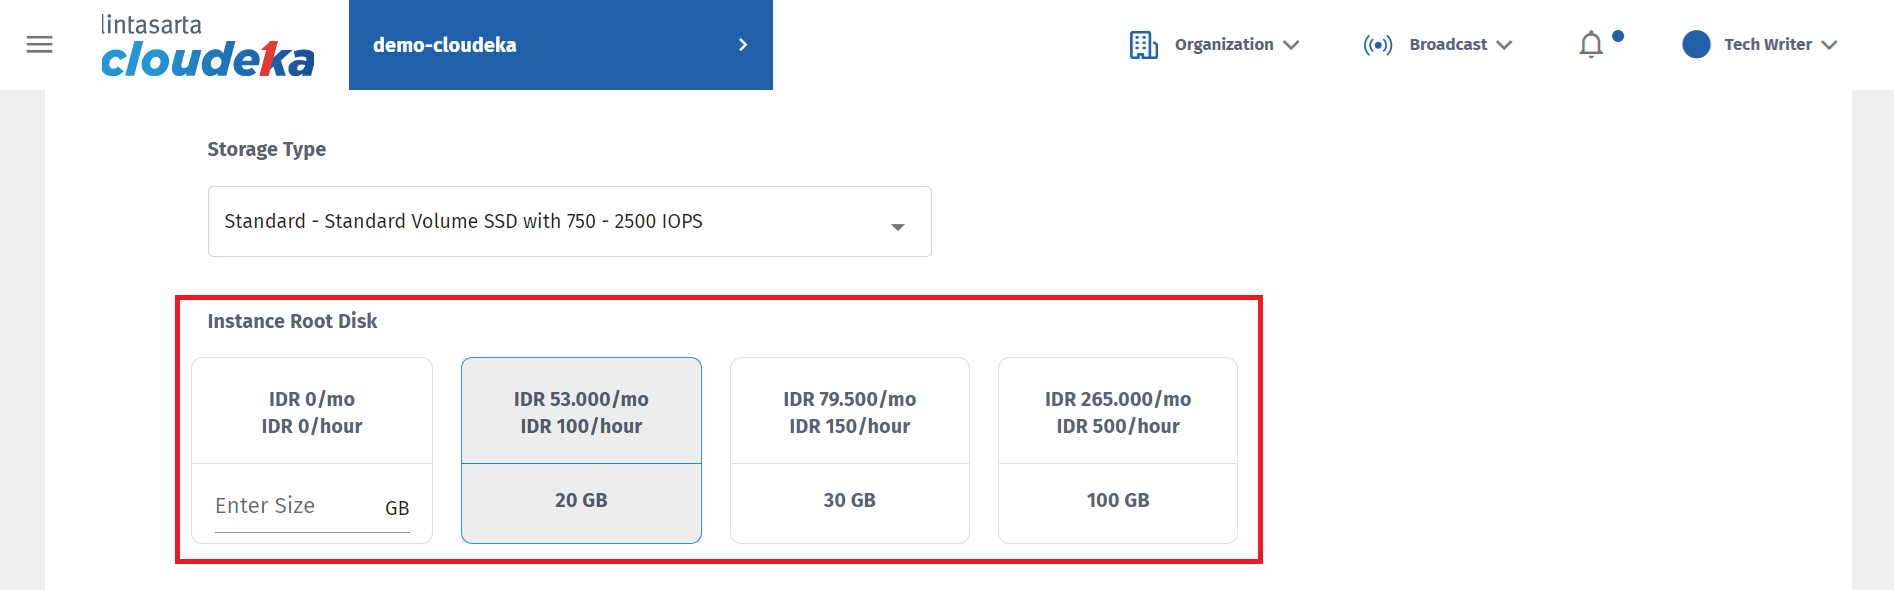
Create Instance - Instance Root Disk Size
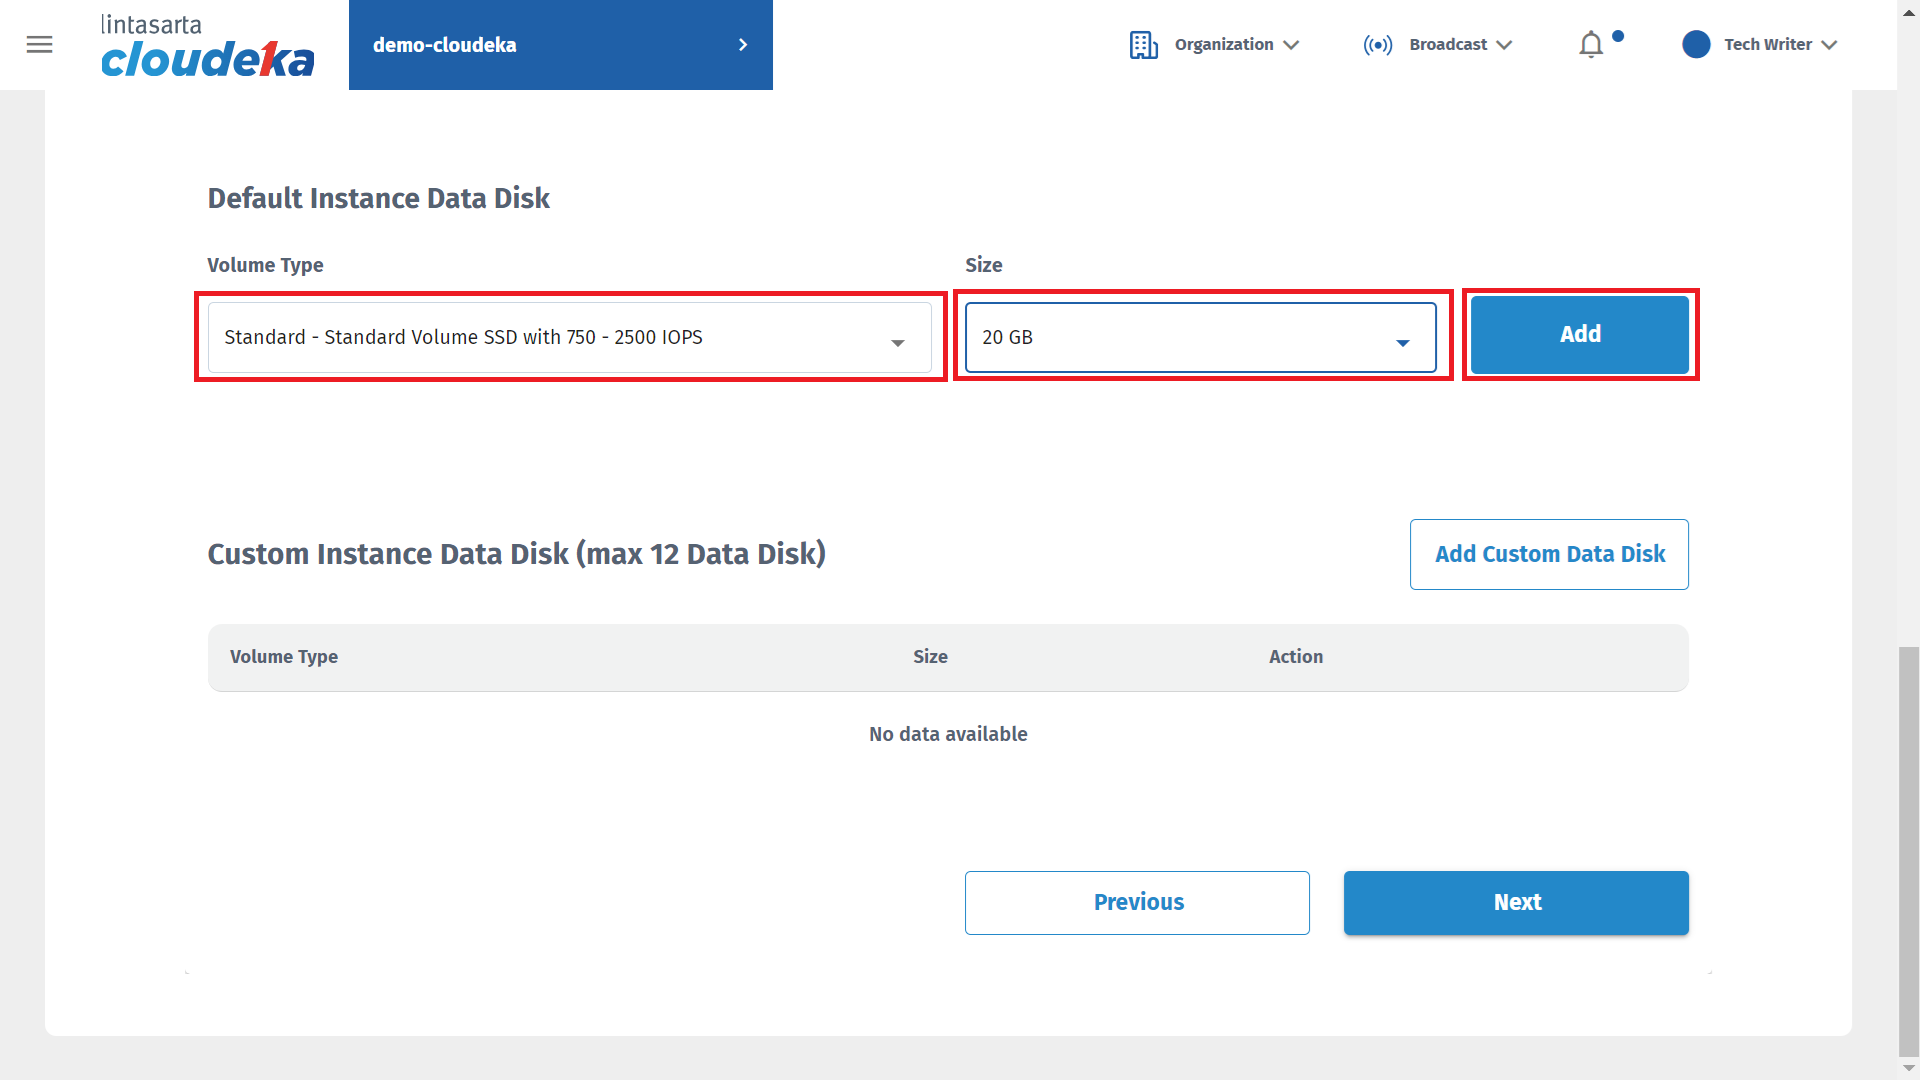
Create Instance - Data Disk Storage Type

Create Instance - Custom Instance Data Disk

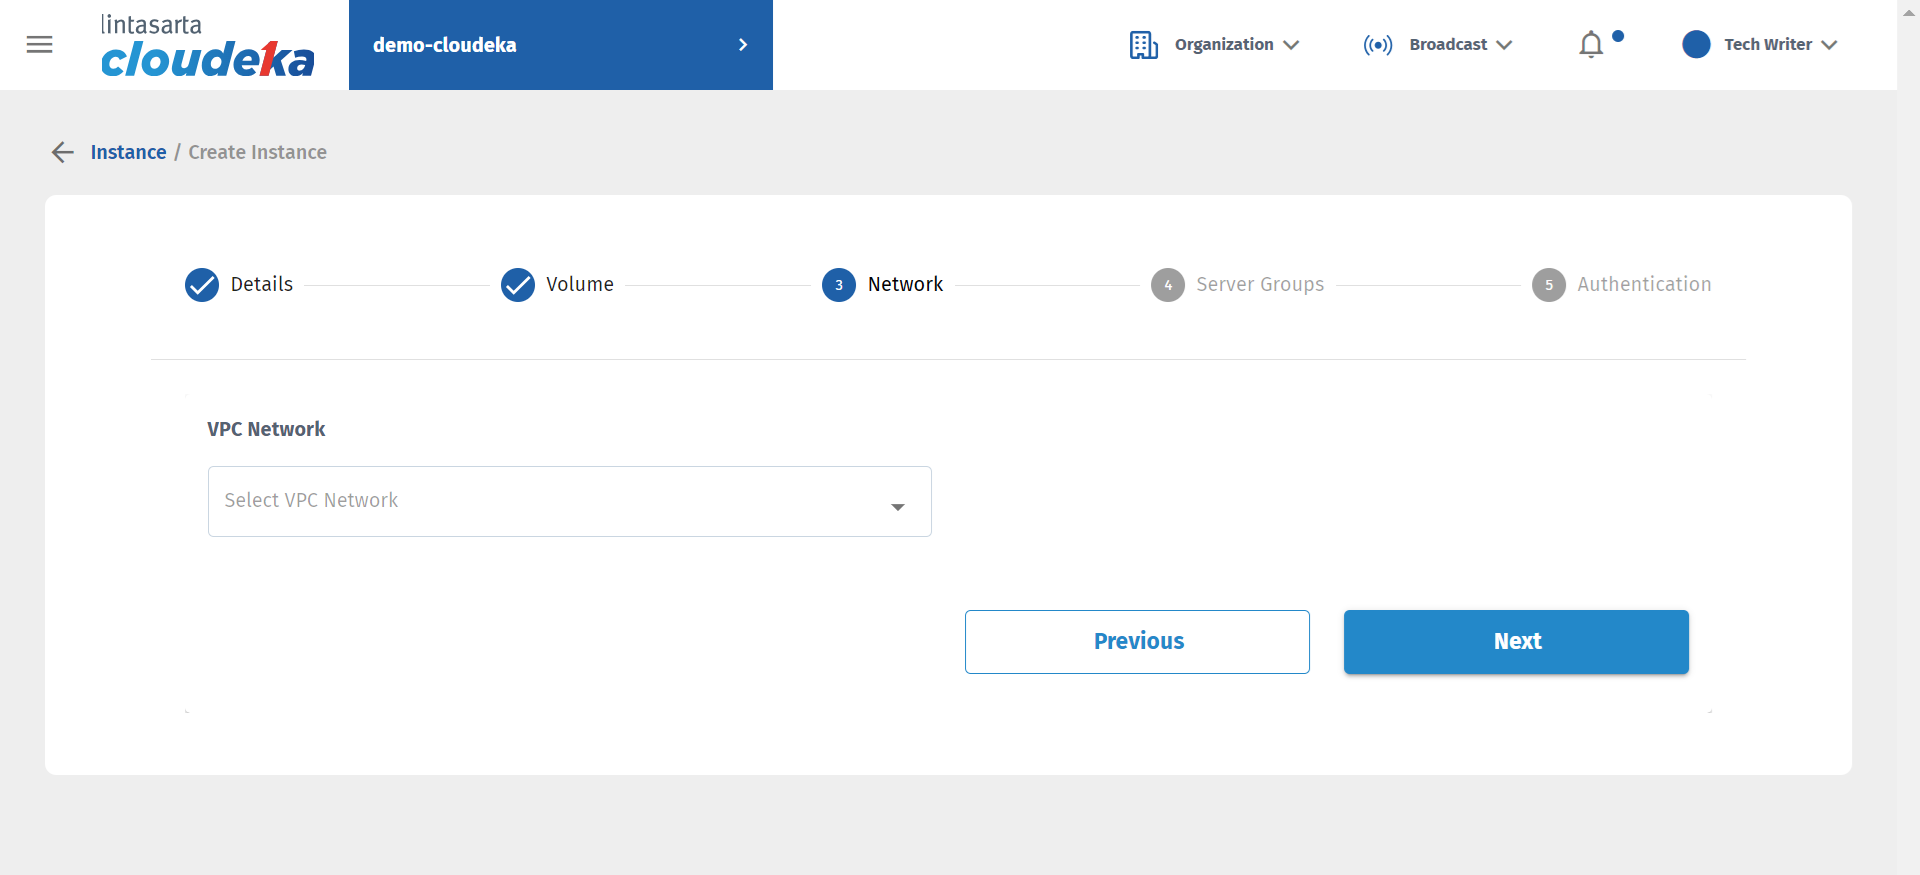
Create Instance - Network - VPC Network
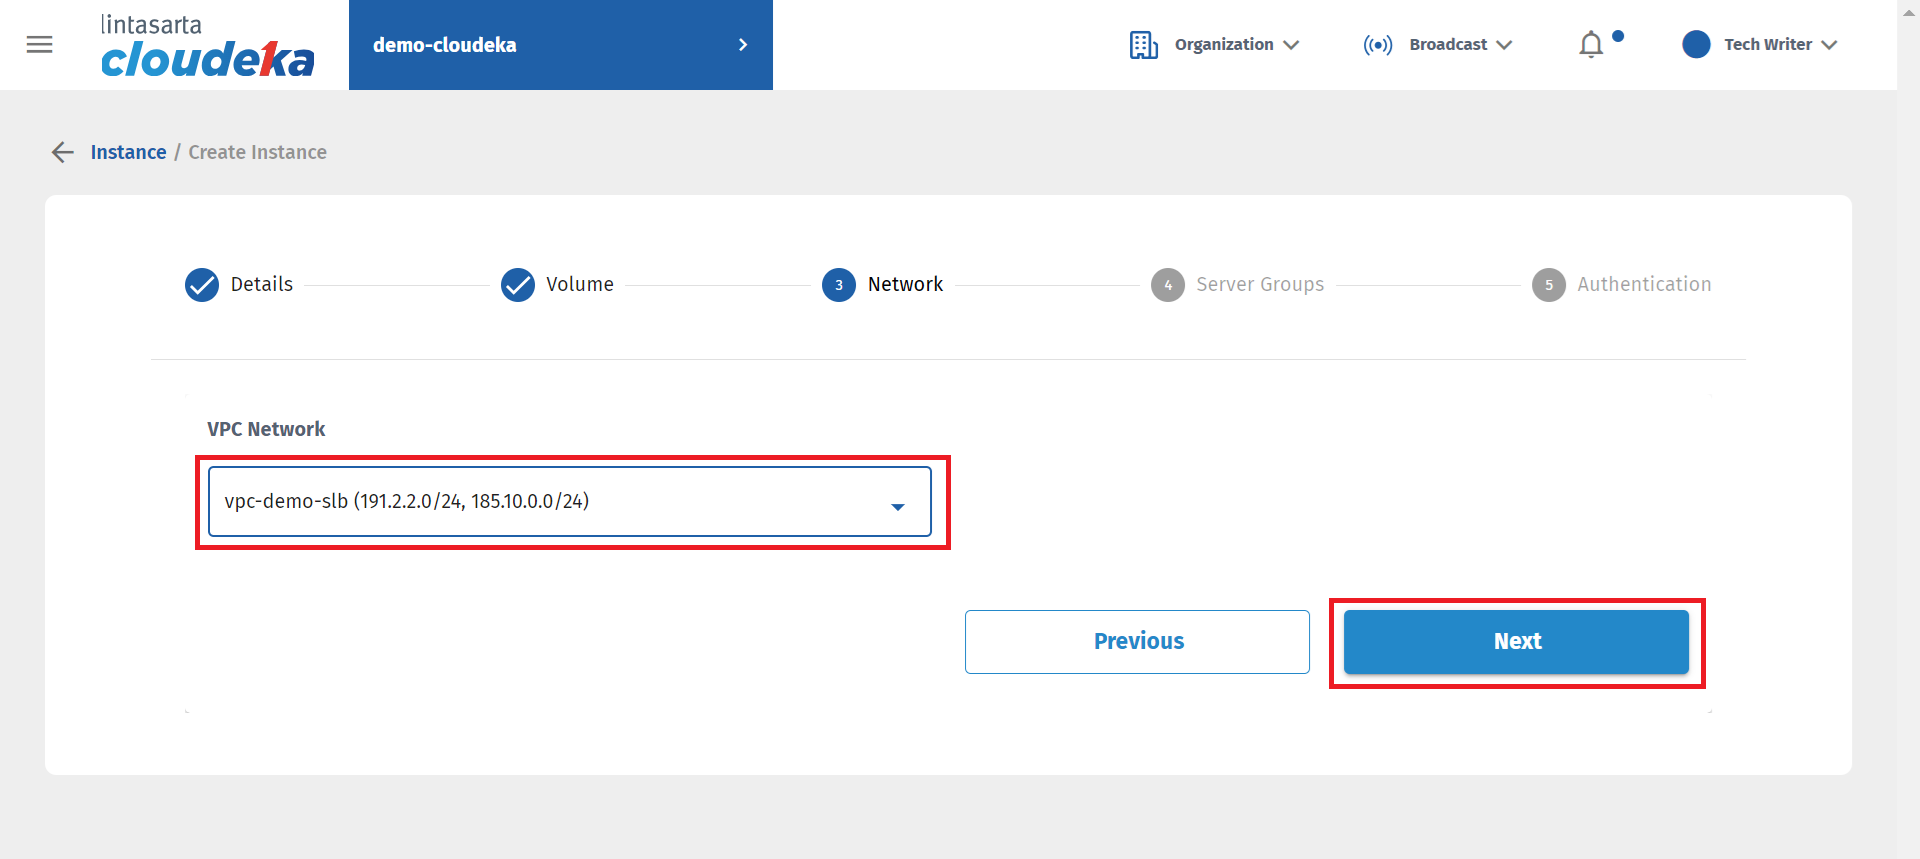
Create Instance - Network - VPC Network

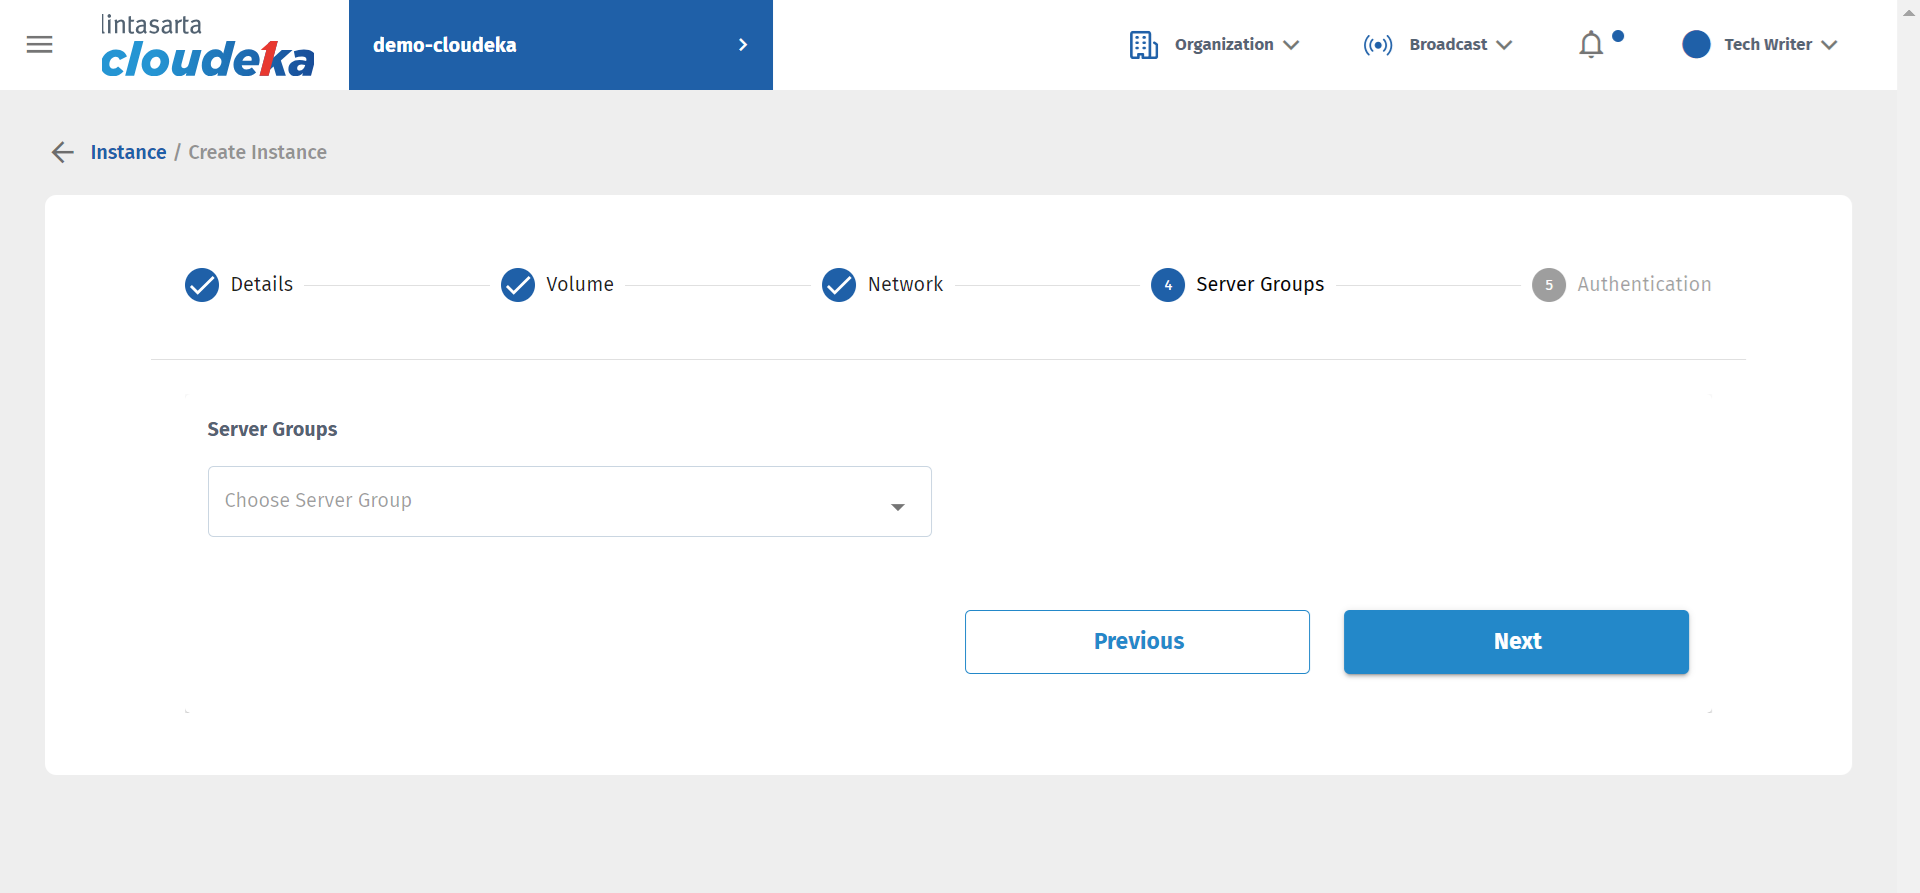
Create Instance - Server Group
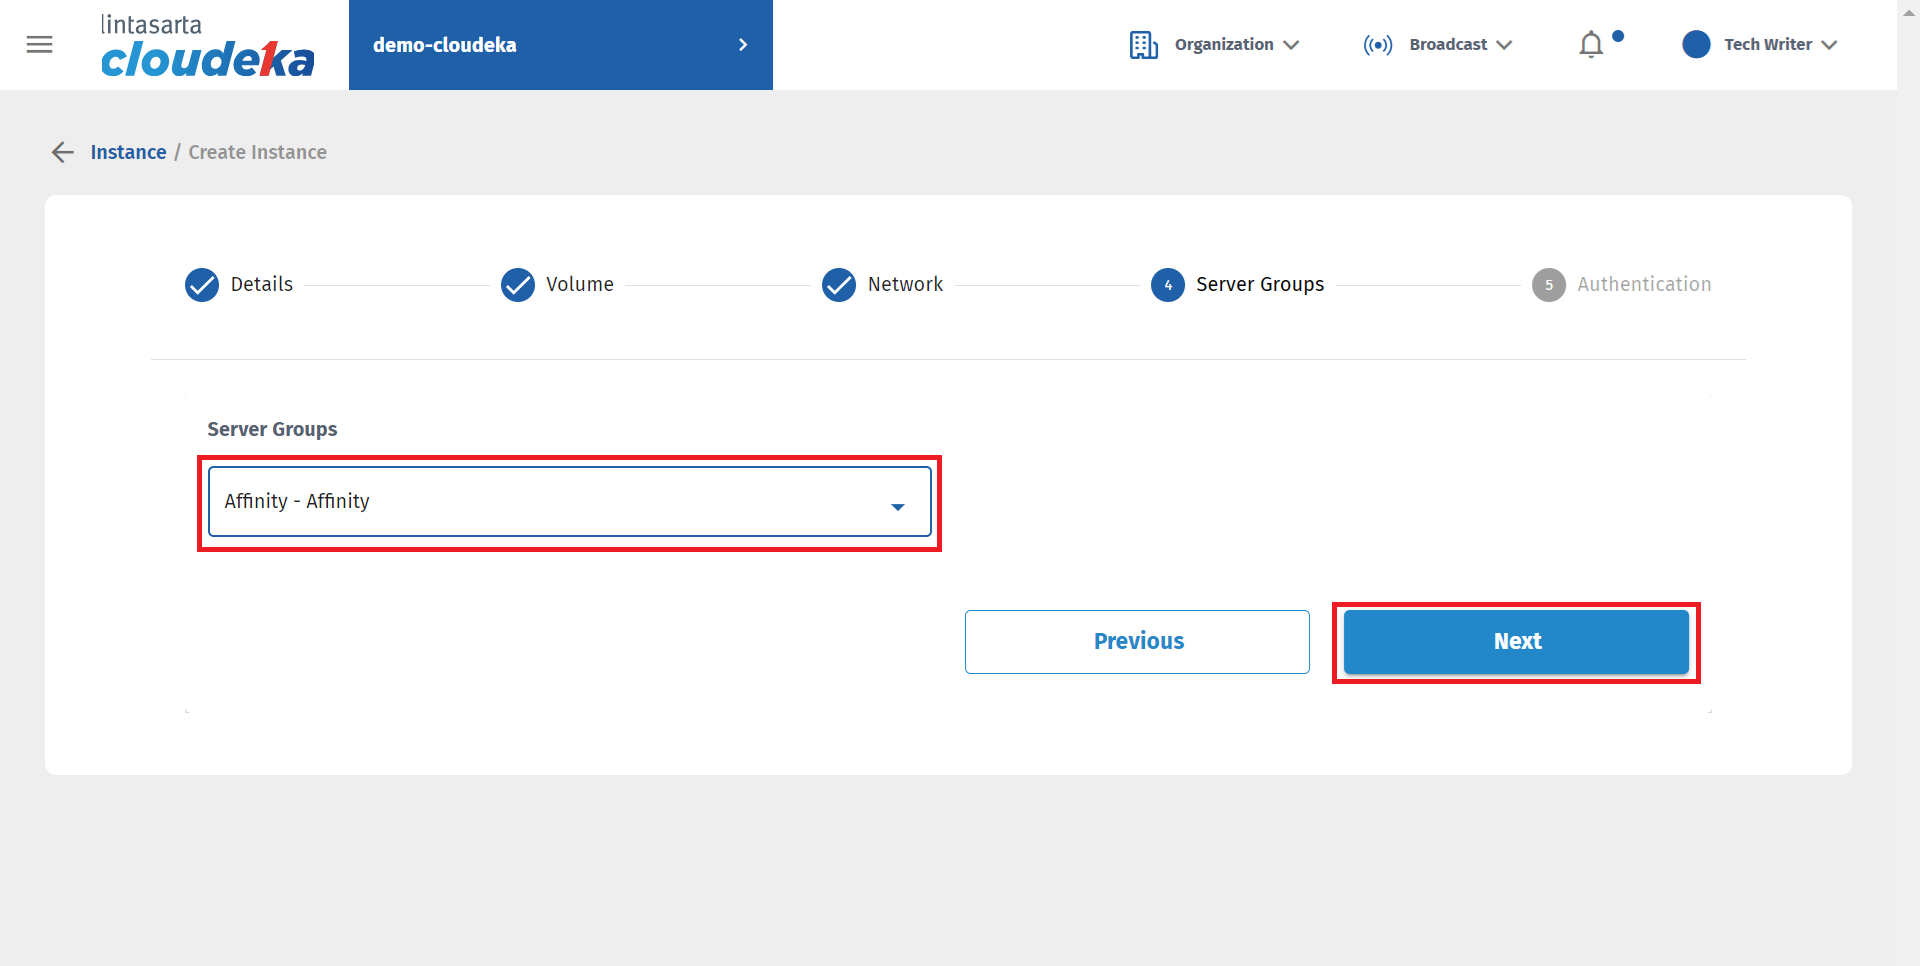
Create Instance - Server Group
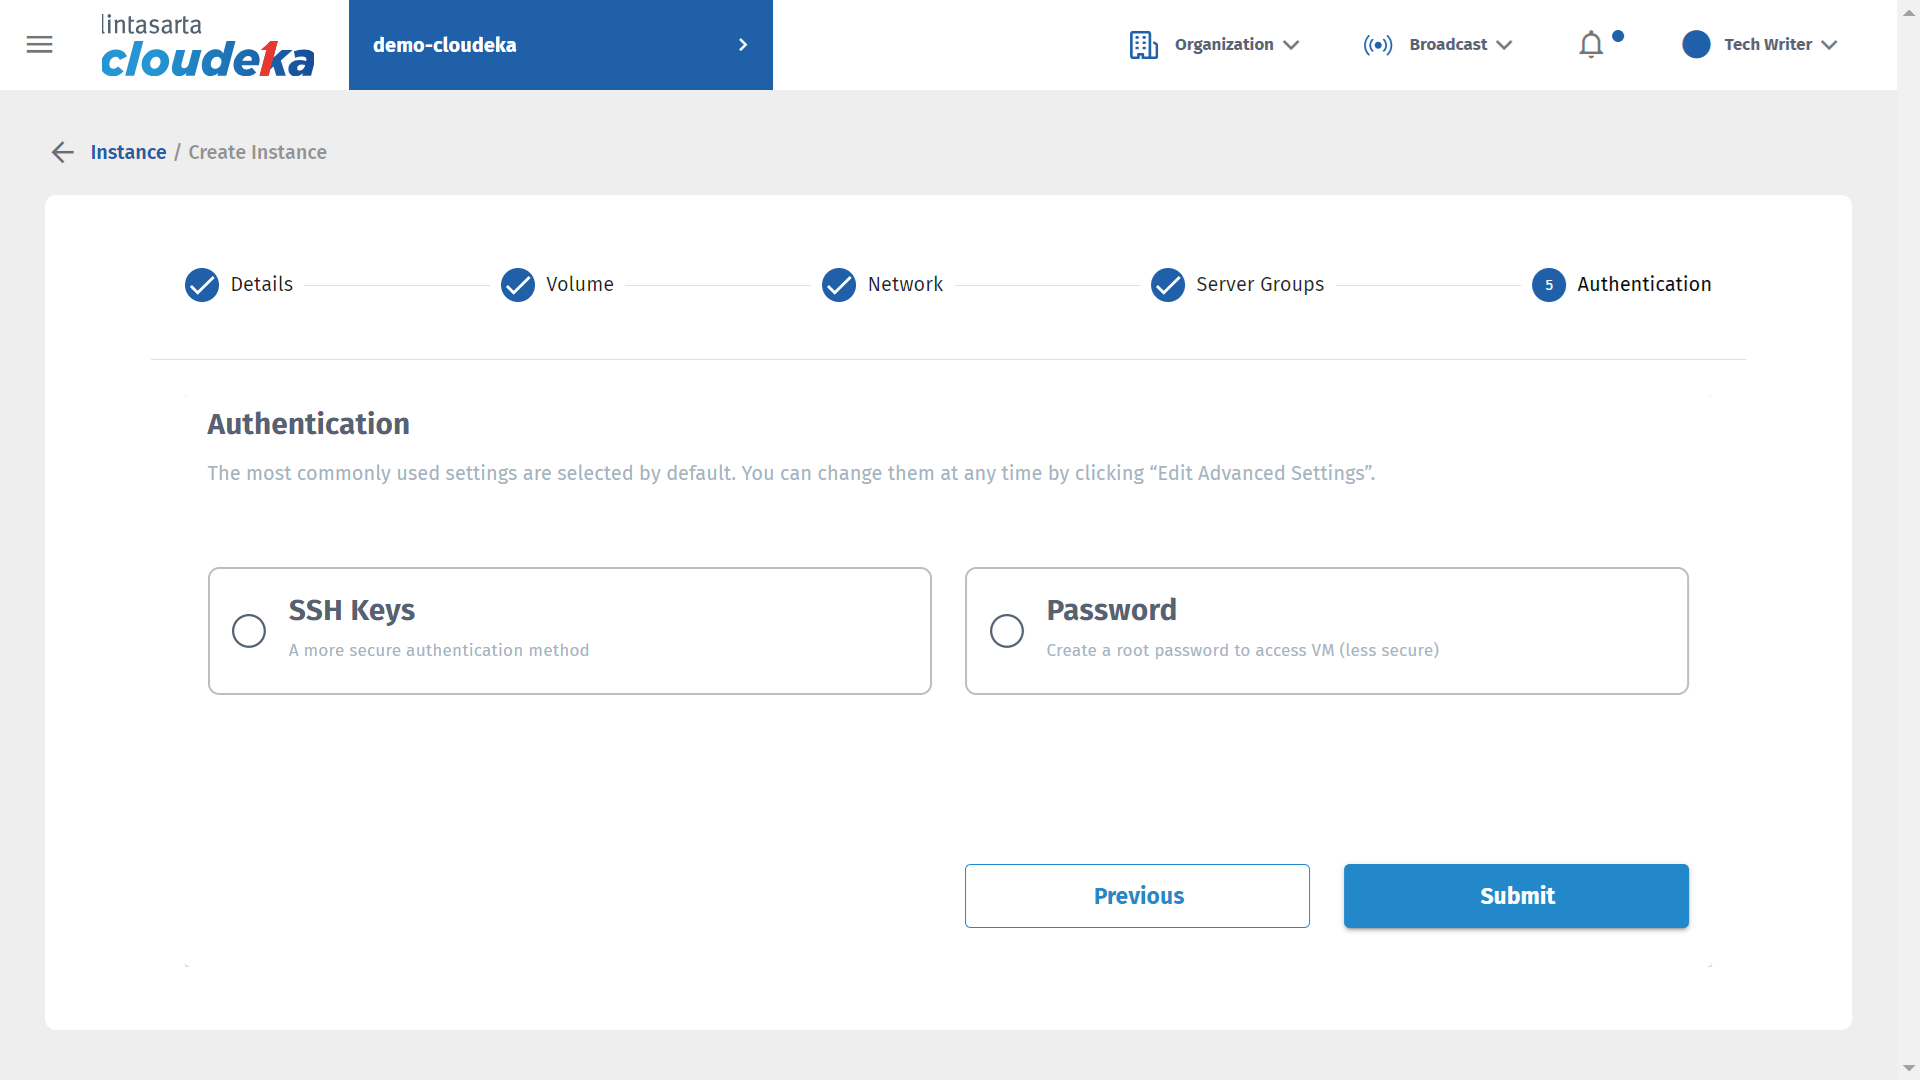
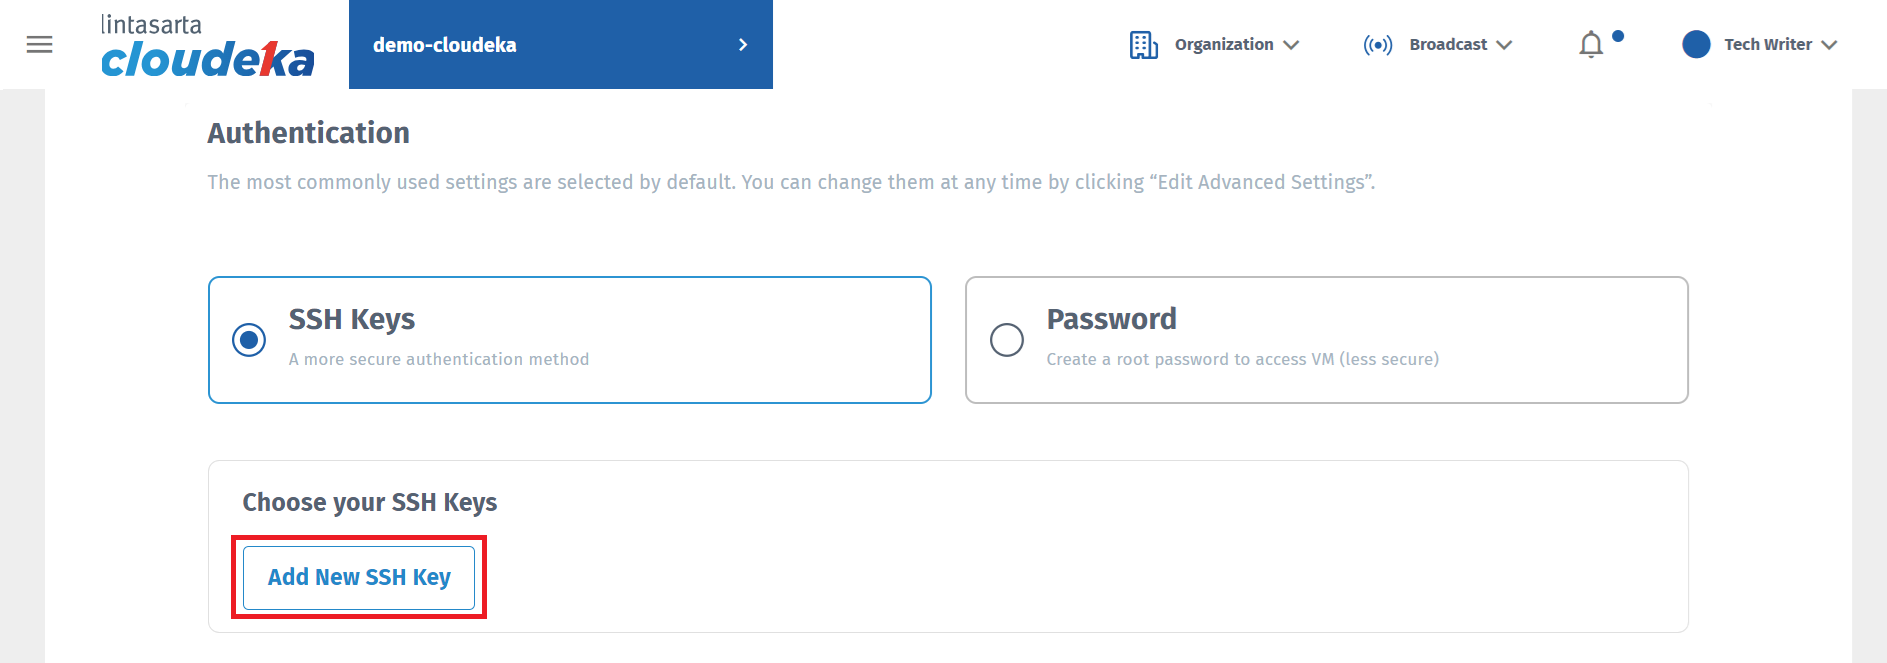
Authentication

Create Instance - Authentication - SSH Key

Create Instance - Authentication - SSH Key
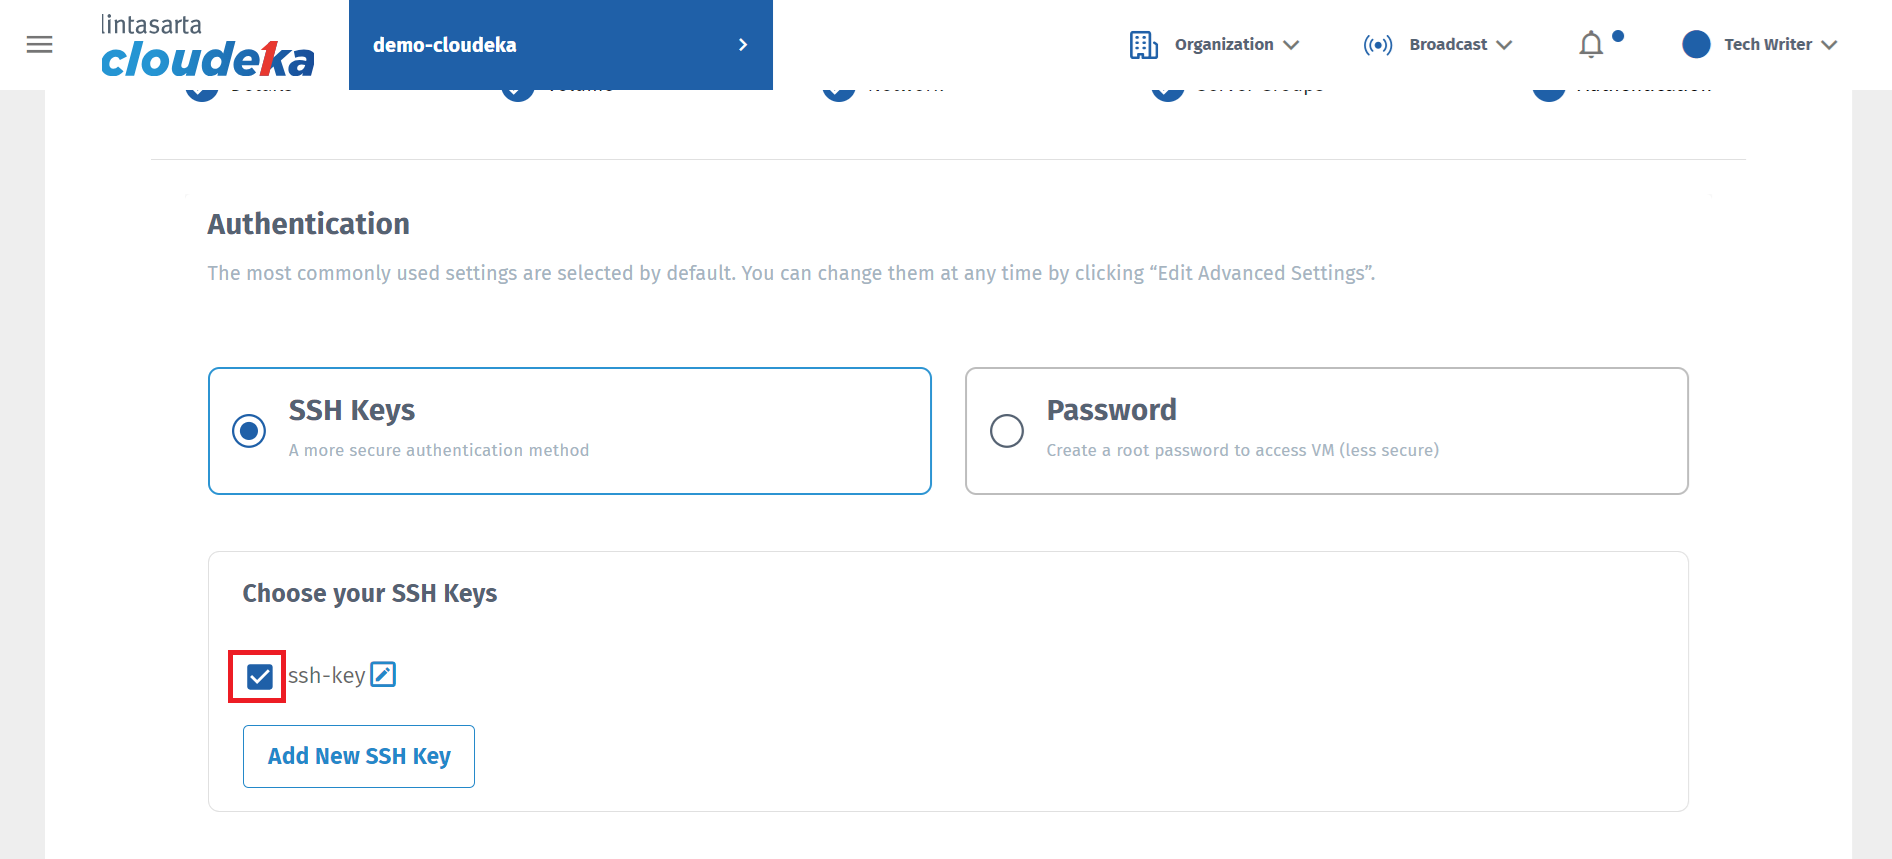
Create Instance - Authentication - SSH Key
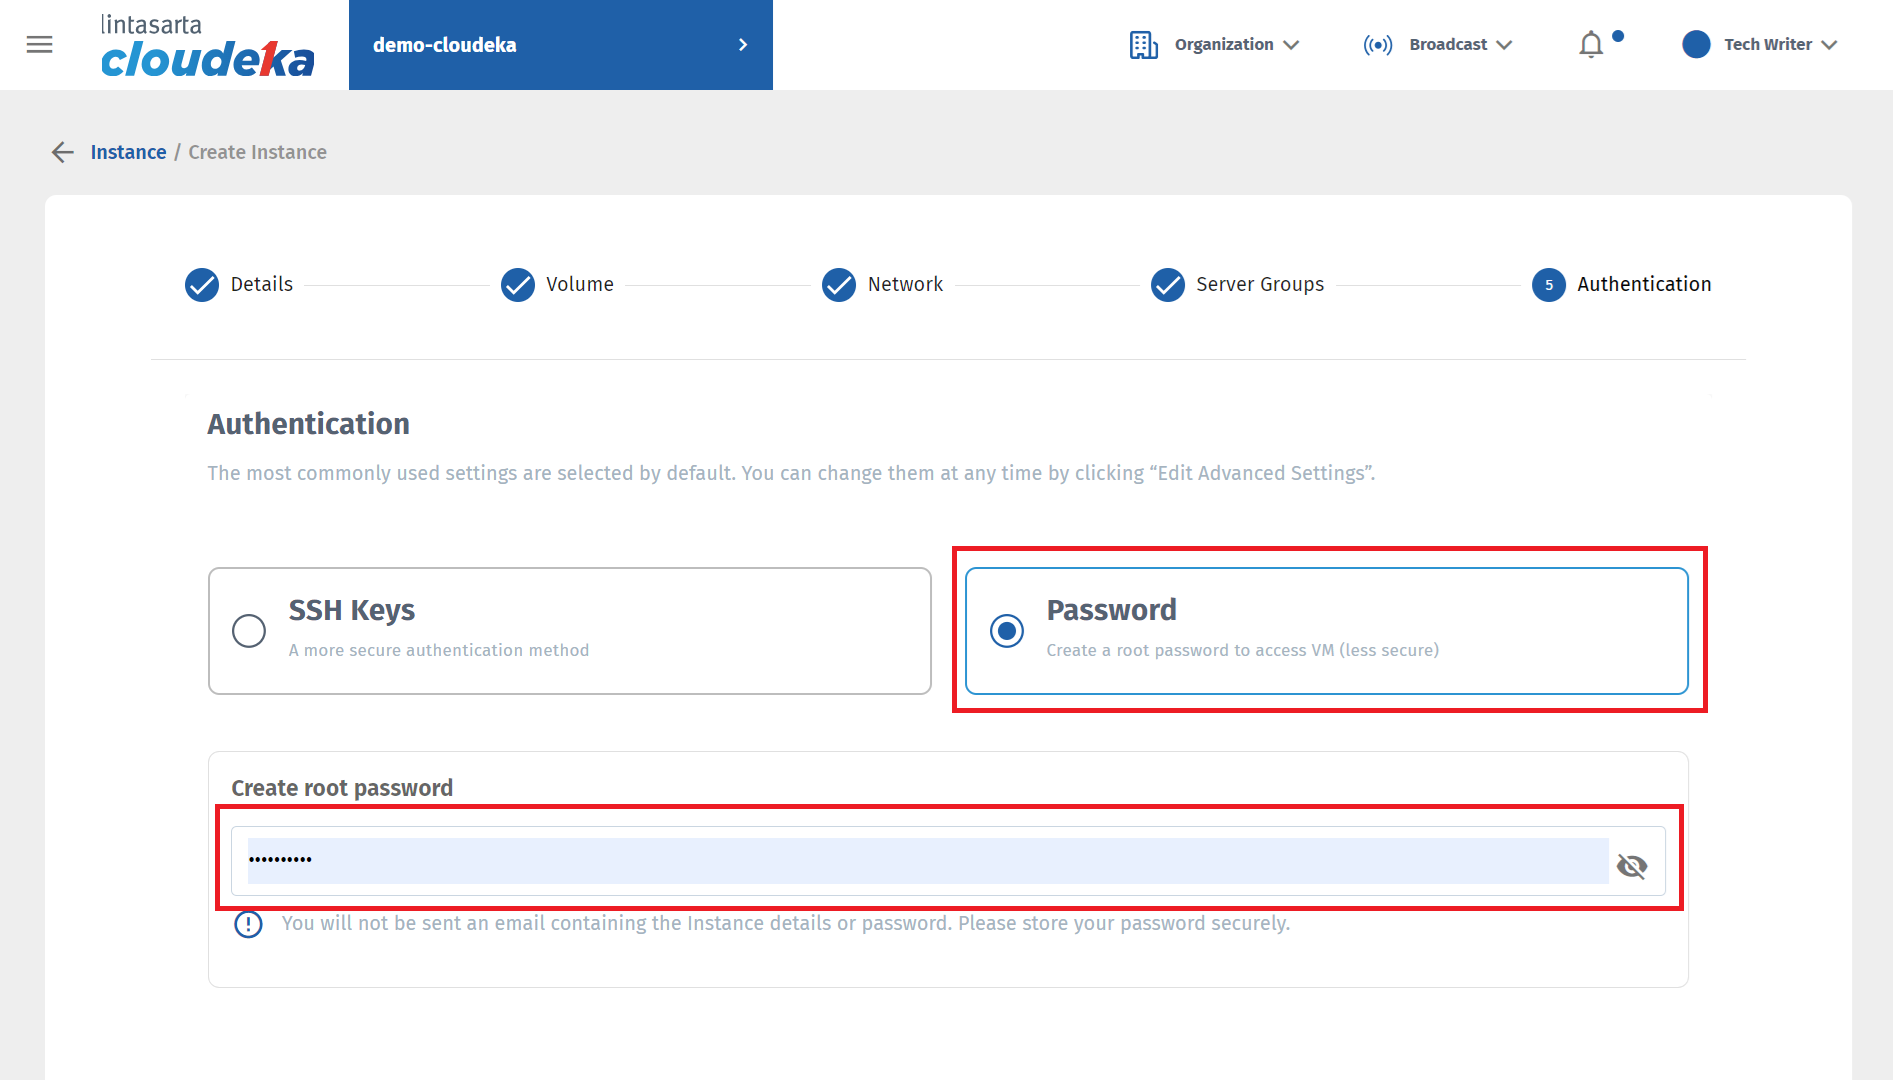
Create Instance - Password

Create Instance

Create Instance - Notification Success

Create Instance
Create Instance Image
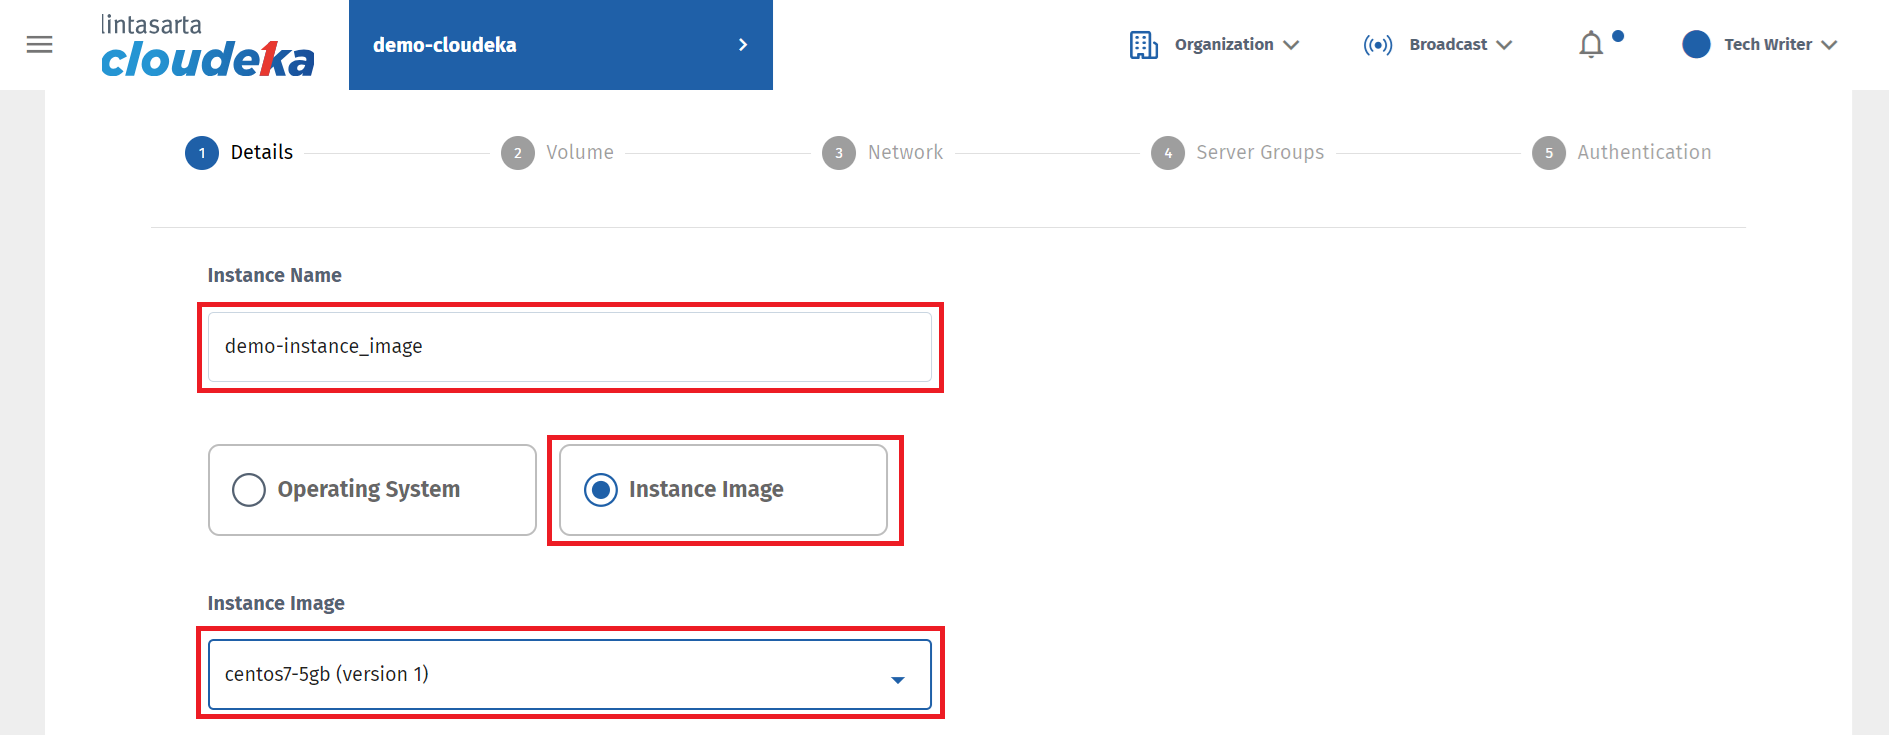
Create Instance - Operating System
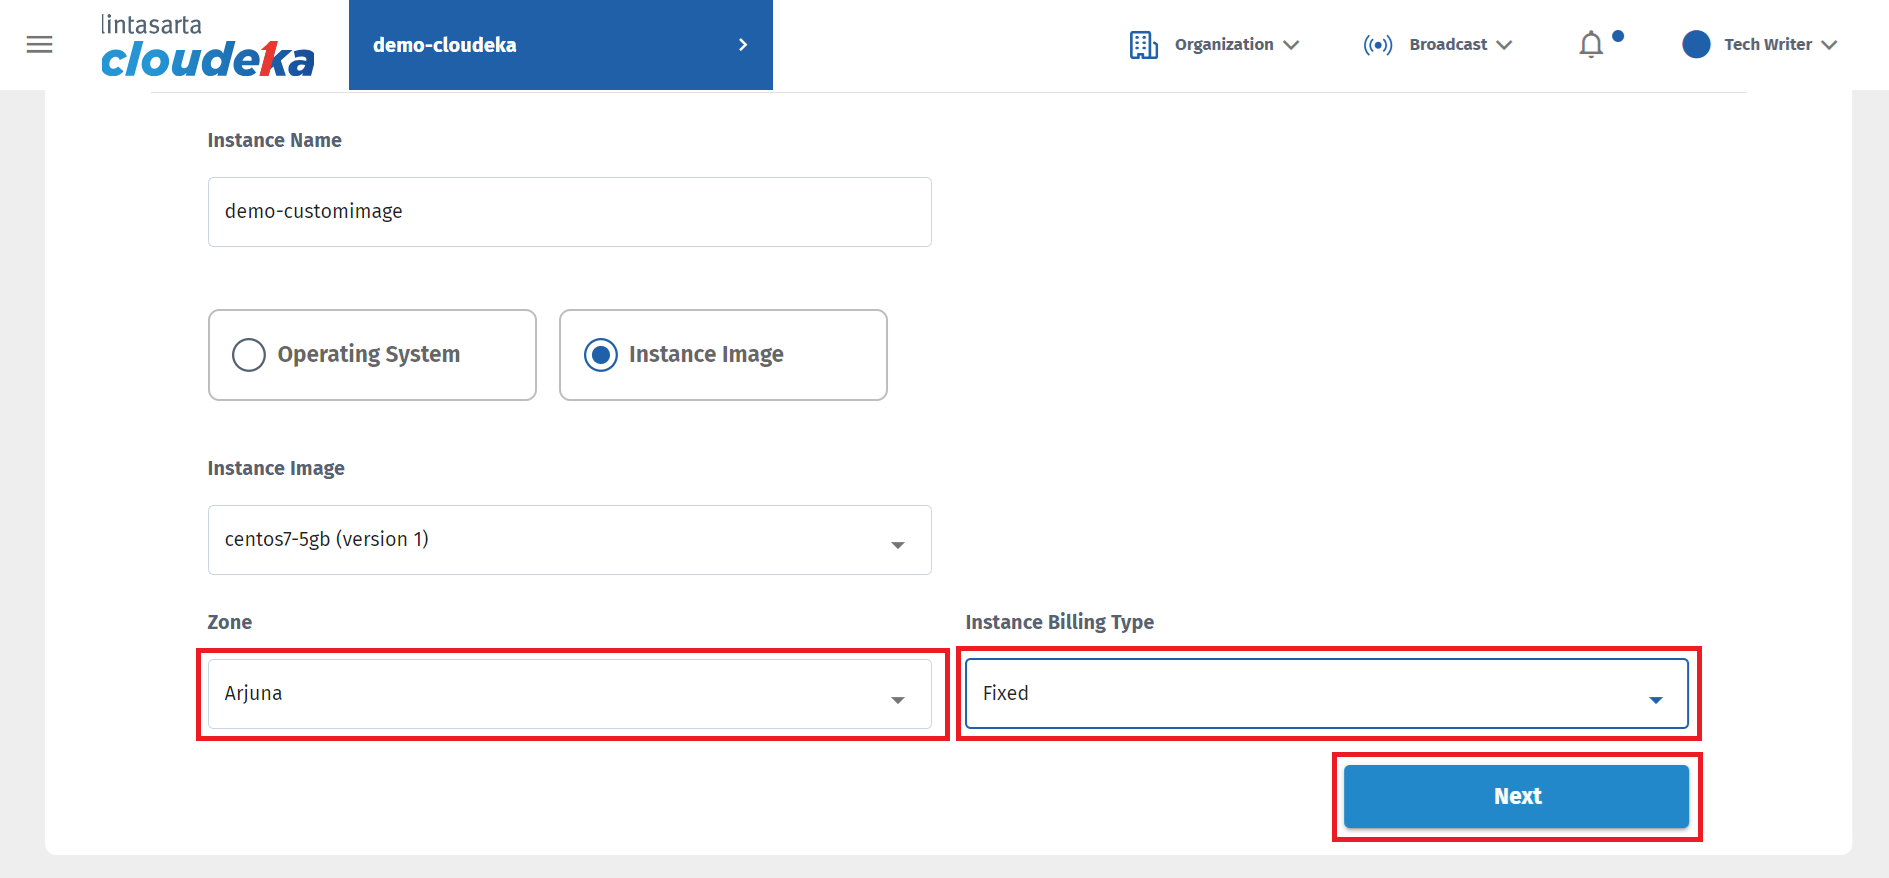
Create Instance - Zone and Billing Type

Create Instance - Volume

Create Instance - Volume - Processor
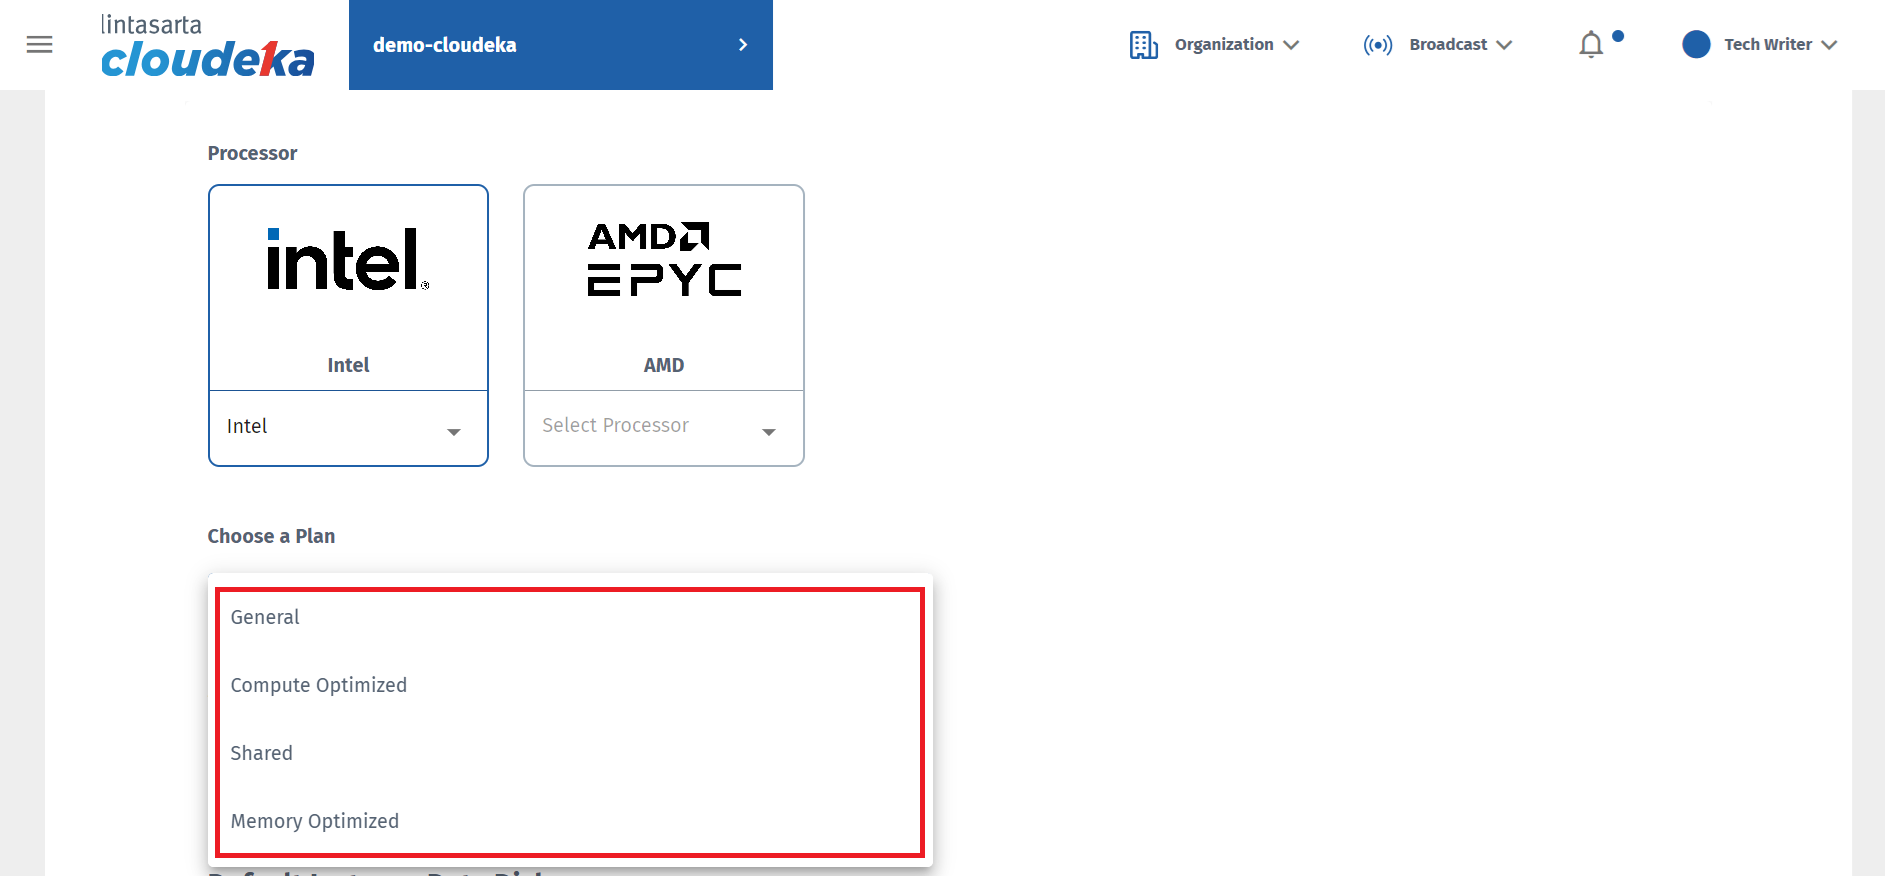
Create Instance - Volume - Plan
| Description | |
|---|---|
| General | The VM size provides a balanced CPU to memory ratio. |
| Compute Optimized | Delivers the highest performance CPU in Compute Engine and is optimized for compute-intensive workloads. |
| Shared | It provides a cost-effective method for running small applications that is not resource intensive. |
| Memory Optimized | Provides high memory to CPU ratio, optimized for memory-intensive workloads. |
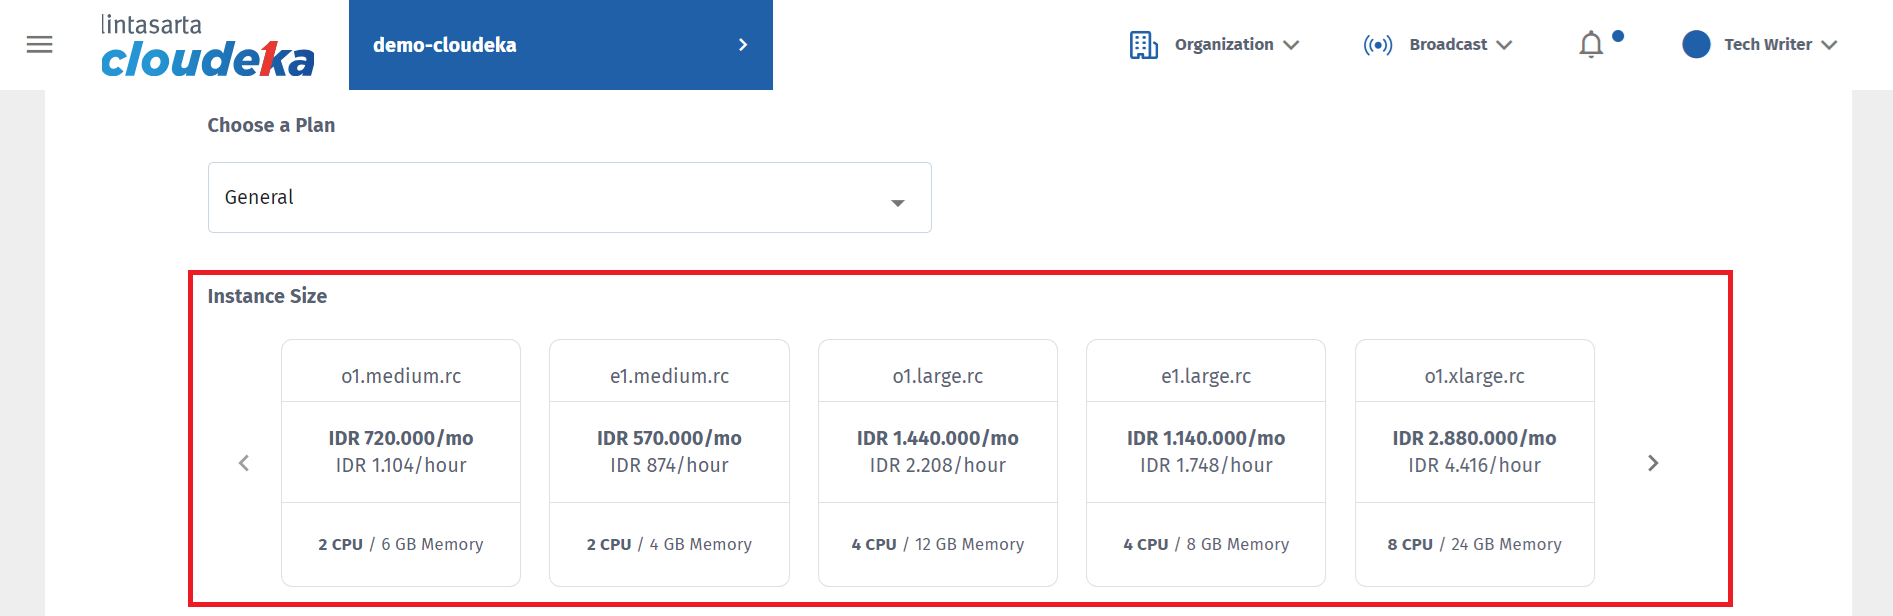
vCPU/RAM
| Type | Description | vCPU/RAM |
|---|---|---|
| General | CPU:RAM eq 1:2,1:3 | In General there are several Instance size options including:
|
| Compute Optimized | CPU:RAM eq 1:1 | In Compute Optimized there are several Instance size options including:
|
| Shared | Berdasarkan 1 vCPU | In Shared there are several Instance sizes that can be used:
|
| Memory Optimized | CPU:RAM eq 1:4 | In Memory Optimized there are several Instance sizes that can be used:
|

Create Instance - Storage Type

Create Instance - Instance Root Disk Size

Create Instance - Data Disk Storage Type
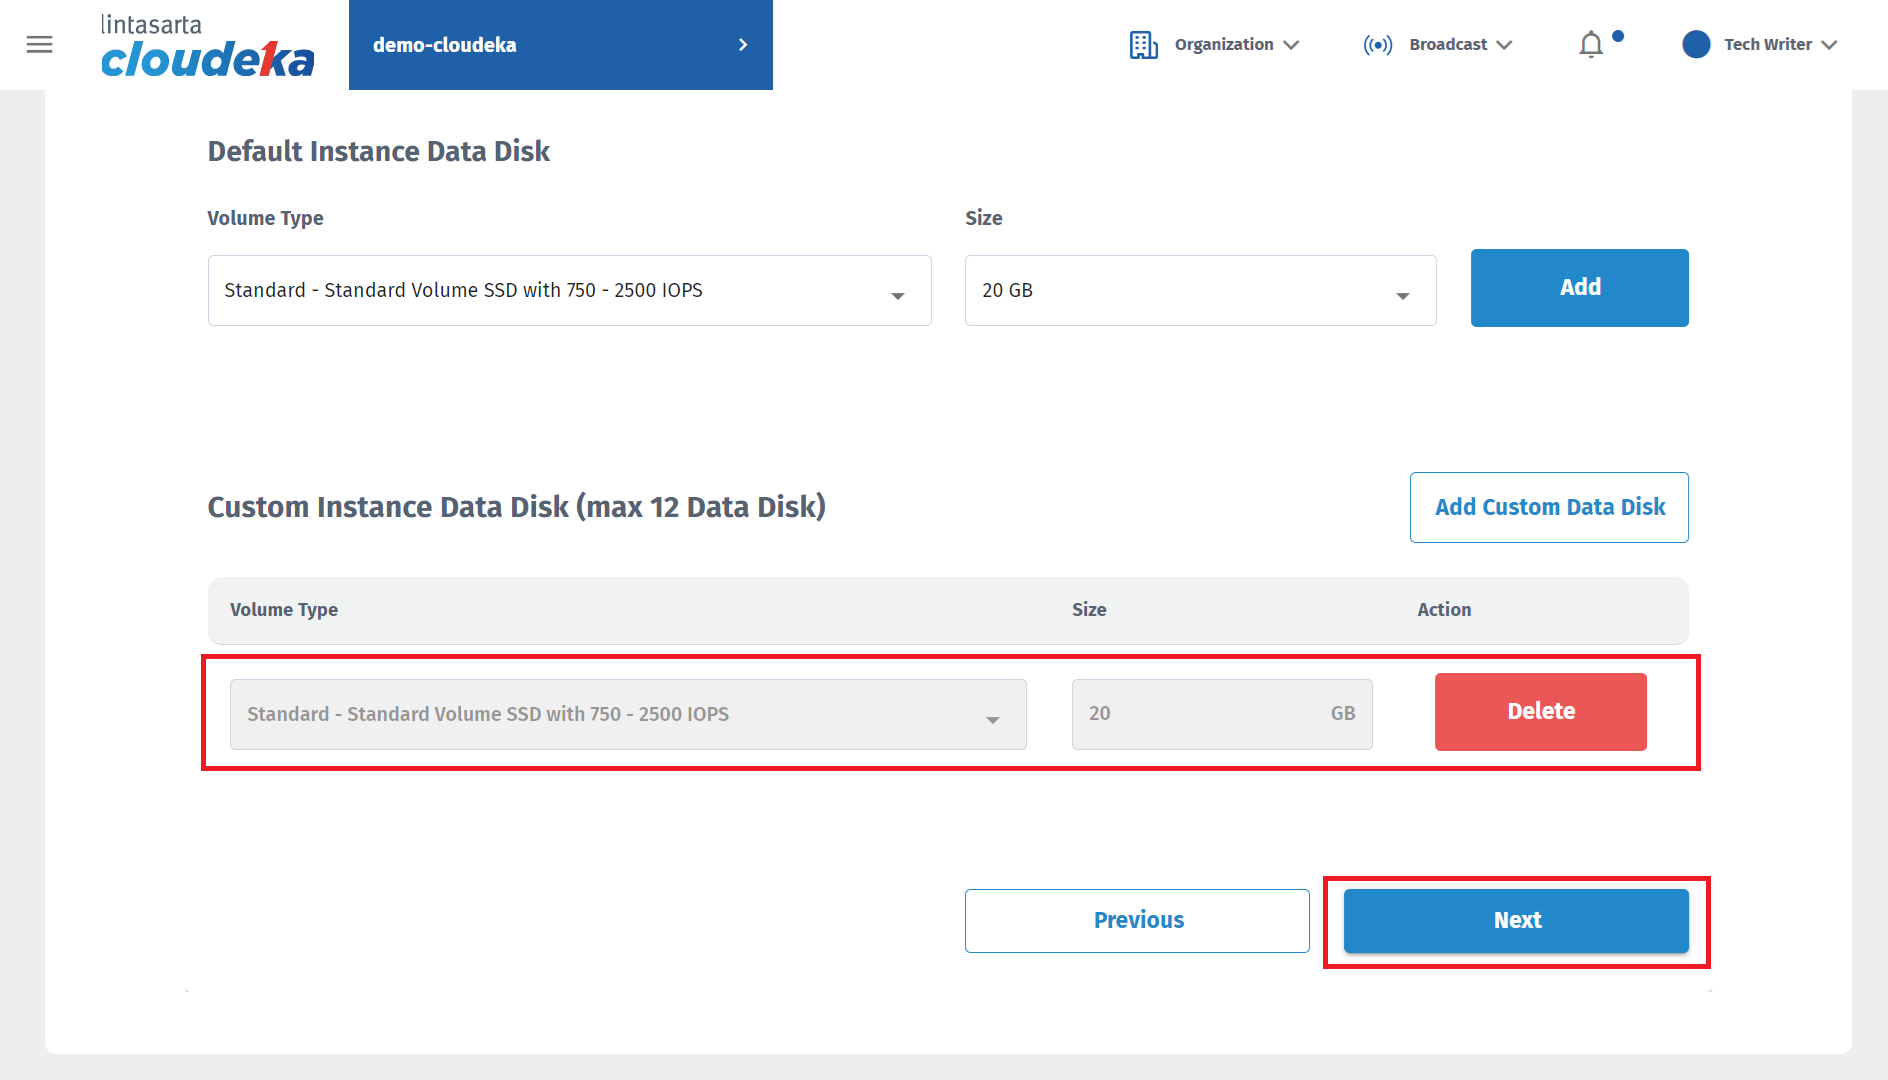
Create Instance - Custom Instance Data Disk
Create Instance - Network - VPC Network

Create Instance - Network - VPC Network
Create Instance - Server Group

Create Instance - Server Group

Create Instance - Authentication - SSH Key

Create Instance - Authentication - SSH Key

Create Instance - Authentication - SSH Key

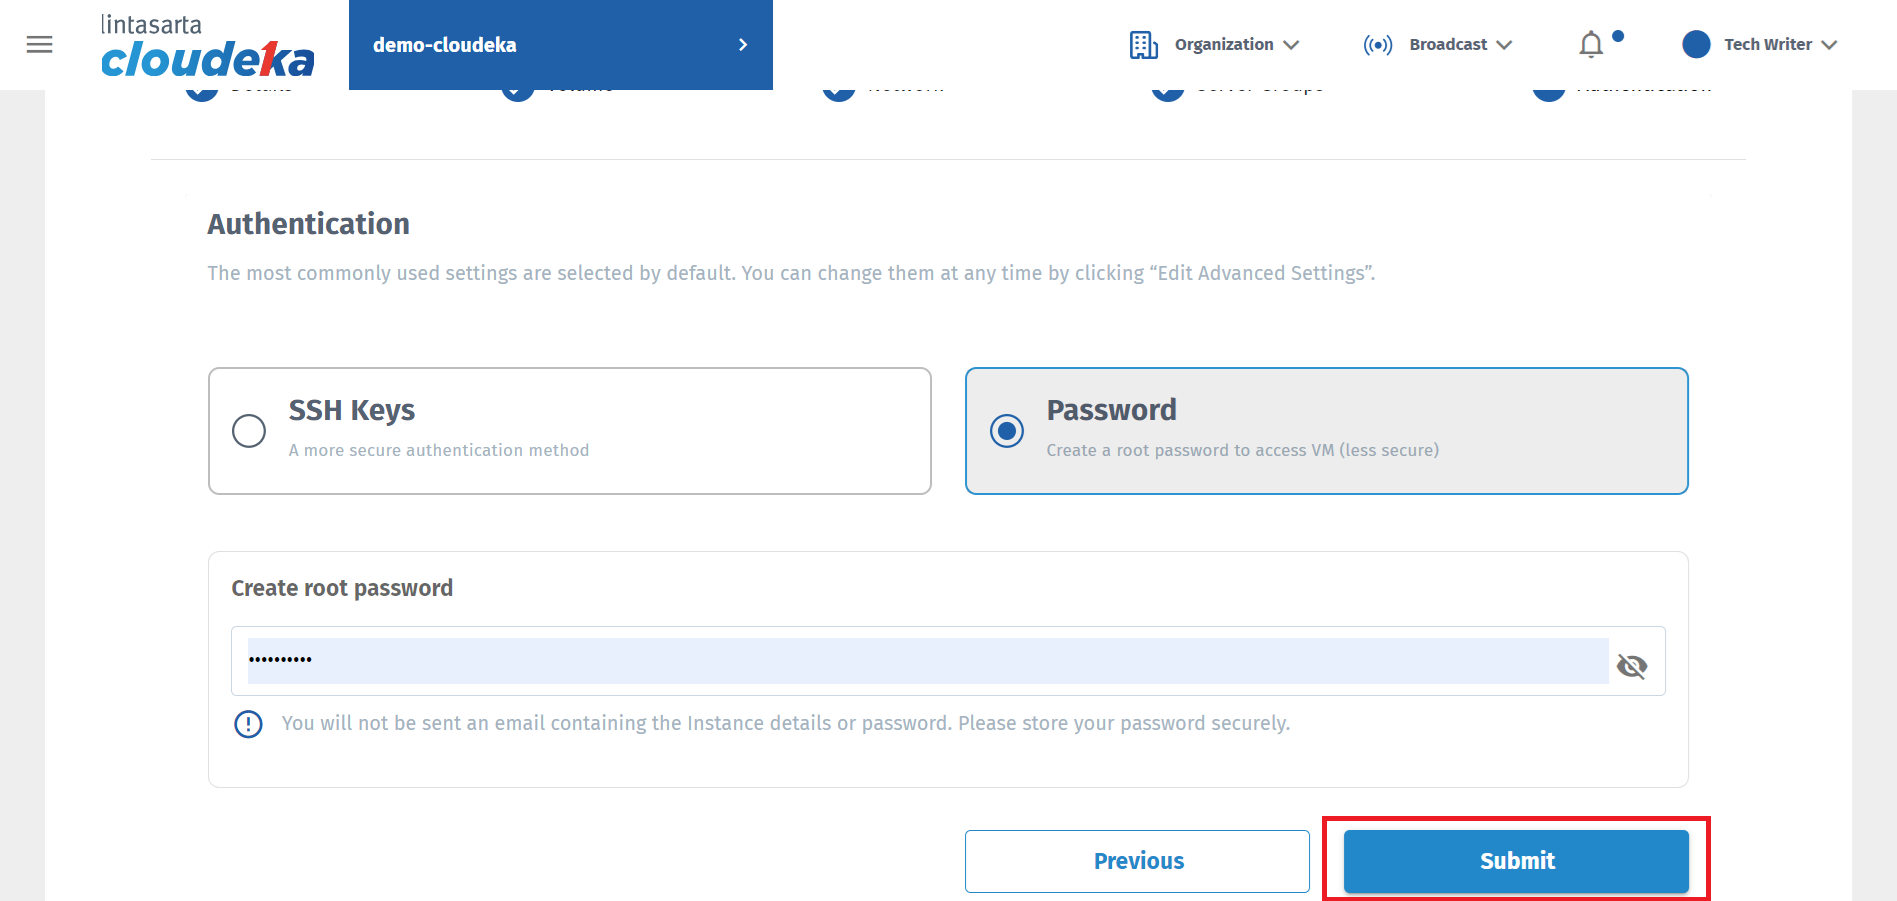
Create Instance - Password

Create Instance Submit
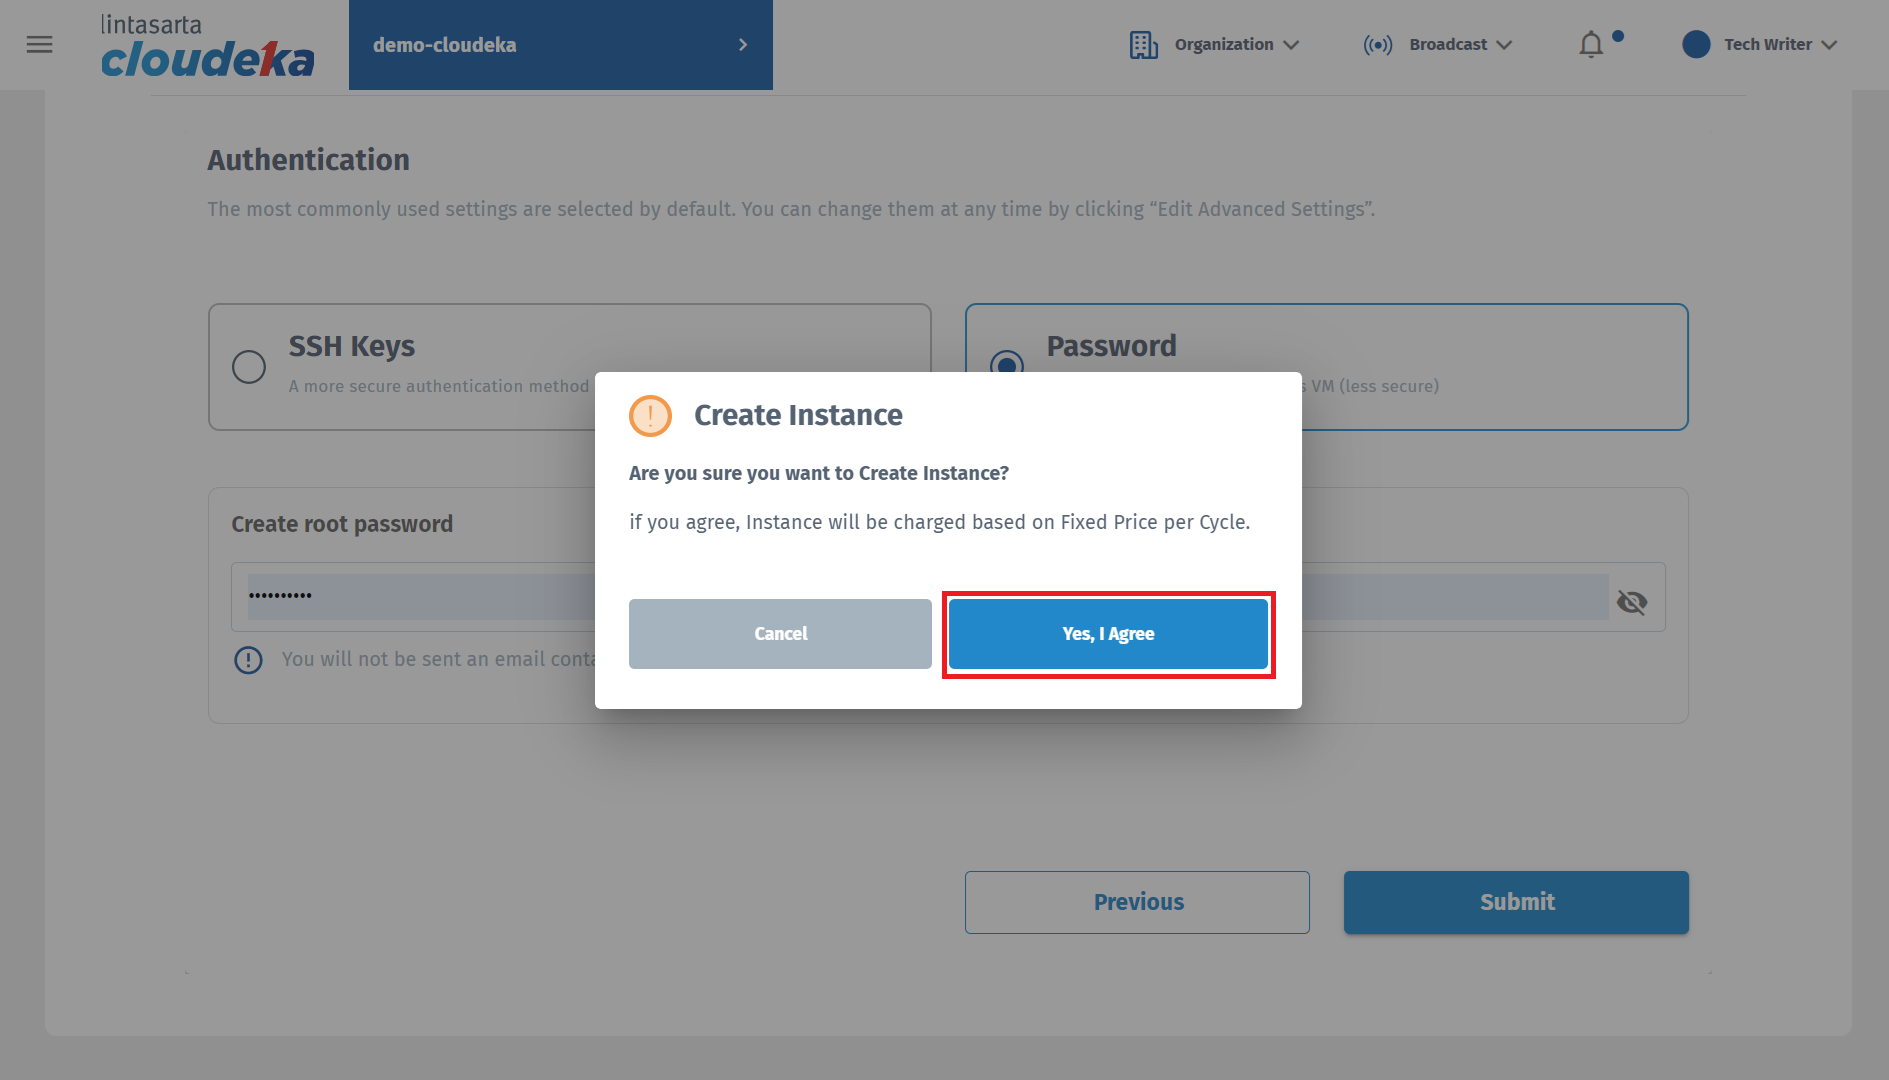
Create Instance
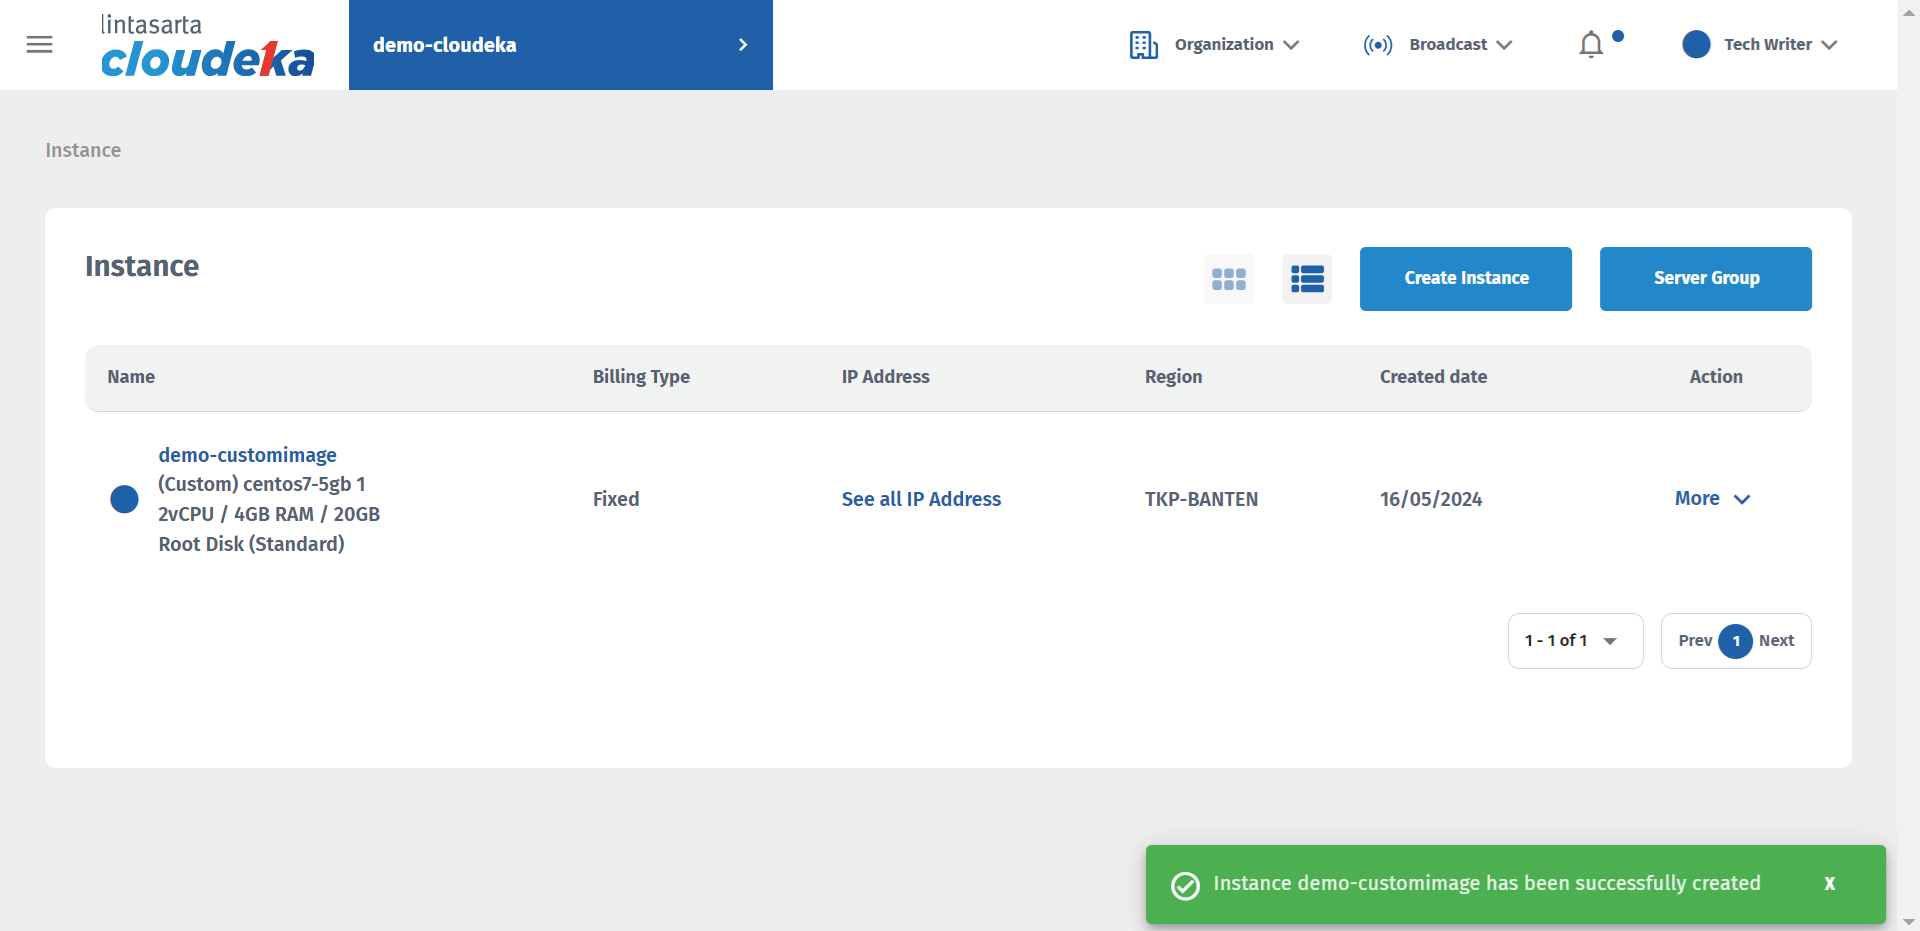
Create Instance - Notification Success