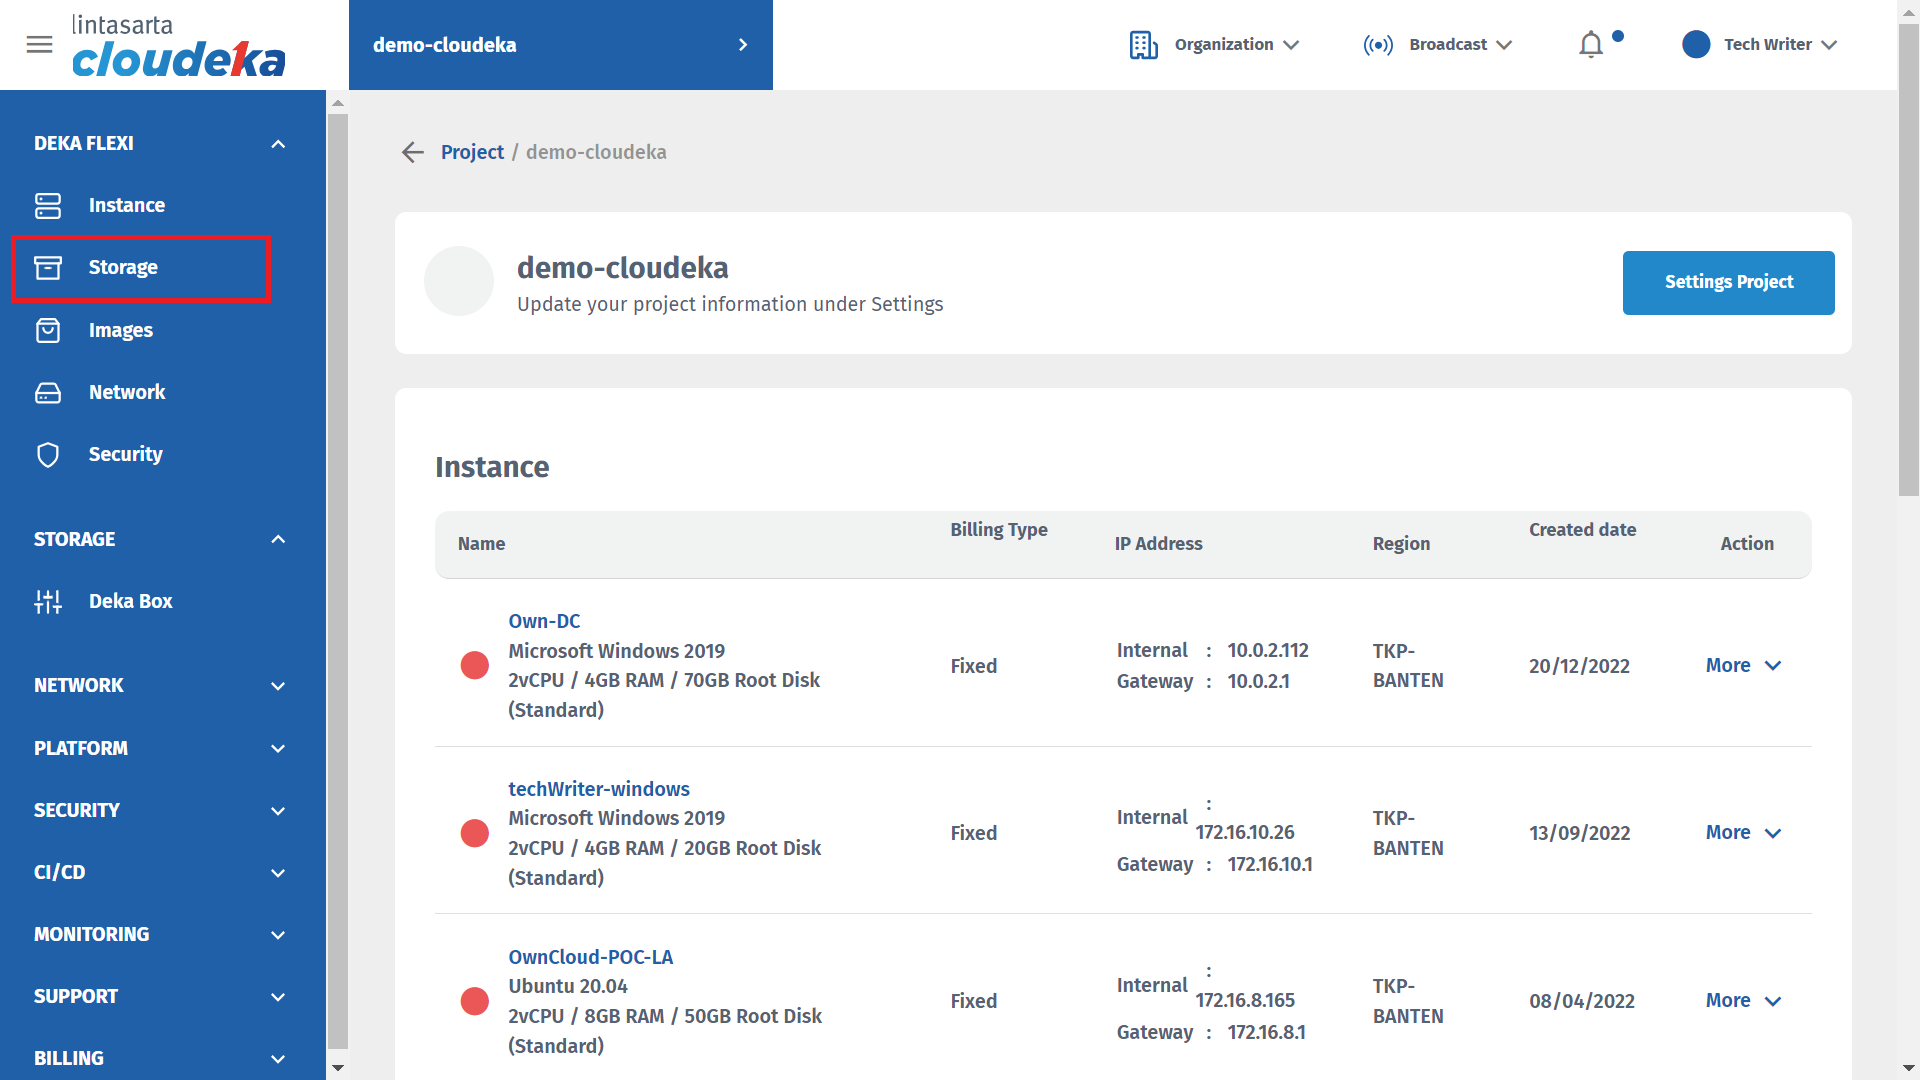
Project Page - Storage
Project Page - Storage
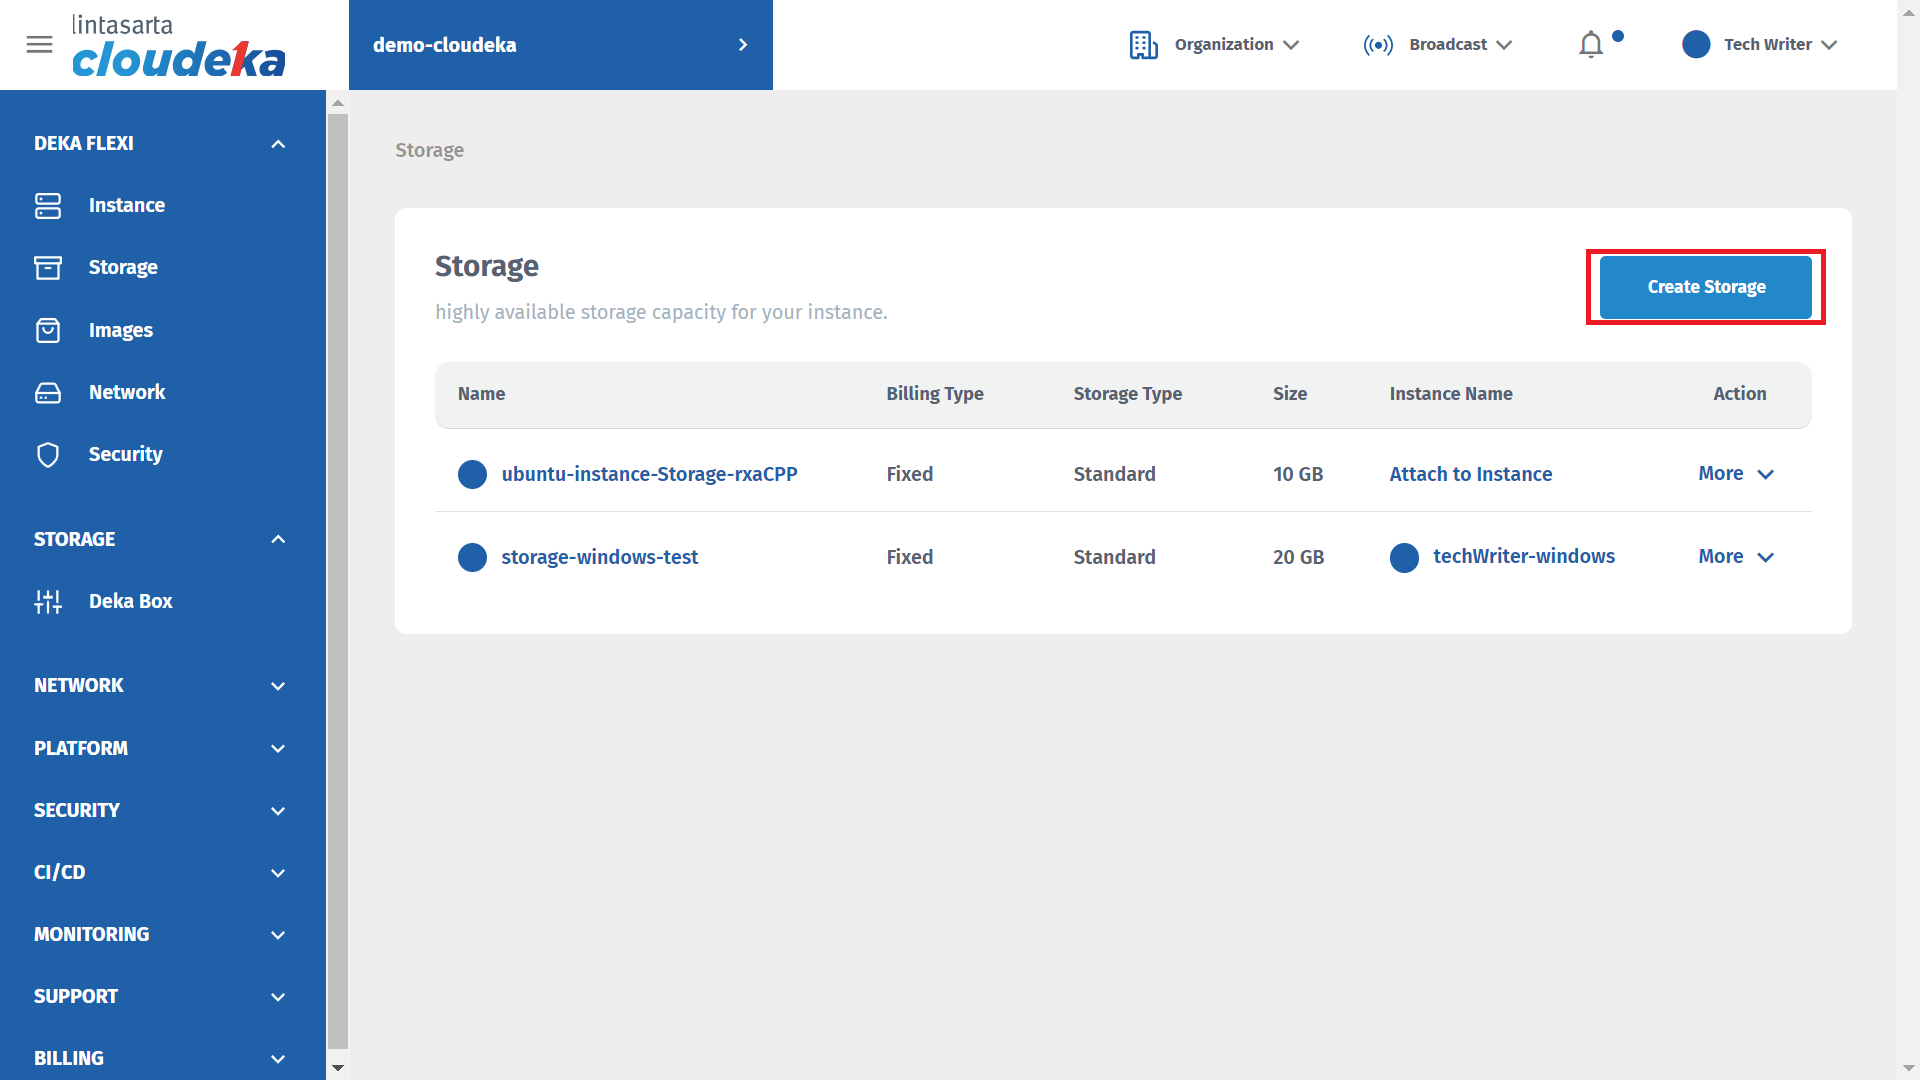
Create Storage
| Column | Description |
|---|---|
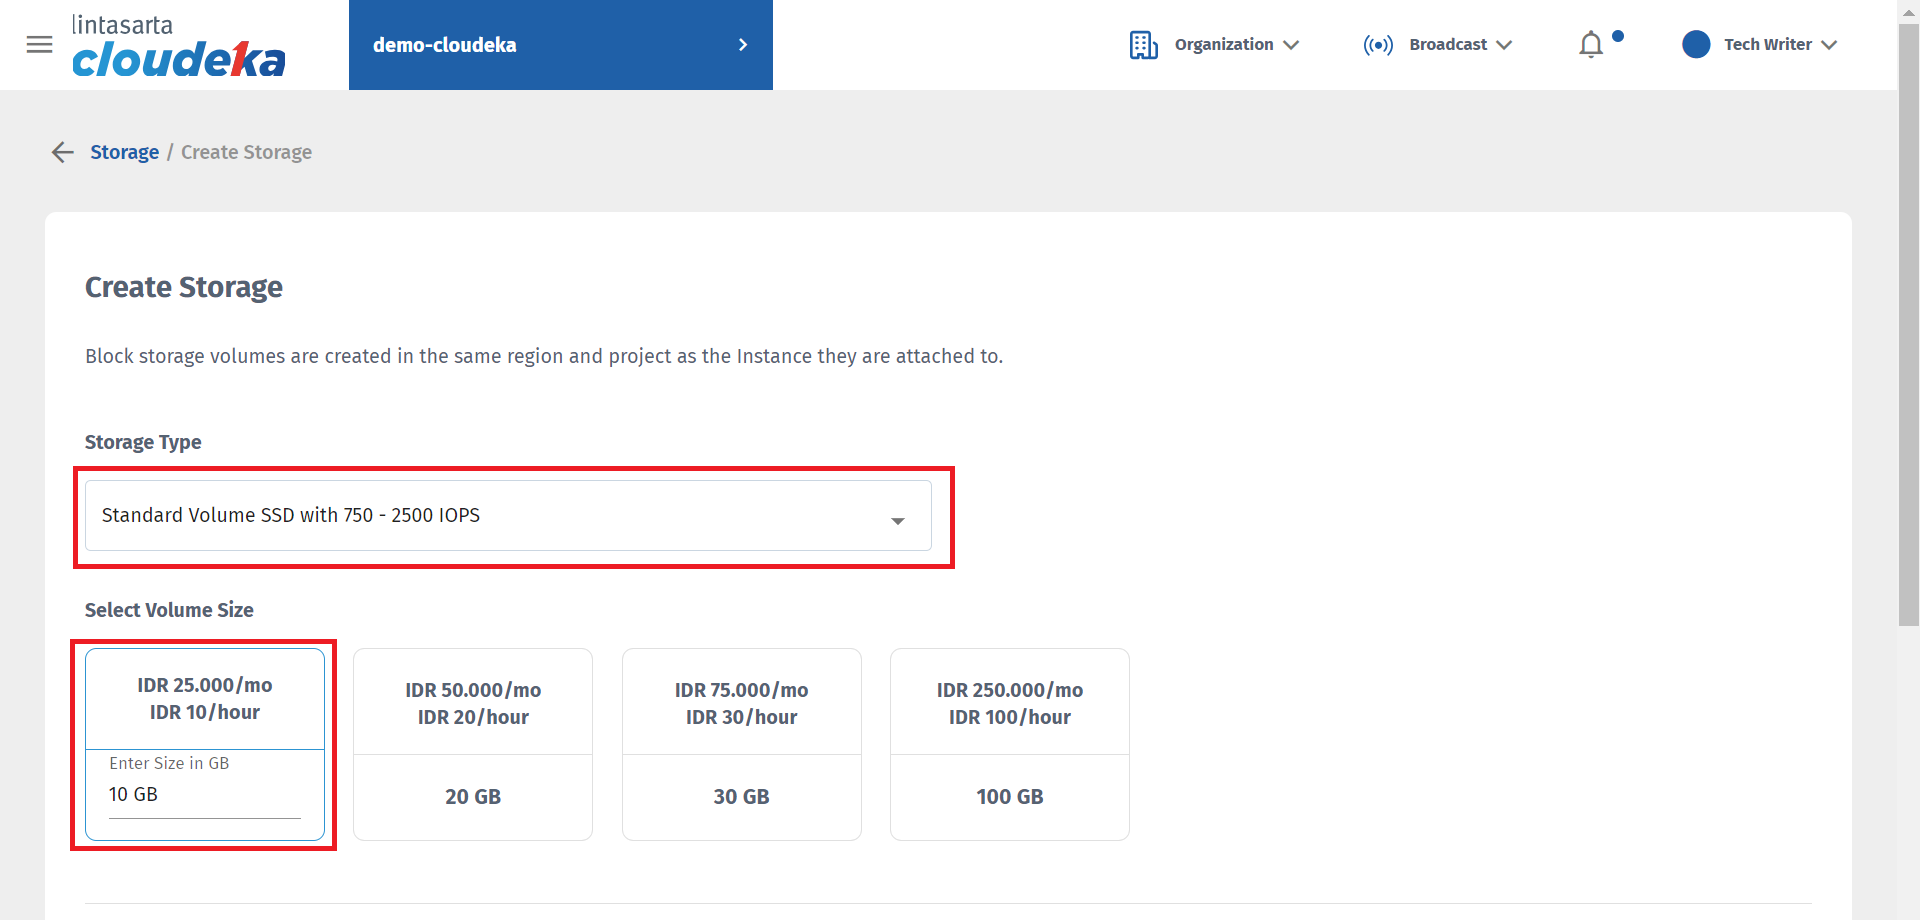
| Storage Type | - Premium Volume SSD with 2250 - 4500 IOPS - Premium Volume SSD with 750 - 2500 IOPS |
| Select Volume Size | To determine size of storage that you need |
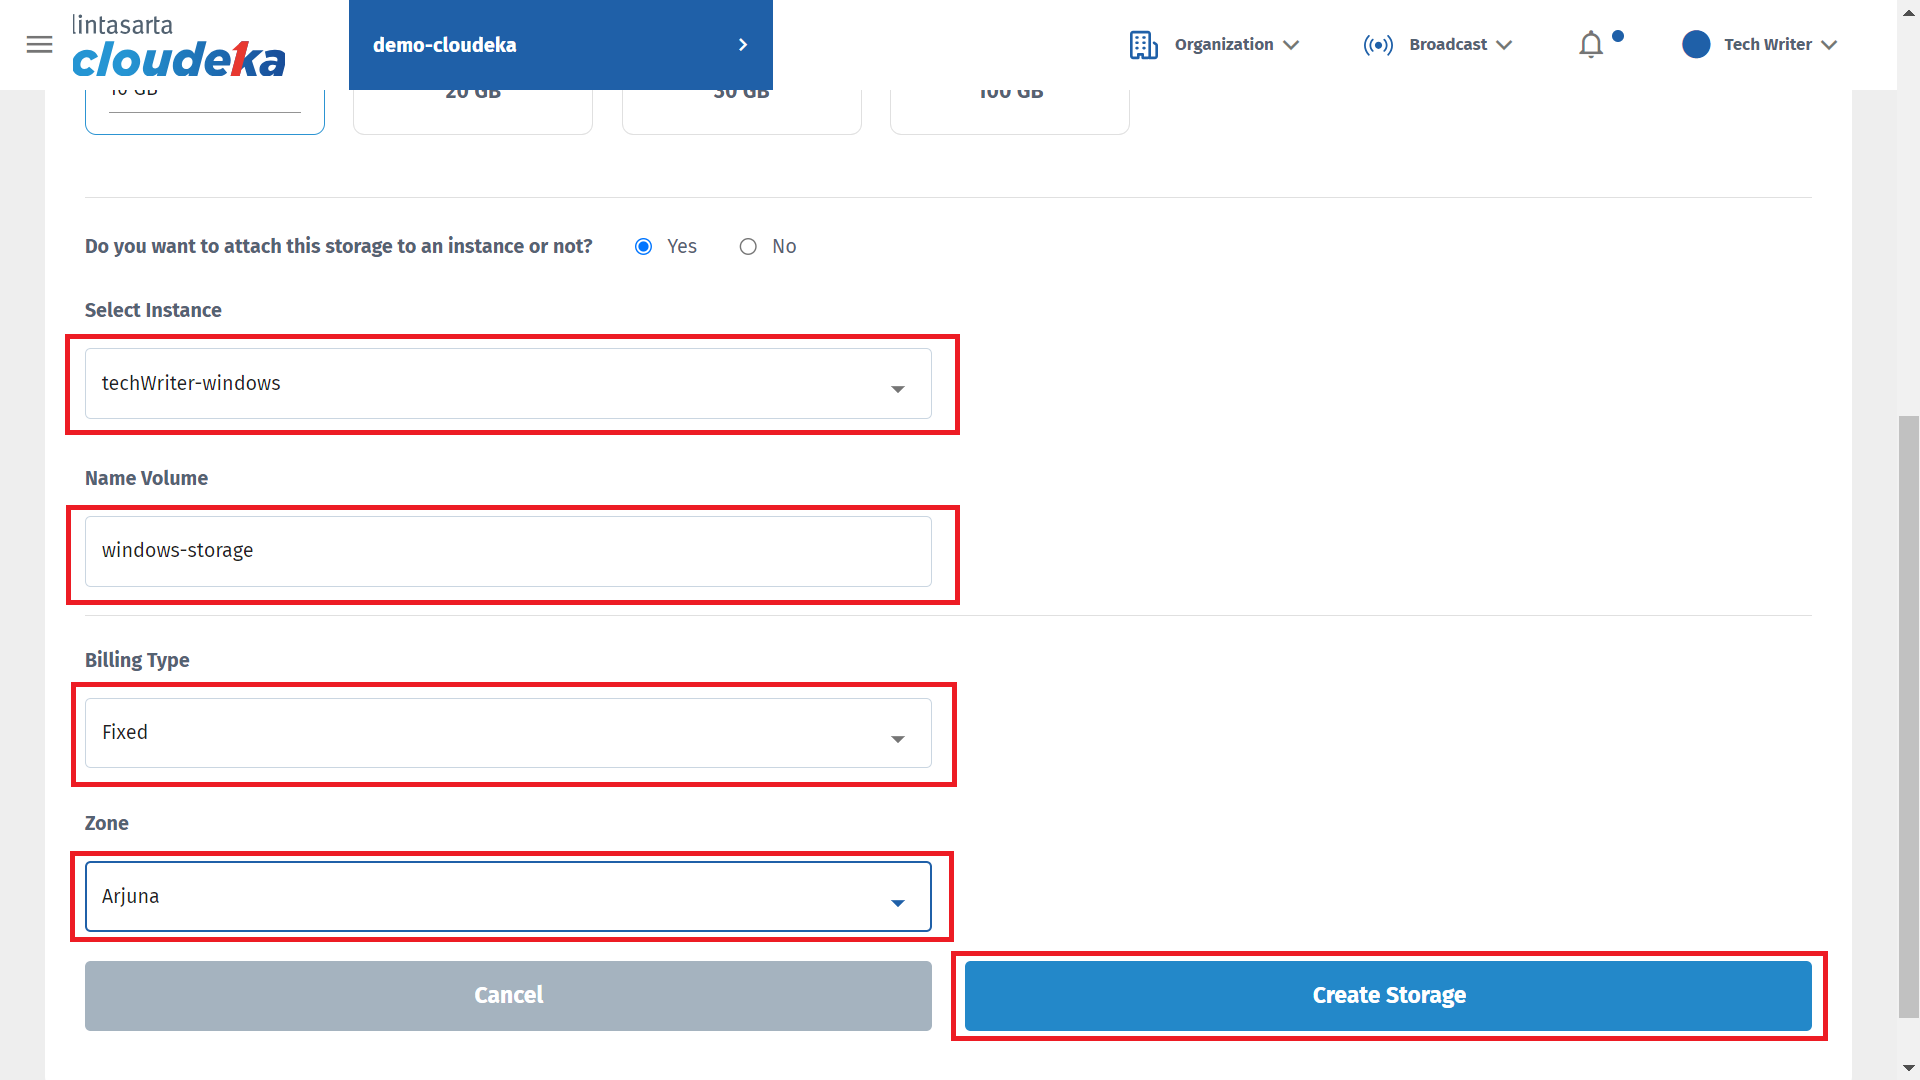
| Do you want to attach this storage to an instance or not? | You can choose yes if you want attach the storage to an instance, or choose not if you want attach the storage later |
| Select Instance | Select an instance to specify on which VM this storage will be attached |
| Name Volume | Name for the volume |
| Billing Type | According to the type of project used. |
| Zone | Zone to be used on Storage. |
Create Storage Form
Create Storage Form
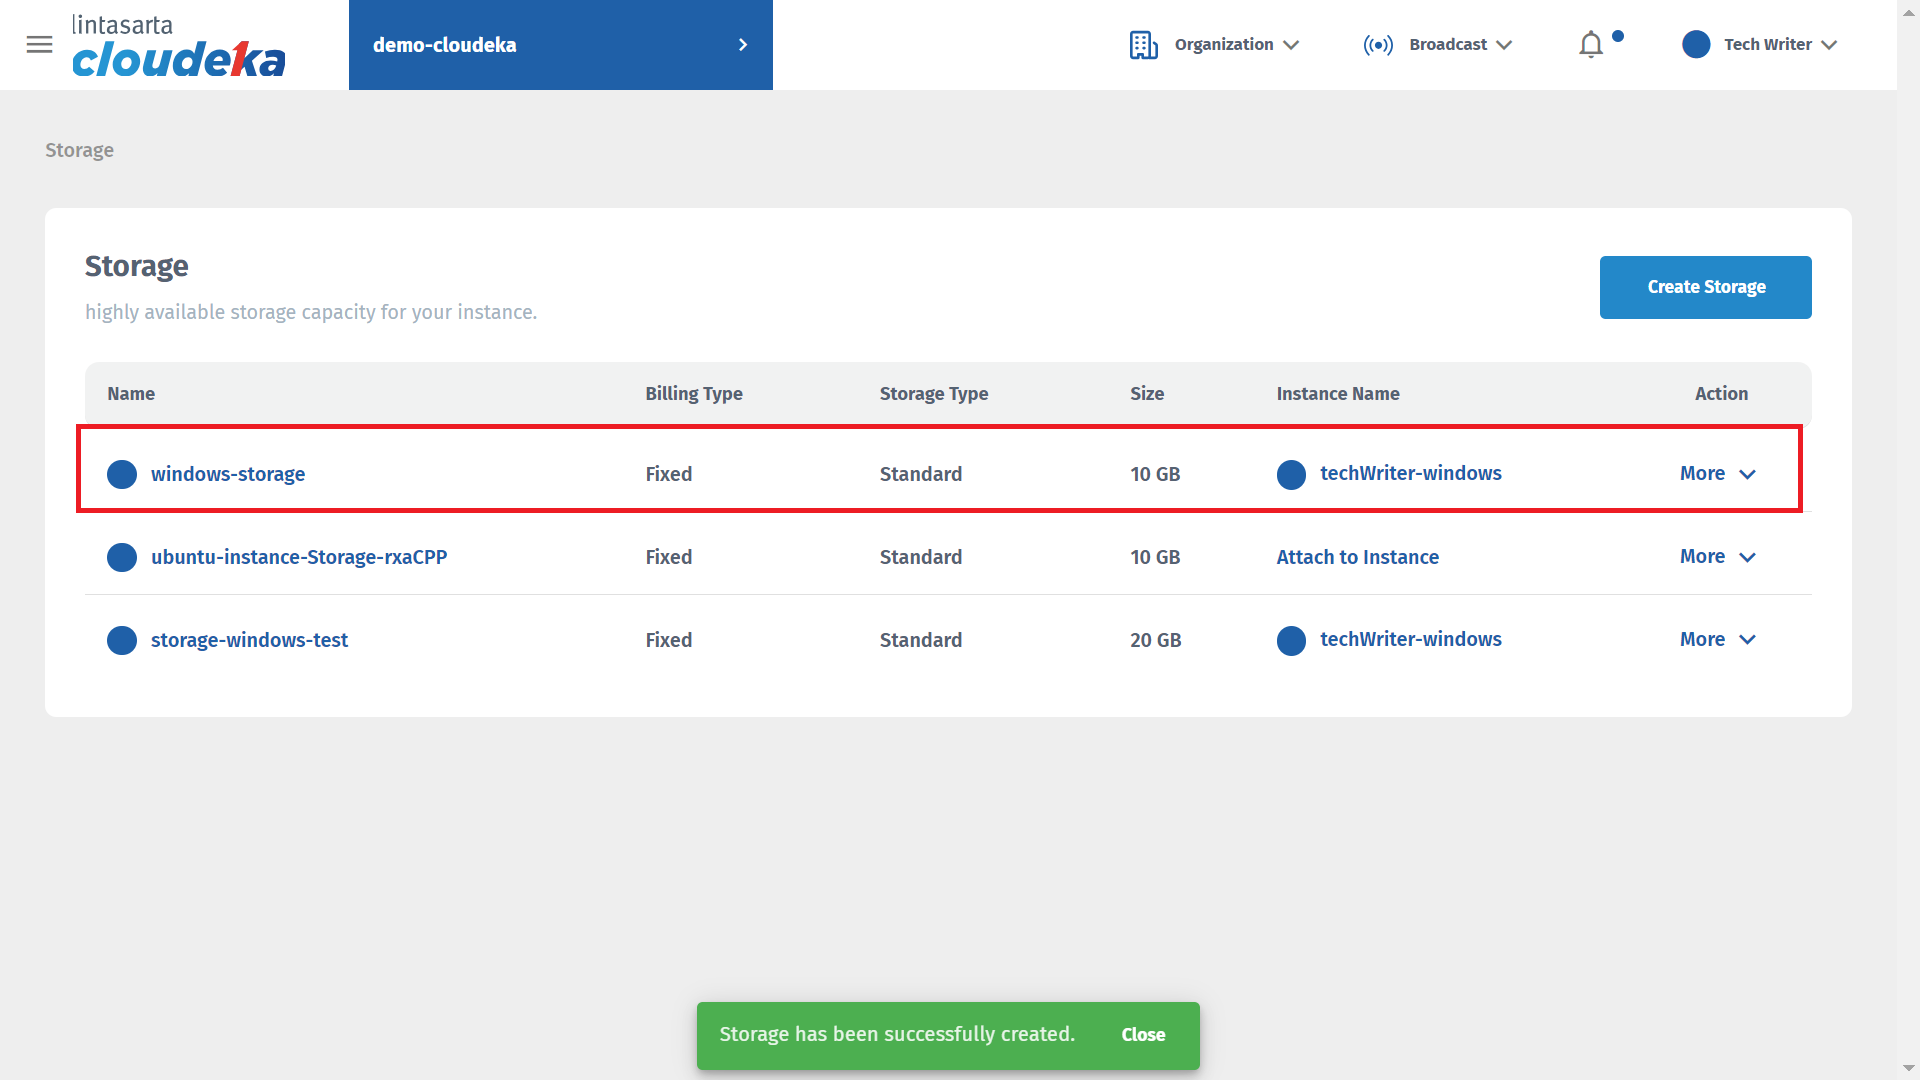
Notification