Add Subnet
Add Subnet
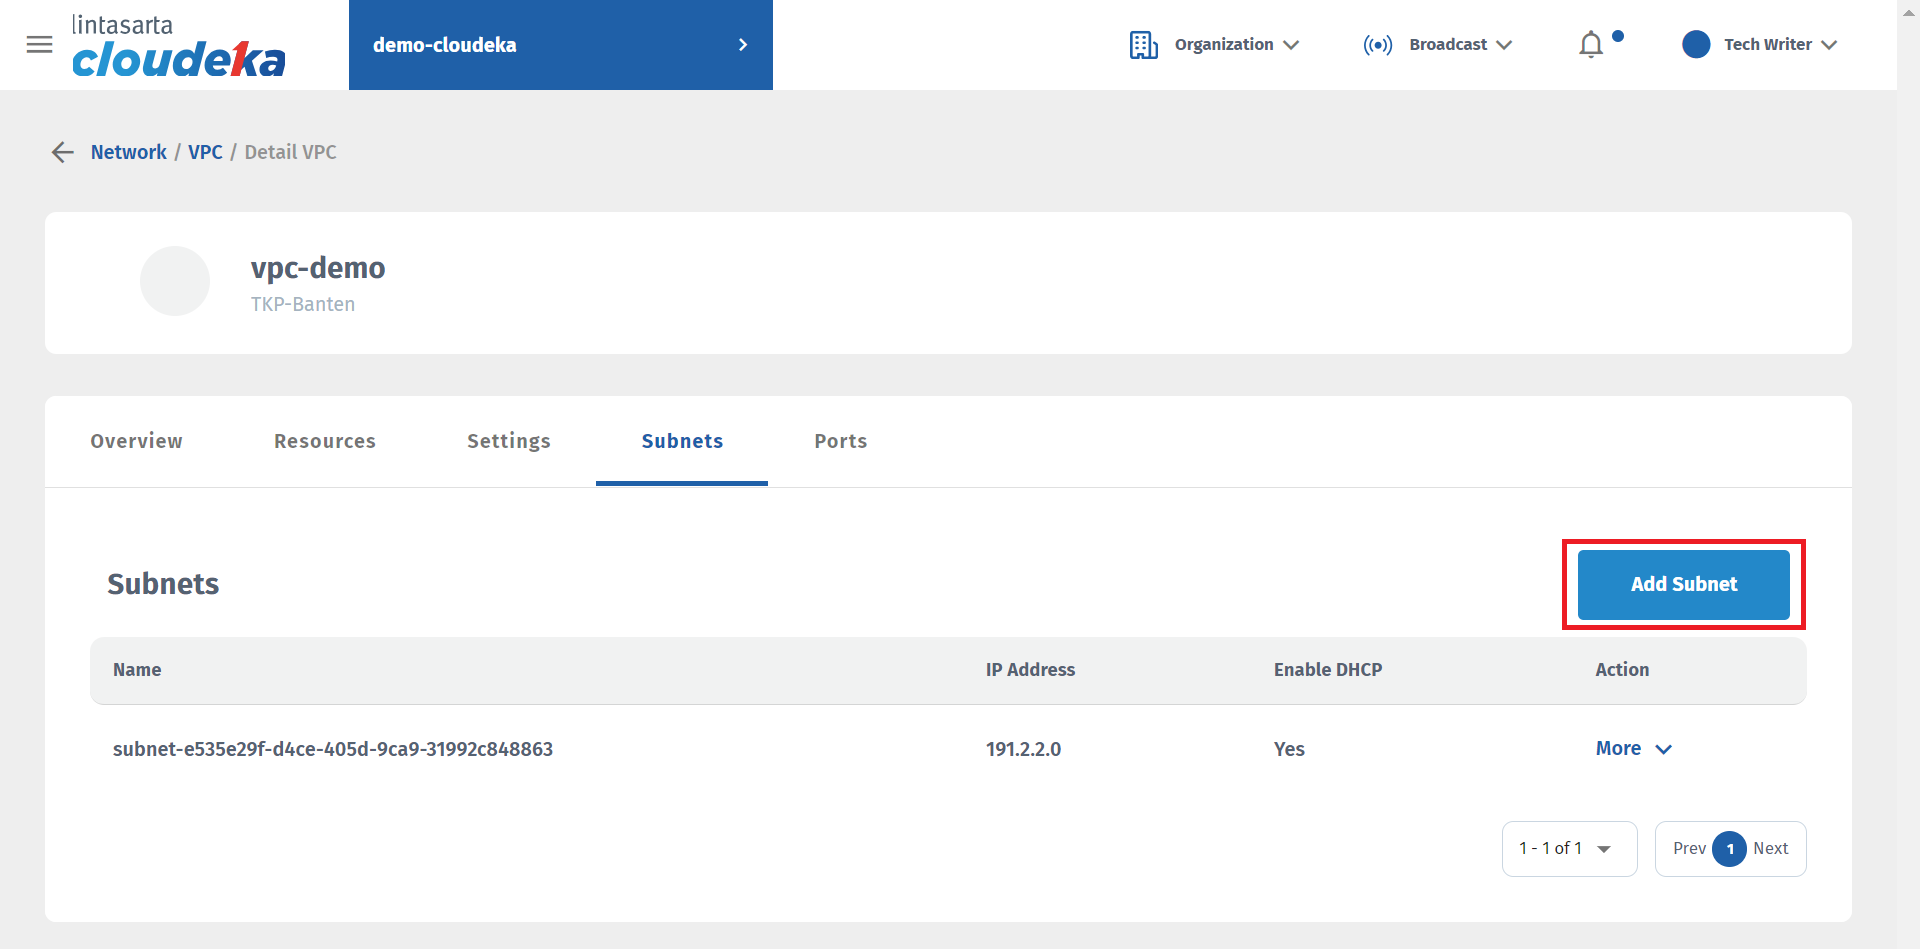
Add Subnet
Add Subnet
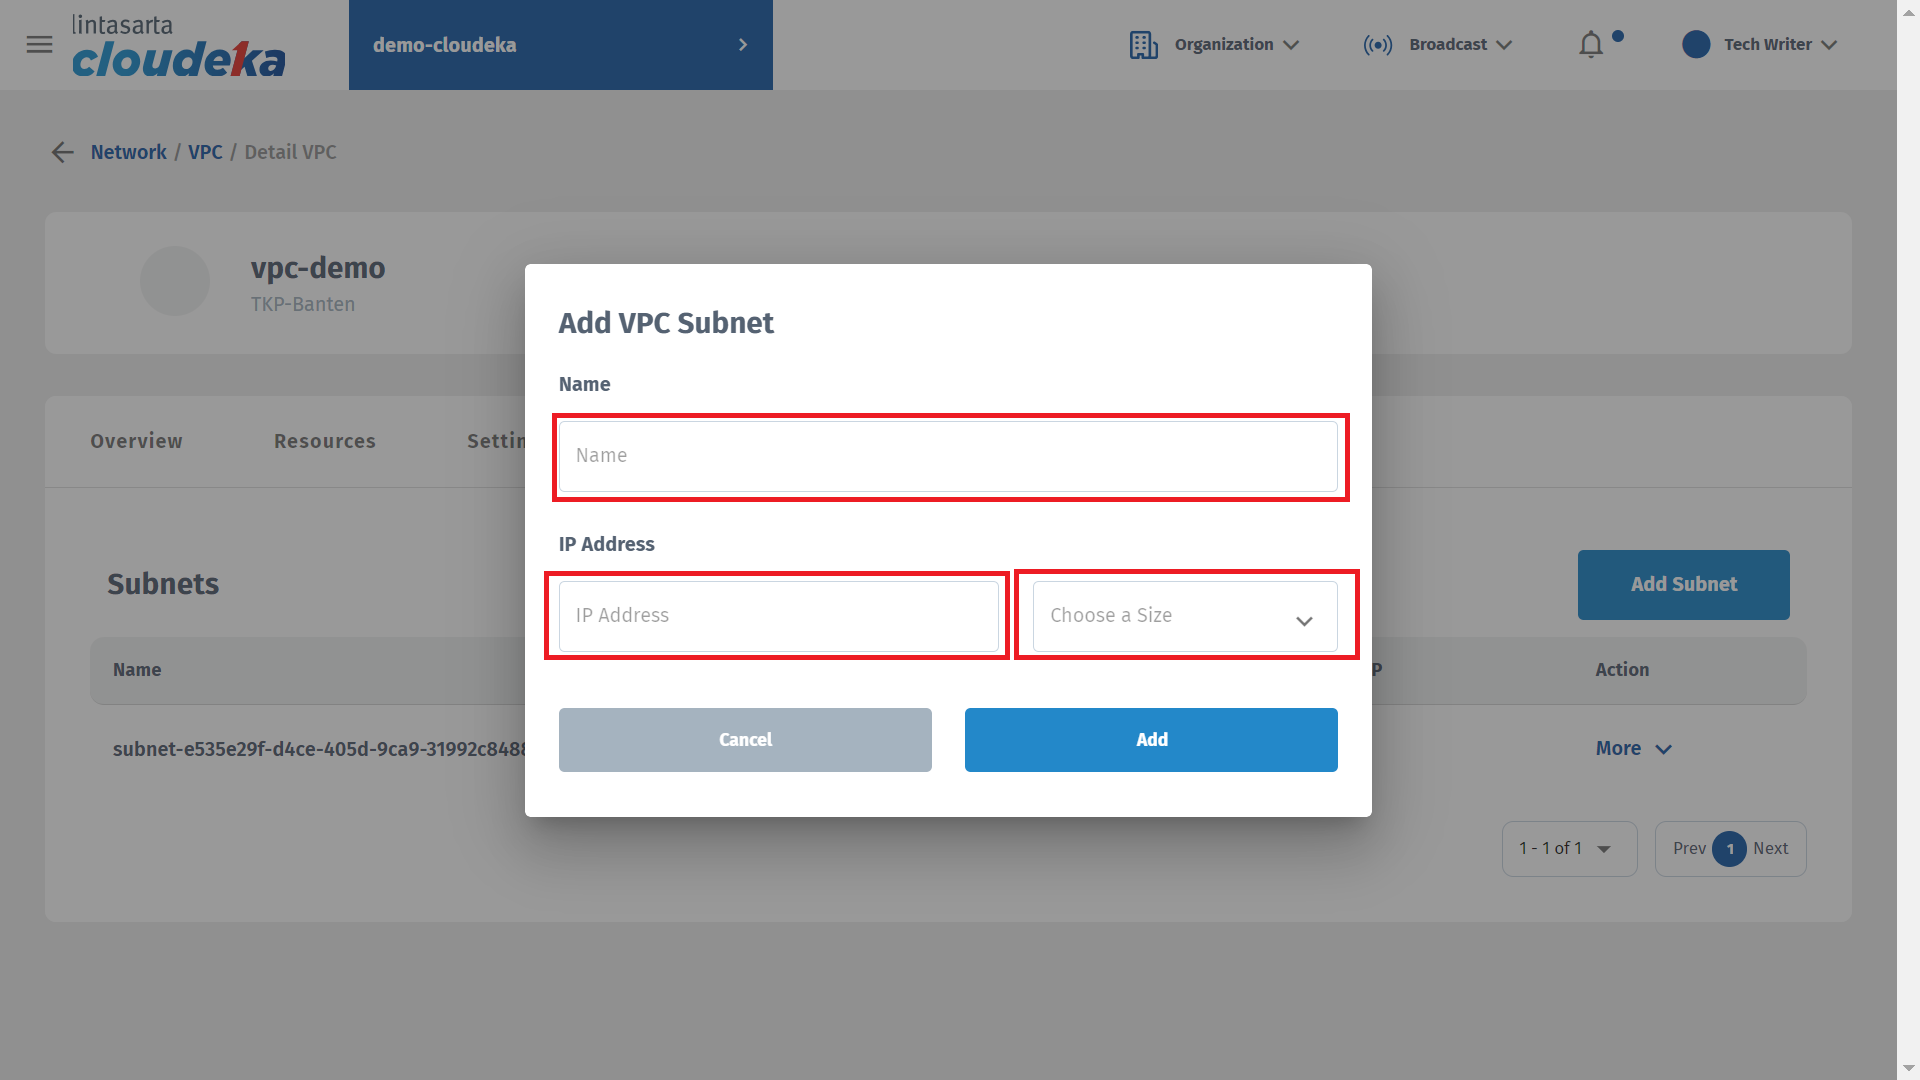
| Column | Desccription |
|---|---|
| Name | Name of the subnet to be listed. |
| IP Address | The subnet address to use. |
| IP Address - Size | Number of IP addresses that can be used on that subnet. |
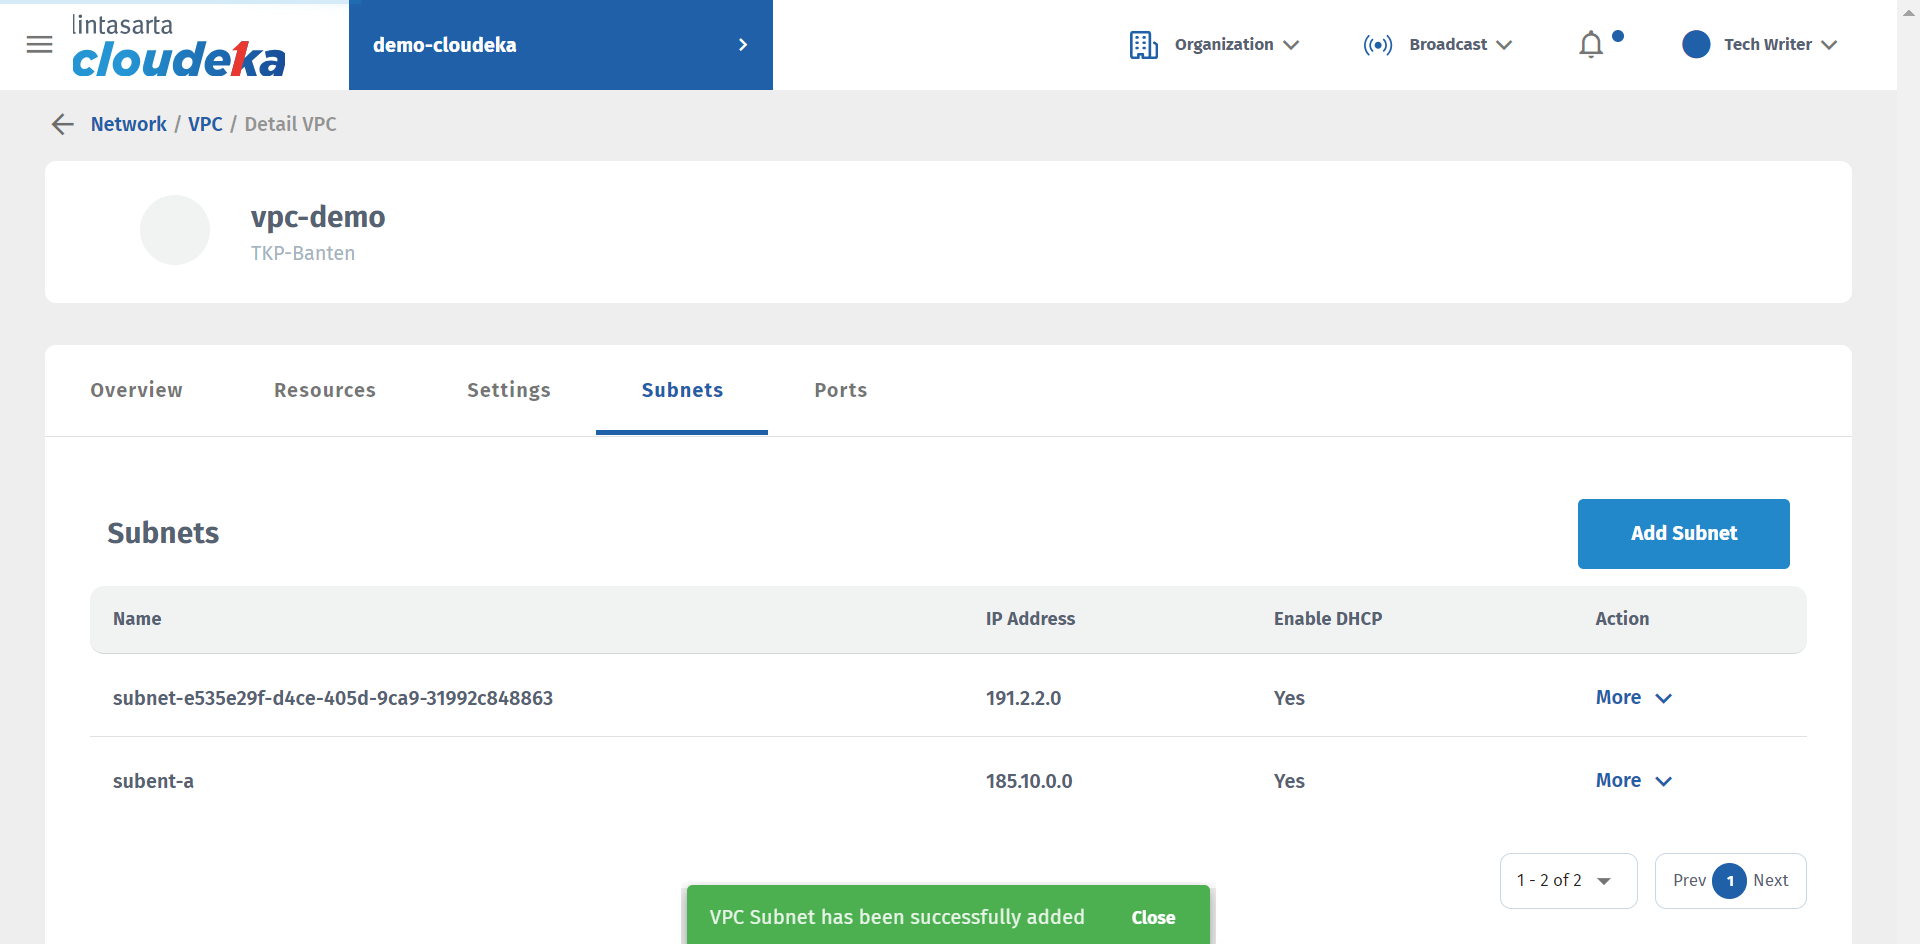
Add Subnet
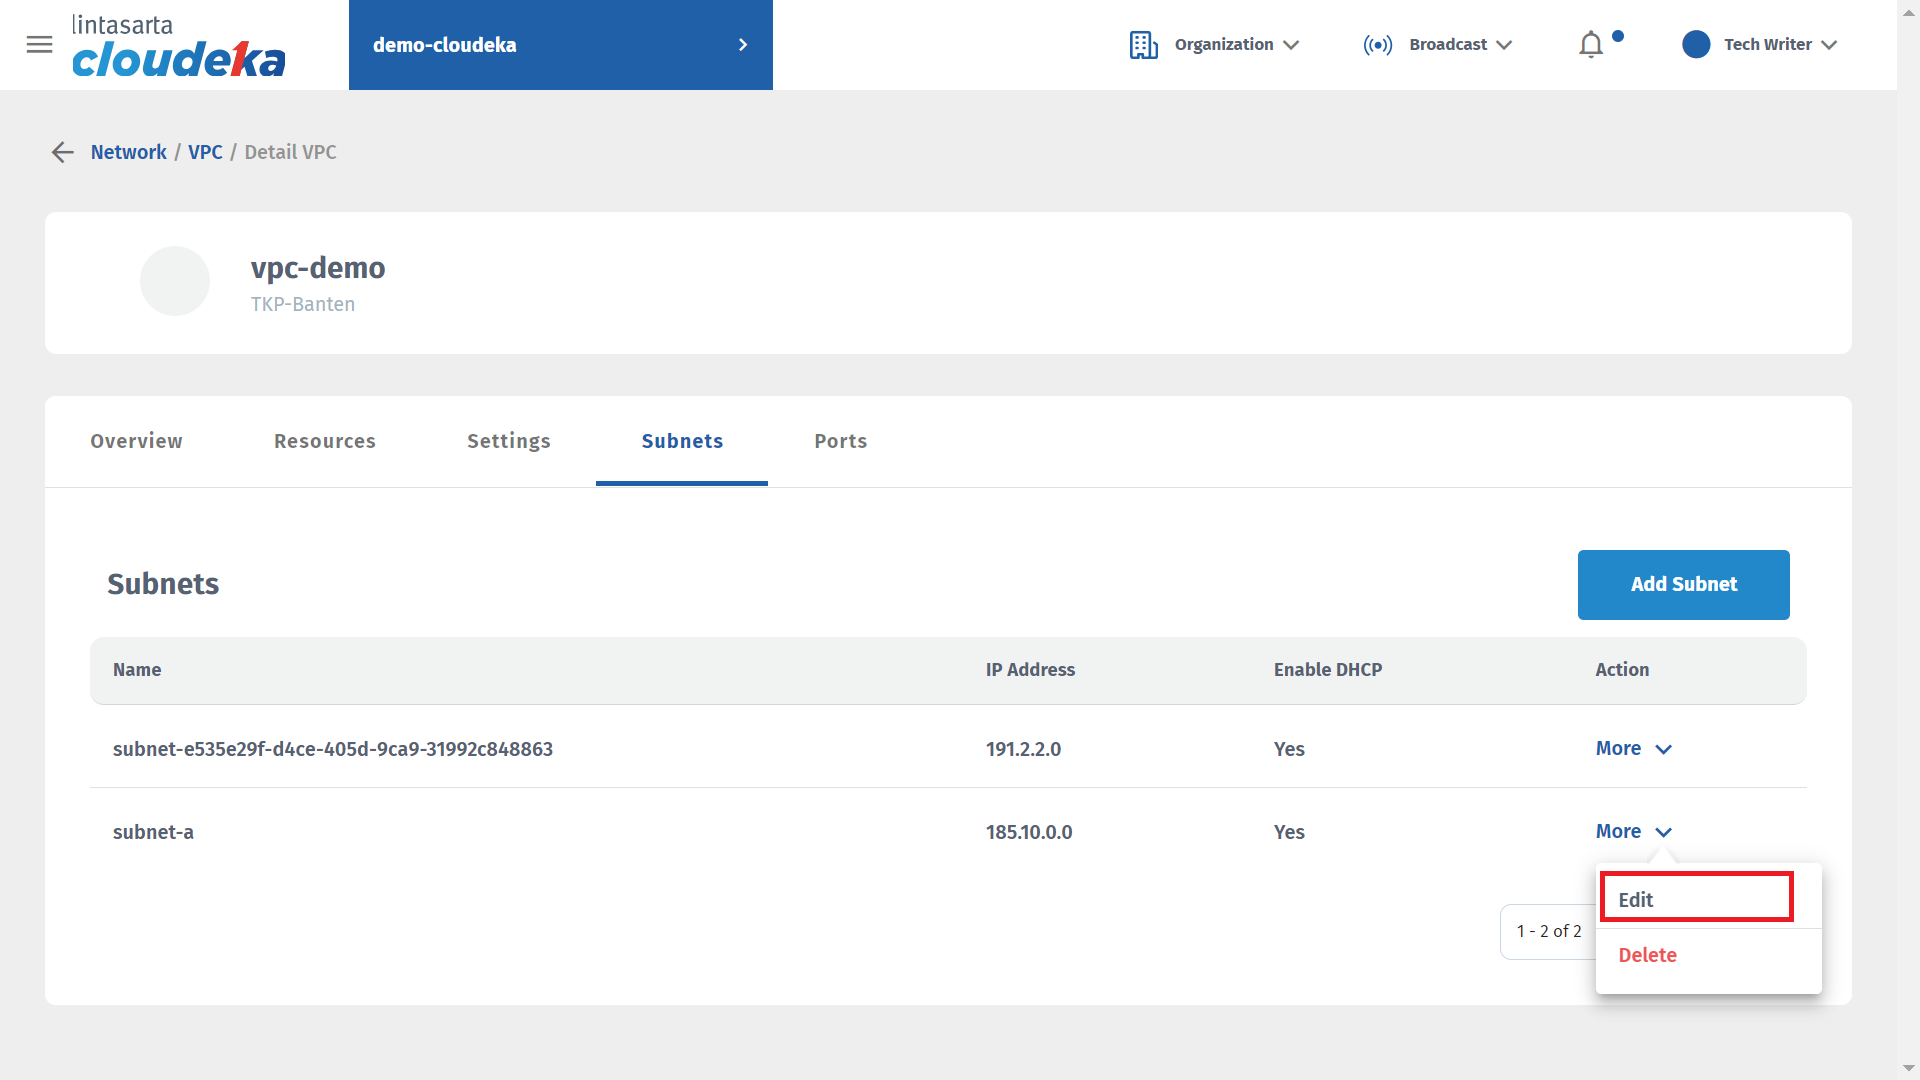
Edit Subnet
Edit Subnet
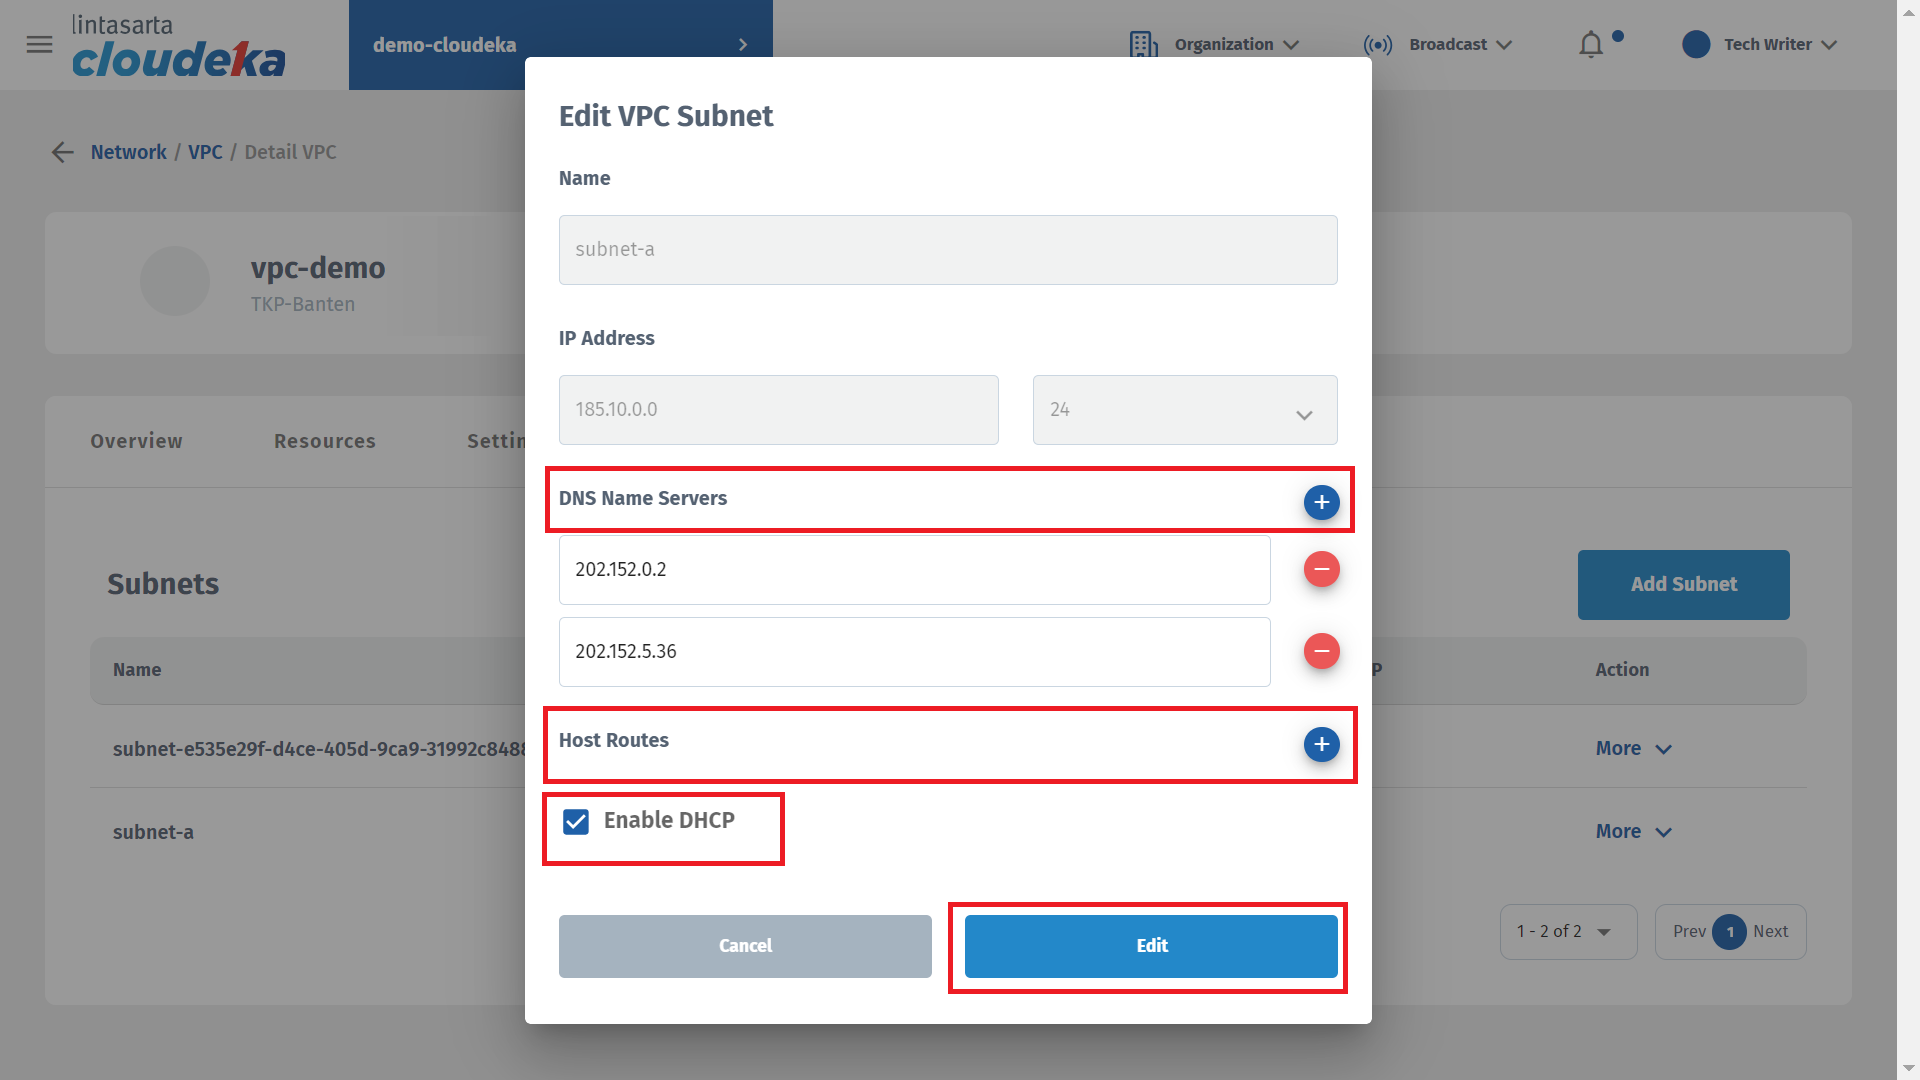
| Column | Description |
|---|---|
| DNS Name Servers | To add the DNS Server configuration to use. |
| Host Routes | Used to define subnet routes for traffic to network segments. You can press the add icon to add Host Routes routes. |
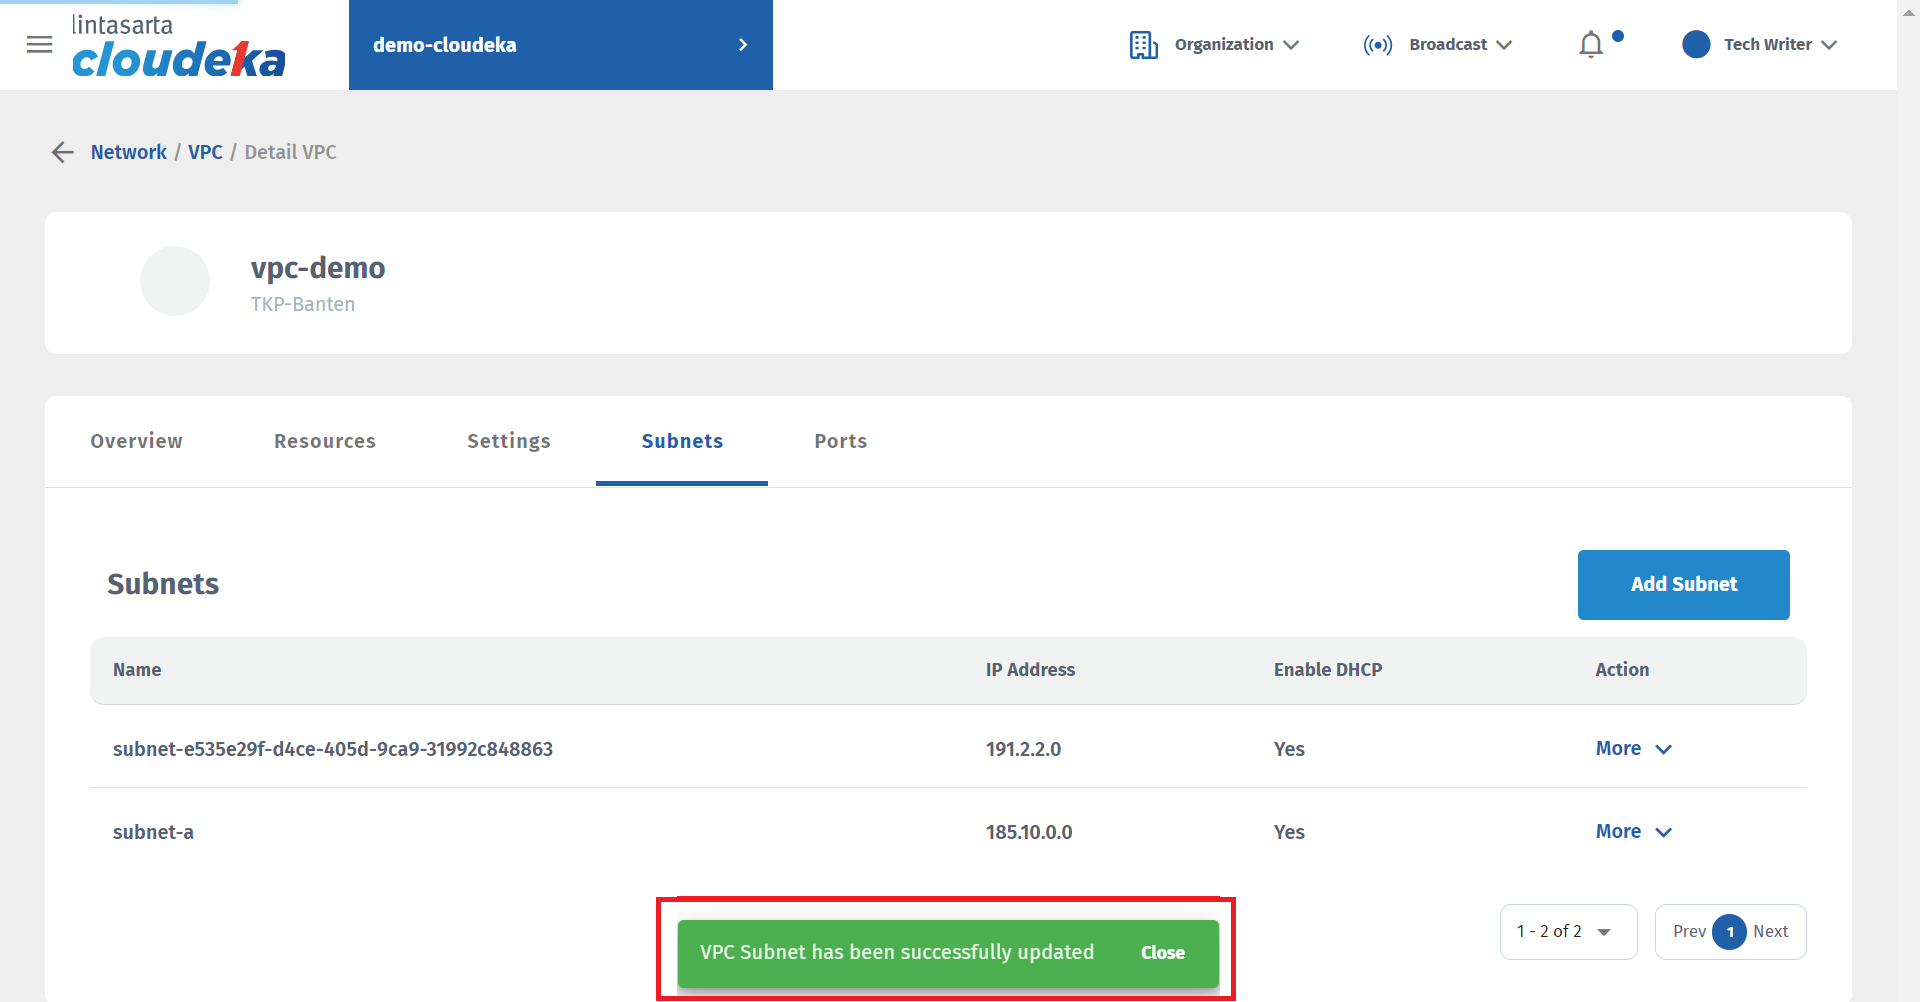
Edit Subnet