
Data Stores Page - Details
Data Stores Page - Details
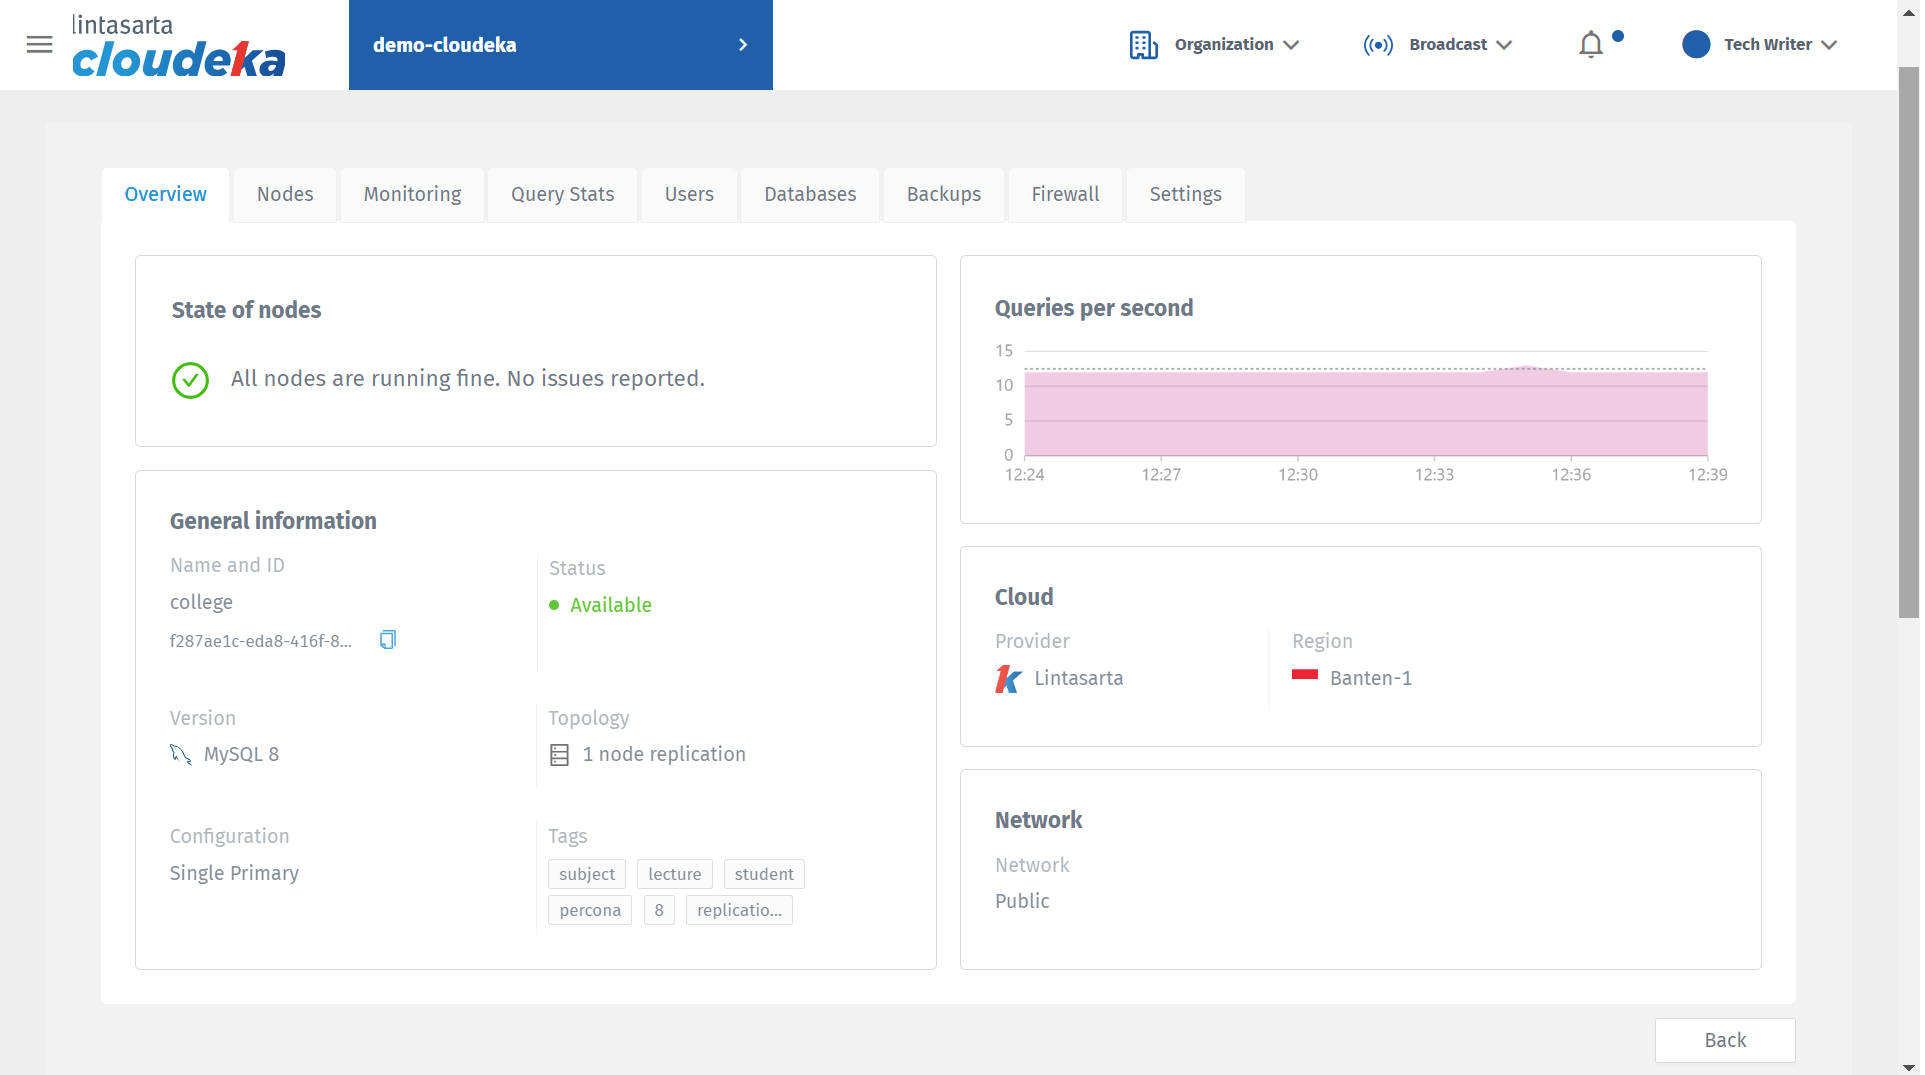
Overview Tab - Data Store Informations
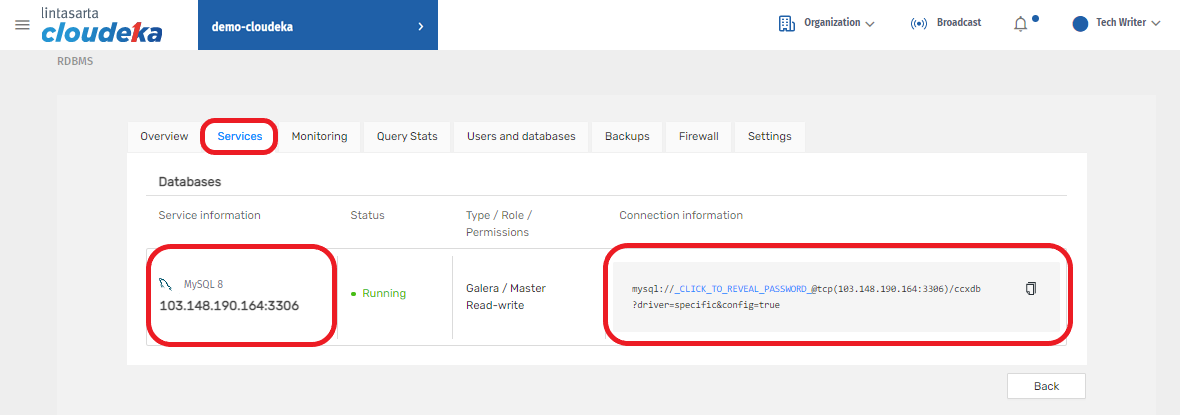
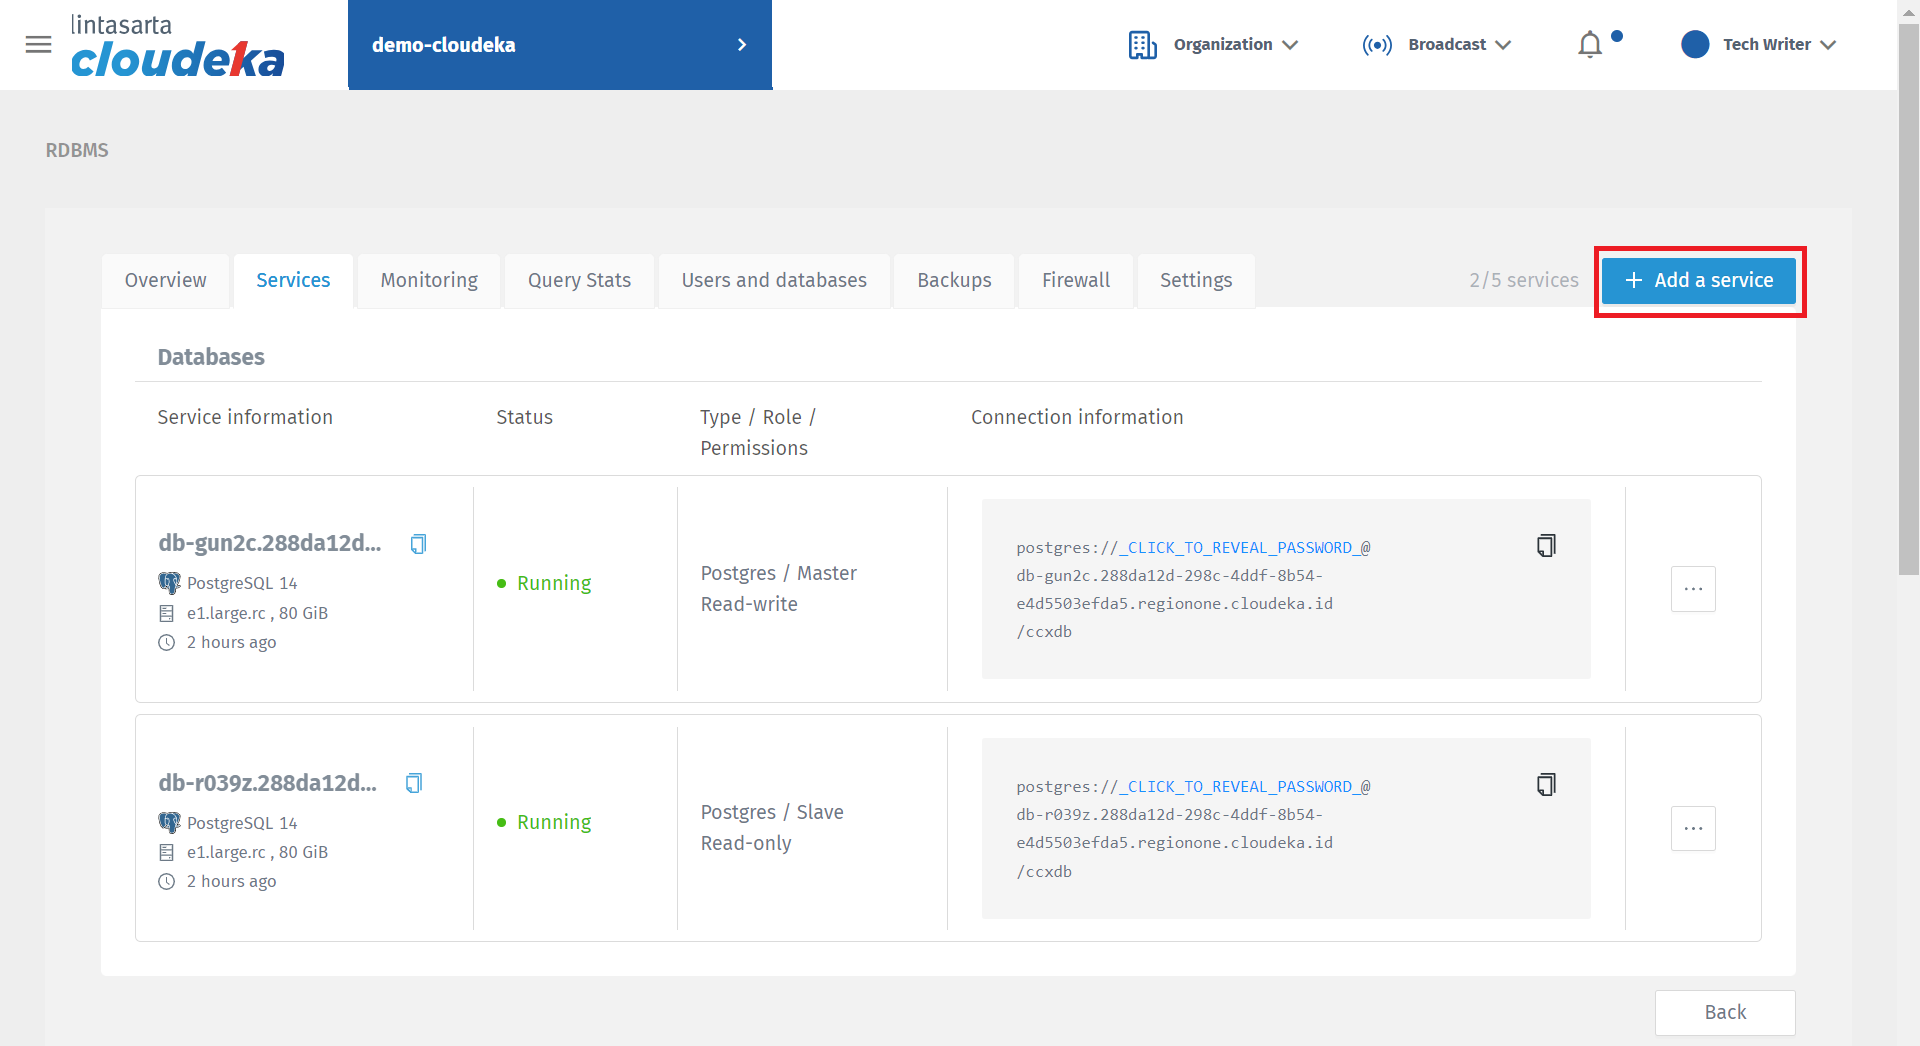
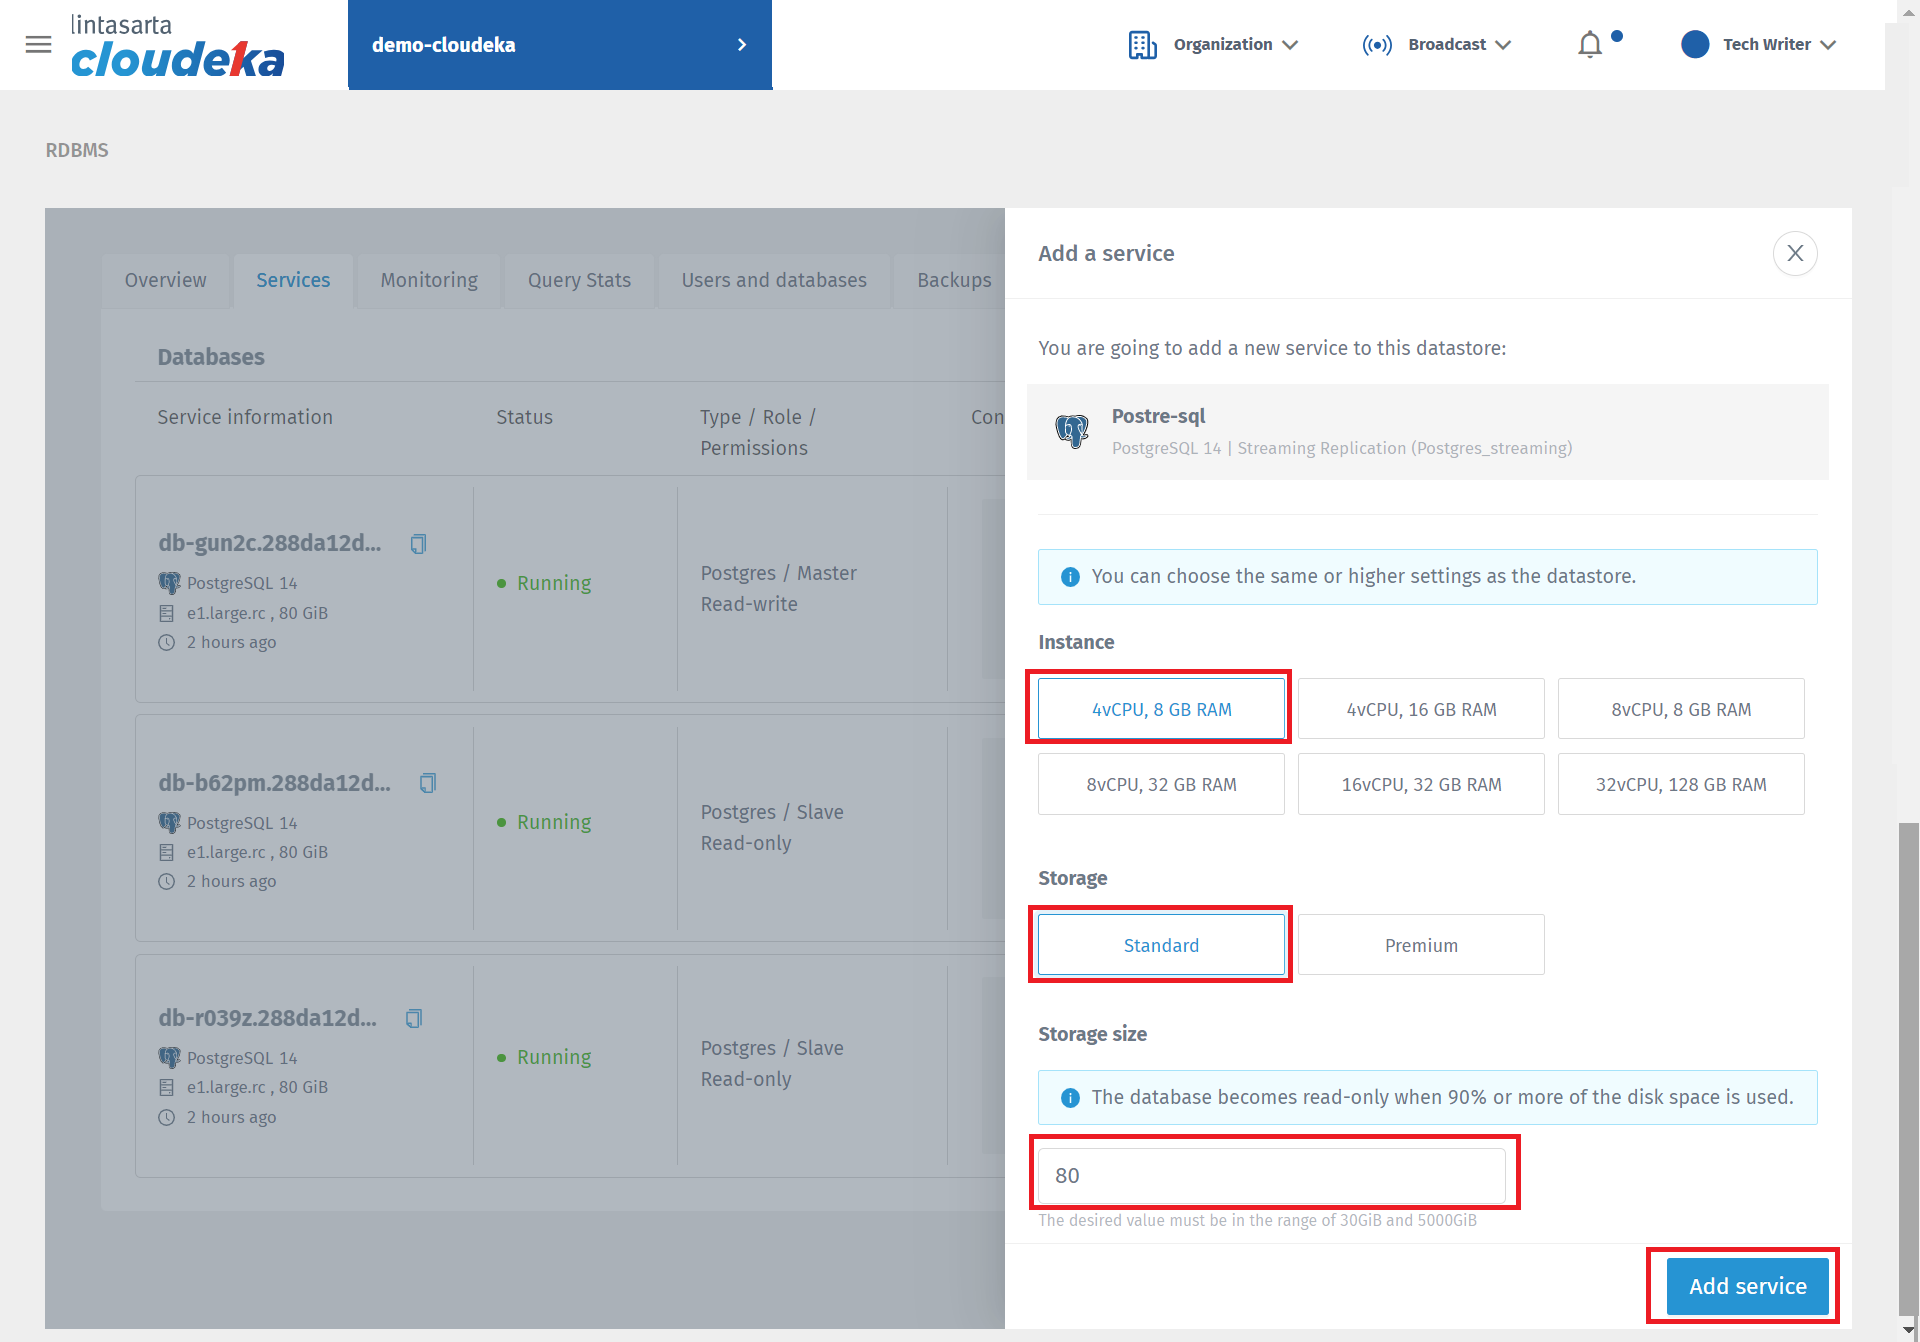
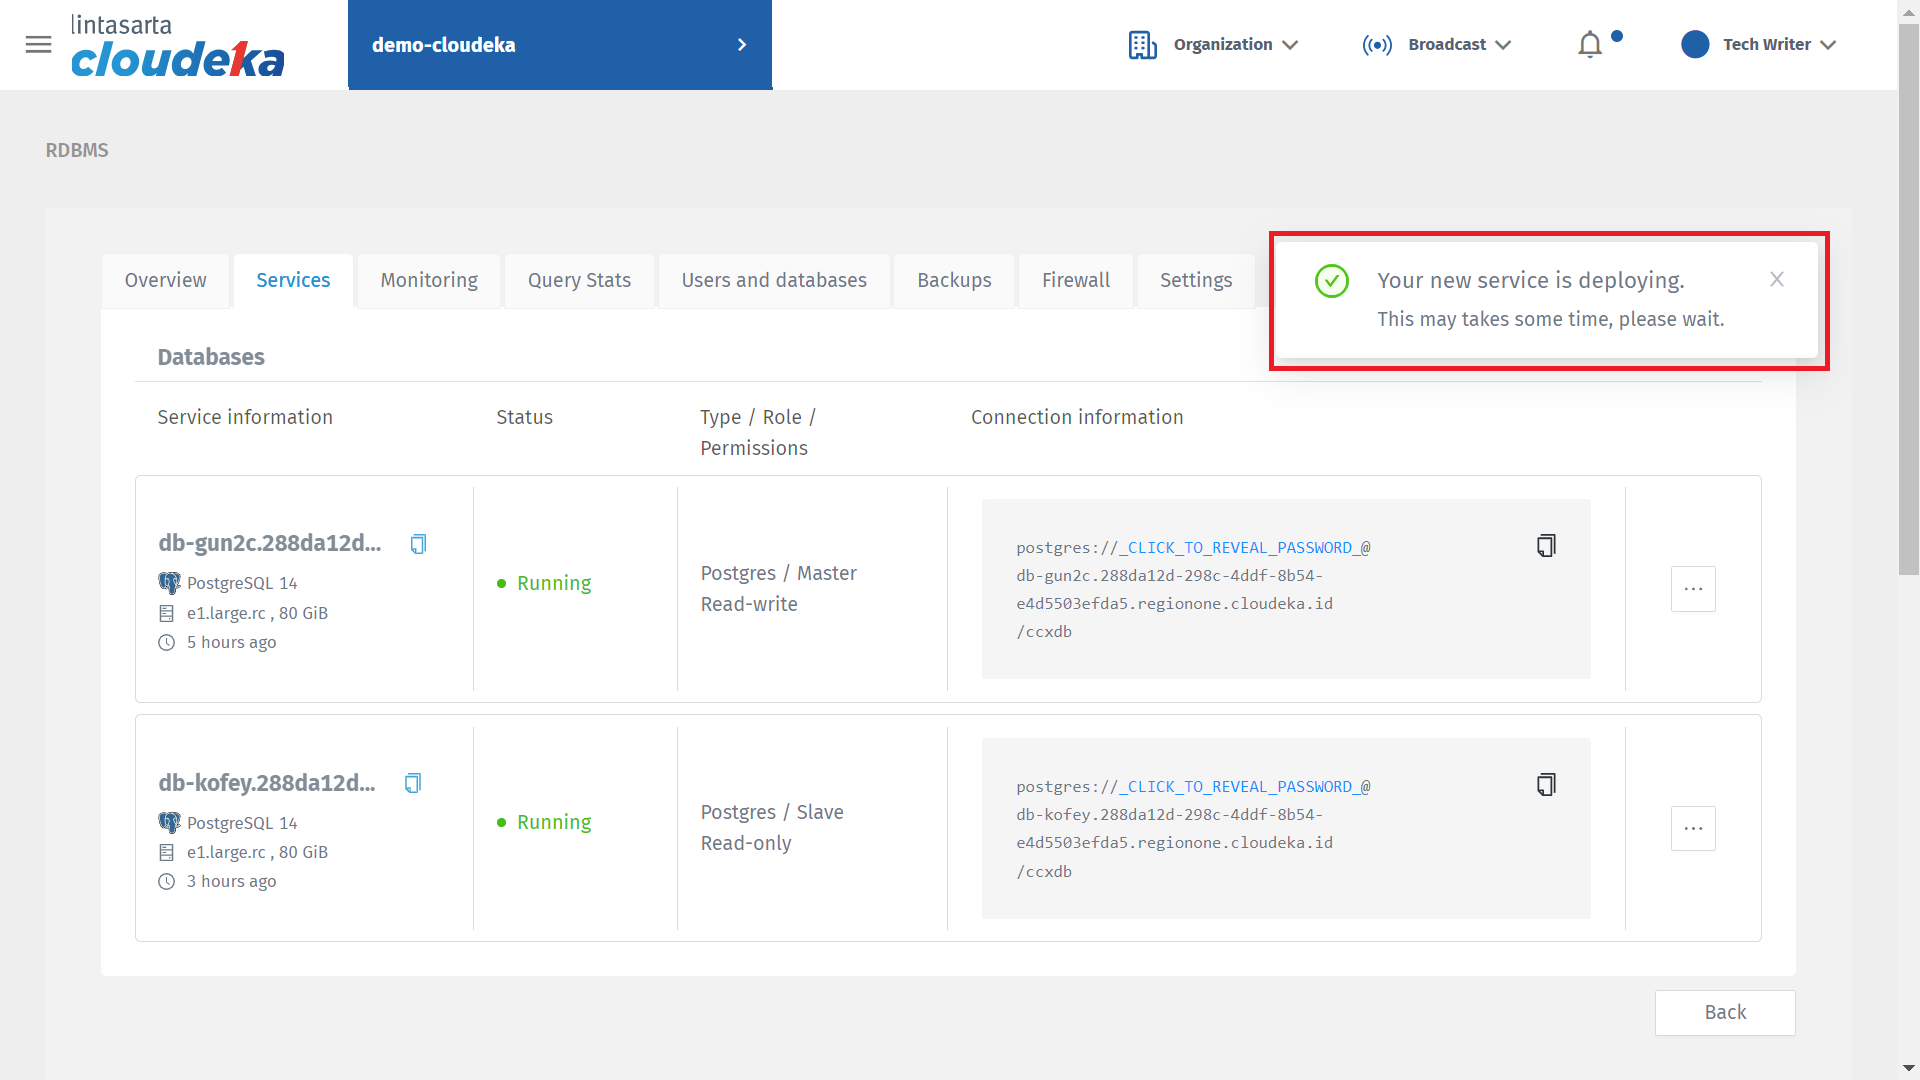
Services Tab
Add Datastore (a)
Add Datastore (b)
Add Datastore (c)

Add Datastore (d)
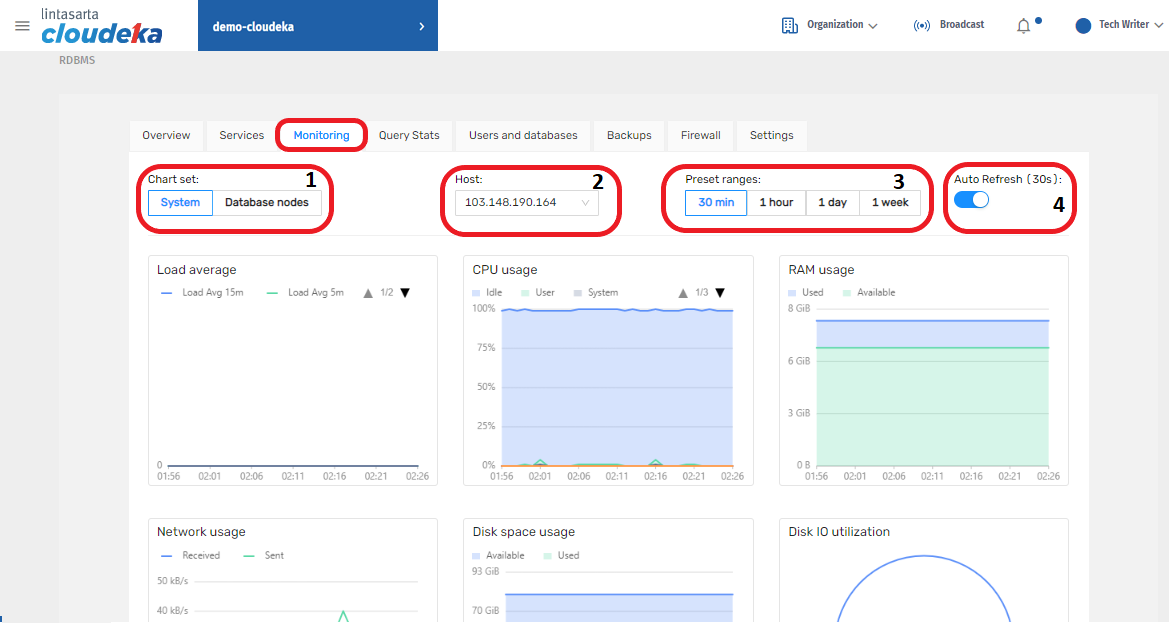
Monitoring Tab
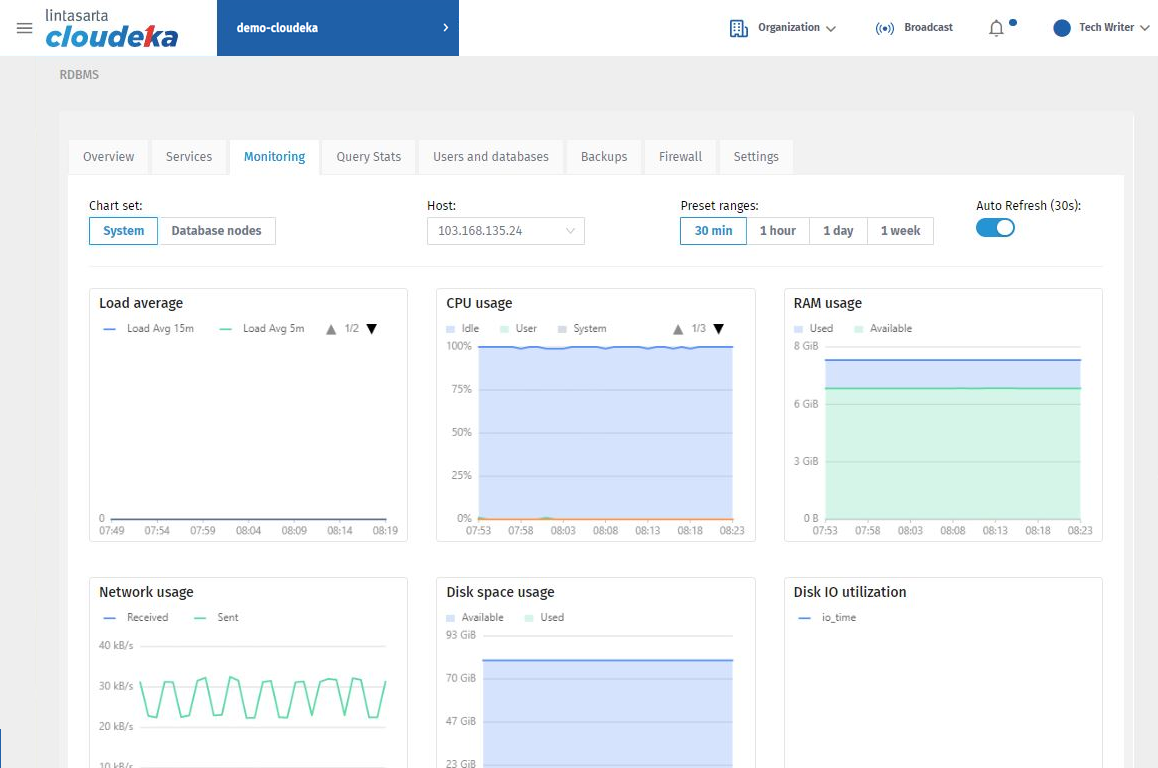
Tab Monitoring - System
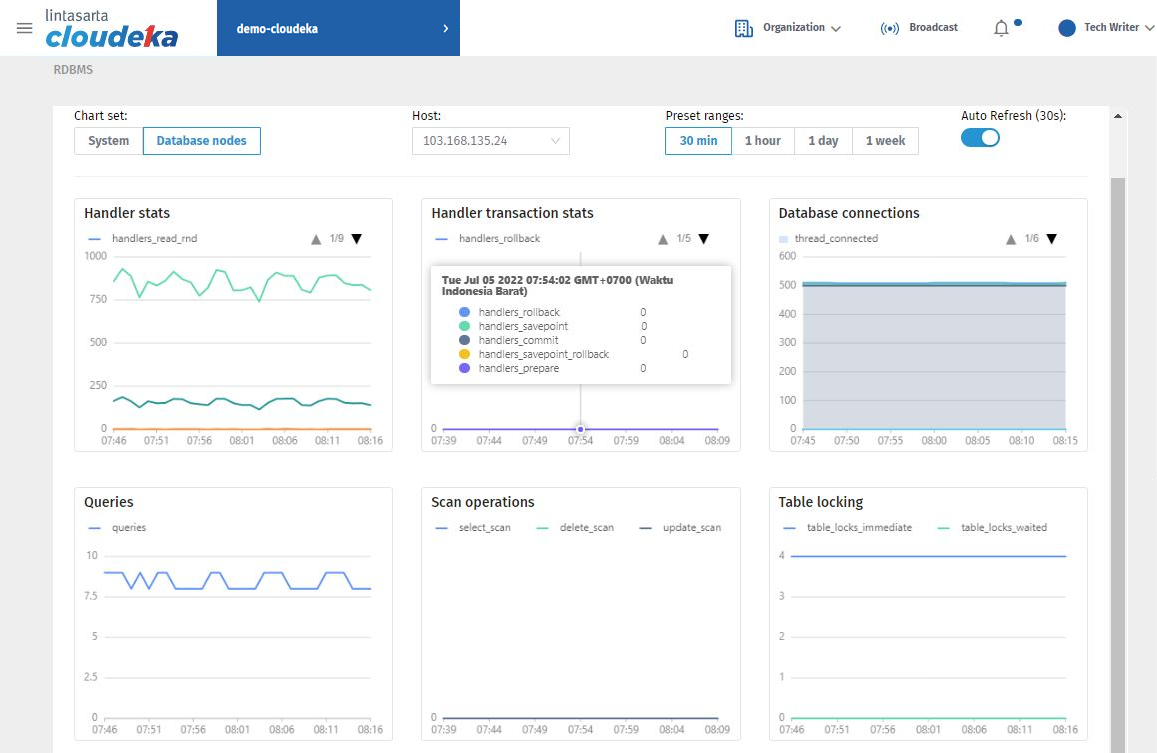
Tab Monitoring - Database Nodes
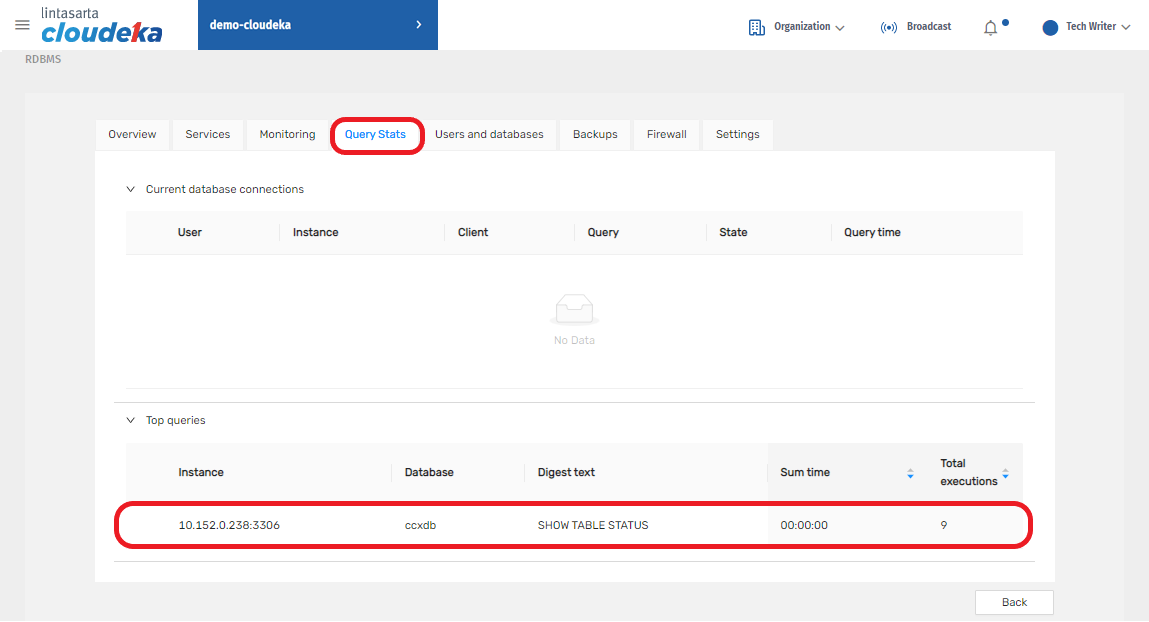
Query Stats Tab
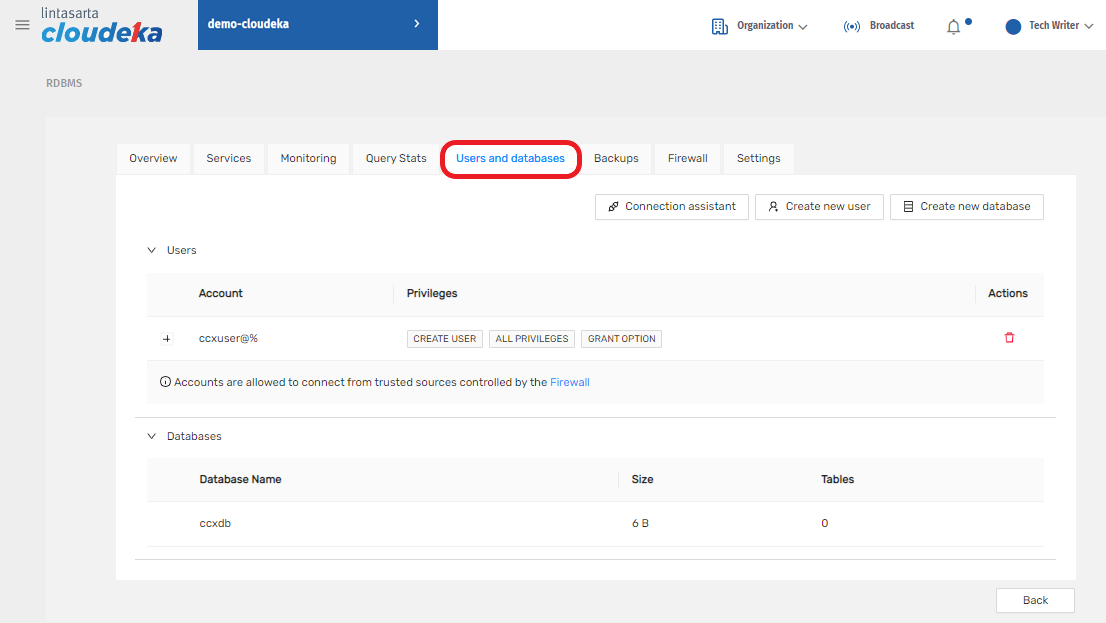
Users and Databases Tab
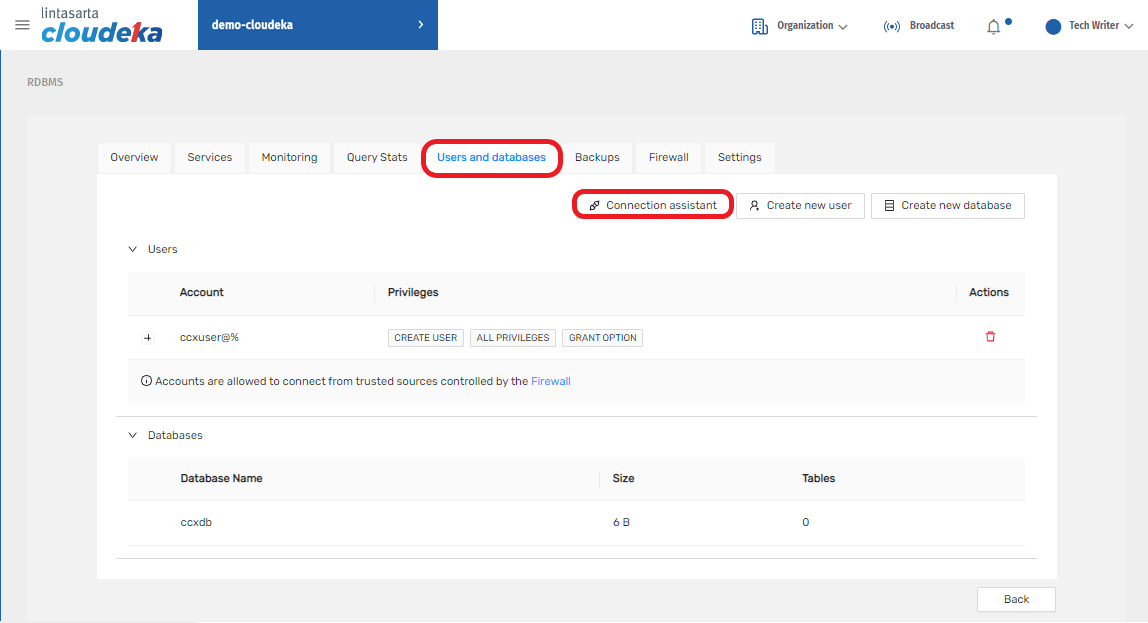
Connection Assistant
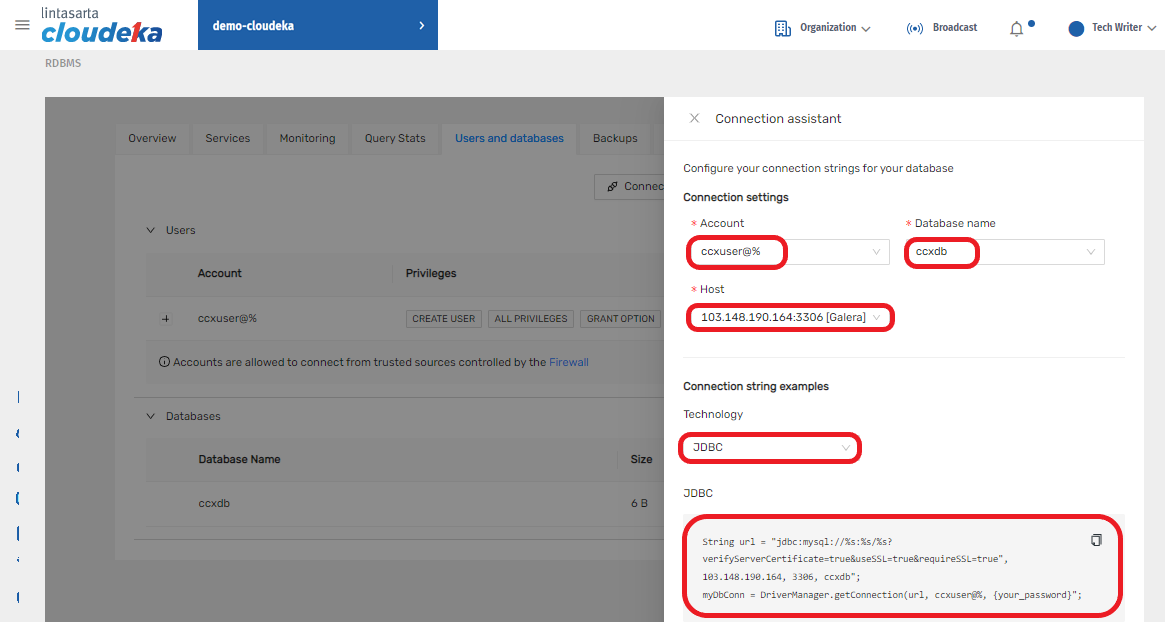
Form Create Connection Assistant
| Column | Description |
|---|---|
| Account | Choose the database user account. |
| Database Name | Choose the database name. |
| Host | Choose the database host. |
| Technology | Choose the technology of database connectivity. The technology can be selected by one of these following vendors: - DSN - ADO.NET - JDBC - NODE.JS - ODBC - PHP - PHP.PDO - PHP.PEAR.DB |
| Connection String | Connection string is a string that specifies information about a data source and the means of connecting to it. |
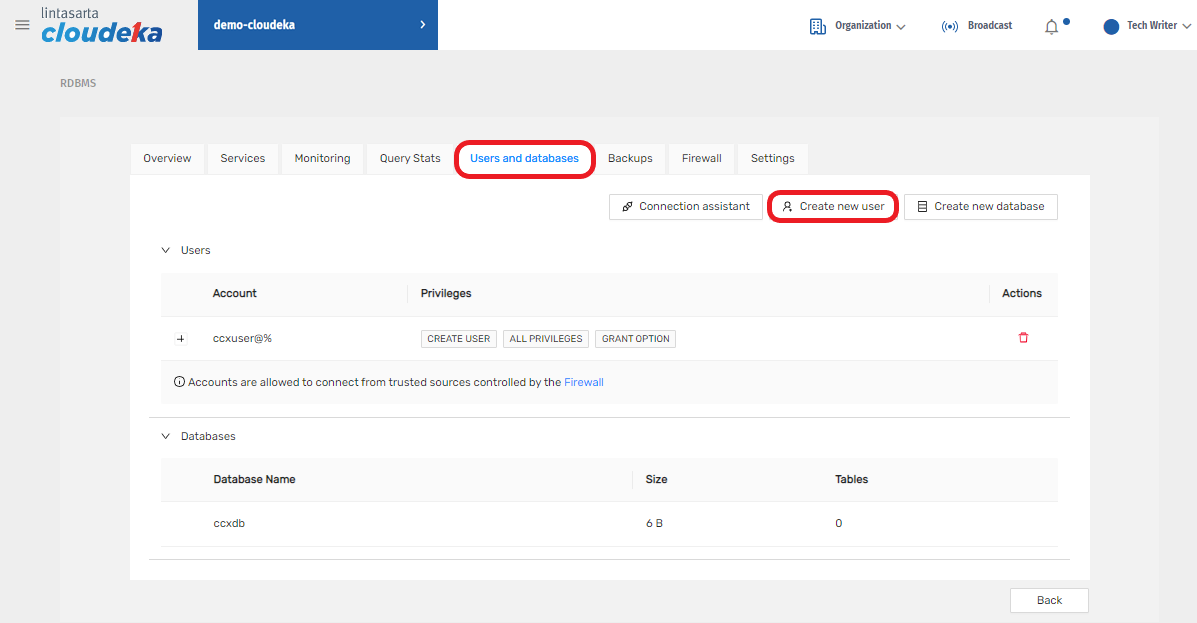
Create New User
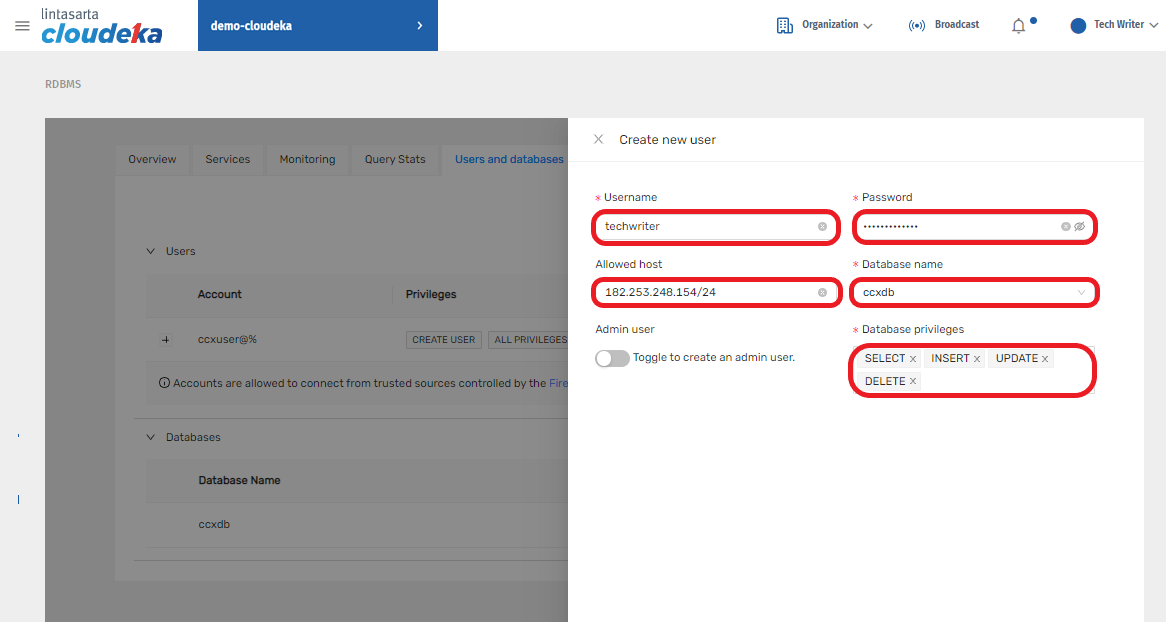
Create New User
| Column | Description |
|---|---|
| Username | Add the username for new user. |
| Password | Add the password for new user. |
| Allowed Host | Enter IP Address for database access. |
| Database Name | Choose the database for new user. |
| Admin User Toggle | User can enable or disable the toggle based on their needs. If the toggle is enable, the database privileges will set automatically for admin user. |
| Database Privileges | The limitation of user capability to manage databases as follows: - SELECT - INSERT - DELETE - Update - DROP - CREATE |
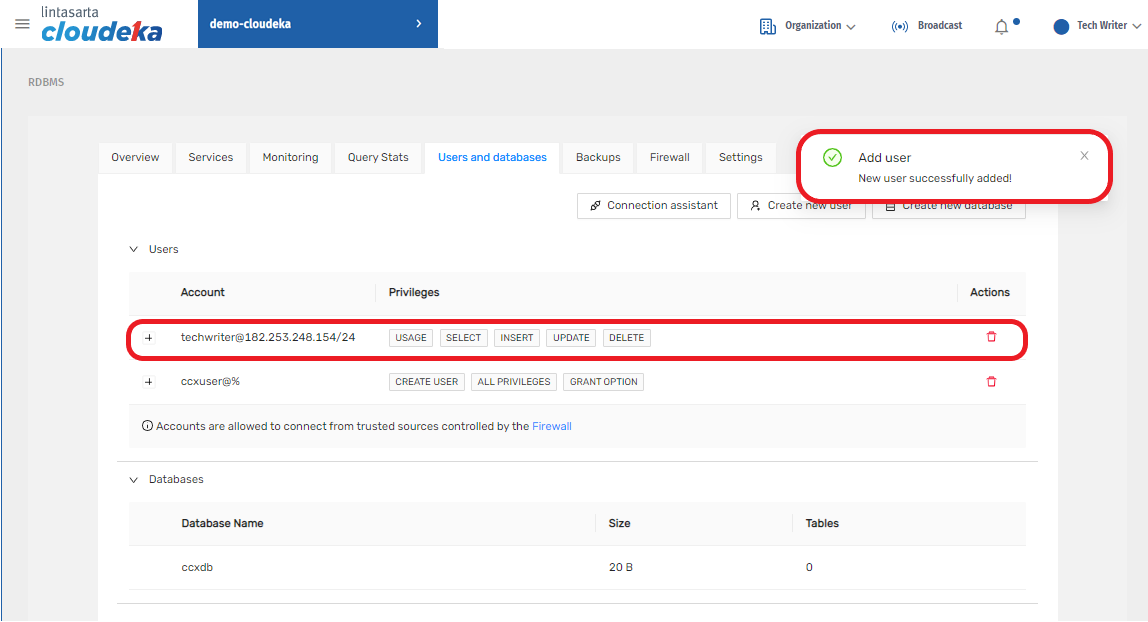
List of Users
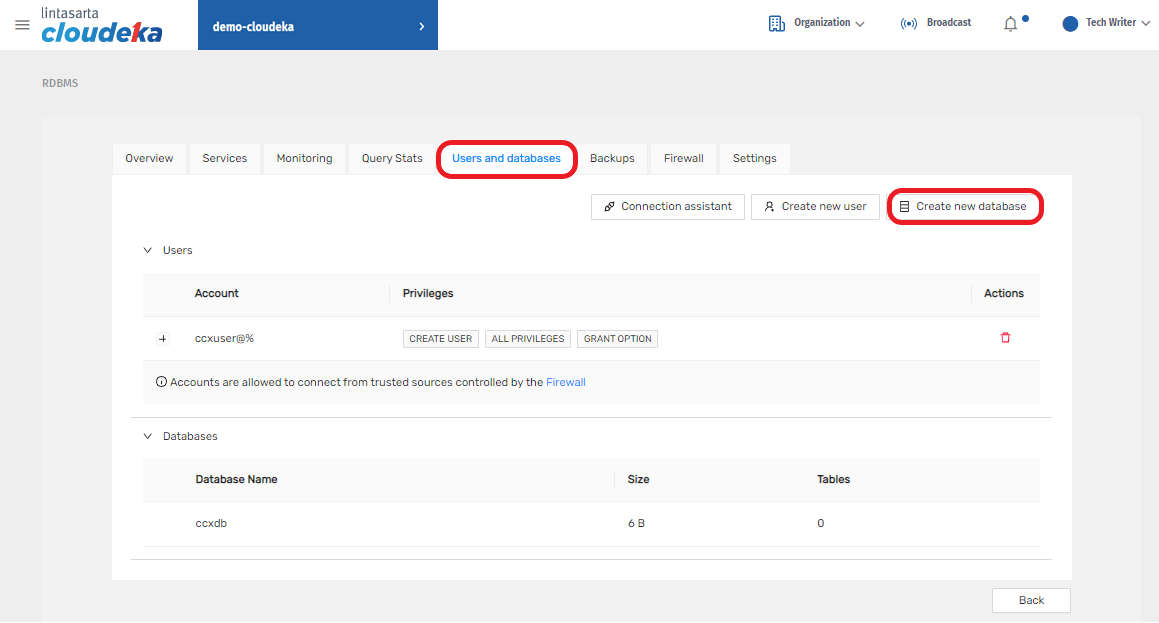
Create New Database

Create New Database Form
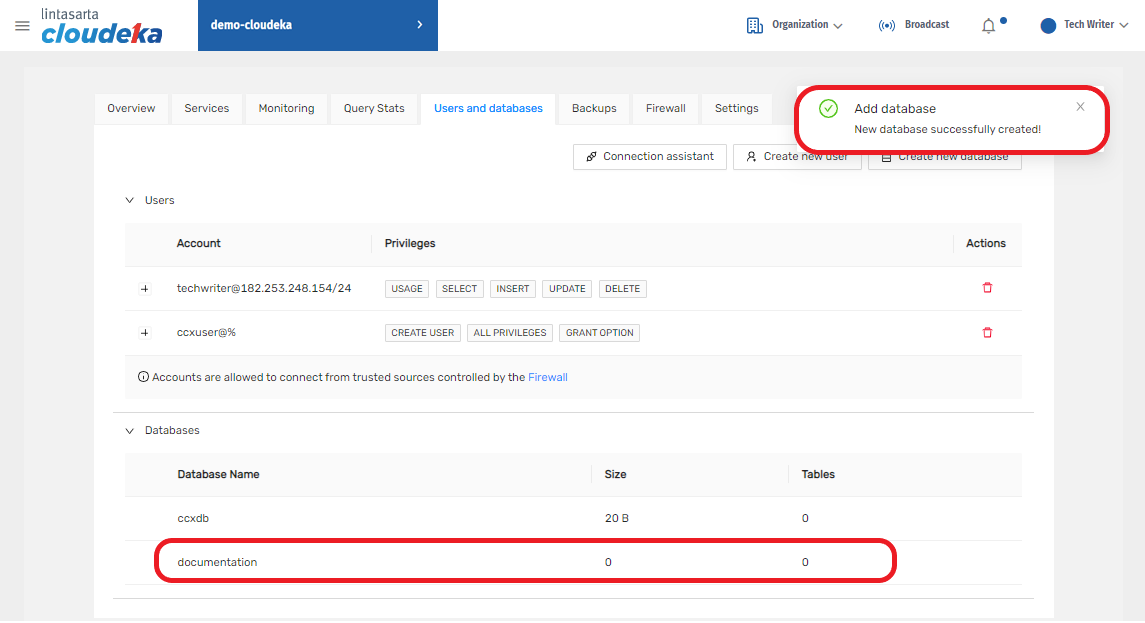
Database List
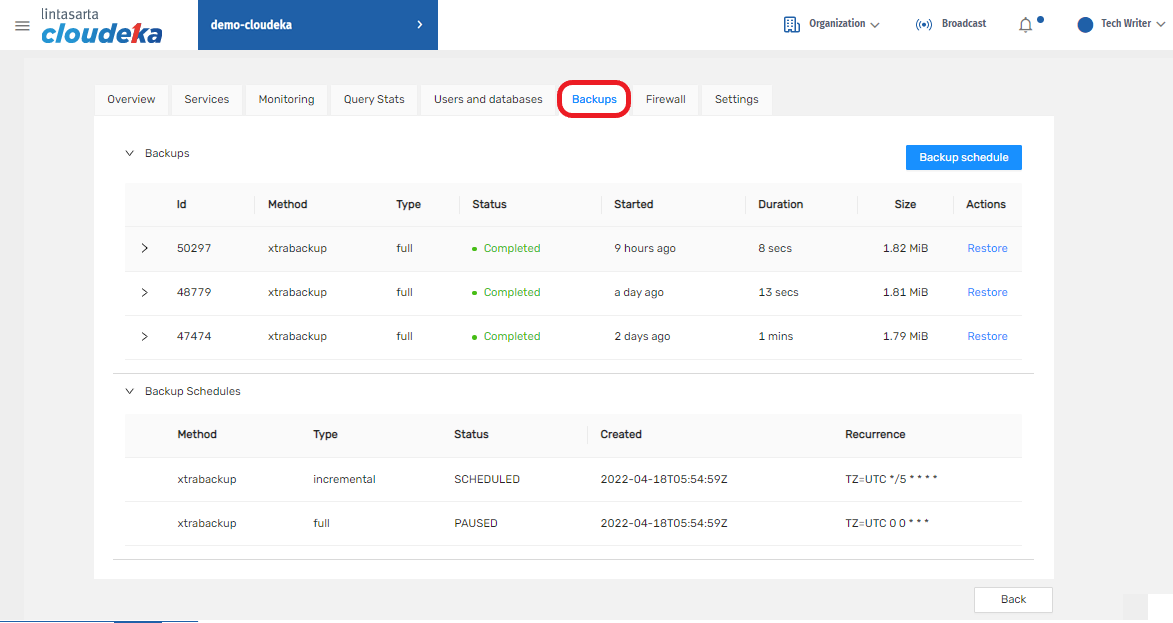
Backups Tab
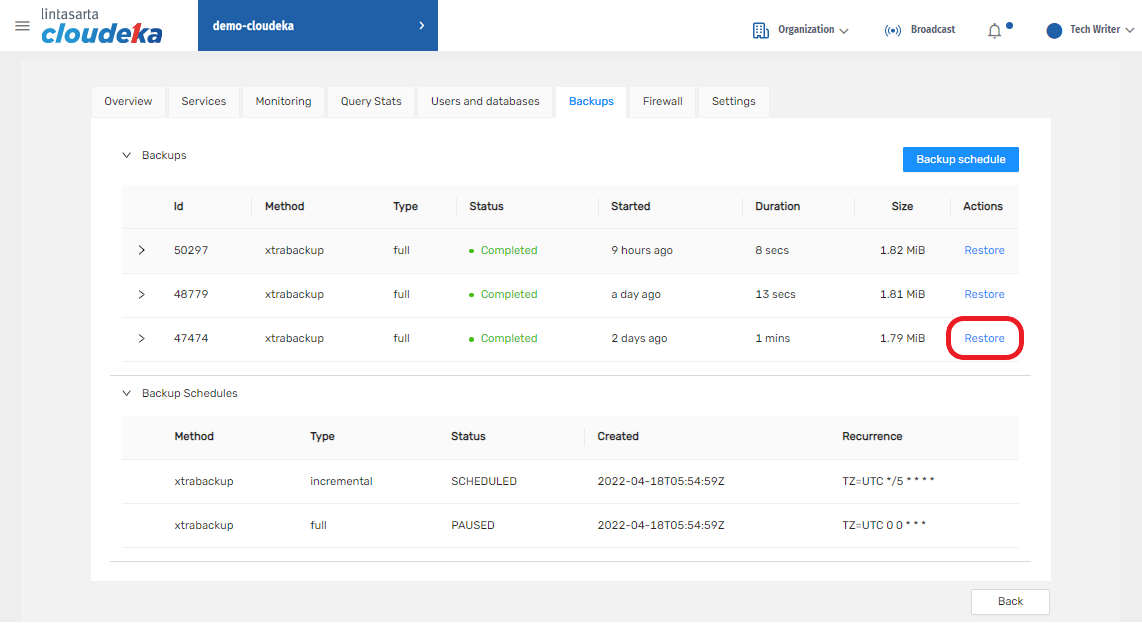
Restore
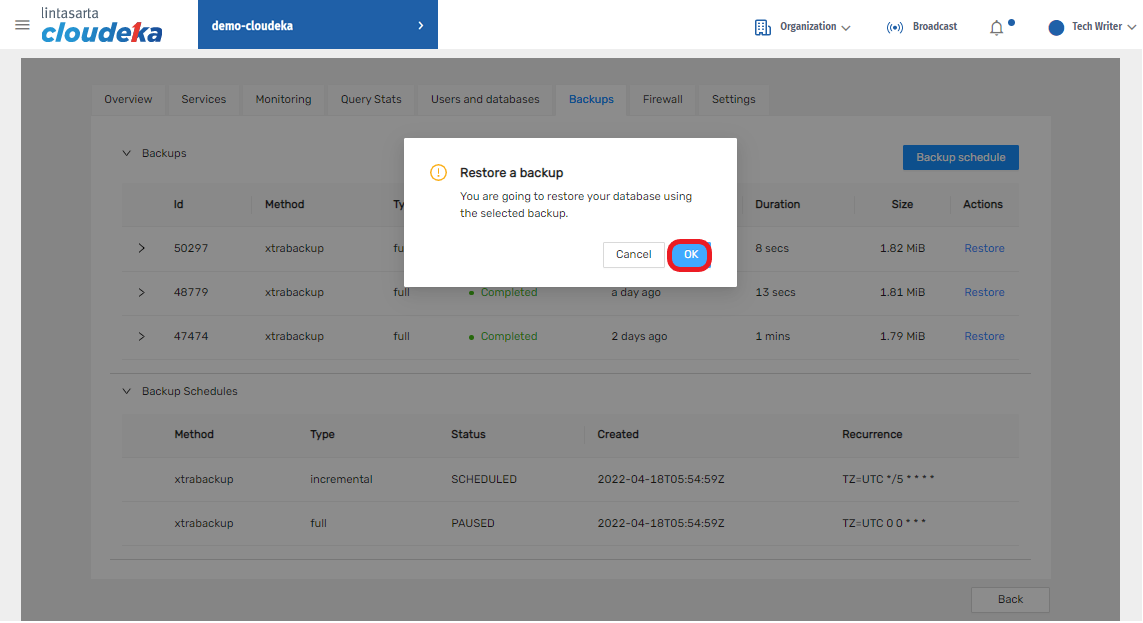
Restore Backup Confirmation
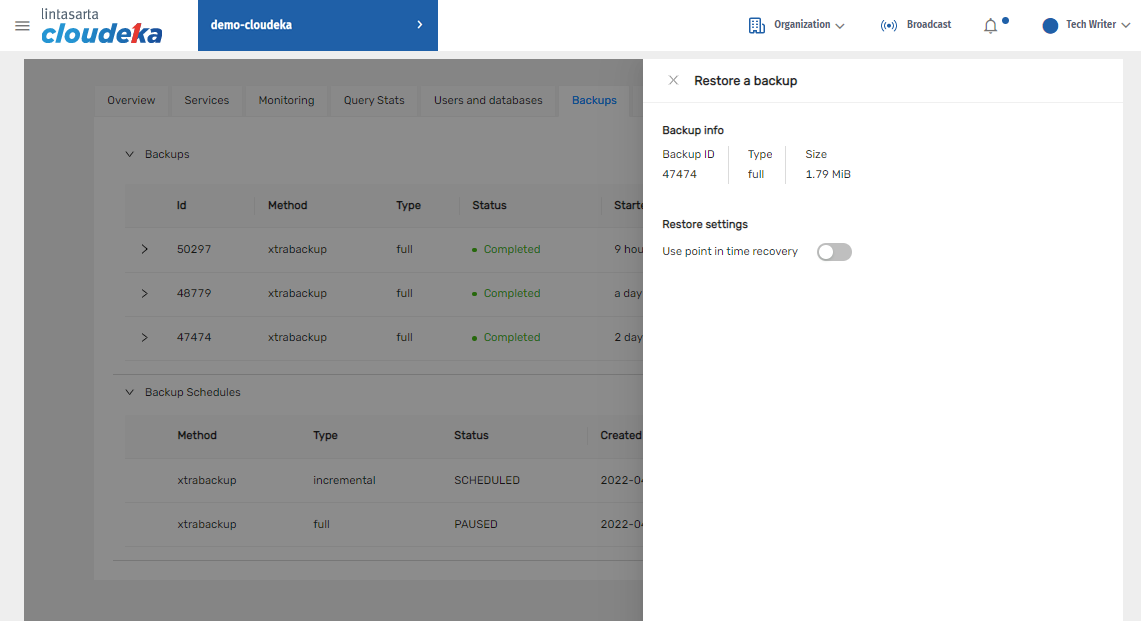
Backup Information
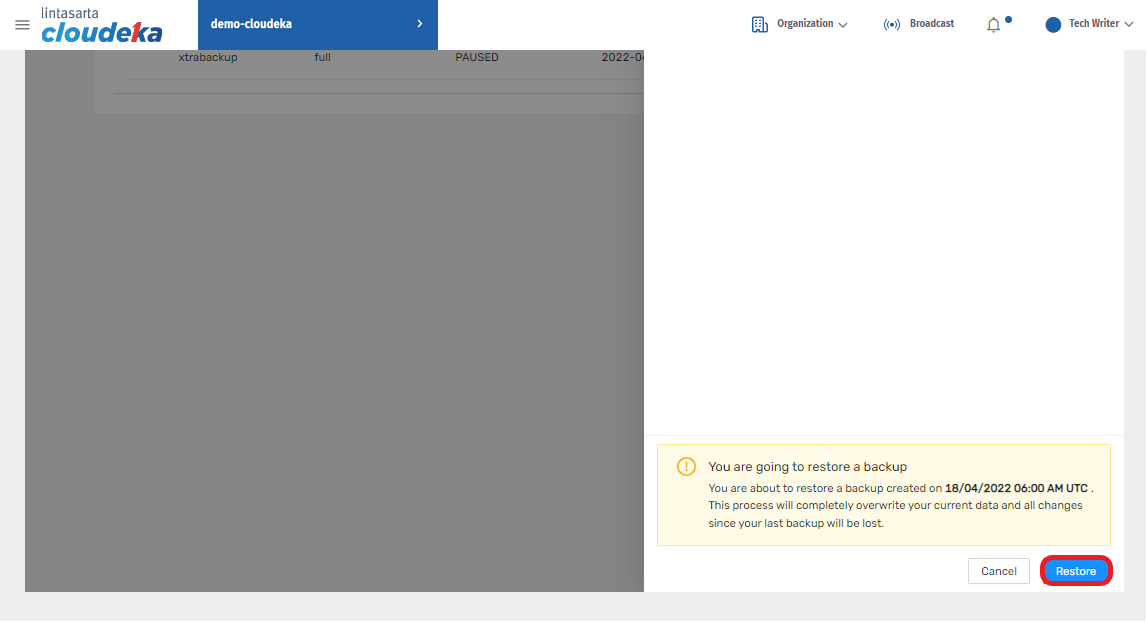
Restore Confirmation
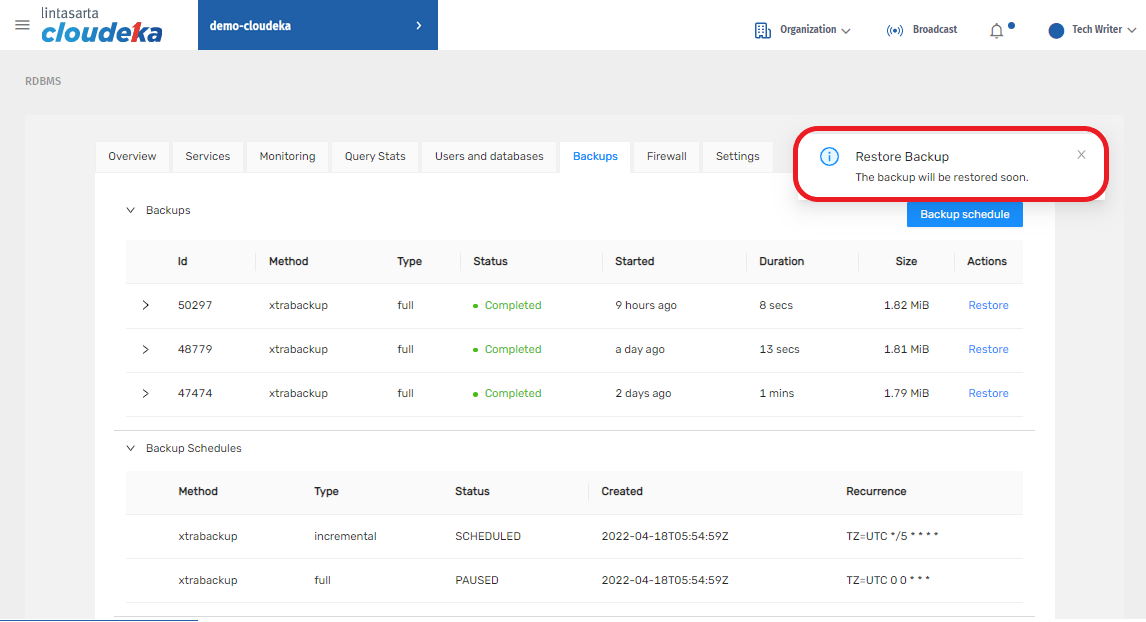
Restore Backup Notification

Running Restore Backup
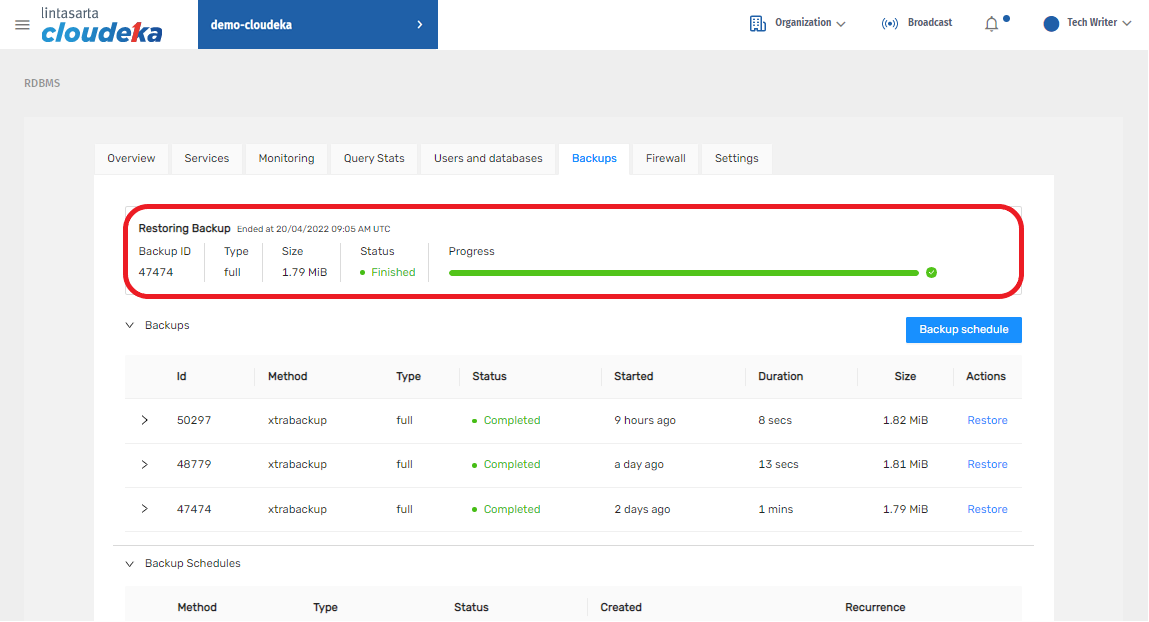
Restore Backup Finished
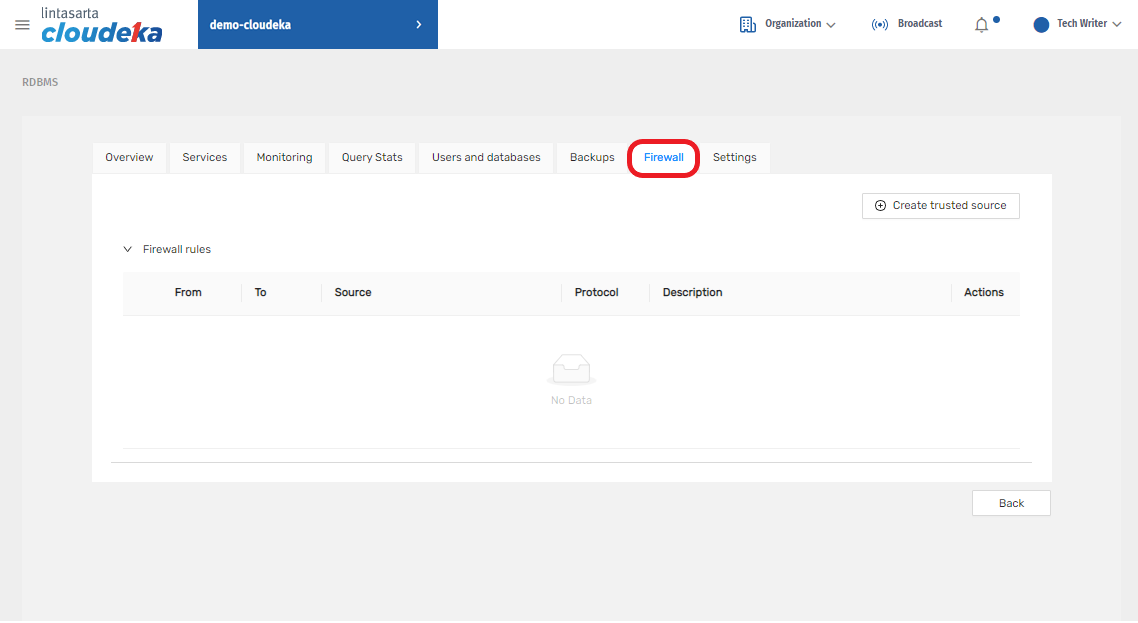
Firewall Tab
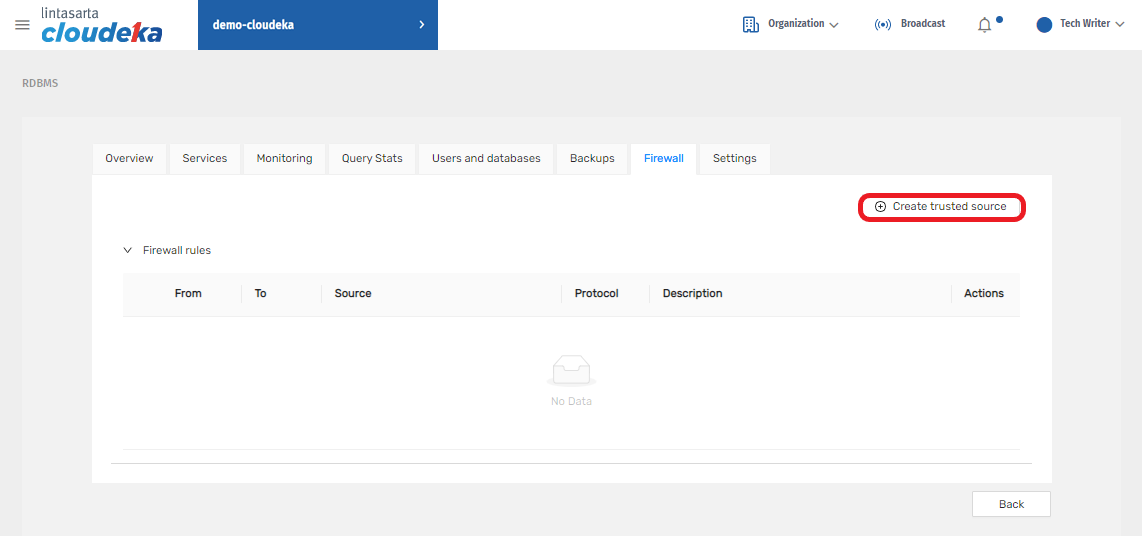
Create Trusted Source
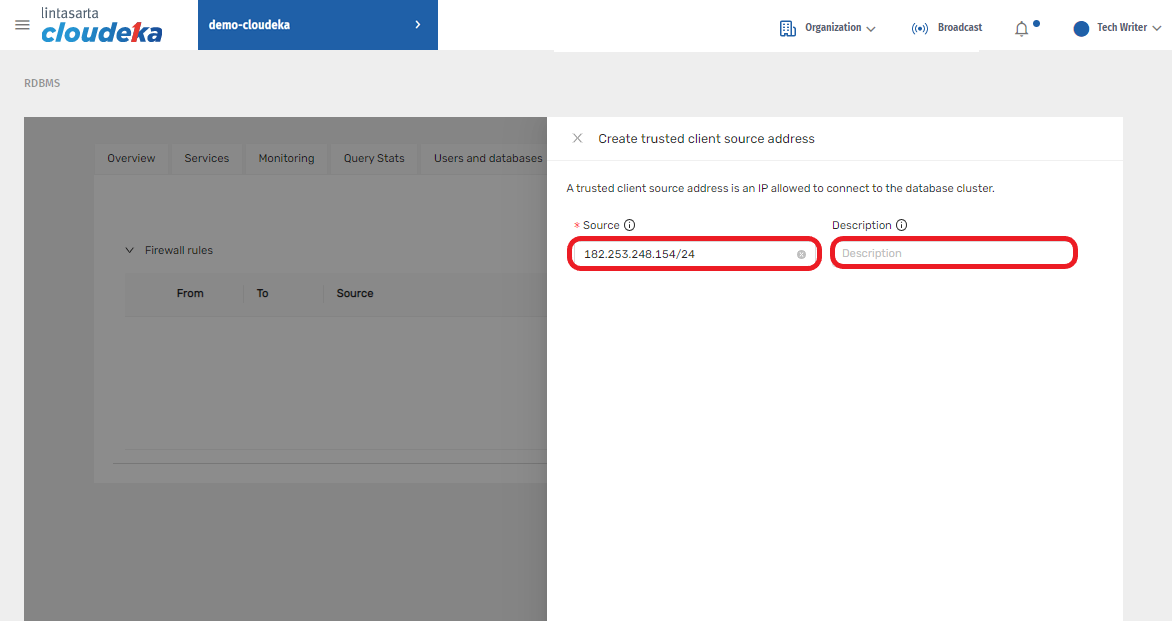
Add a Trusted IP Address
| Column | Description |
|---|---|
| Source | IP Address of trusted source device. |
| Description | Description of the trusted source device. It's optional for user to fill in the description field. The description can contain up to 255 characters. The allowed characters are a - z , A - Z , 0-9 spaces , and ._ : / ( ) # , @ [ ] + = ; ! $* |
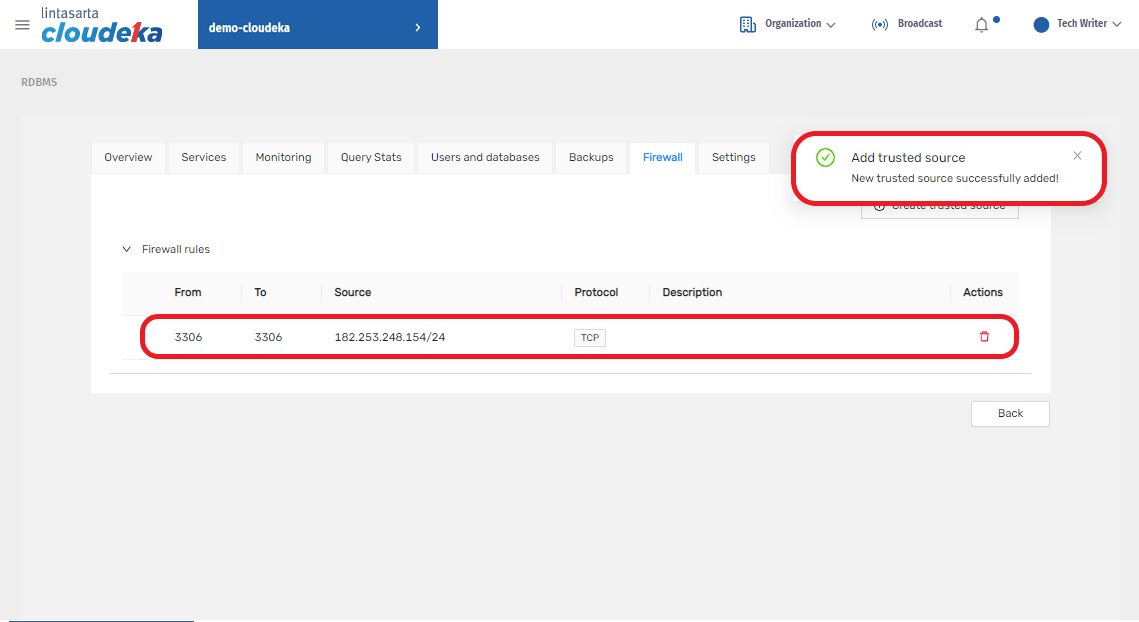
Successful Notification
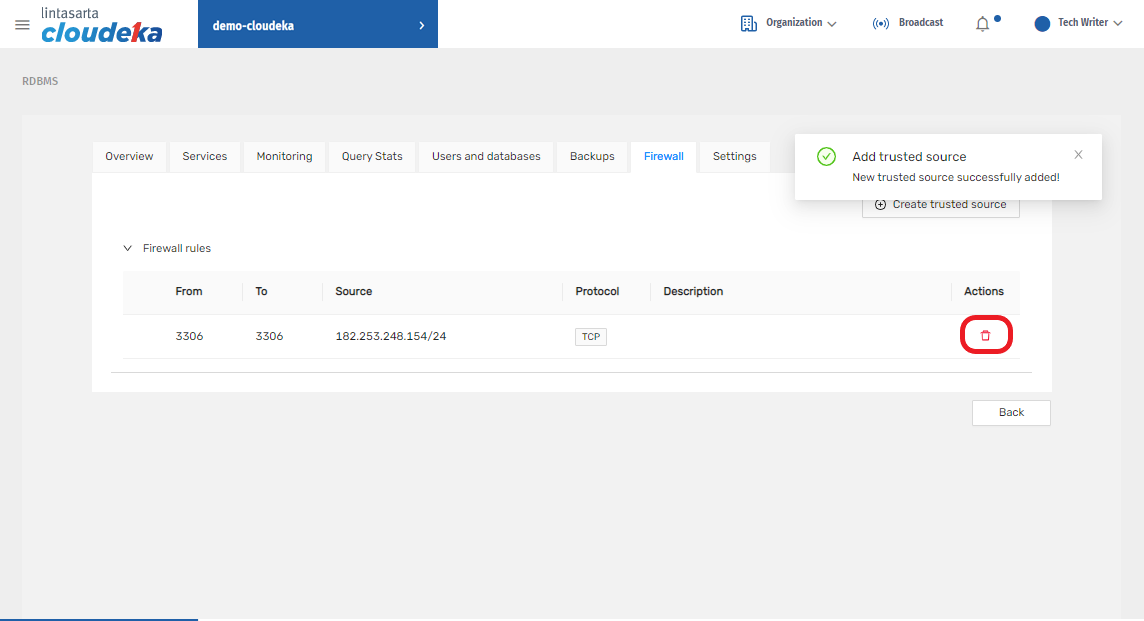
Delete Trusted Source
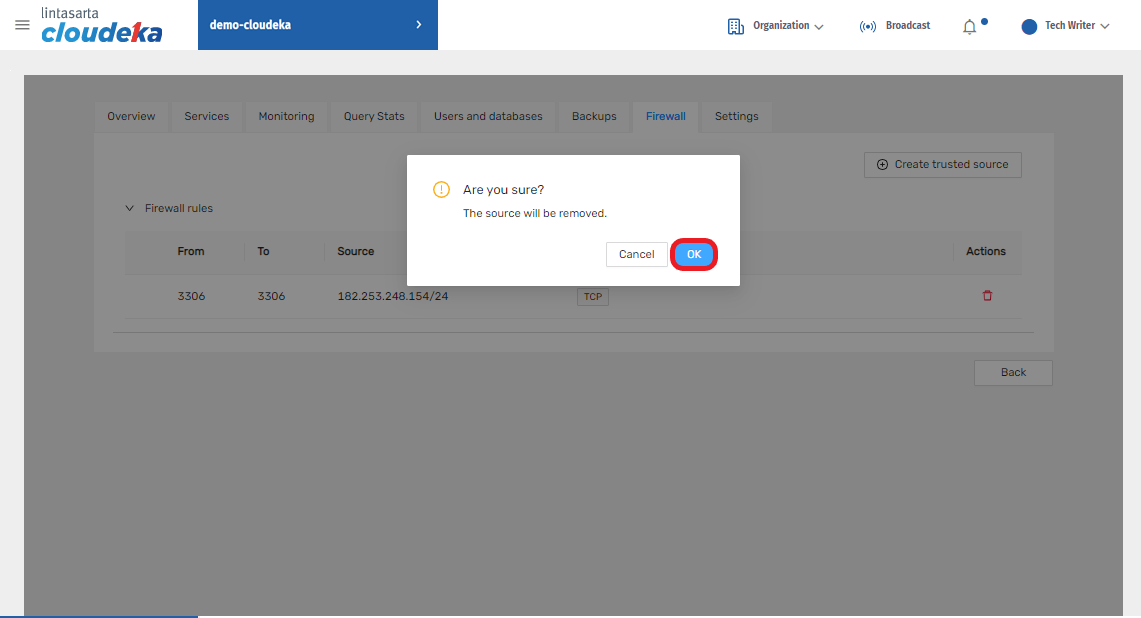
Delete Confirmation
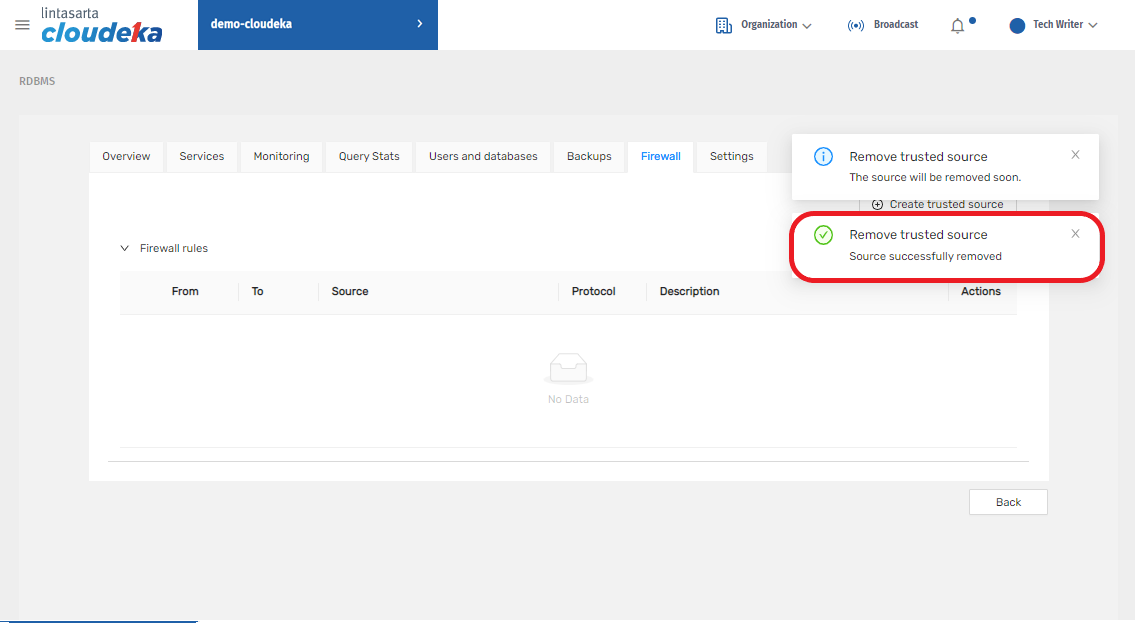
Successful Notification
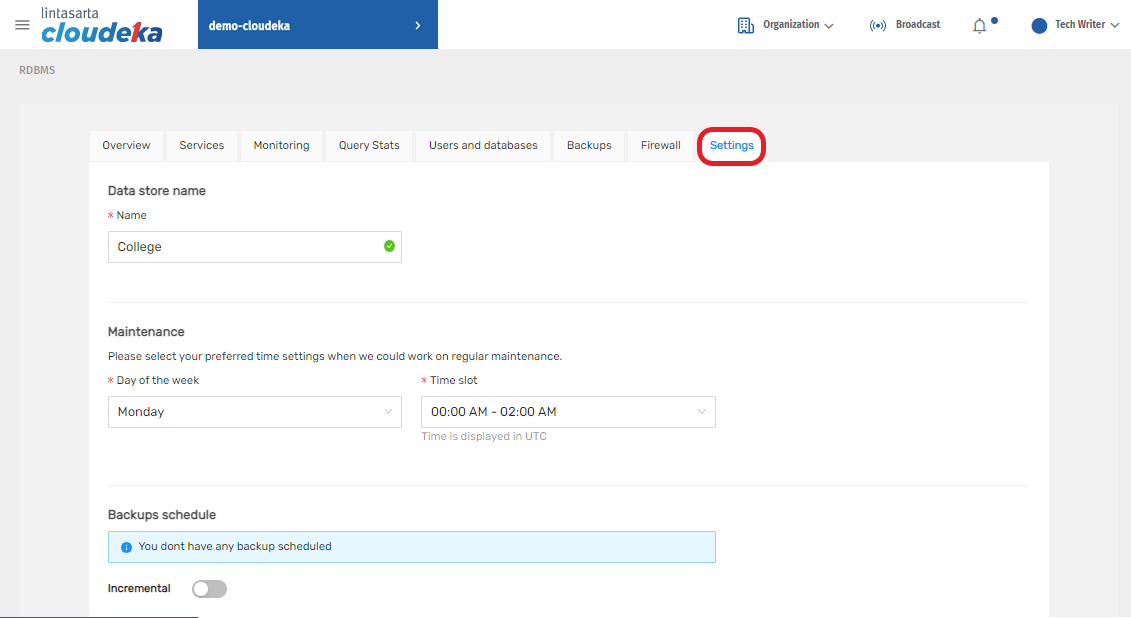
Settings Tab
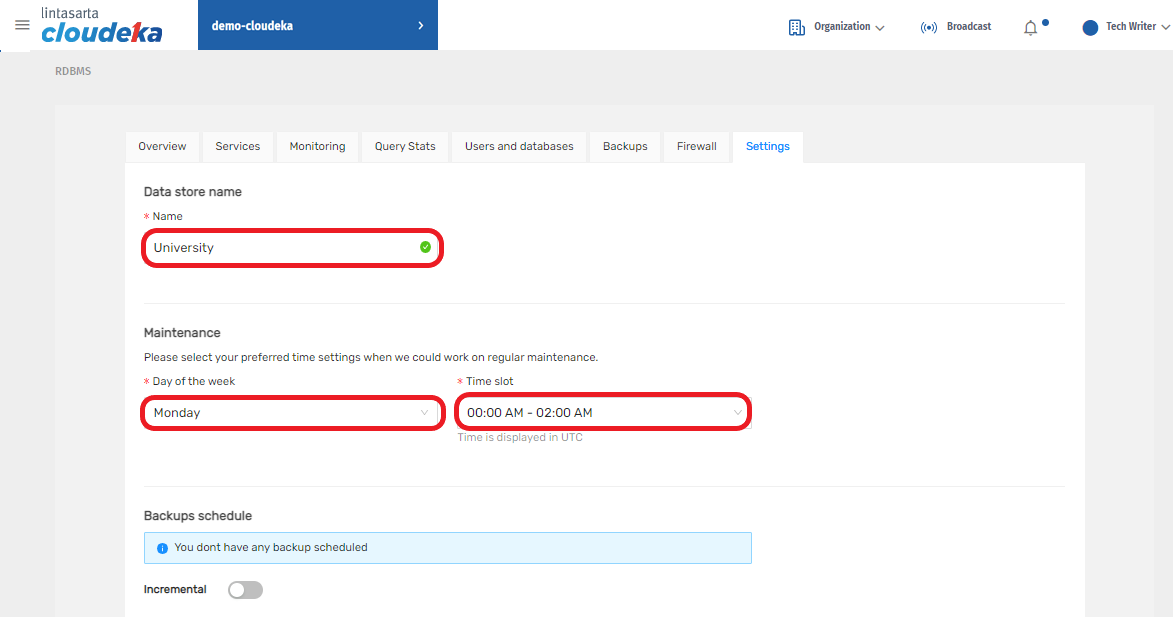
Settings - Update Data Store Name
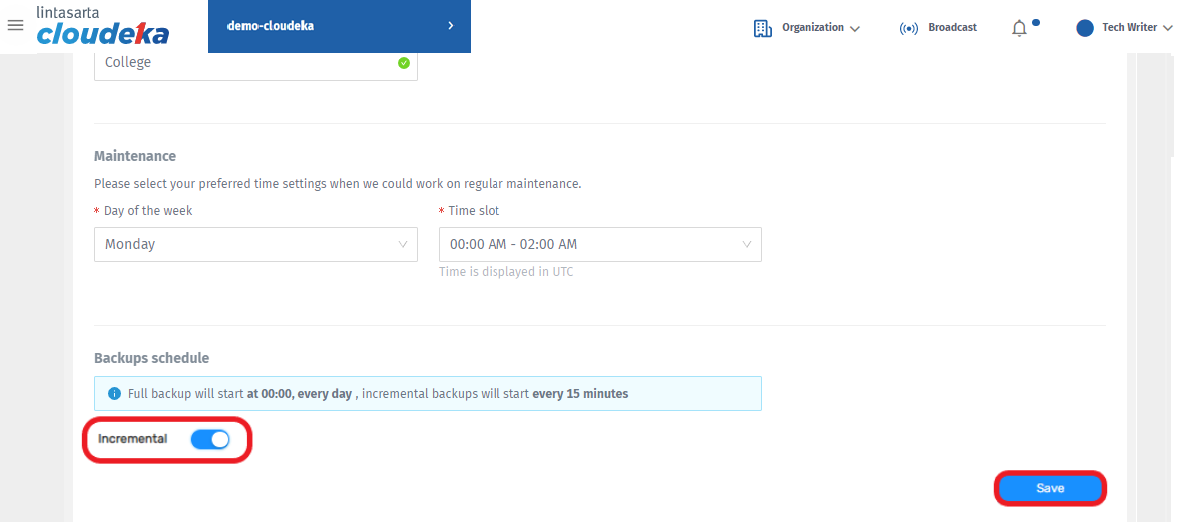
Settings - Enable Incremental Backup Schedule
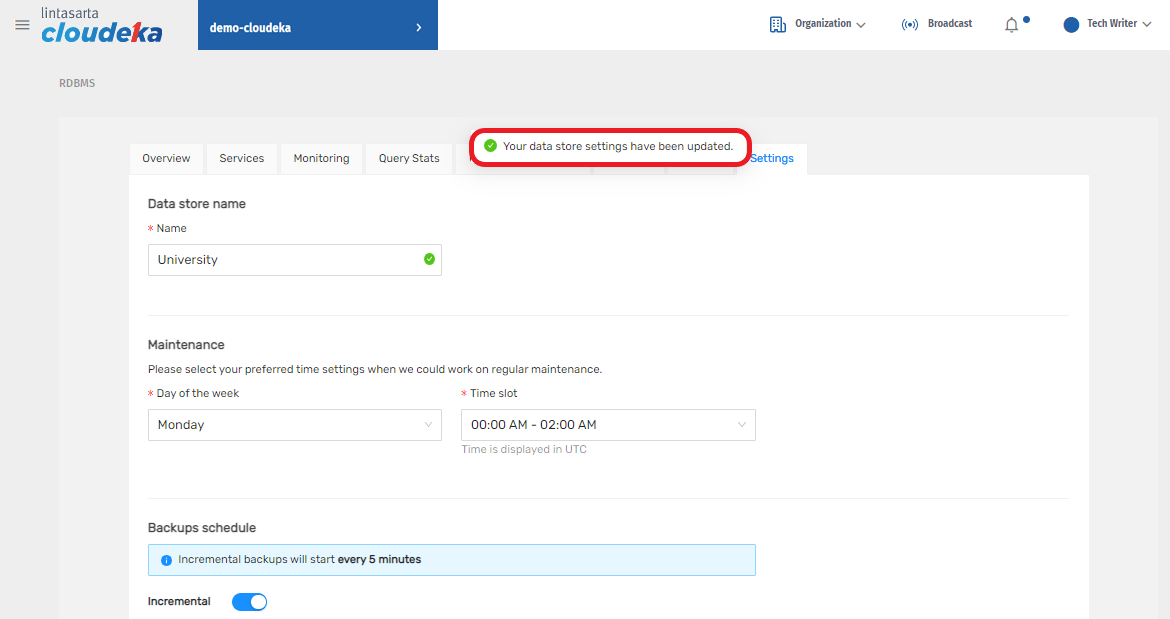
Settings - Successful Notification
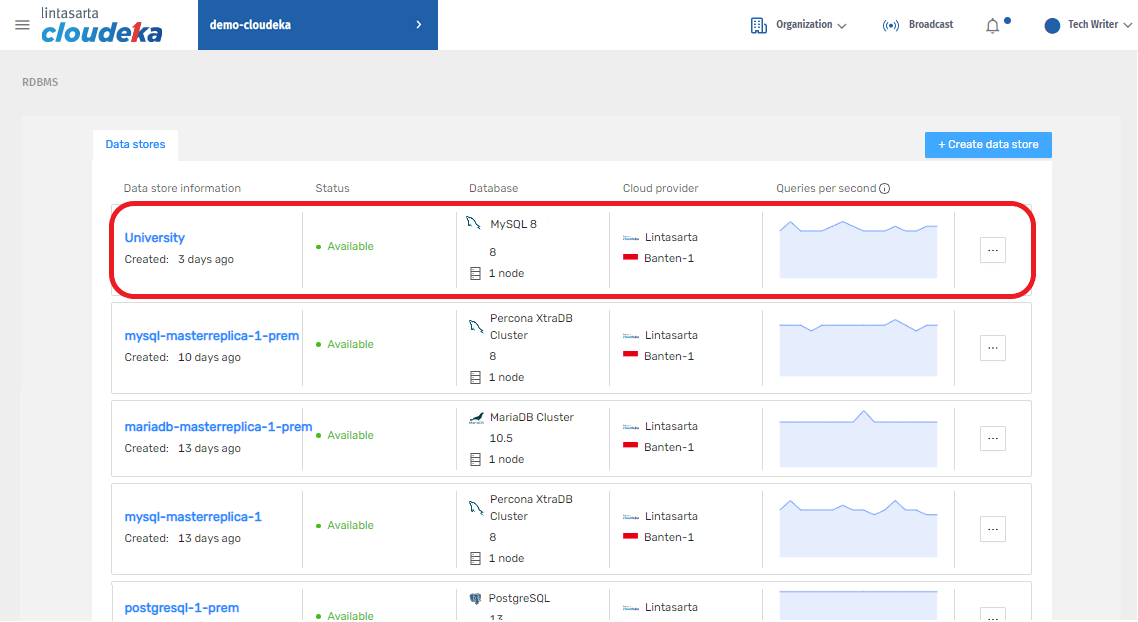
Data Store List