> For the complete documentation index, see [llms.txt](https://docs.cloudeka.id/llms.txt). Markdown versions of documentation pages are available by appending `.md` to page URLs; this page is available as [Markdown](https://docs.cloudeka.id/deka_flexi/deka-slb/example-use-case.md).
# Example Use Case
This section explains an example case of **Deka SLB** configuration using the **Roundrobin** method type with two VM Instances in the Cloudeka portal service. There are several stages that will be carried out in the case of using the Deka SLB configuration on the Cloudeka portal service.
## **VPC Configuration**
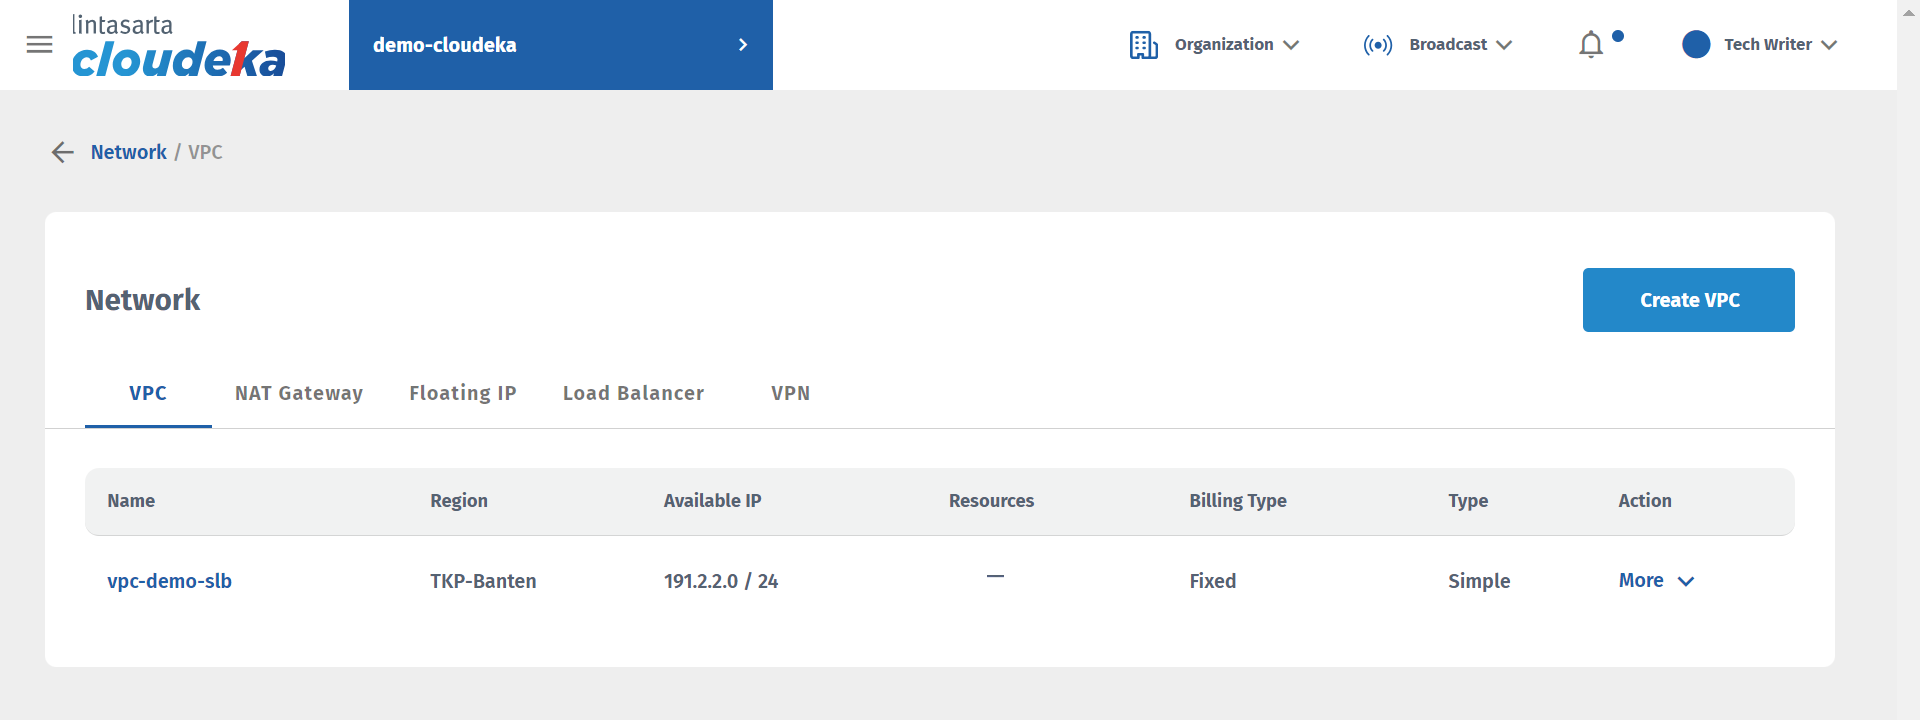
The first step is to add VPC configuration on the project that will be created by Deka SLB, you can click for further explanation on how to create a VPC [this link ](/deka_flexi/deka-flexi-network/6.1_vpc_network/create-vpc-network.md)to go to the Create VPC module.
VPC Configuration
## **VM Configuration**
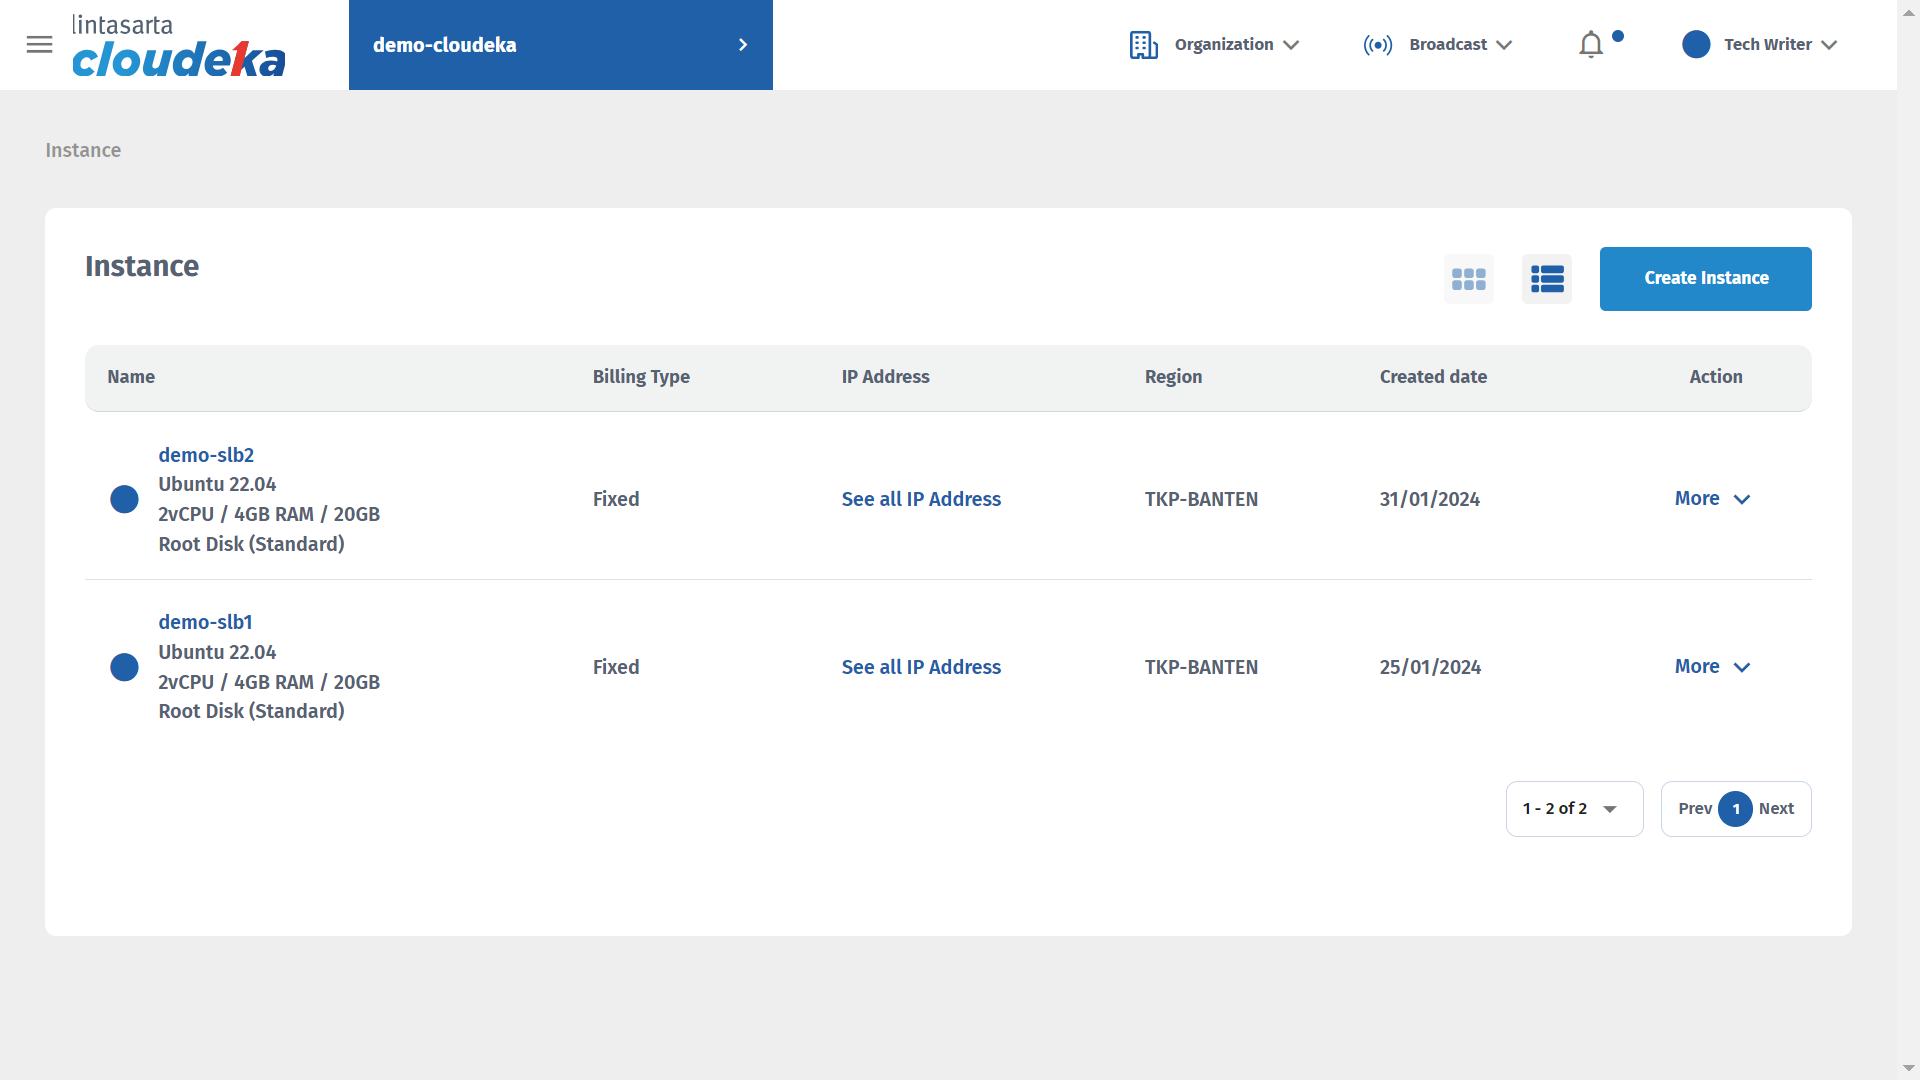
The next step is to **Add two VM in the Instance** using the same VPC, which is **vpc-demo-slb**. For further explanation on how to create a VM, you can press [this link](/deka_flexi/deka_flexi_compute/create-a-vm-instance.md#create-instance-from-public-image) to go to the Create VM module.
Virtual Machine
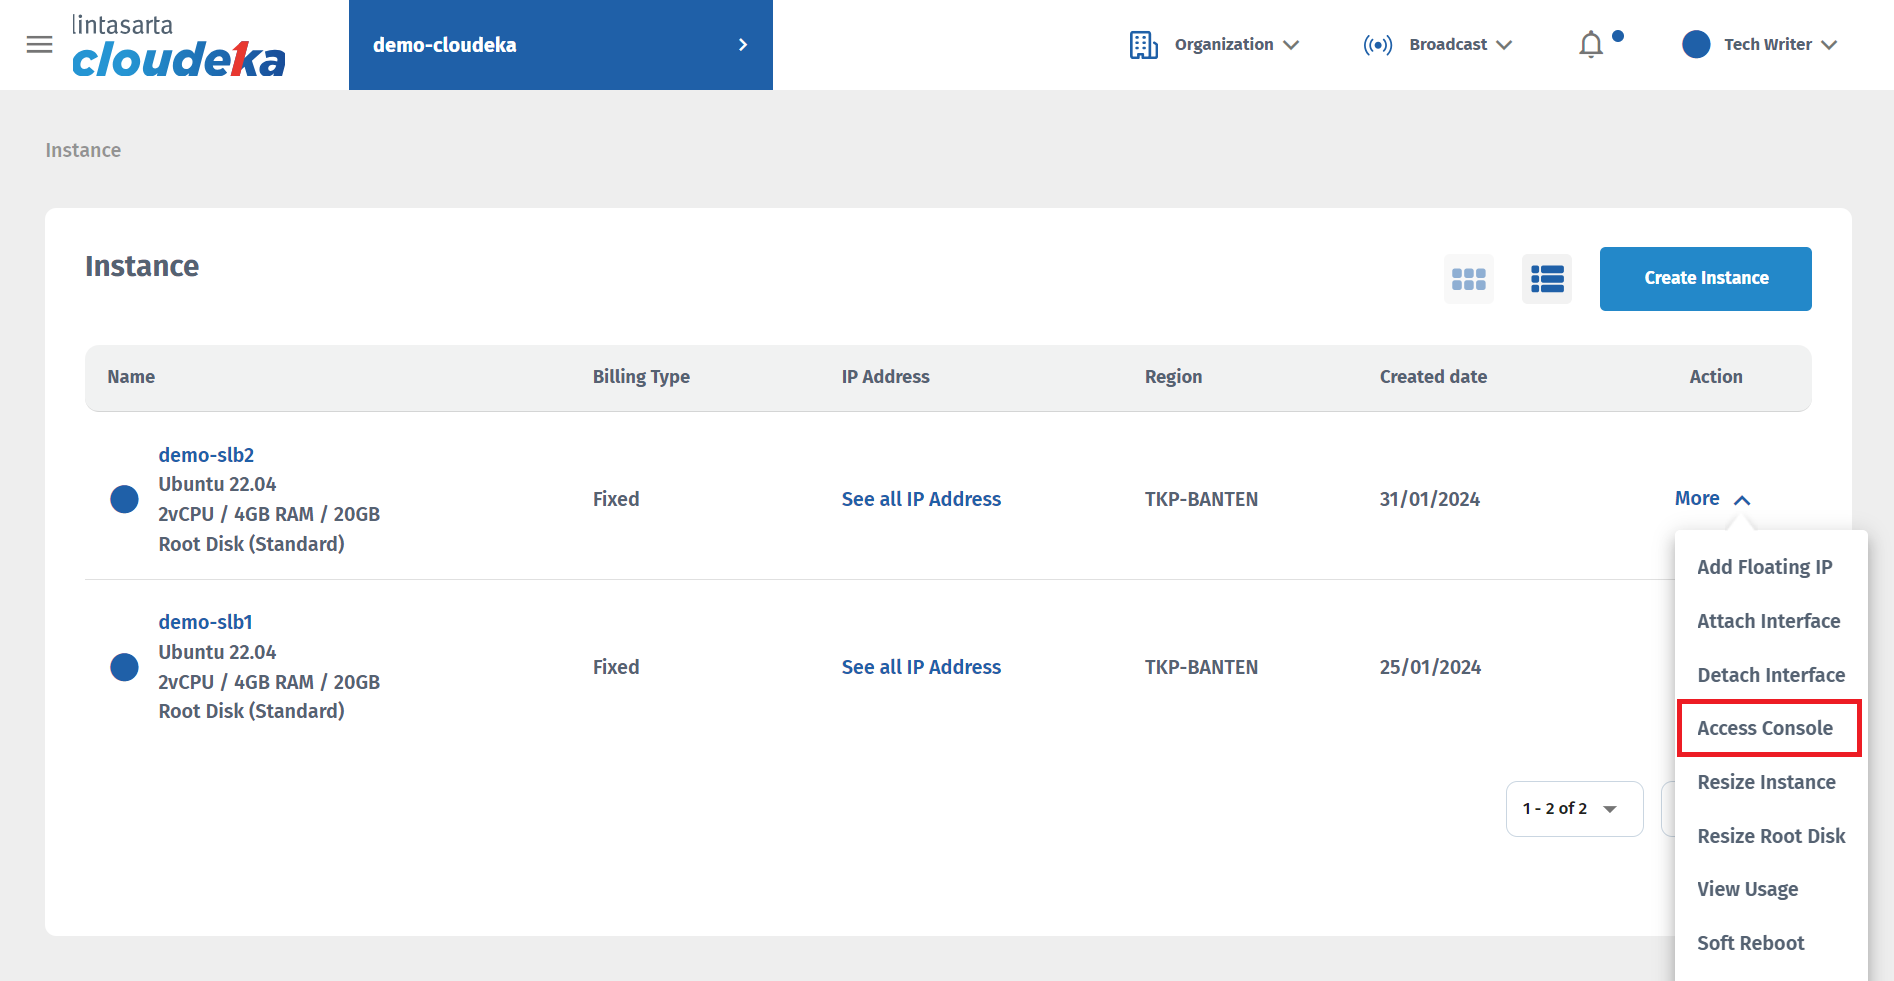
The VM on the instances that have been created are demo-slb1 and demo-slb2, console access on the demo-slb1 and demo-slb2 VMs. Press the More button then select Access Console.
Access Console
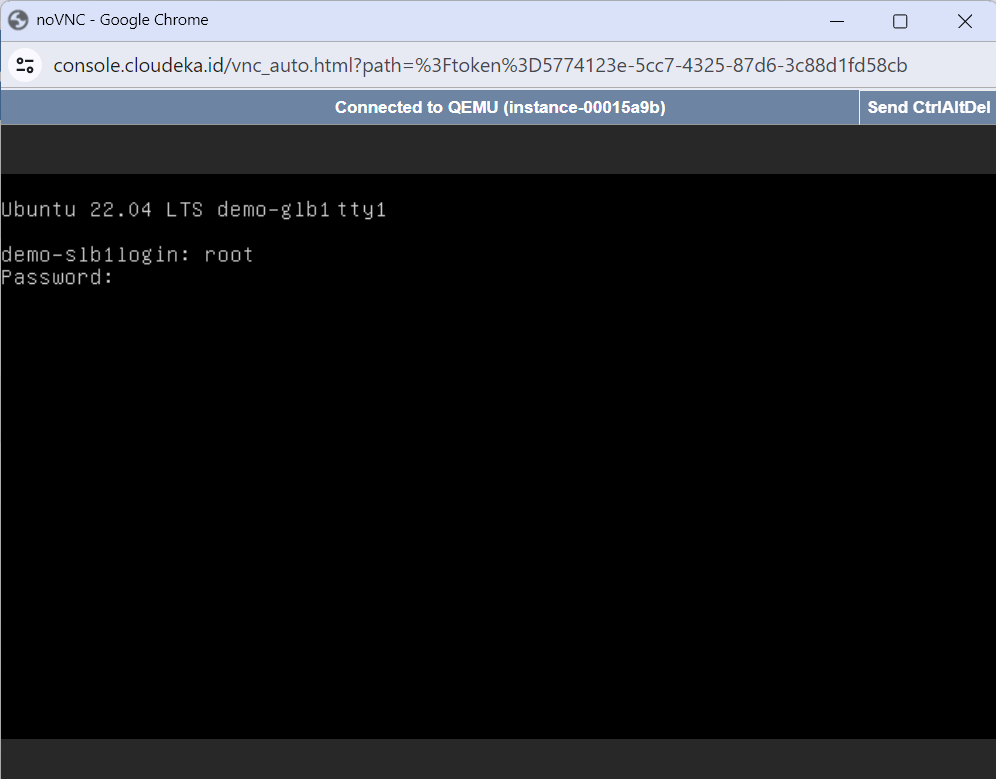
Enter the username and password used to log in to the virtual machine.
Access Console - Login
Enter the following command to update the package management version that the VM will use.
```
sudo apt-get update
```
Update Packet
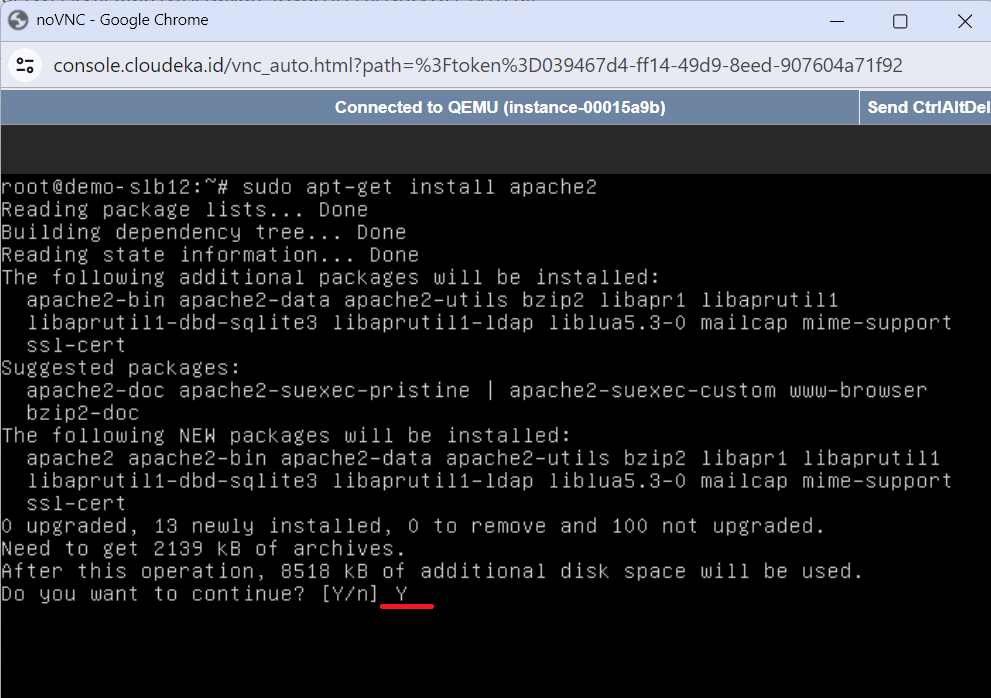
Enter the following command to install the Apache HTTPServer package on the VM.
```
sudo apt-get install apache2
```
Install Apache2
Type Y to continue the installation process.
Install Apache2
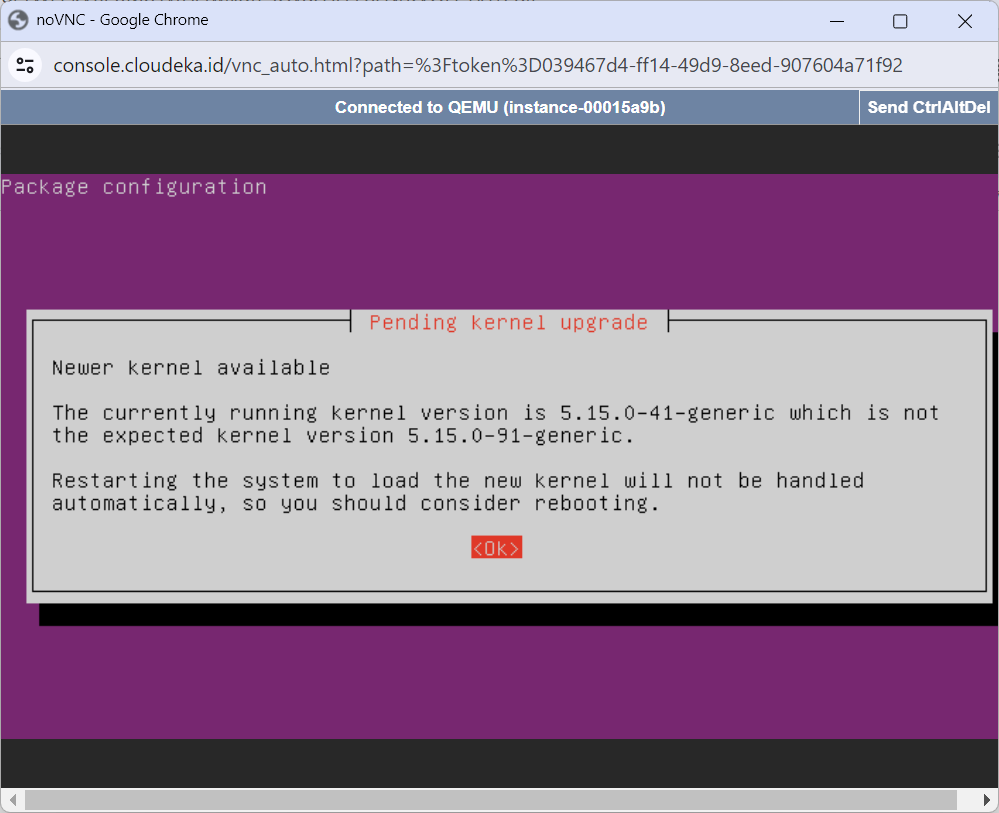
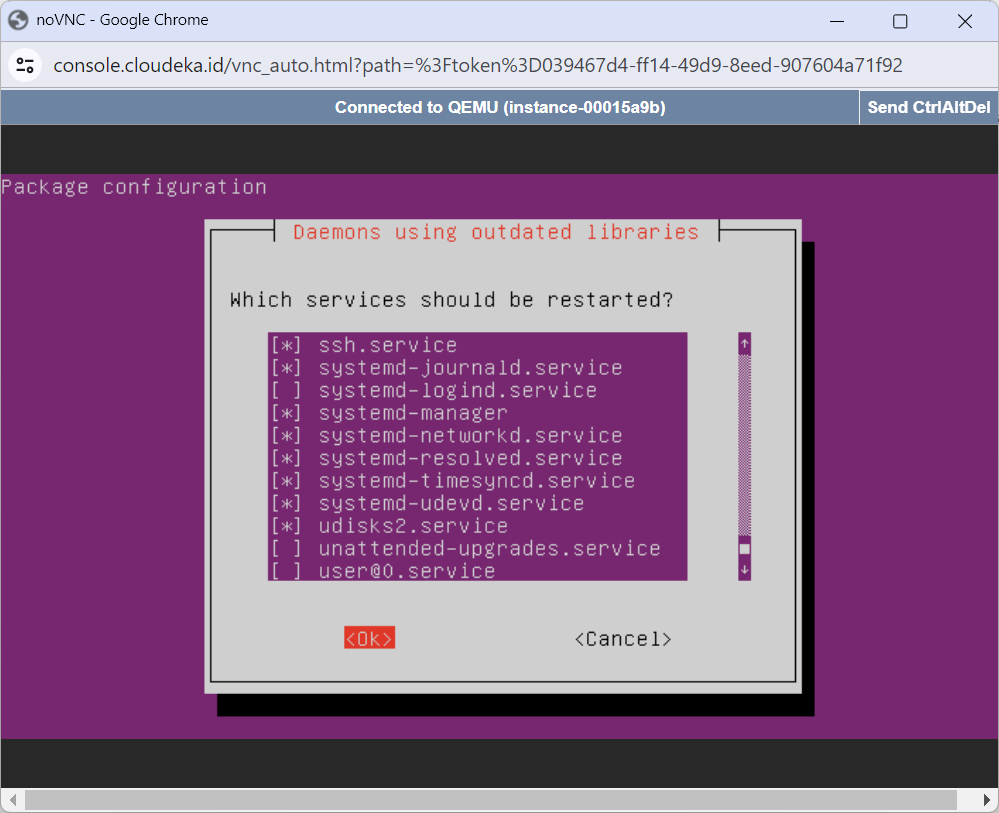
Press Enter to continue the installation process and wait until the process is complete.
Install Apache2
Install Apache2
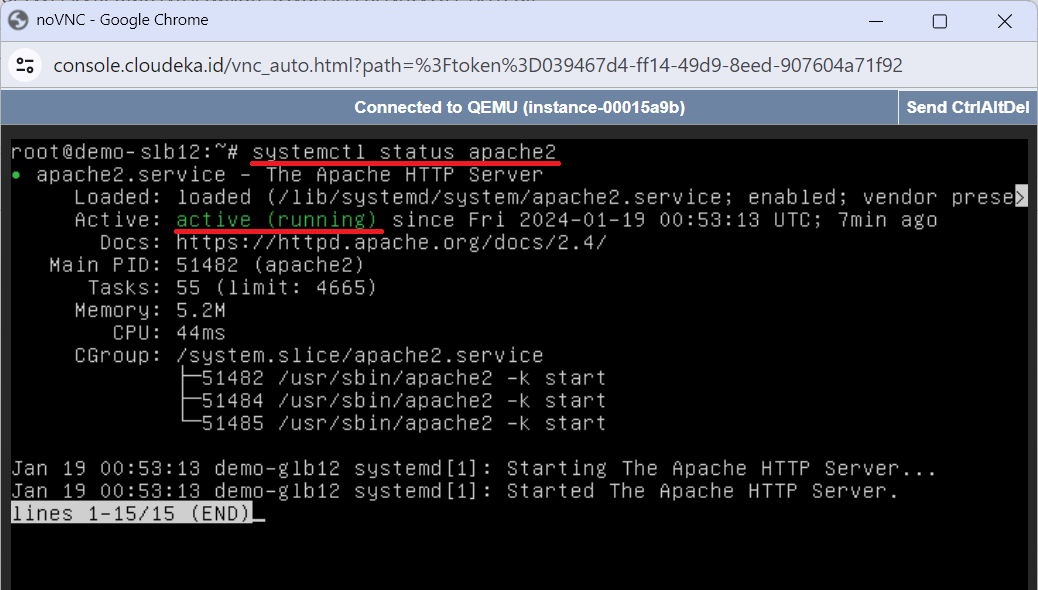
After you have finished installing Apache, next, check the status that Apache has been installed, enter the command below.
```
systemctl status apache2
```
Check Status Apache2
After Apache is running on each VM, the next step is to add a file to the html directory. Later, the file created in this html directory will be added to the Backend configuration in the Load Balancer under the Http Check URI column. Enter the following syntax to access the html directory.
```
cd /var/www/html
```
Add file
Enter the following command syntax to create a file in the html directory.
```
sudo nano [name-file].[ekstensi-file]
```
Add file
Enter the contents of the file in each VM
Add file
To exit the configuration file main.php, on the keyboard press the CTRL key and the X key simultaneously. Press the Y and Enter keys to save the file contents.
## **Deka SLB Configuration**
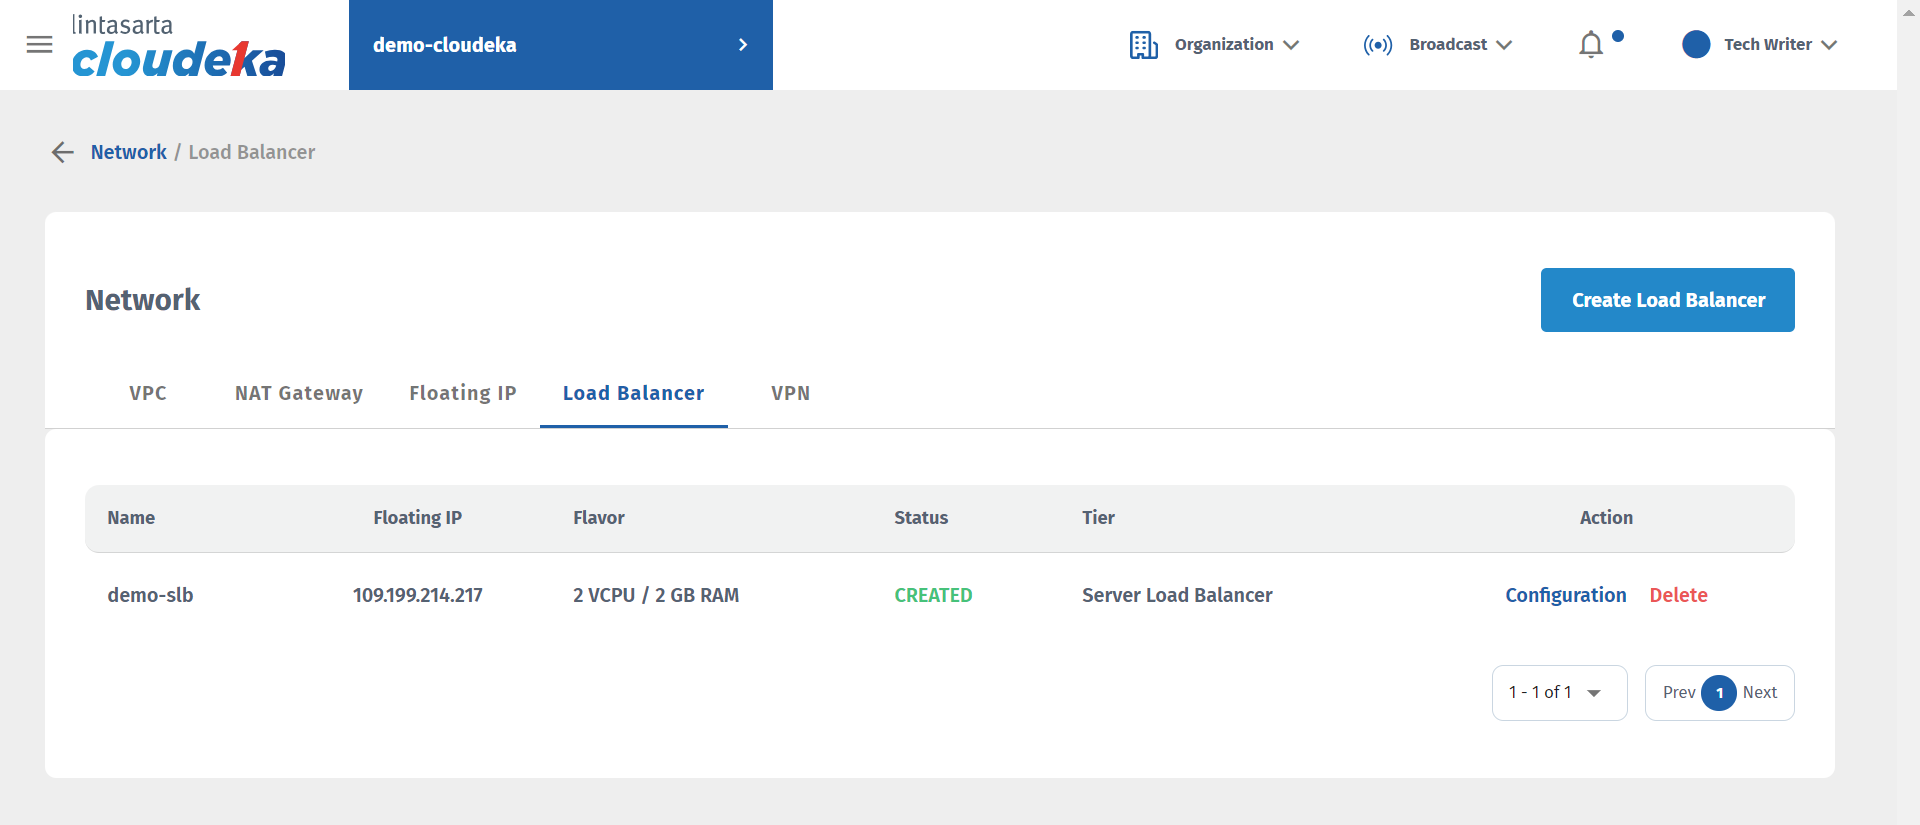
The next step is to add a load balancer configuration using the Server Load Balancer type via the Network menu.
SLB Configuration
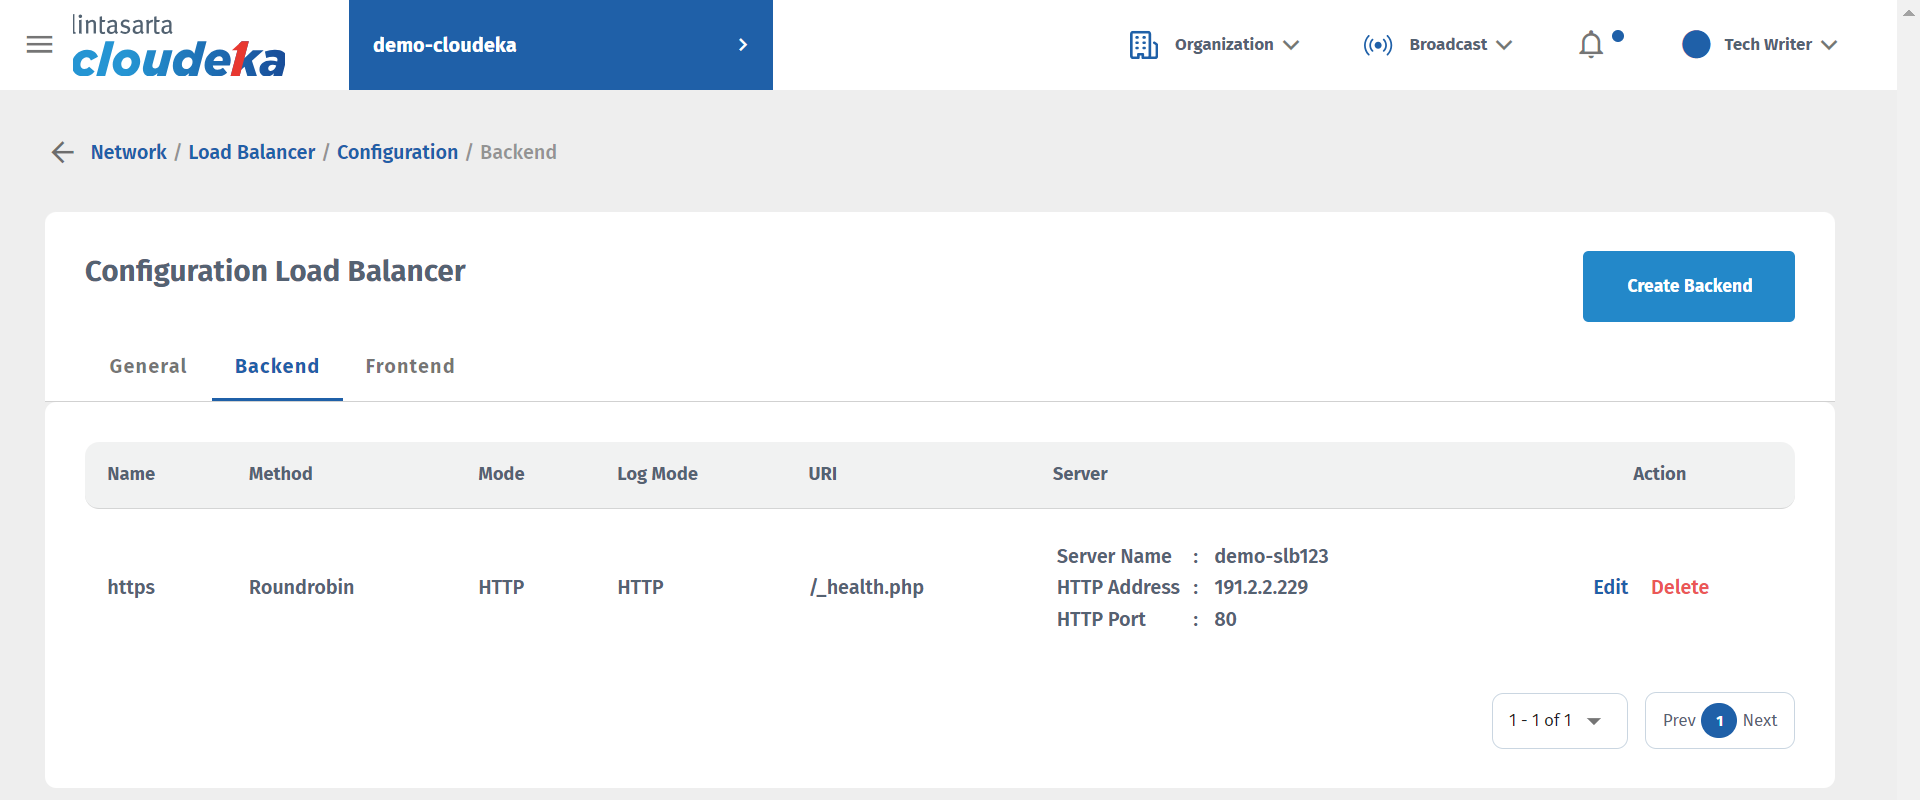
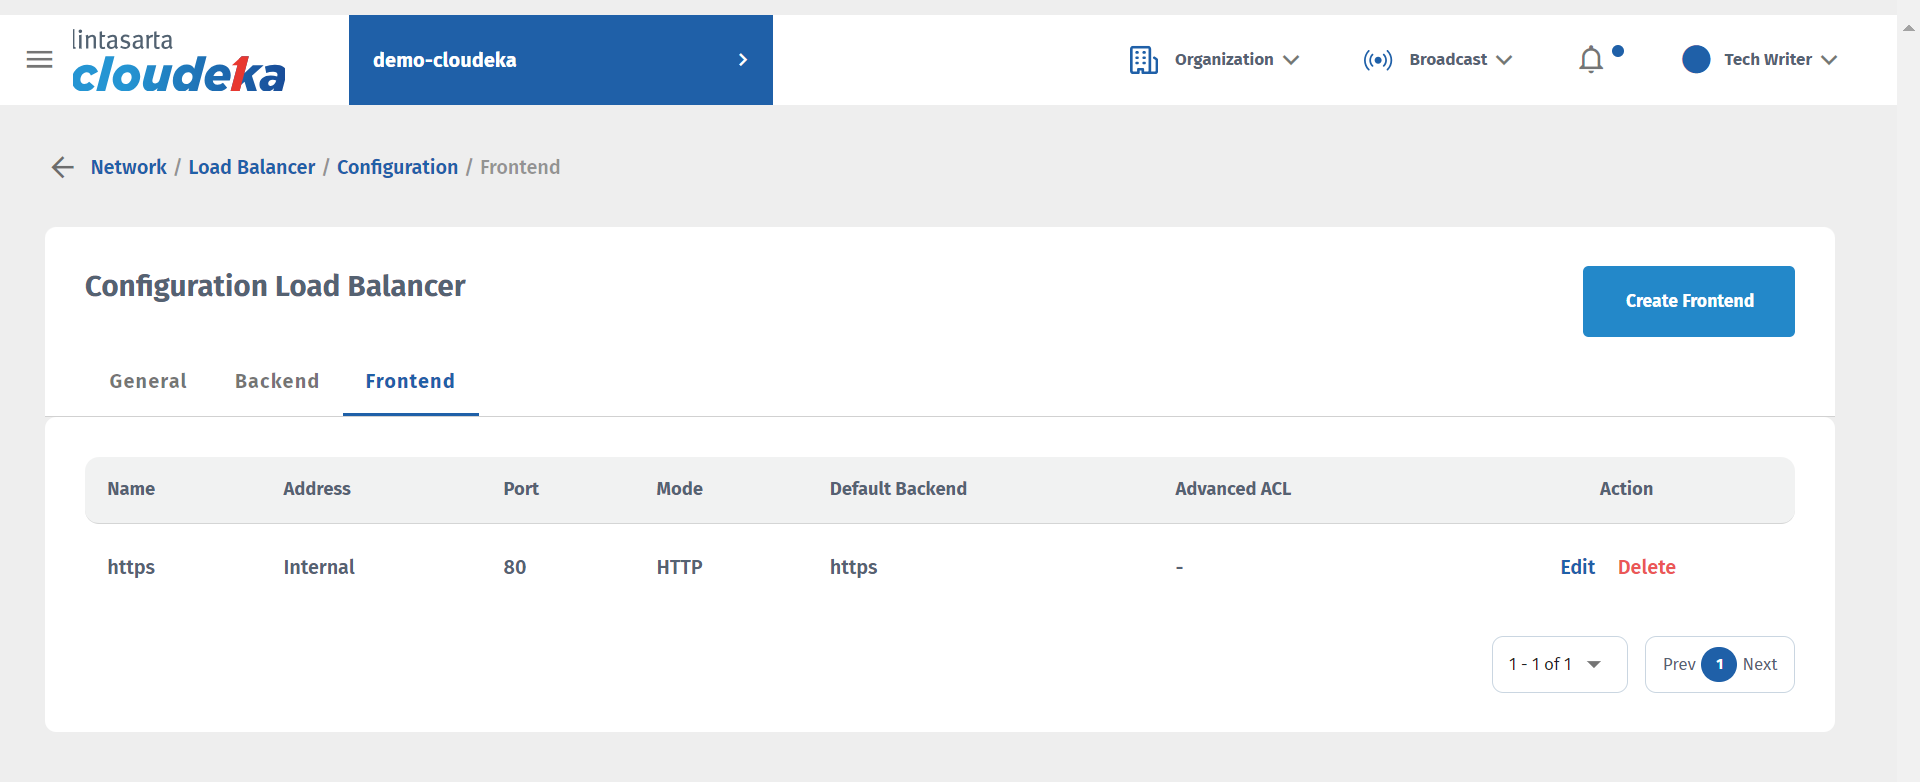
It can be seen that after adding the Deka SLB configuration, the IP address is 109.199.214.217 which will later be added to the Security Firewall. In the SLB configuration, add HTTP configuration to the backend and frontend.
BE Configuration
FE Configuration
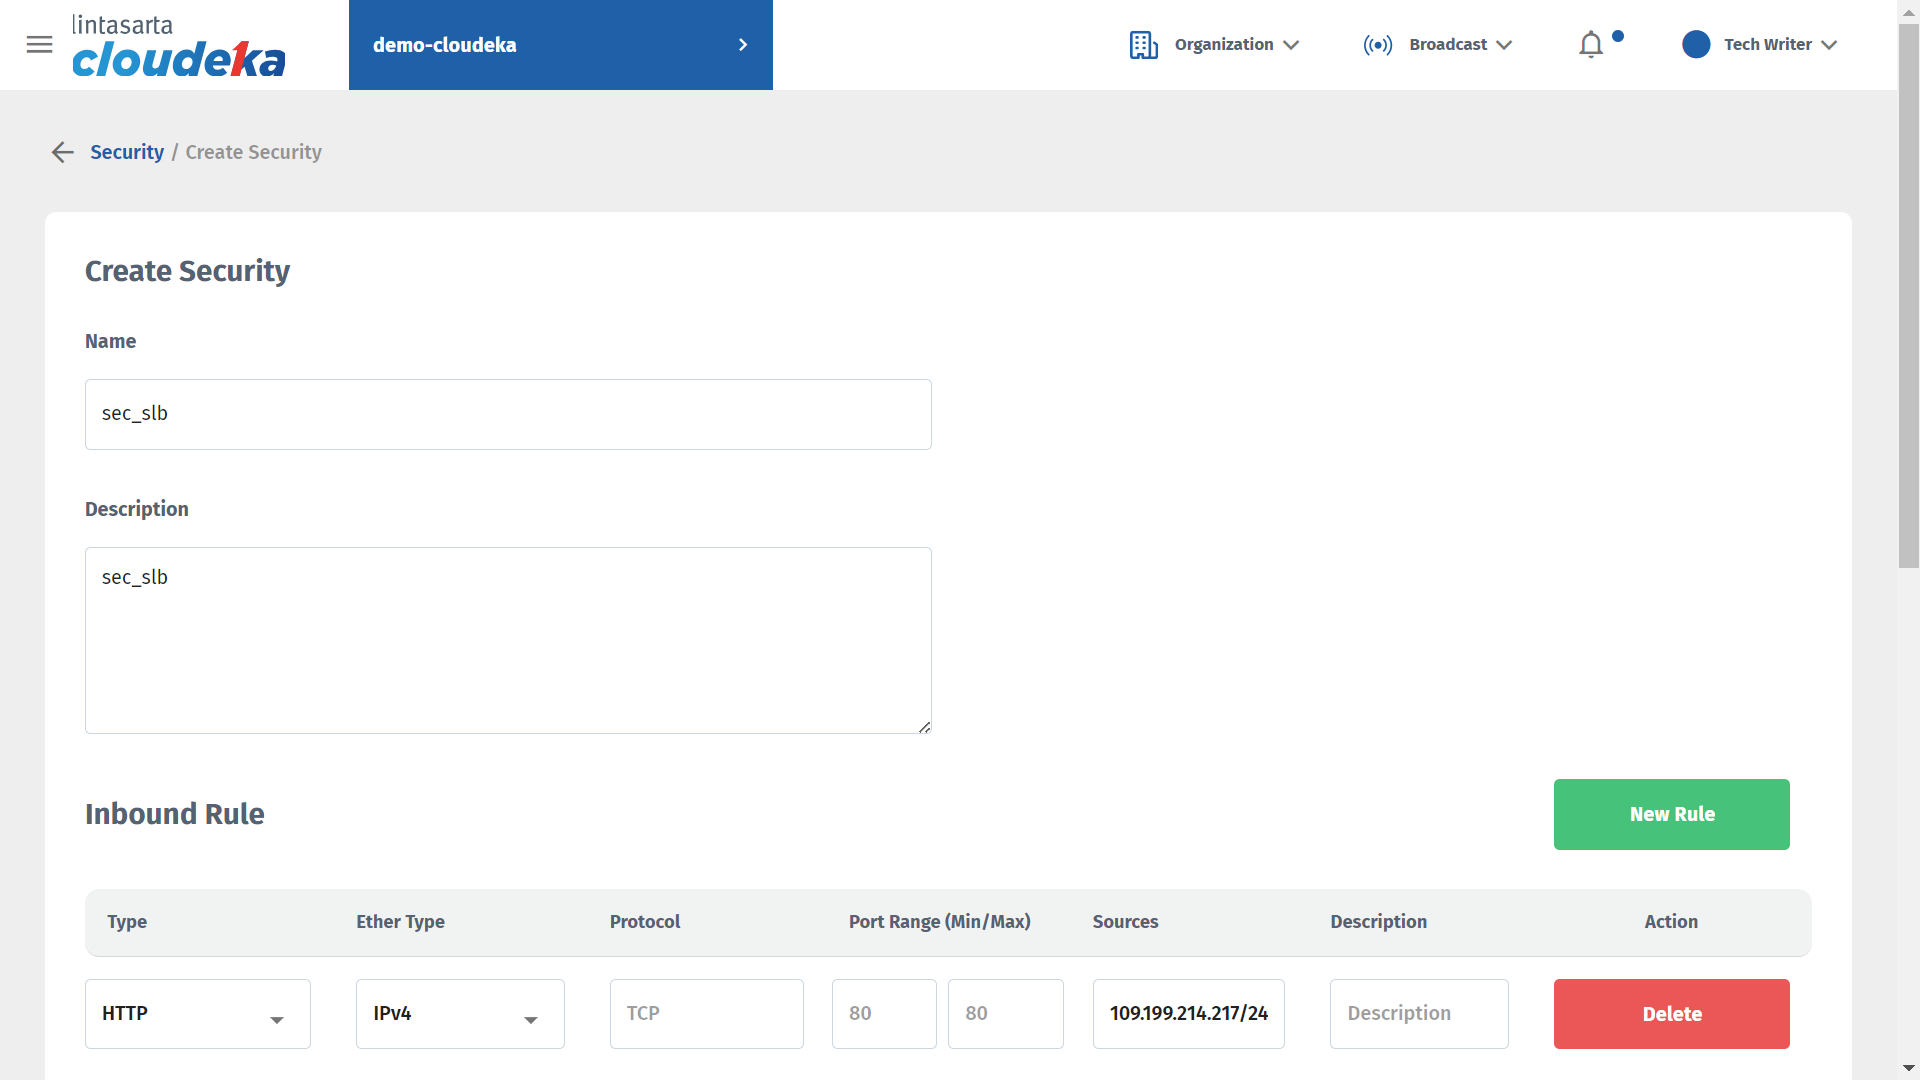
## **Security Configuration**
On the Security menu, press the Create Security button, in the Inbound Rule section, press the New Rule button to add the IP address obtained after successfully creating the Deka SLB configuration.
Security Configuration
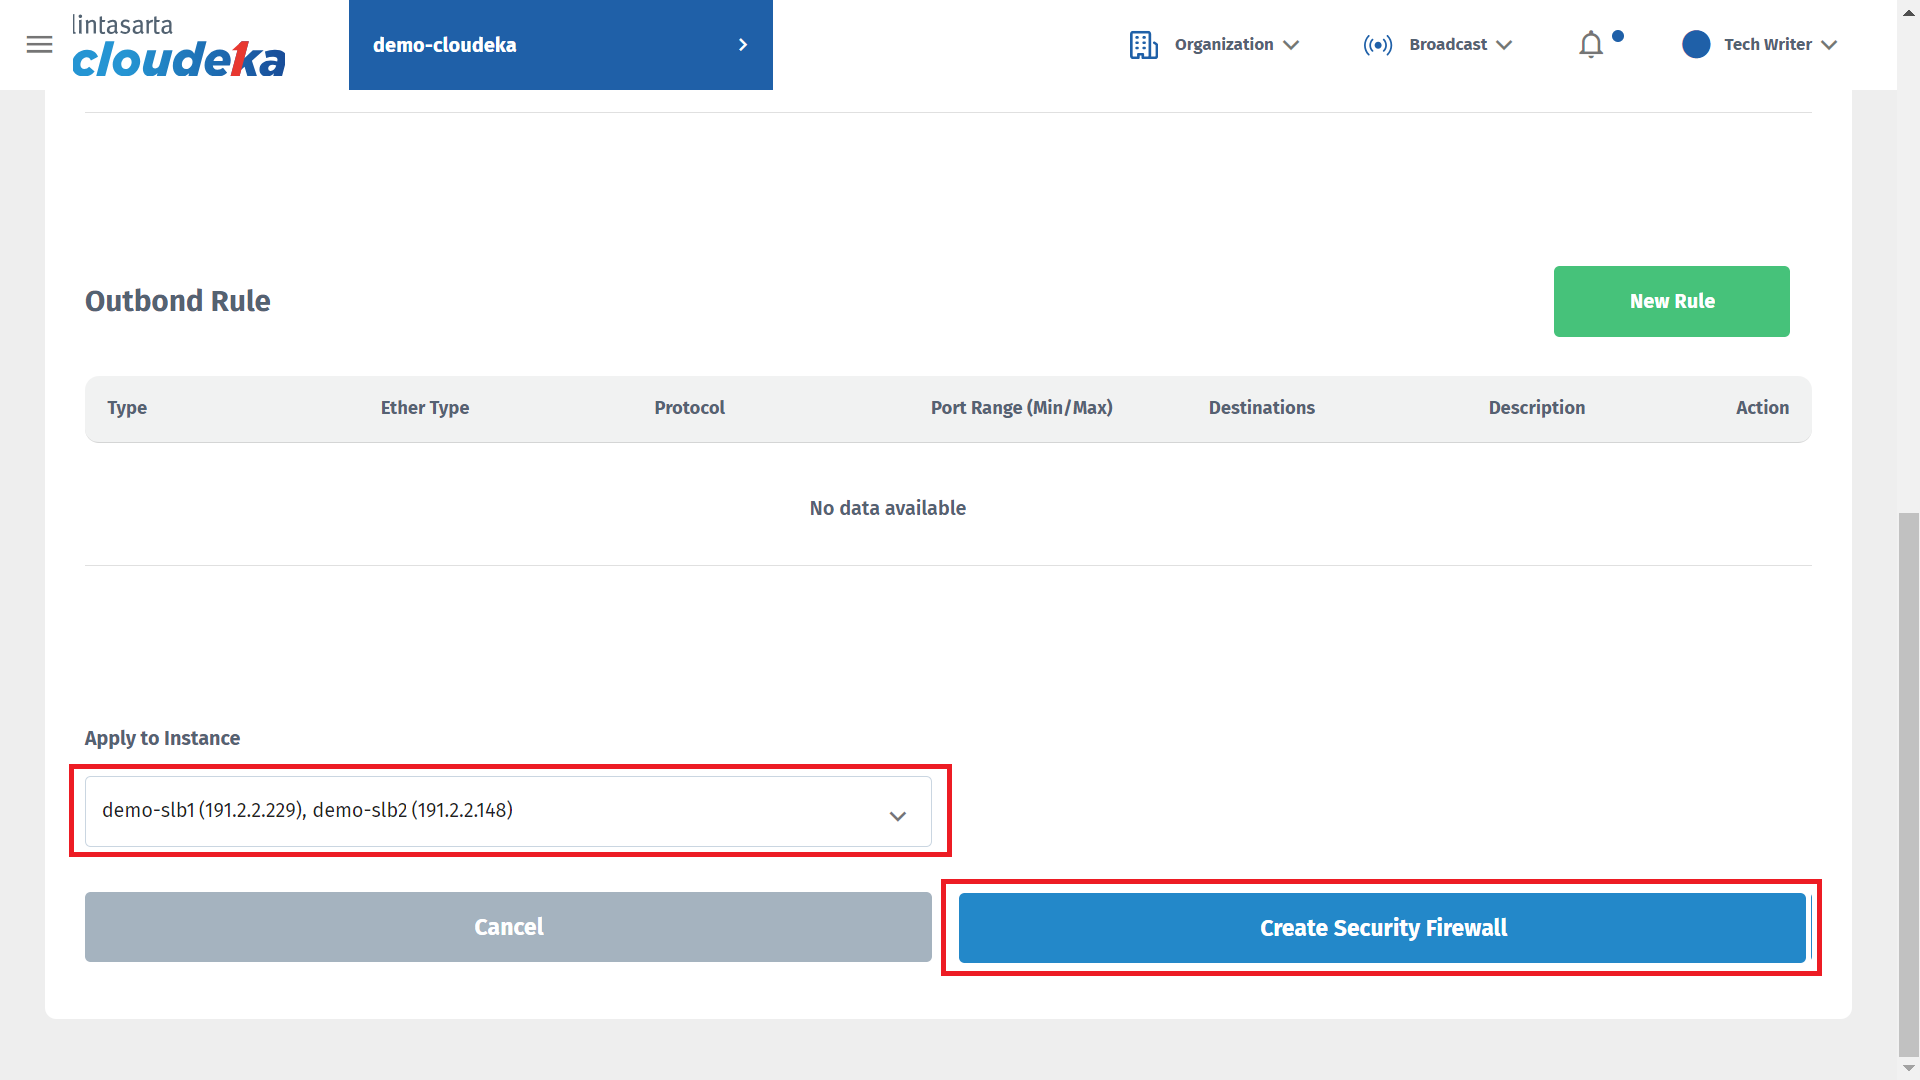
For the Apply to Instance section, add it to the previously created VM.
Security Configuration
## Result
After completing all the configurations above, check whether the web server is running according to the configuration. Open the browser on your computer, enter the IP address obtained in the load balancer configuration, namely **109.190.214.217** and the name of the file created in the html directory, namely main.php. Enter the following syntax in your browser.
```
109.190.214.217/main.php
```
.png)
.png)