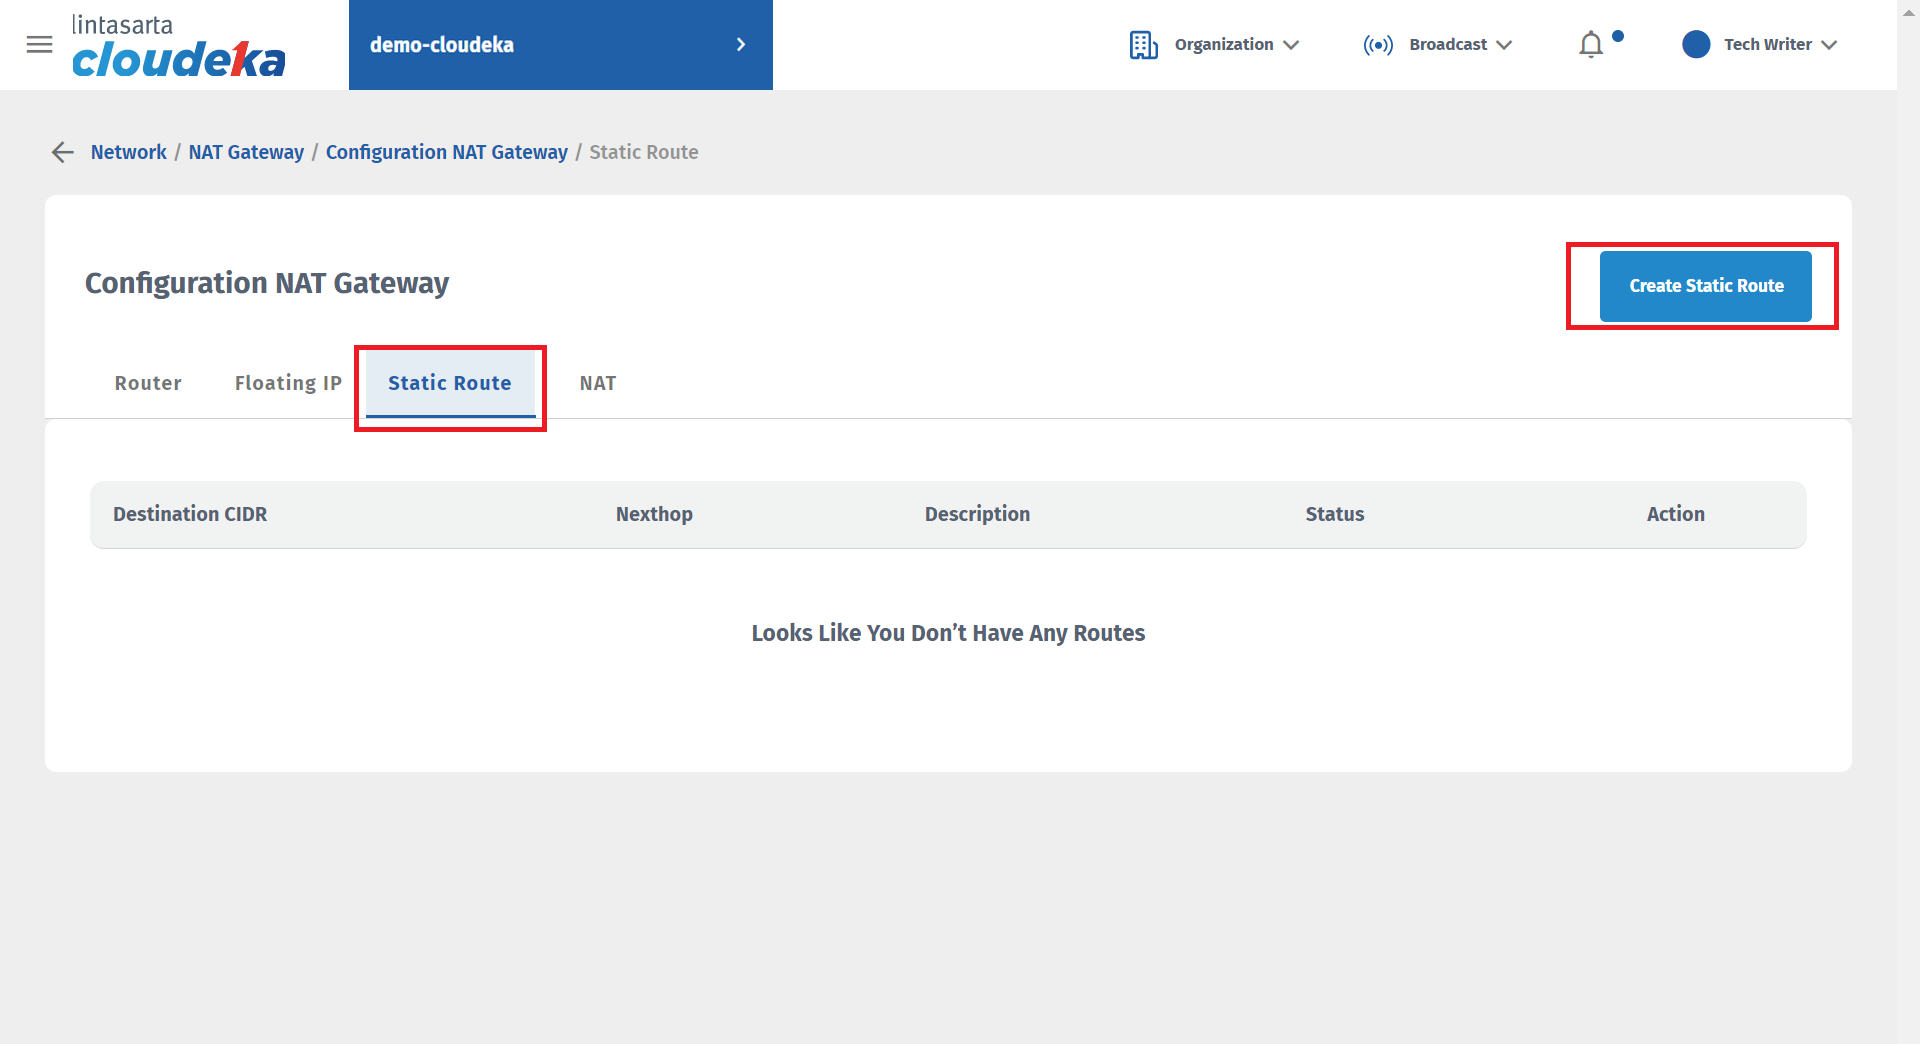
Add Static Route
Add Static Route

Add Static Route
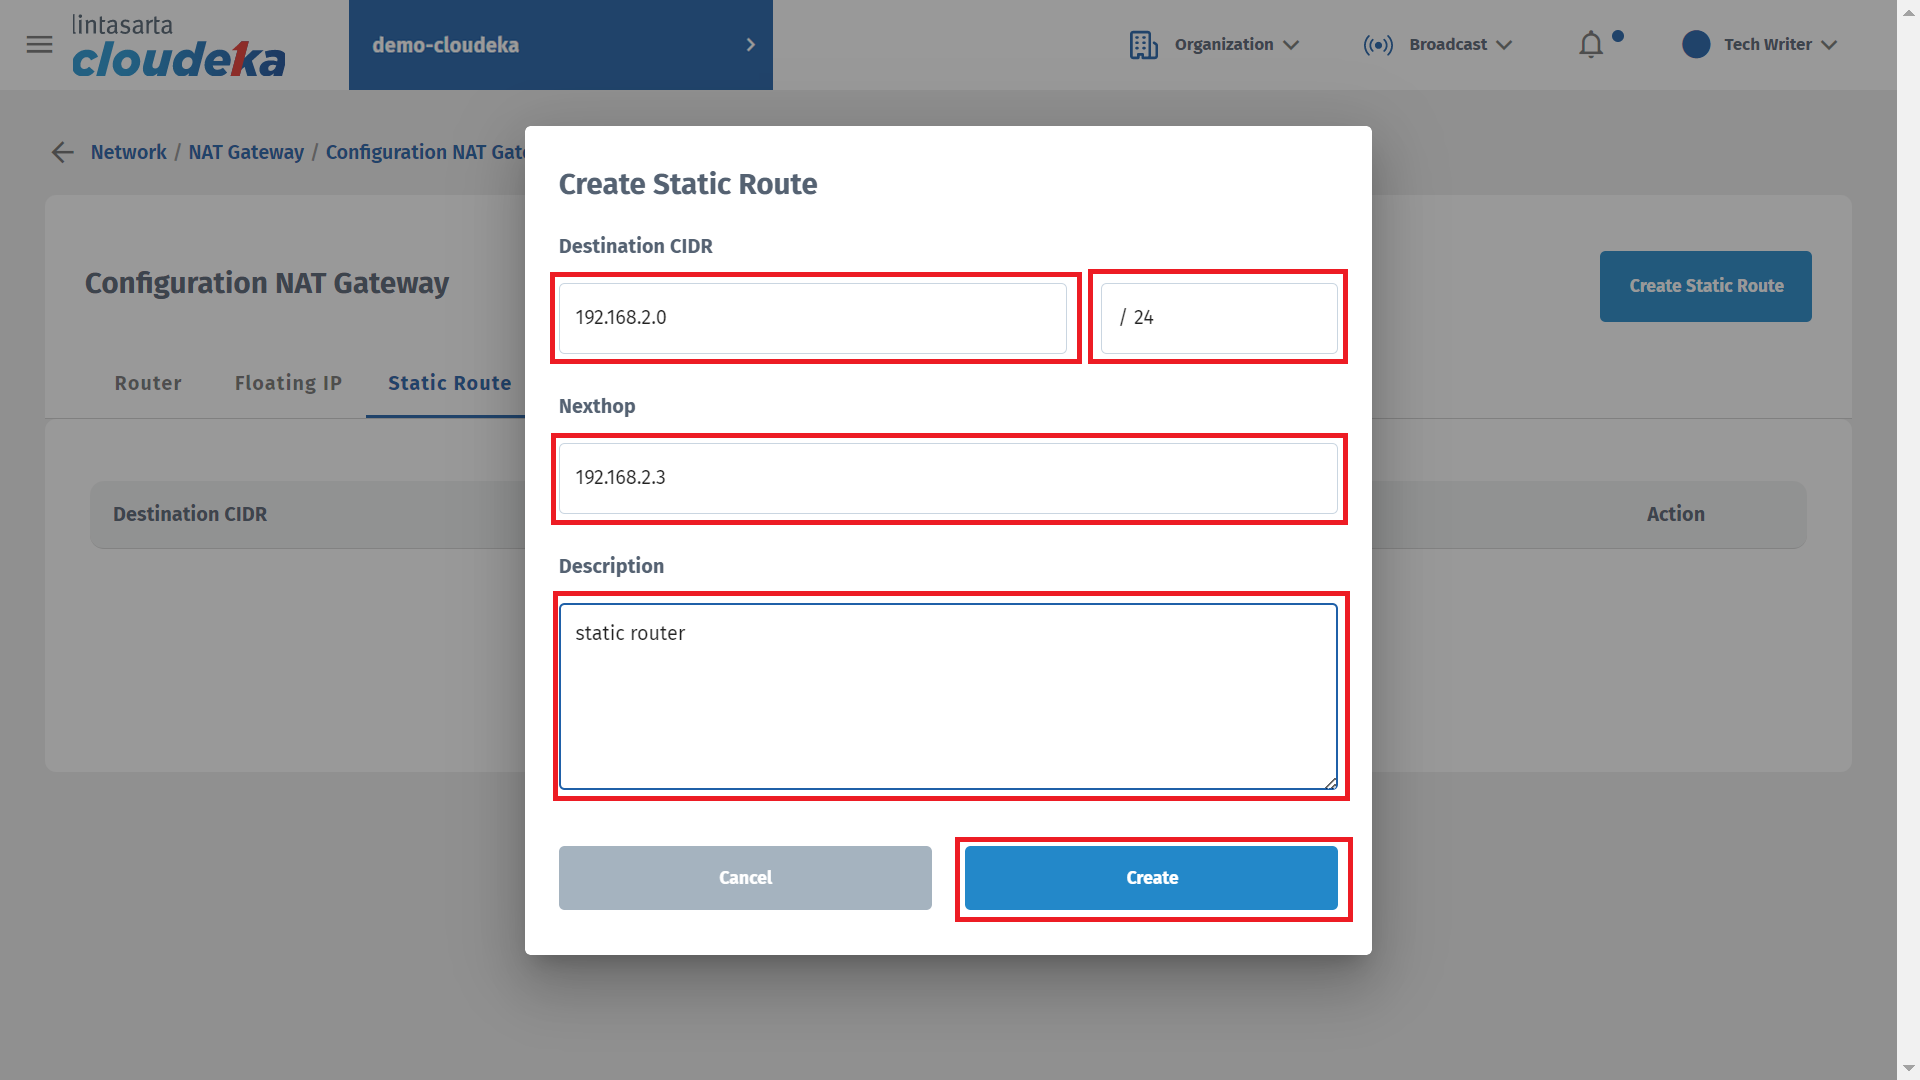
| Column | Description |
|---|---|
| Destination CIDR | Configuration that determines the destination network to be translated by the NAT Gateway. |
| Nexthop | Configure by adding a Gateway IP address which is useful for forwarding data packets to the destination. |
| Description | Configuration information about the static route created. |
Add Static Route
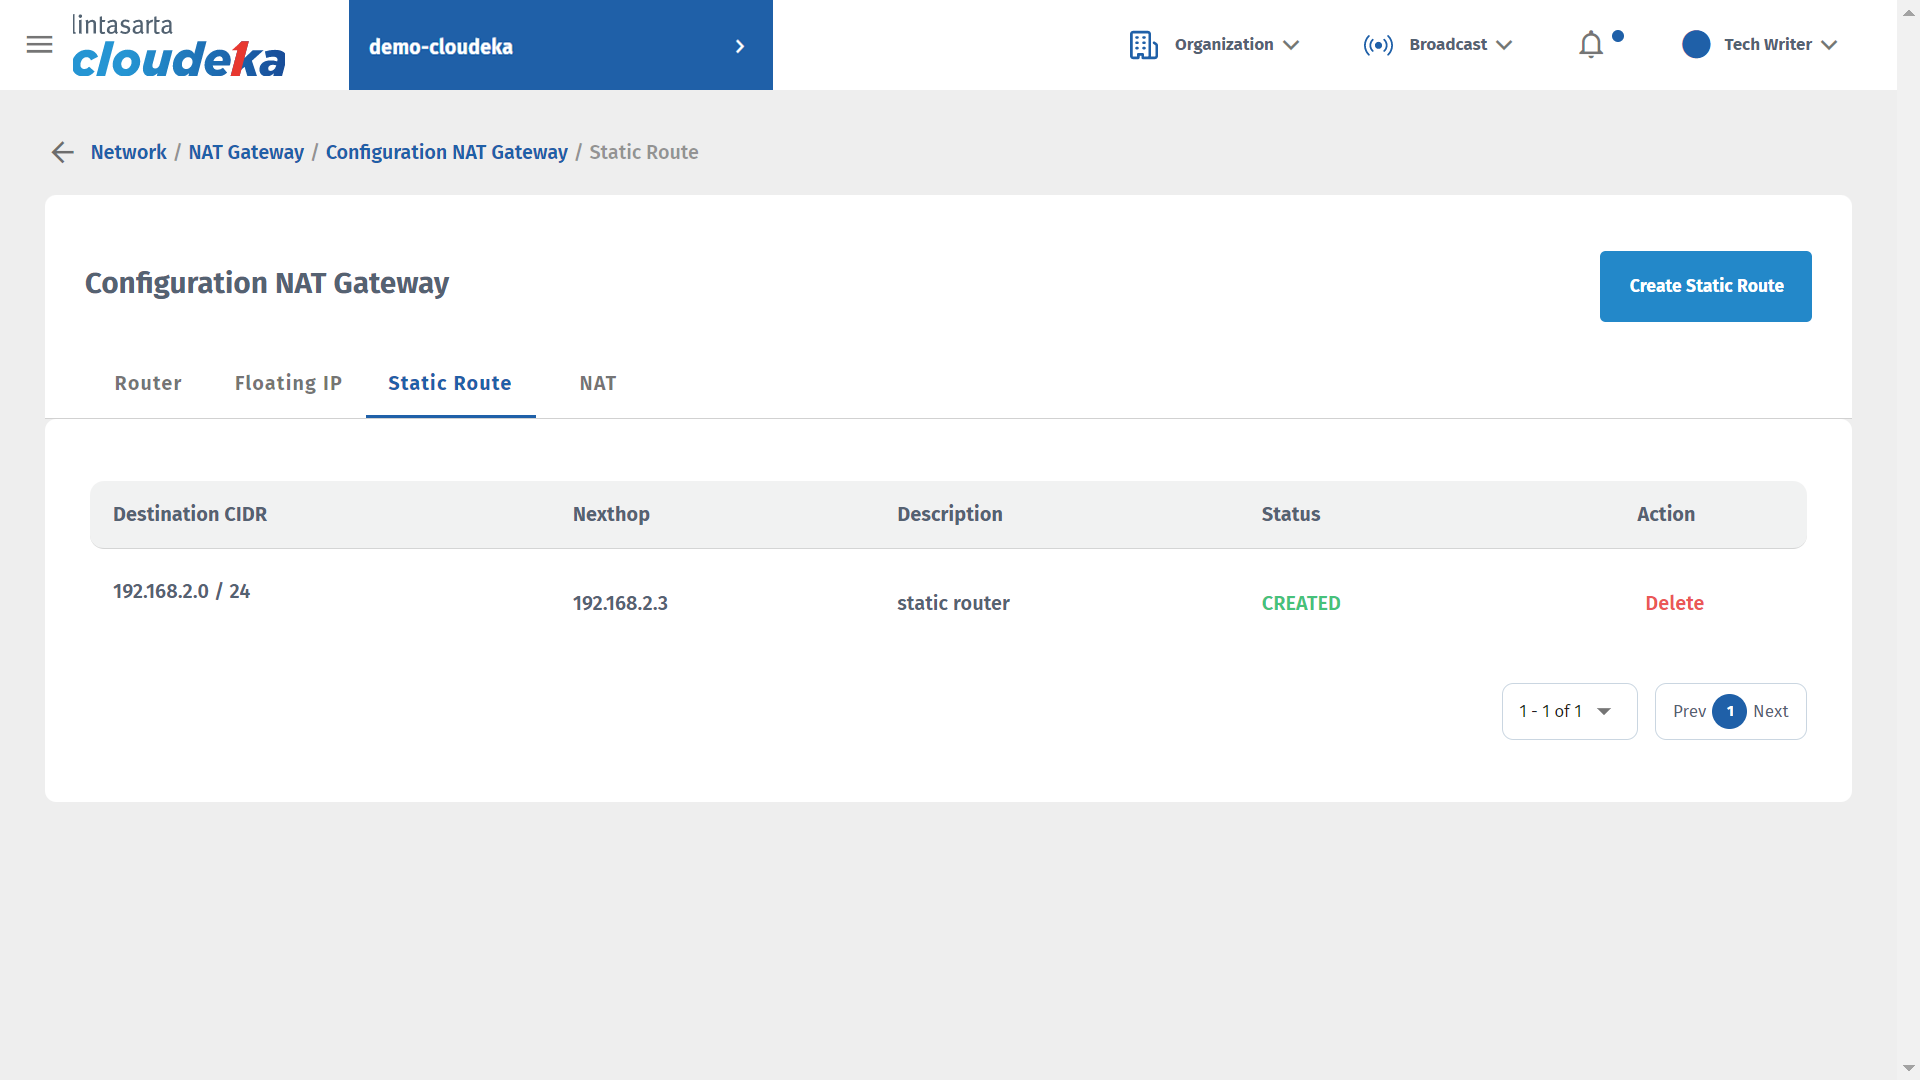
Add Static Route