> For the complete documentation index, see [llms.txt](https://docs.cloudeka.id/llms.txt). Markdown versions of documentation pages are available by appending `.md` to page URLs; this page is available as [Markdown](https://docs.cloudeka.id/ci-cd/deka-registry/member.md).
# Member
On the Members tab you can add repository users according to the predefined roles and remove repository users.
## Add User
Here are the steps to add a repository member in the Deka Registry to the Cloudka portal service.
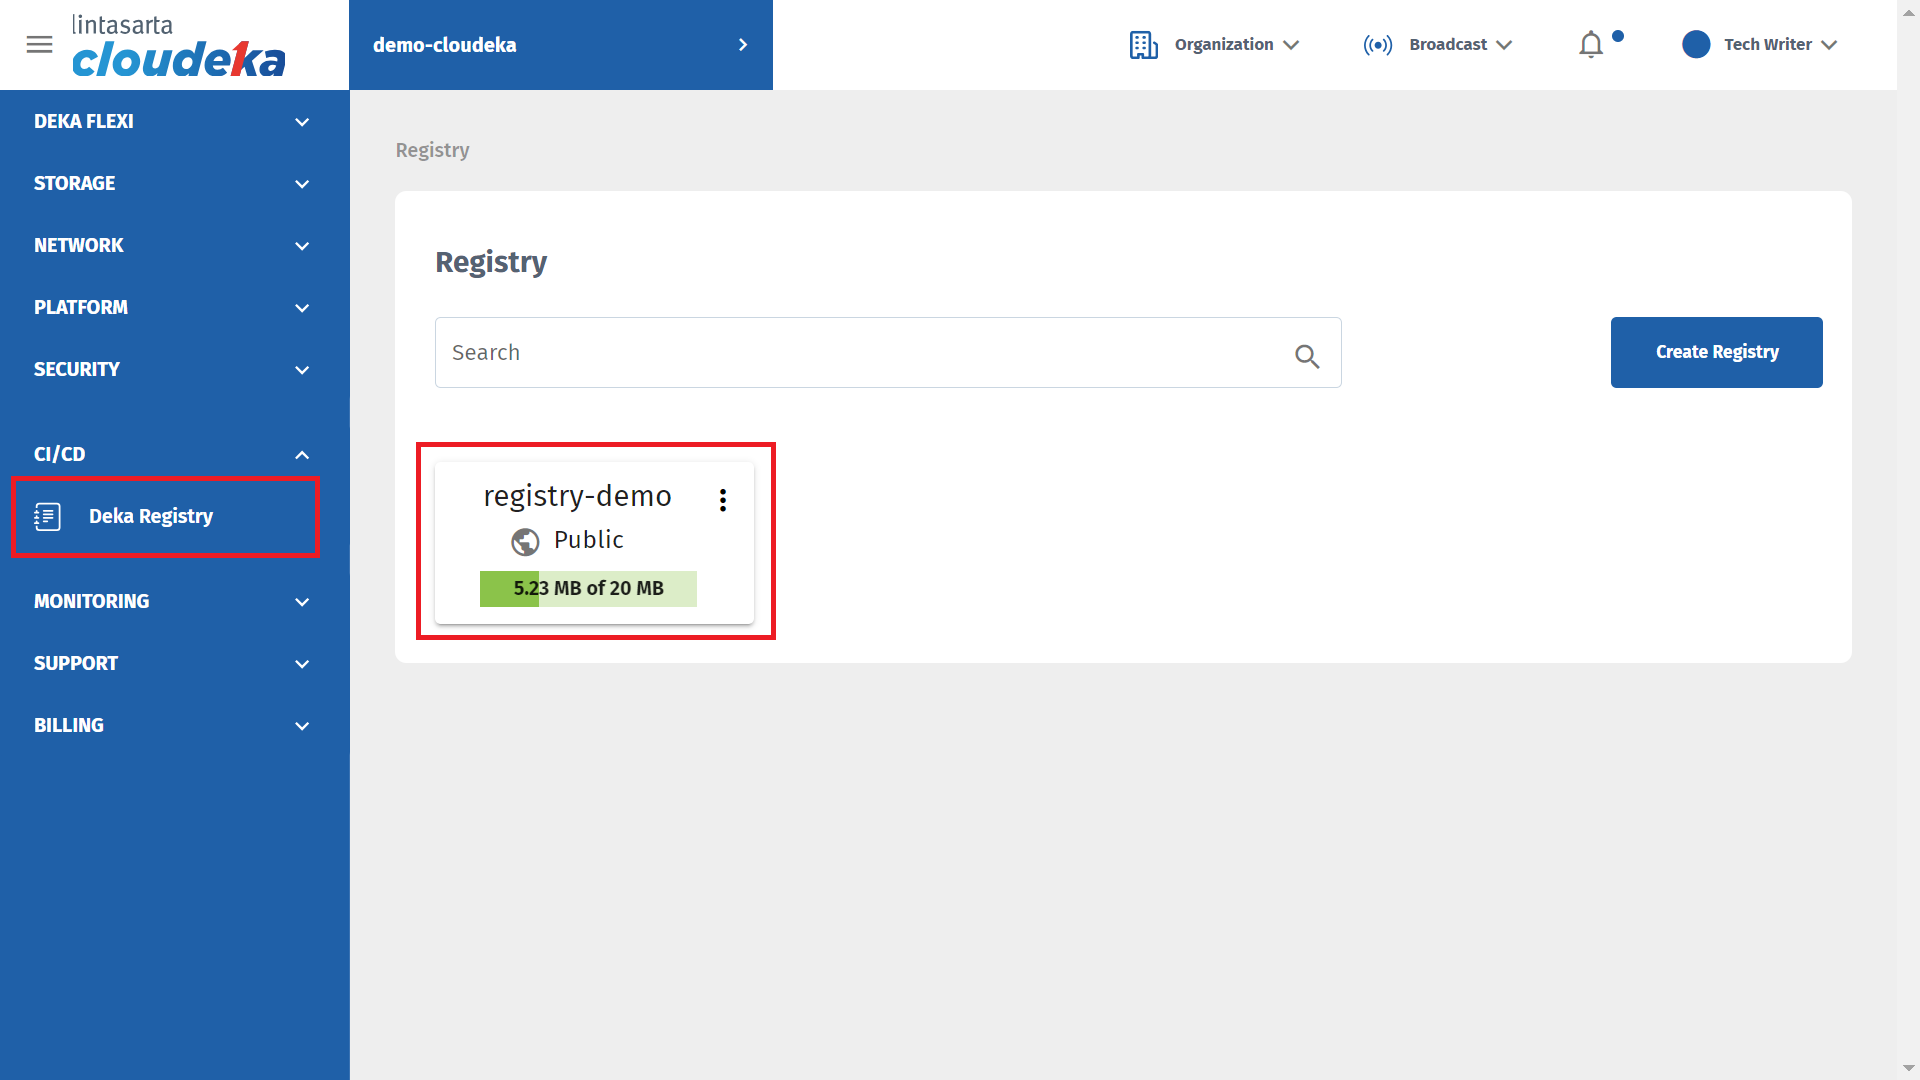
* On the Cloud services portal page click the Registry Declaration menu on the CI/CD.
Add User Member (a)
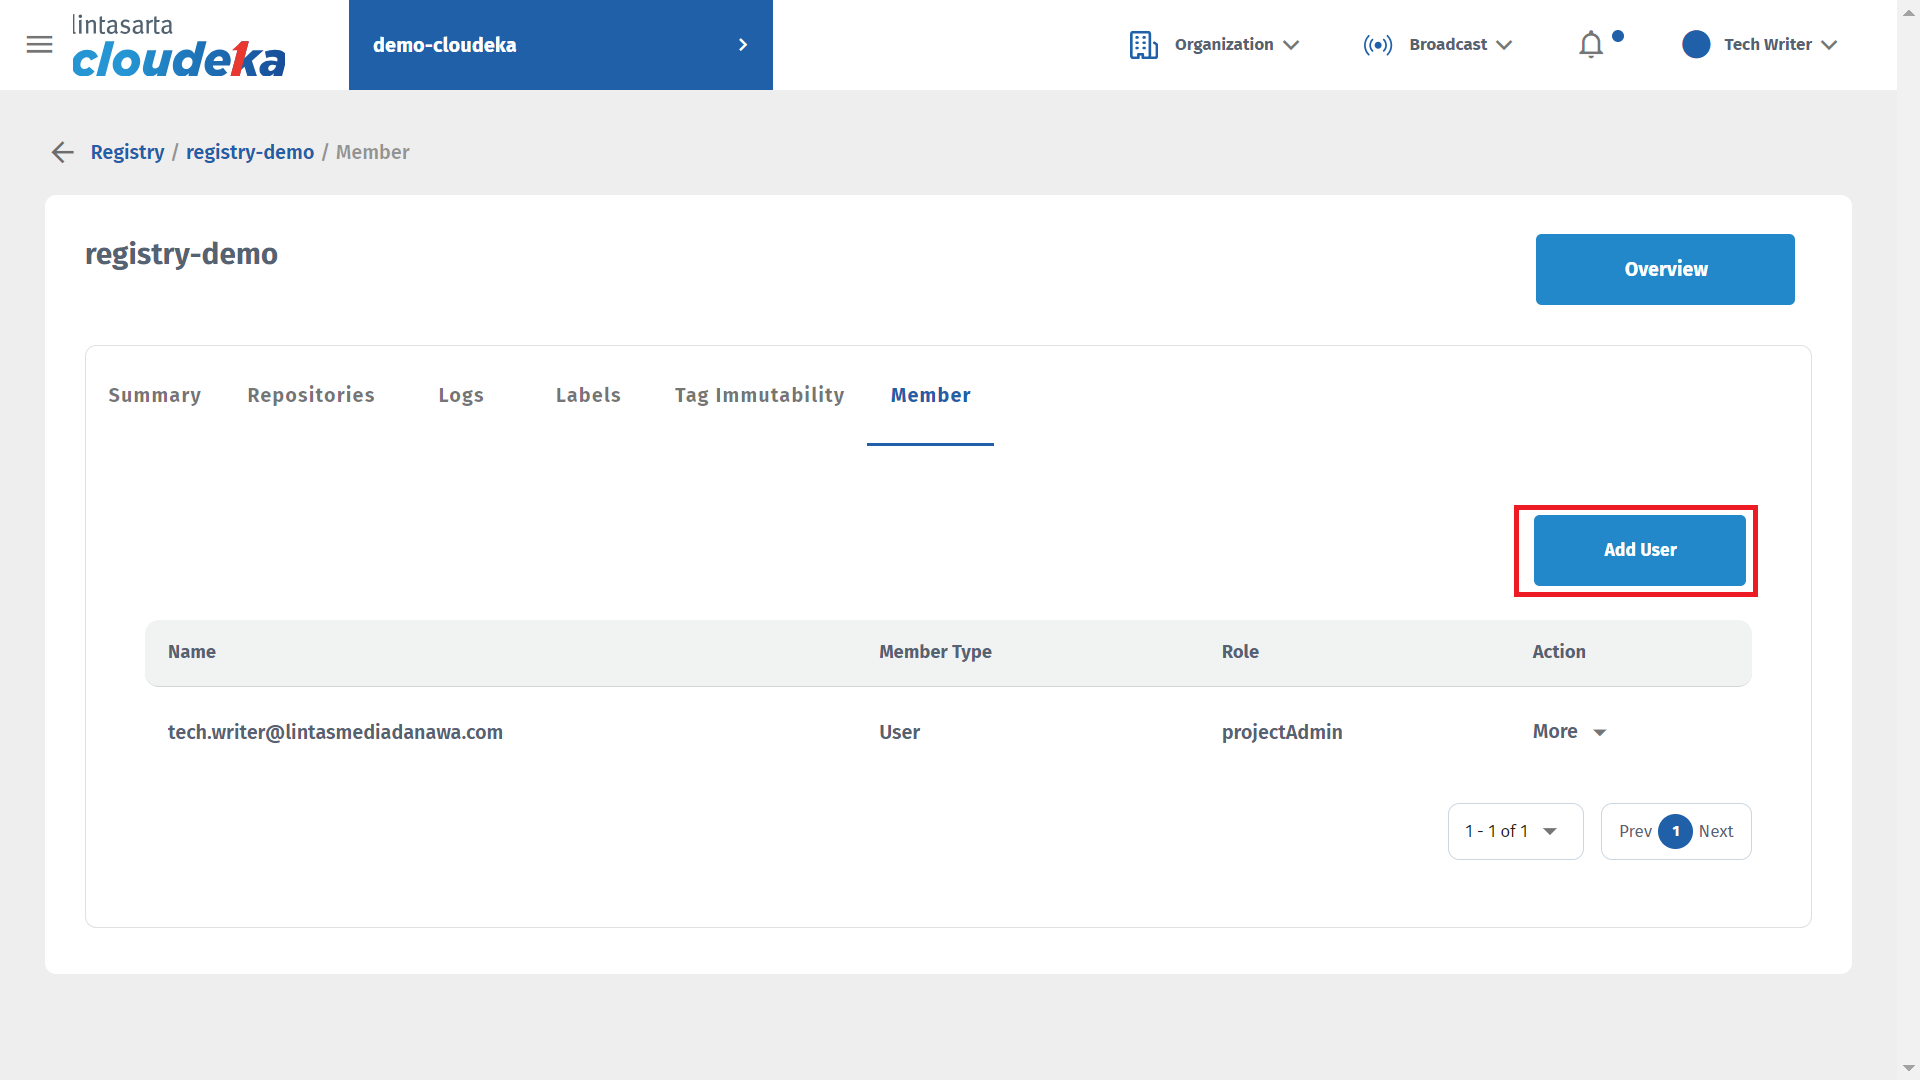
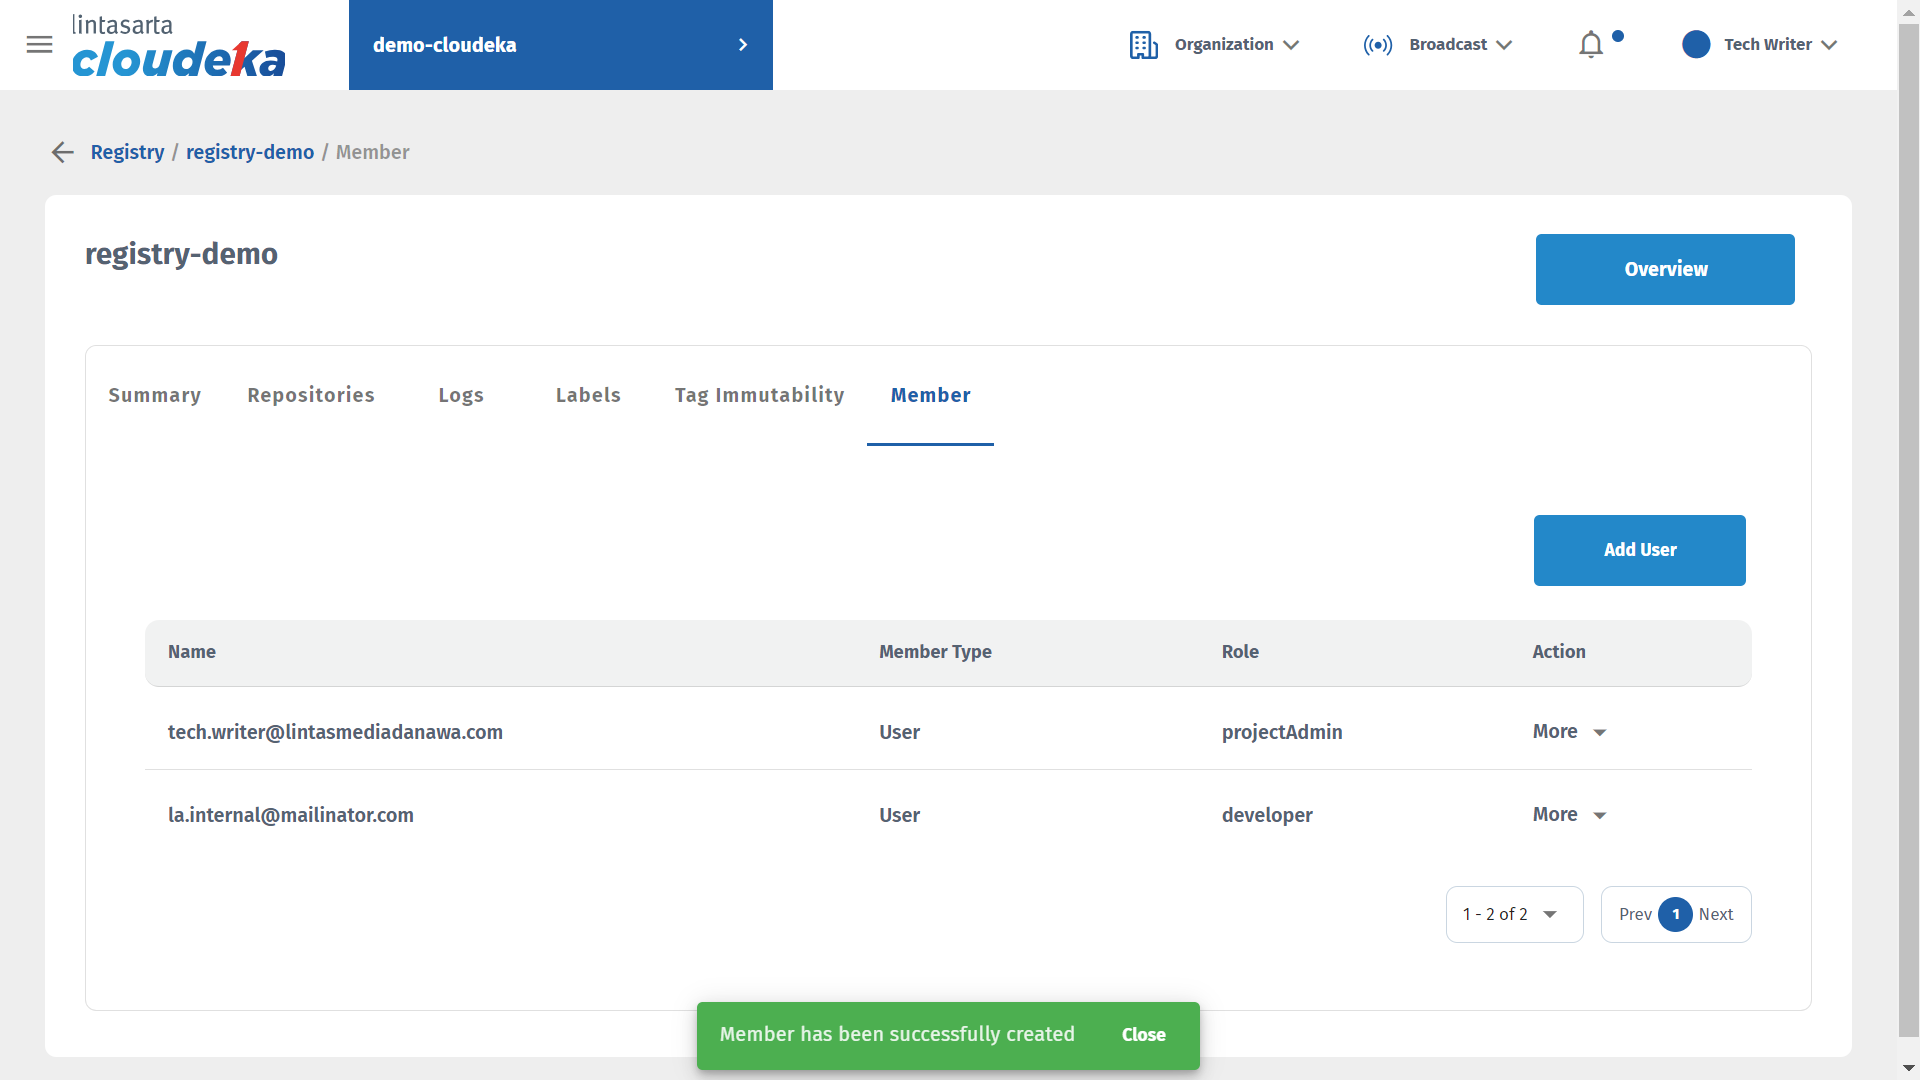
* Click the Members tab and click Add User.
Add User Member (b)
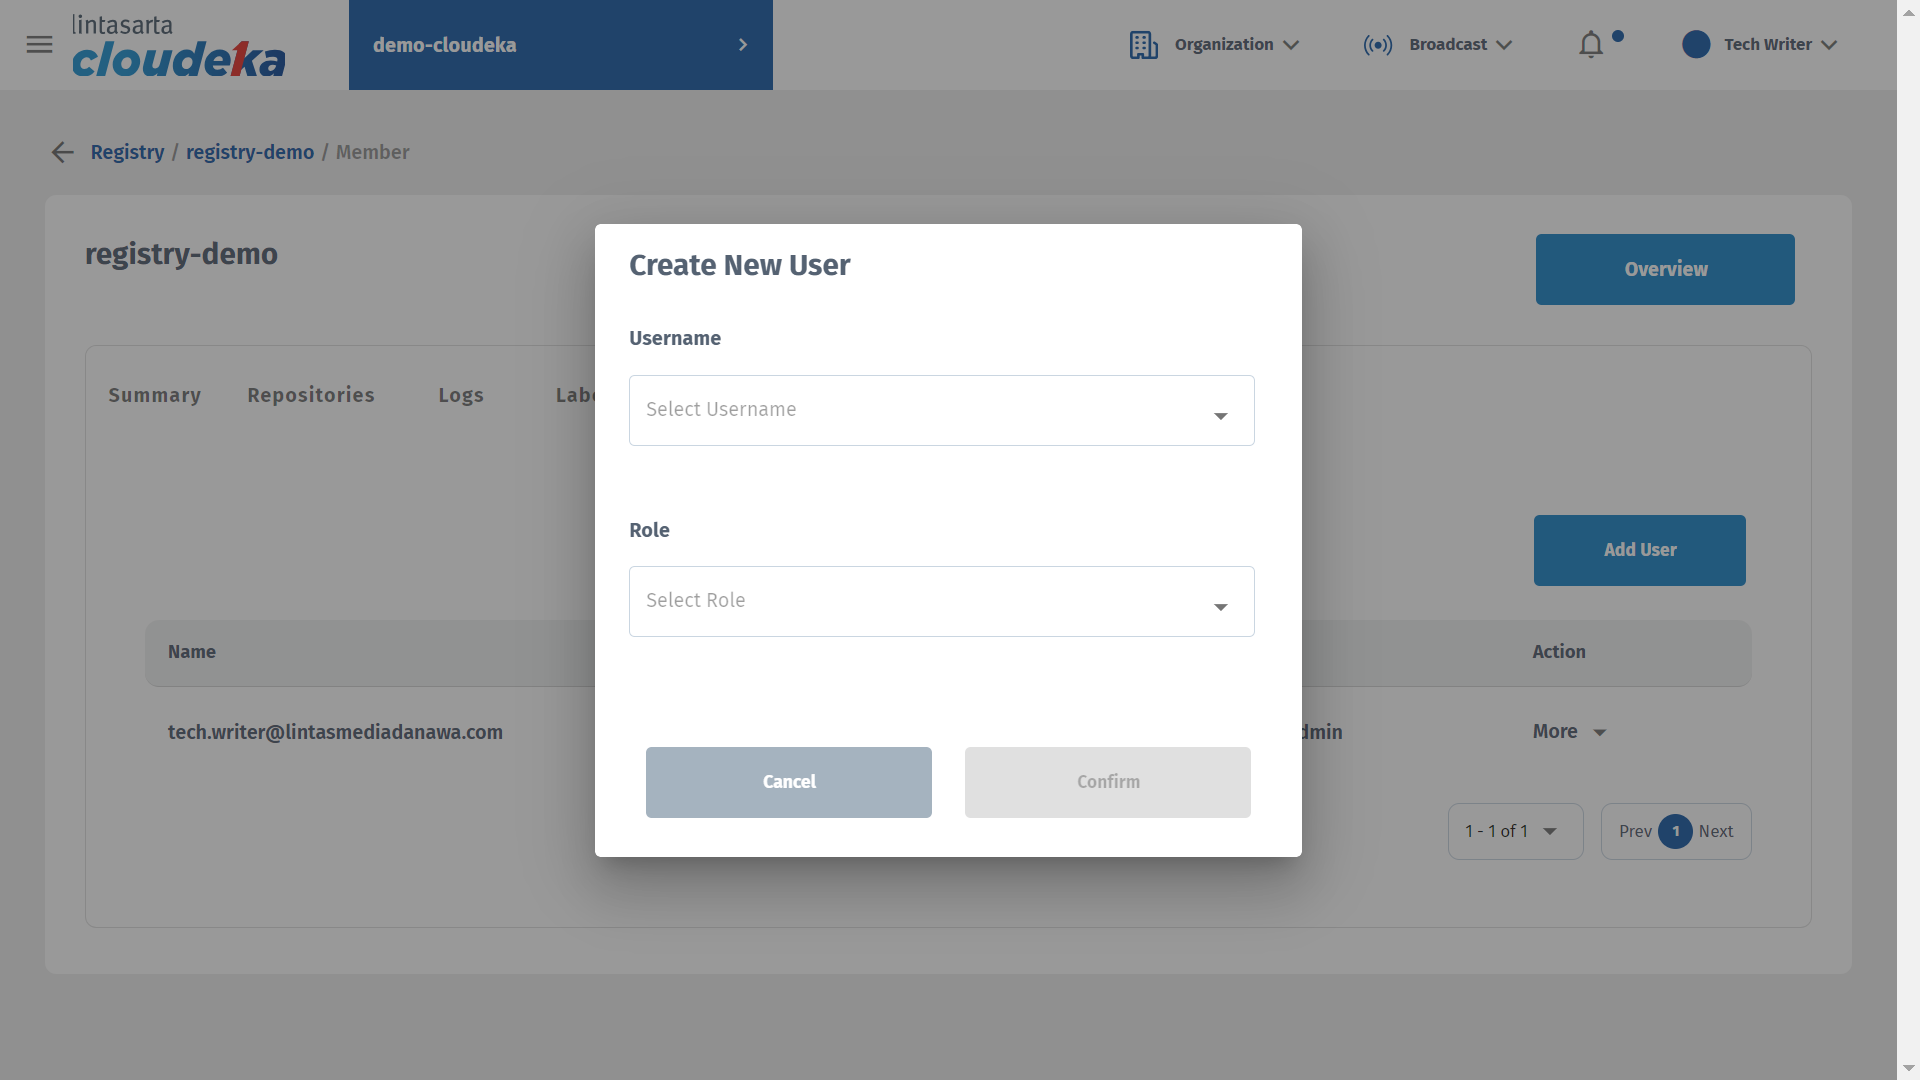
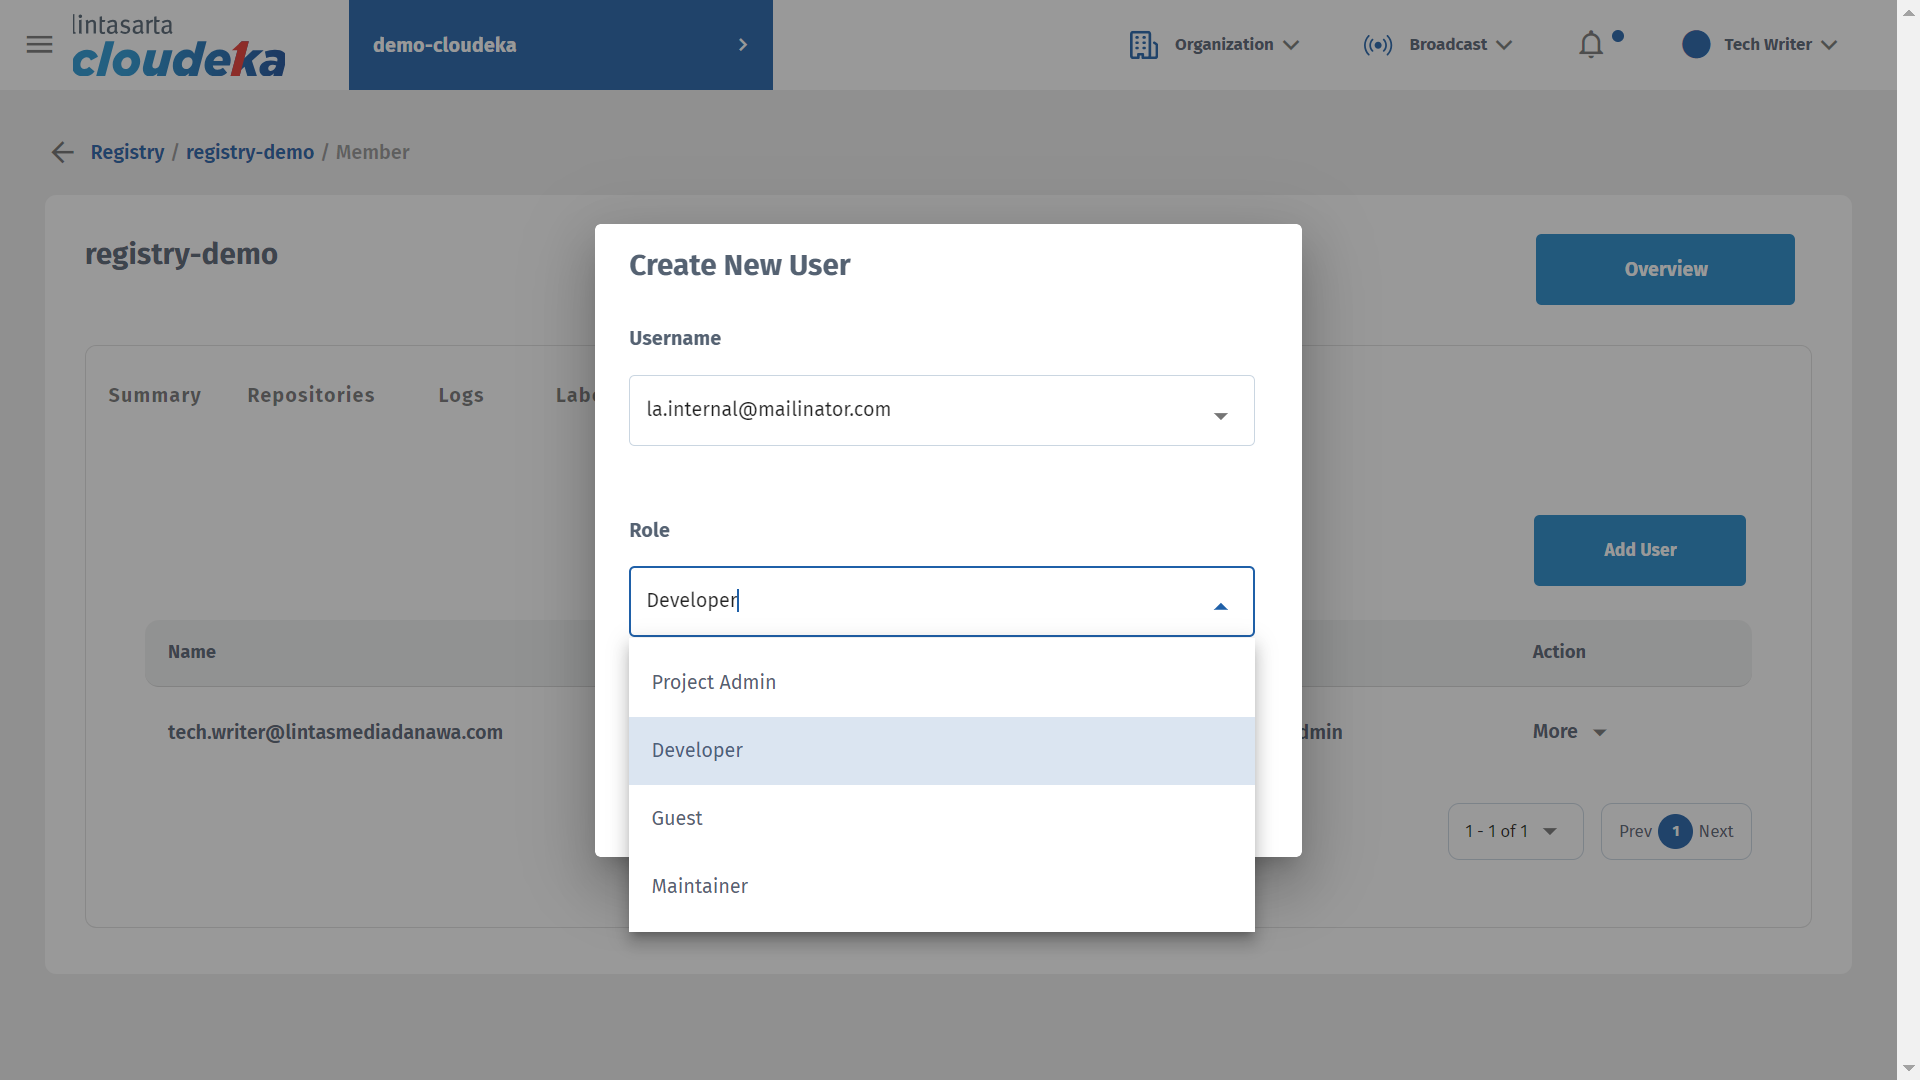
* In the Create New User form select Username and select Roles as appropriate.
Add User Member (c)
Add User Member (d)
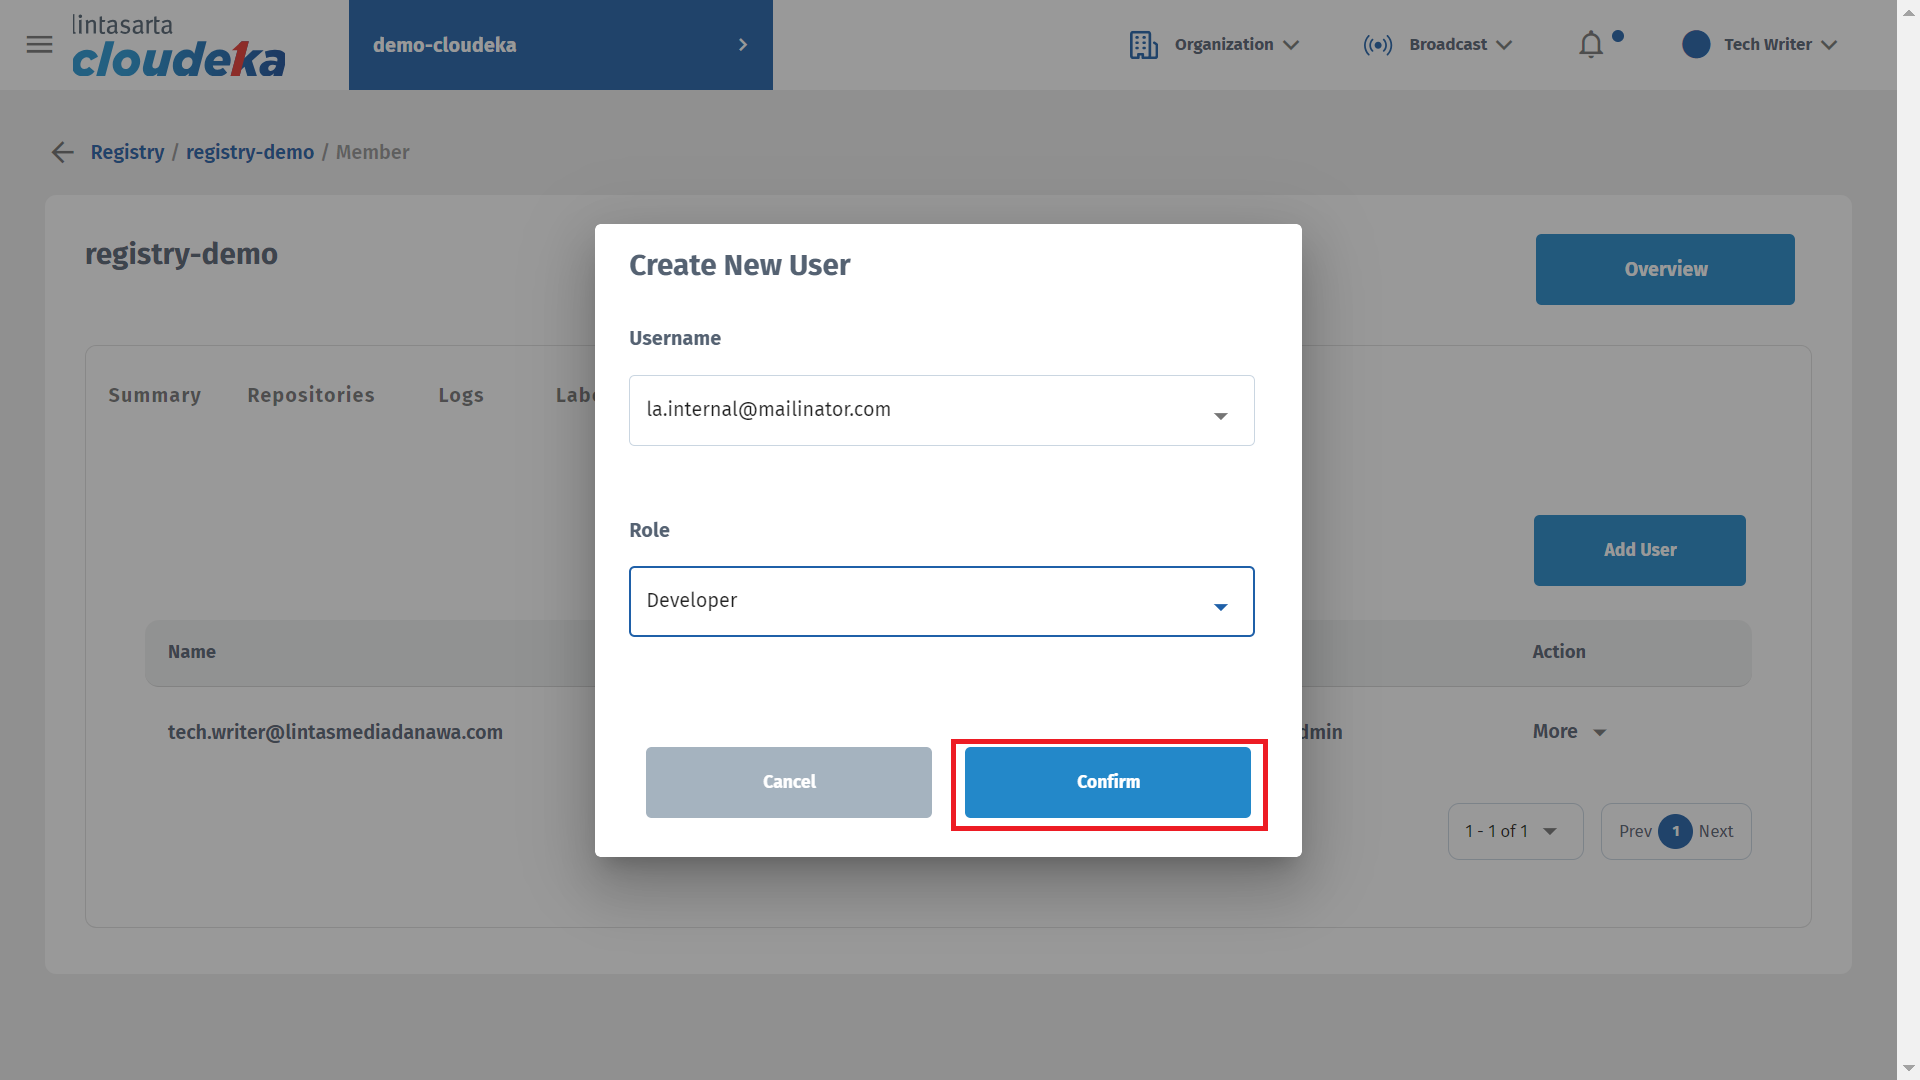
* Click the Confirm button to continue adding users.
Add User Member (e)
* Display a "Member has been successfully created" notice that the member was successfully added.
Add User Member (f)
## Change Set Role
Here are the steps to change the role that the user uses:
* On the Cloud services portal page click the Registry Declaration menu on the CI/CD.
Change Role (a)
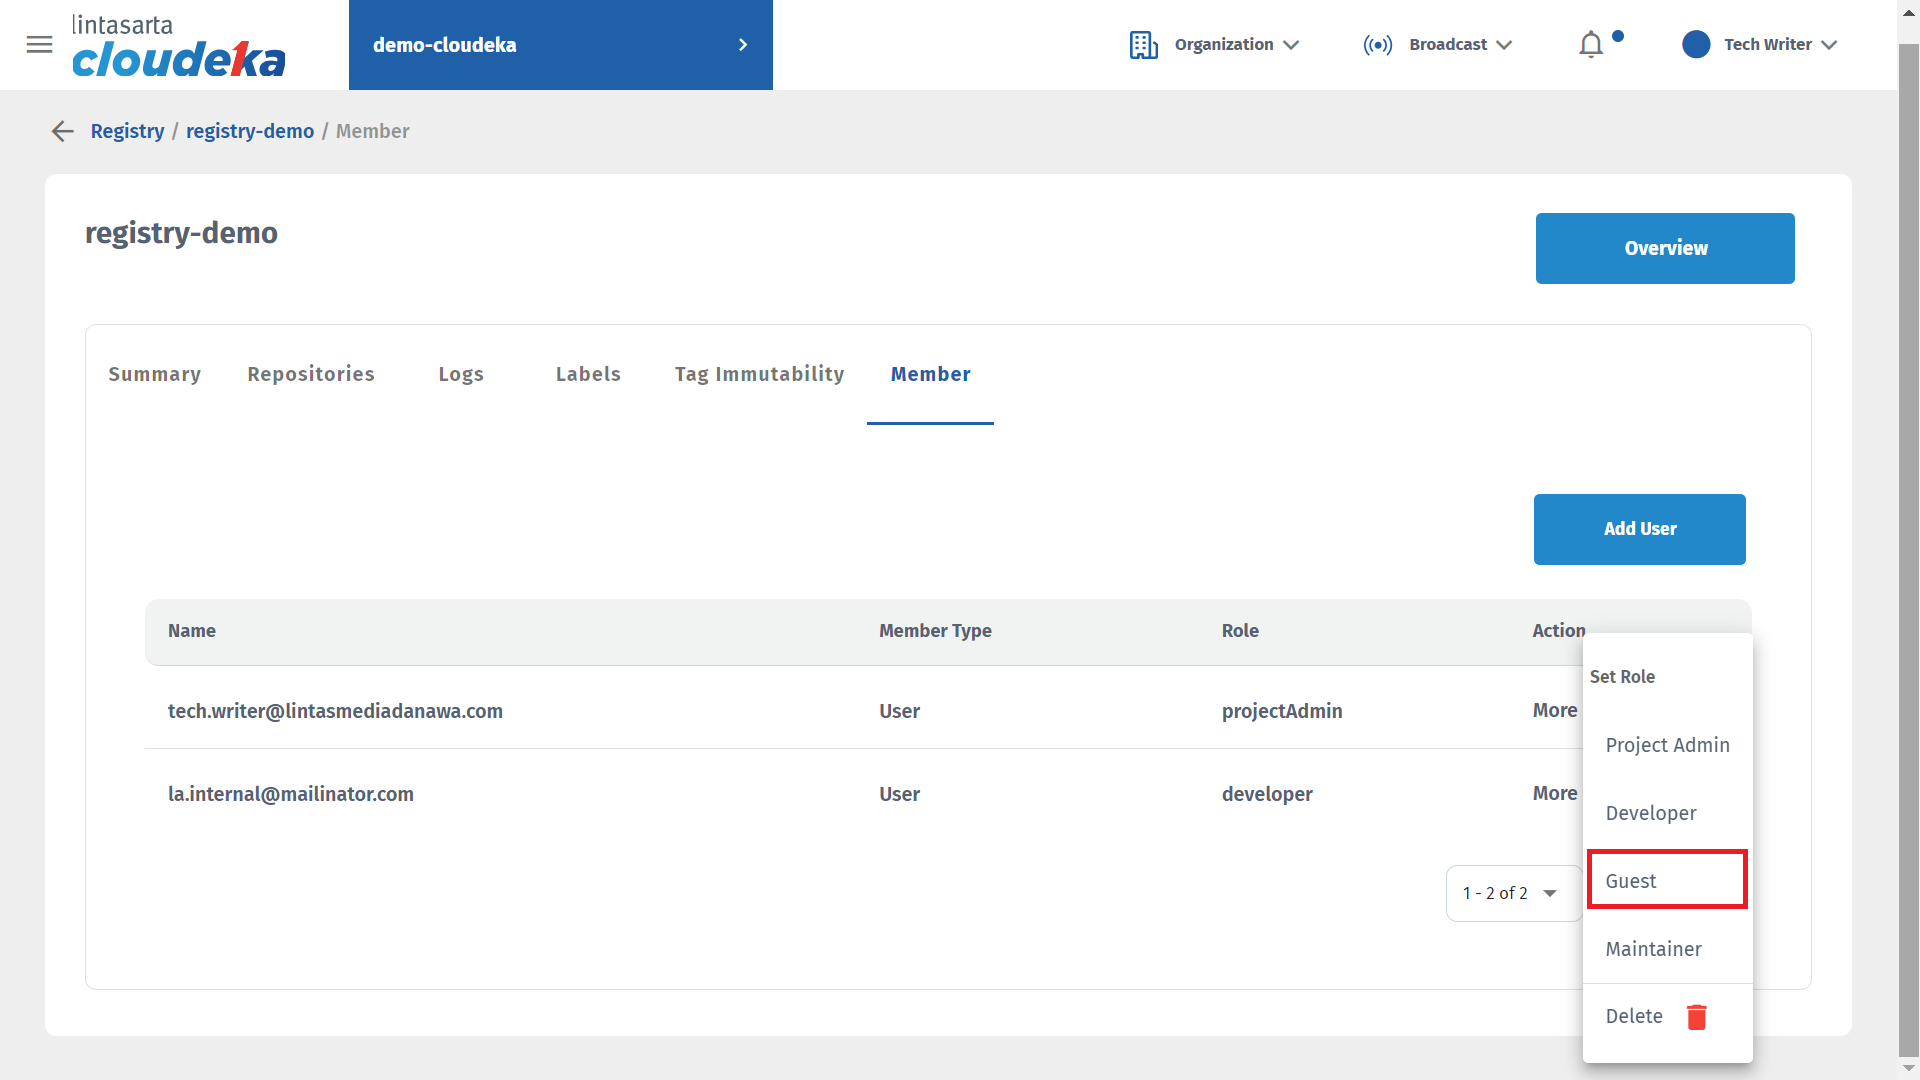
* On the Members tab select the user whose role will be changed by clicking More. Select Project Admin/Developer/Guest/Maintainer.
Change Role (b)
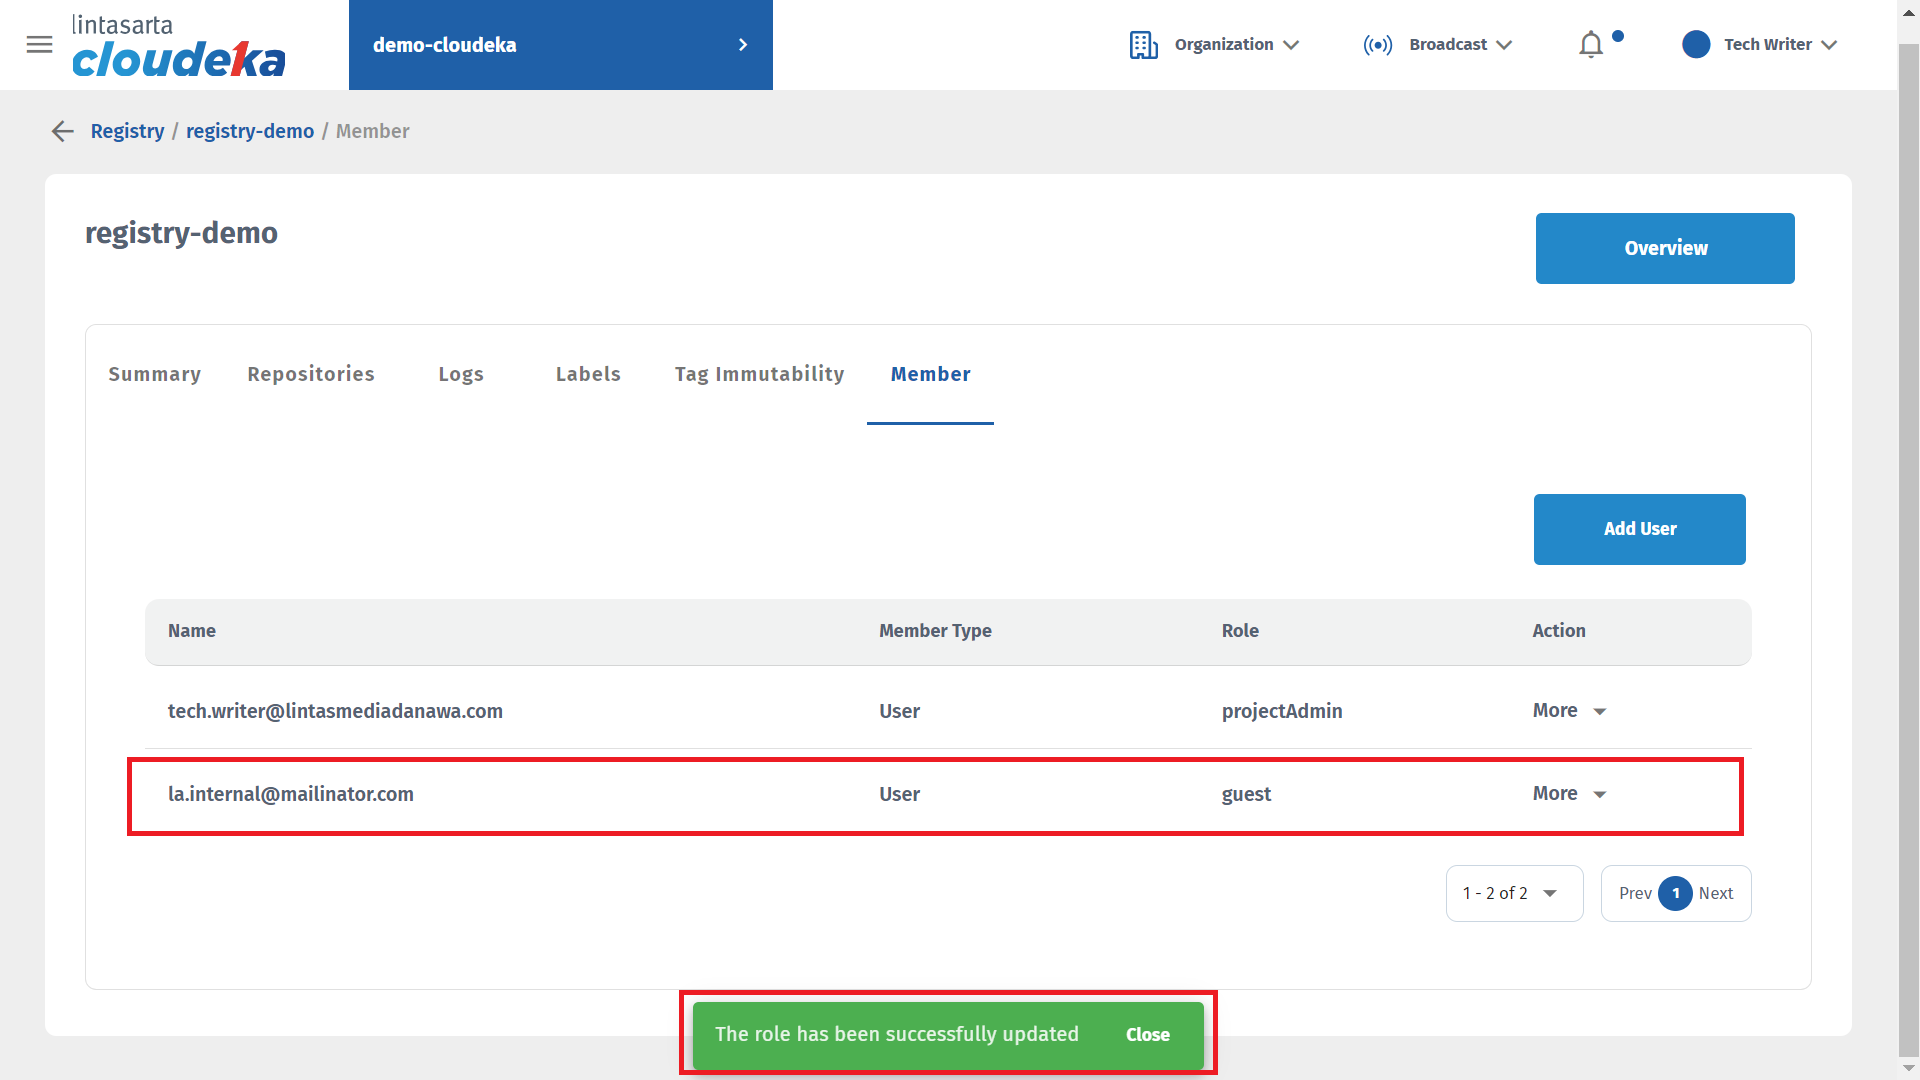
* Notification displays that successfully changed the role of the user.
Change Role (c)
## Show Password User
Here are the steps to change the role that the user uses:
* On the Cloud services portal page click the Registry Declaration menu on the CI/CD.
Show Password (a)
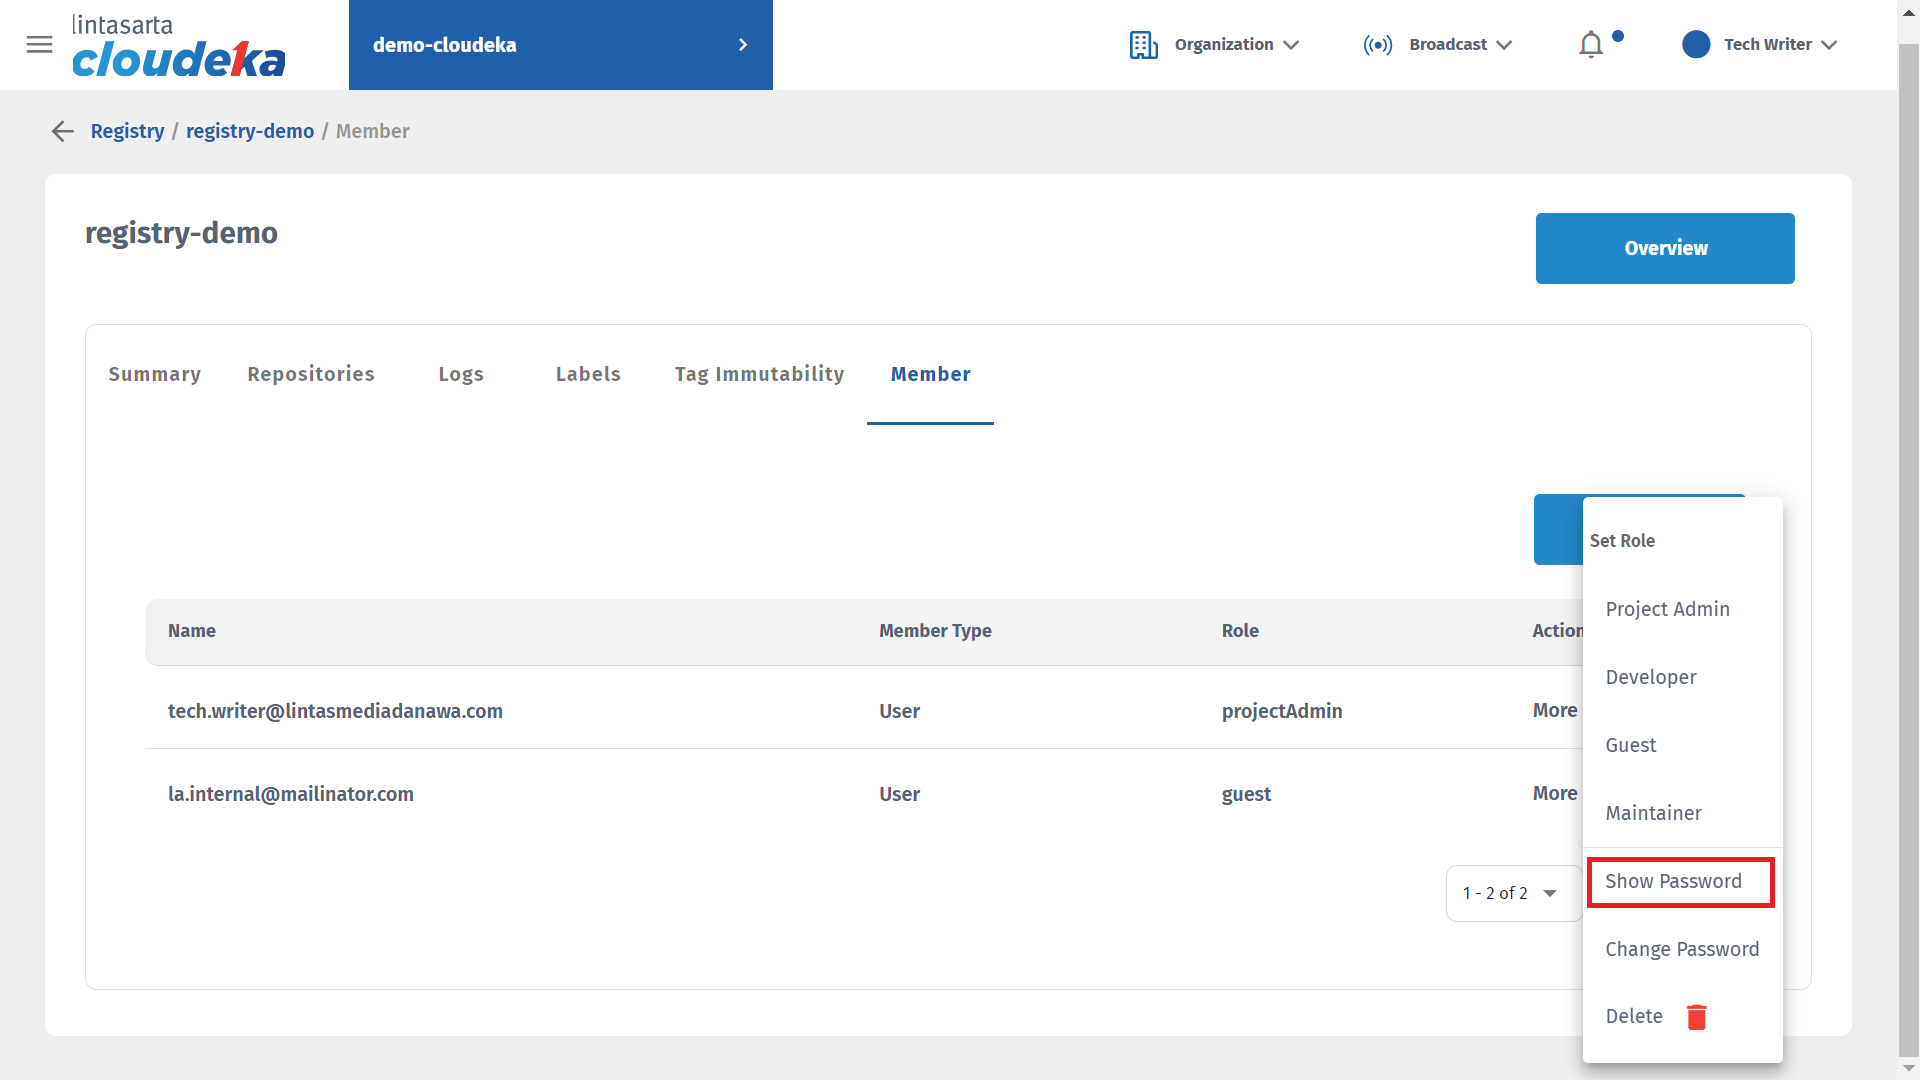
* On the Members tab select the users that the password will see by clicking More select Show Password.
Show Password (b)
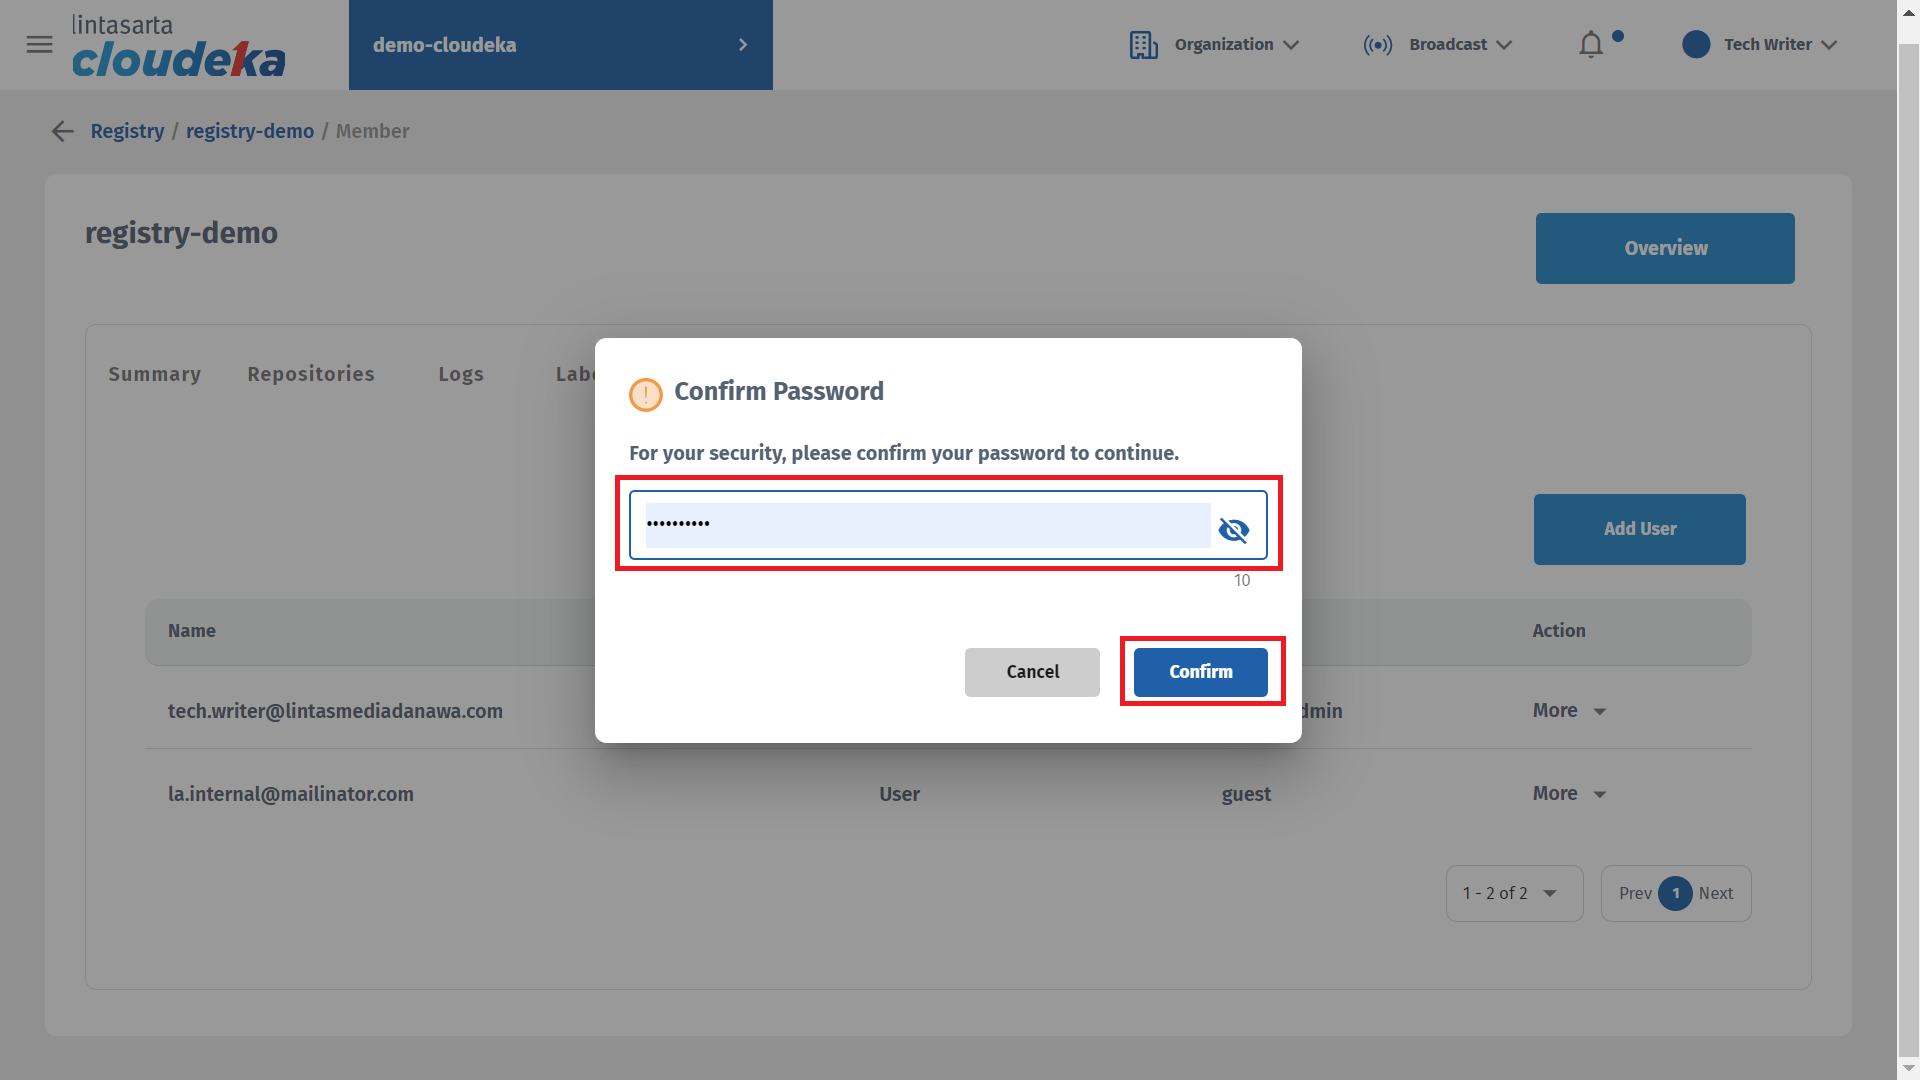
* Enter the password used when logging into the Cloud portal service click the Confirm button.
Show Password (c)
* Display the Your Password window and display the password used on the member.
Show Password (d)
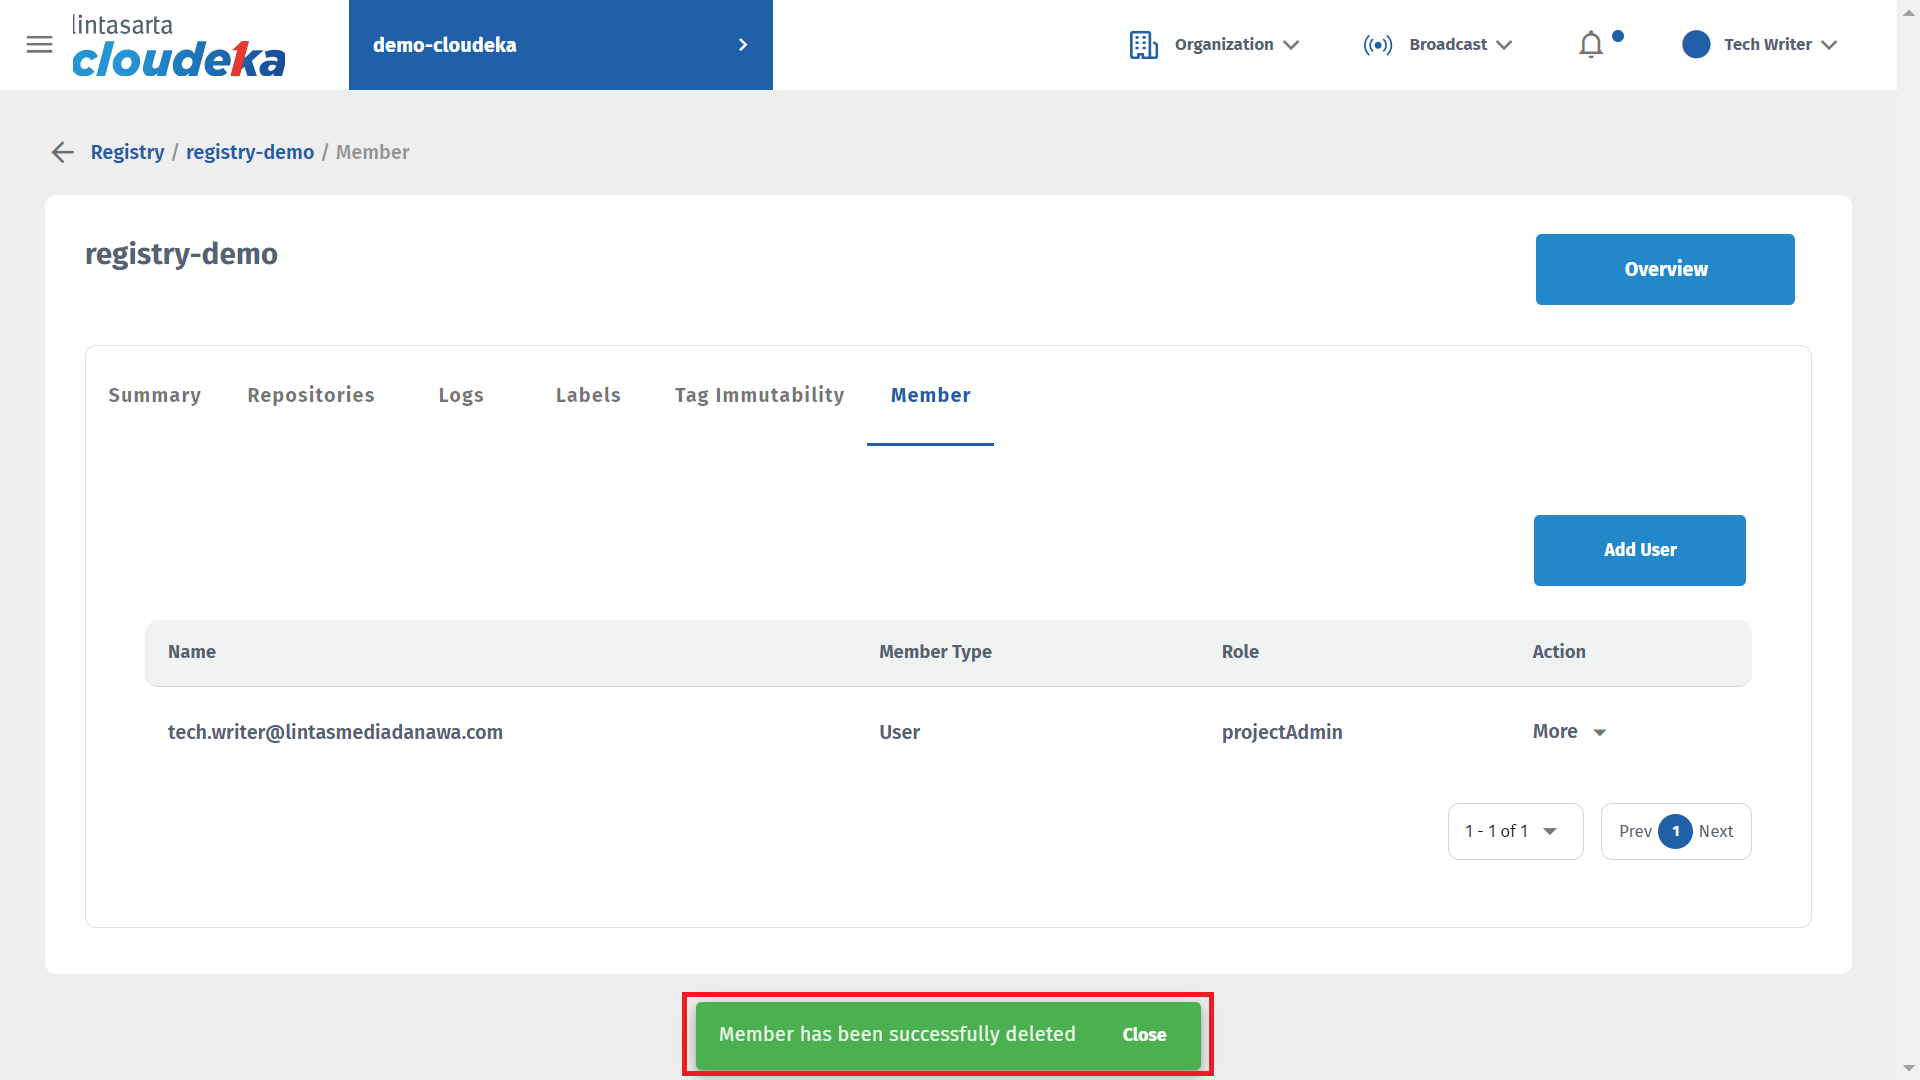
## Delete User
Here are the steps to remove a repository member in the Deka Registry on the Cloudka portal service.
* On the Cloud services portal page click the Registry Decode menu on the CI/CD.
Delete User Member (a)
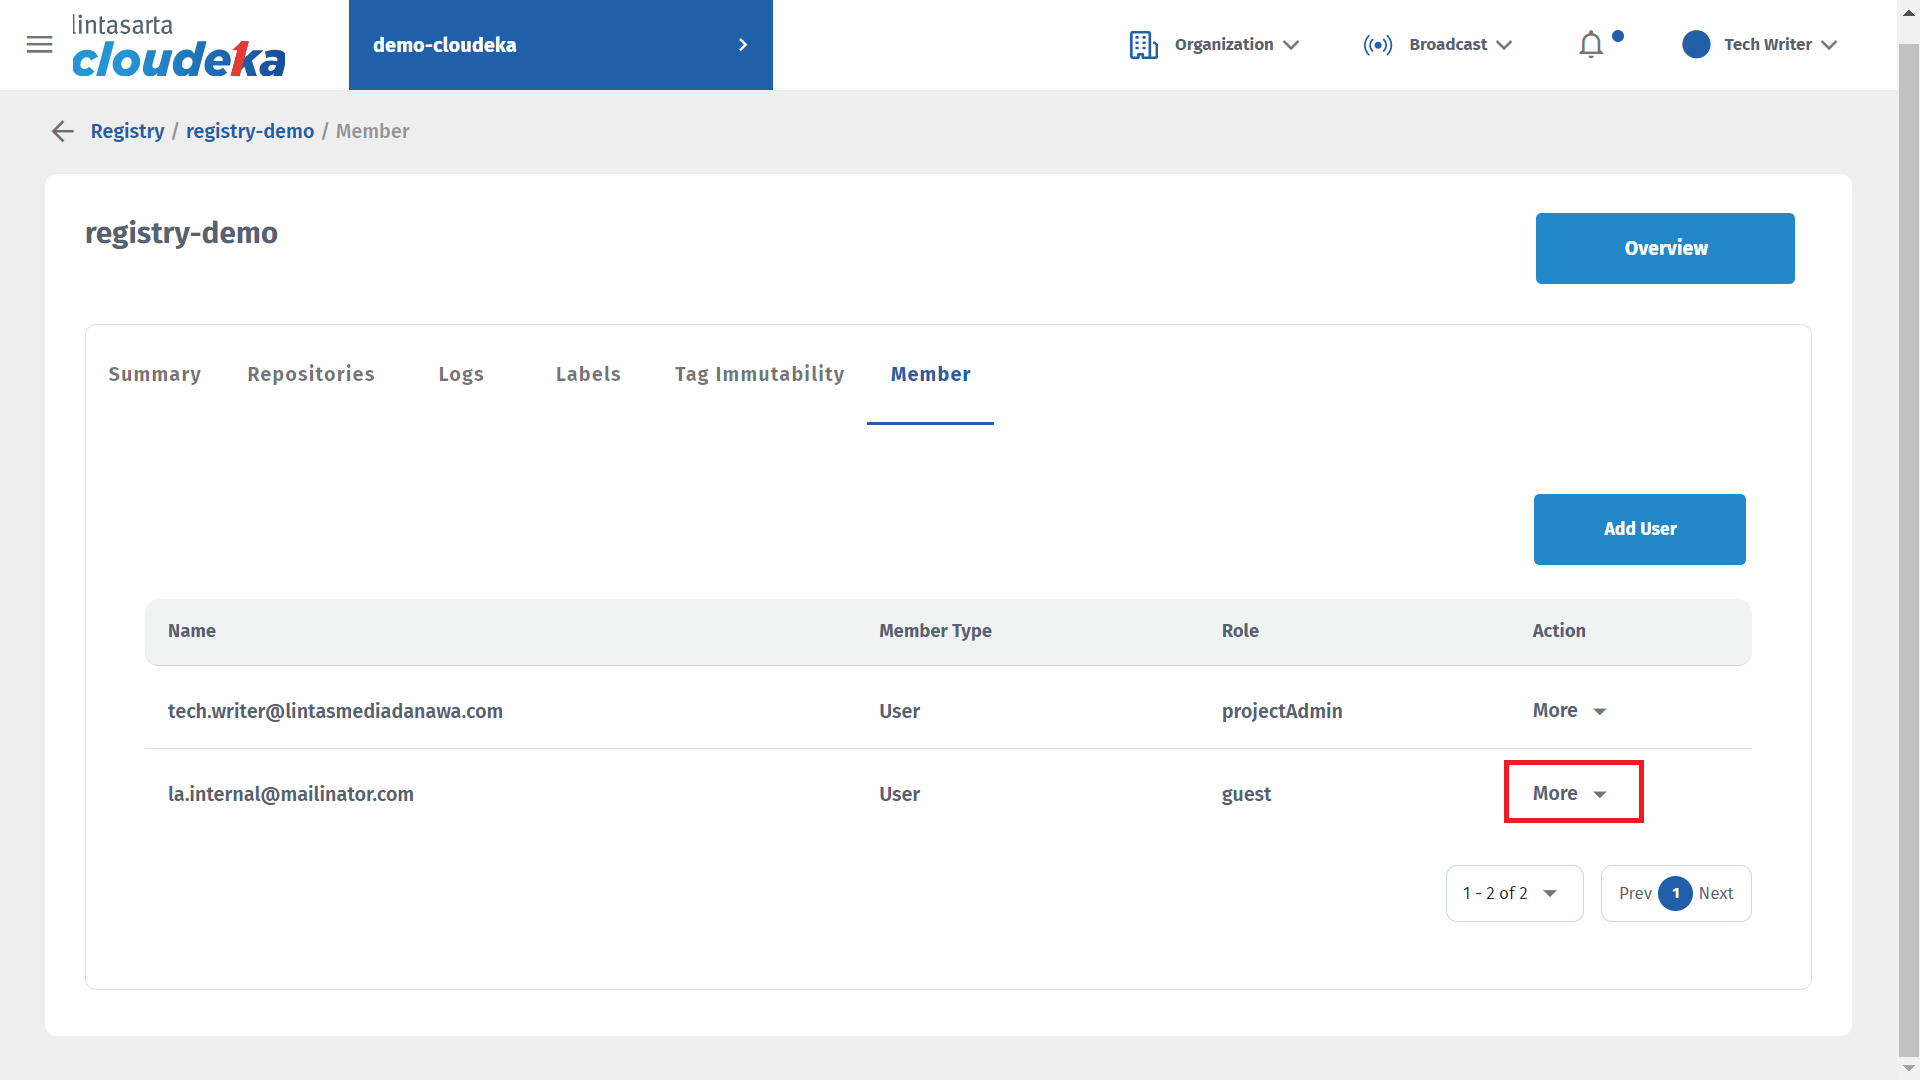
* Click the Members tab. Select the name of the member to remove by clicking More in the Action column.
Delete User Member (b)
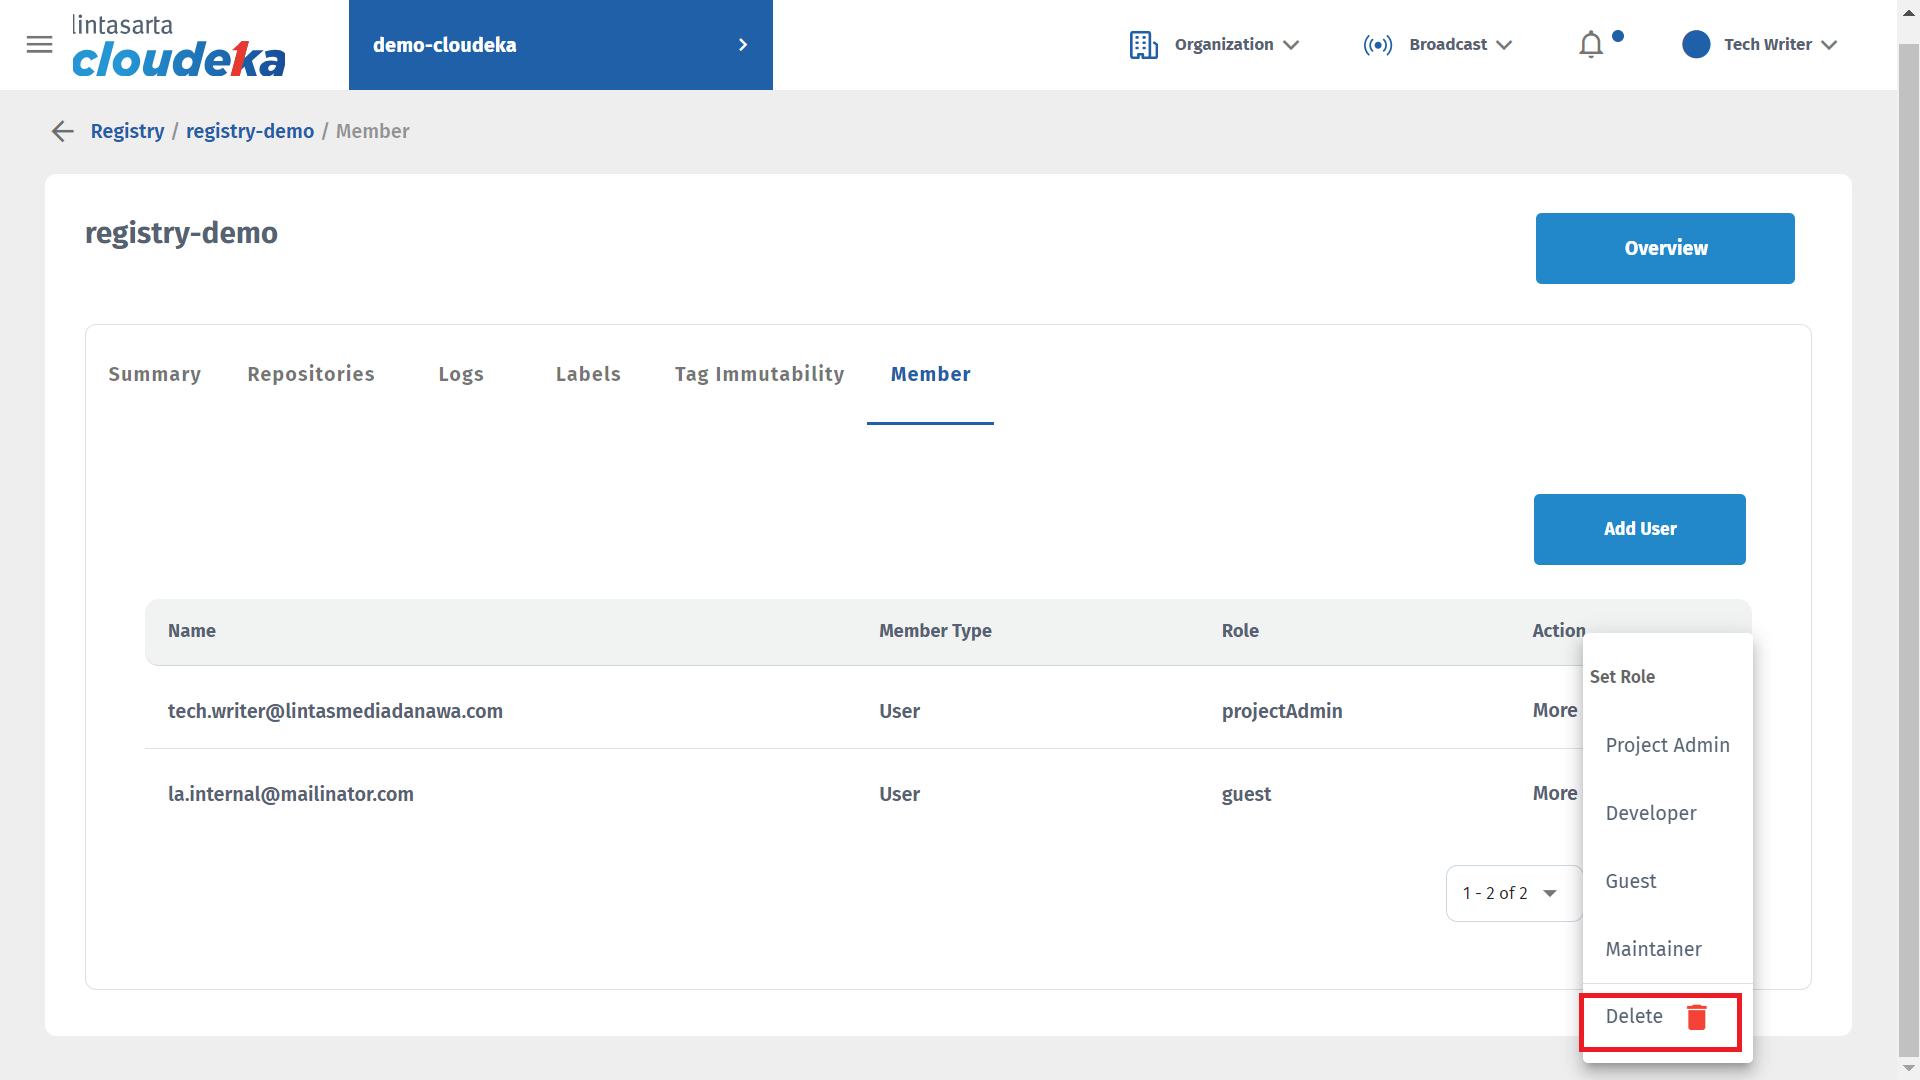
* Select Delete.
Delete User Member (c)
* "Member has been successfully deleted" notification displays that the selected member was deleted successfully.