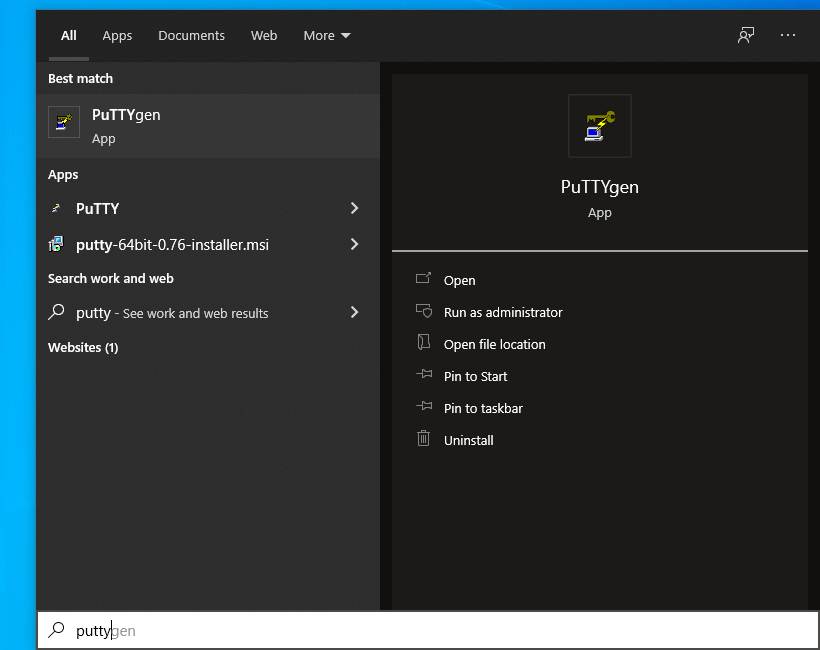
PuTTYgen
PuTTYgen
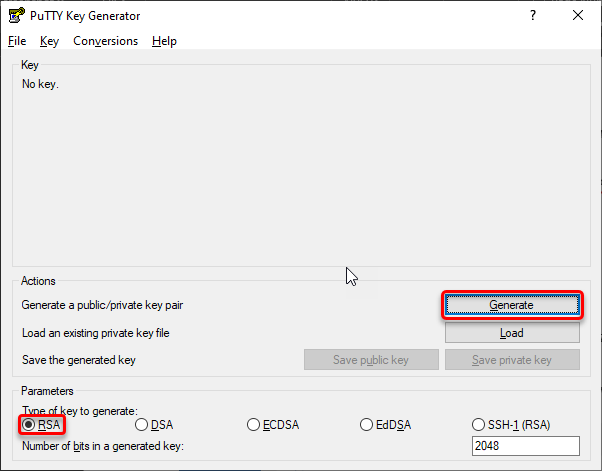
PuTTY Key Generator
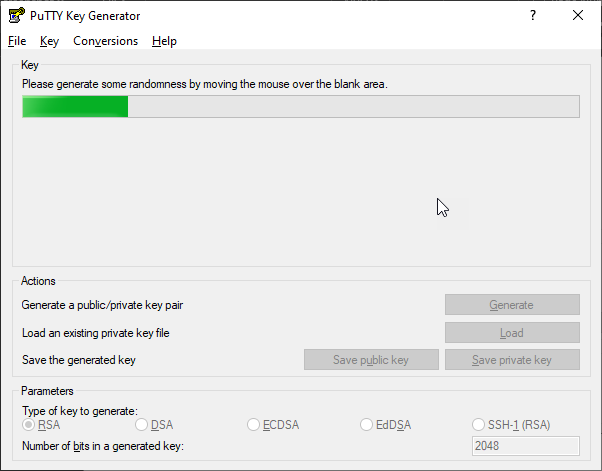
PuTTY Key Generator - Progress Bar
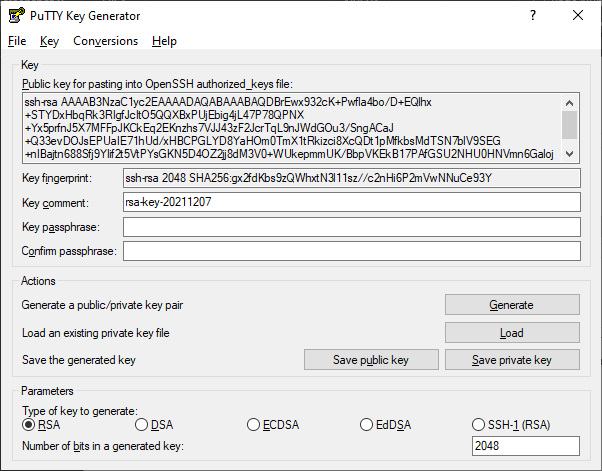
PuTTY Key Generator - Key Pair
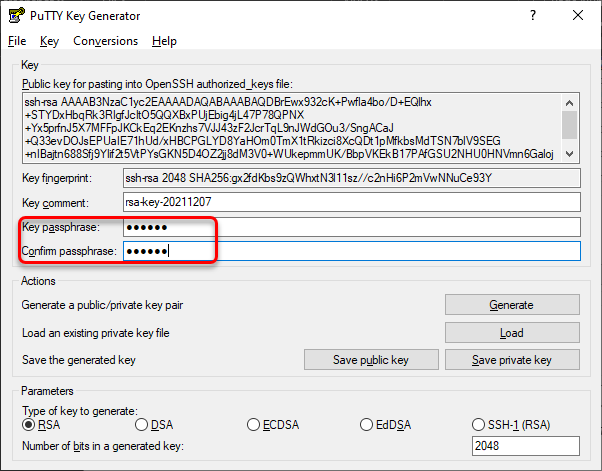
PuTTY Key Generator - Key Passphrase
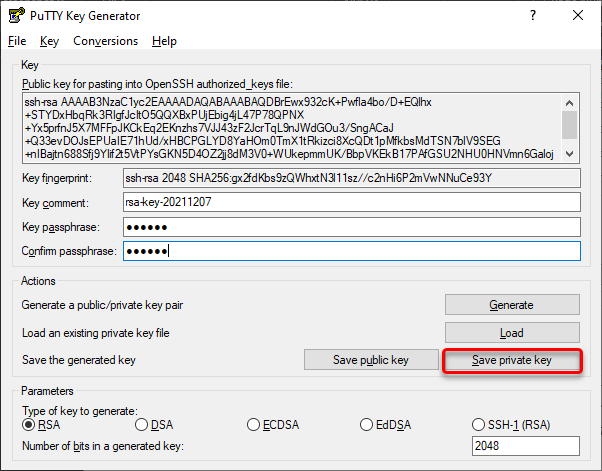
PuTTY Key Generator - Save Private Key
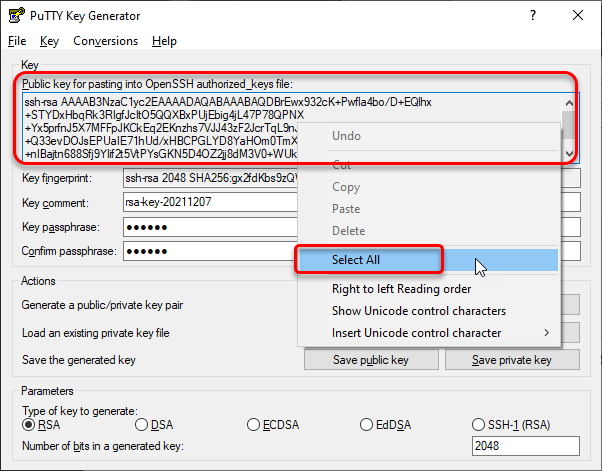
PuTTY Key Generator - Public Key
PuTTY Key Generator - Public Key - Copy
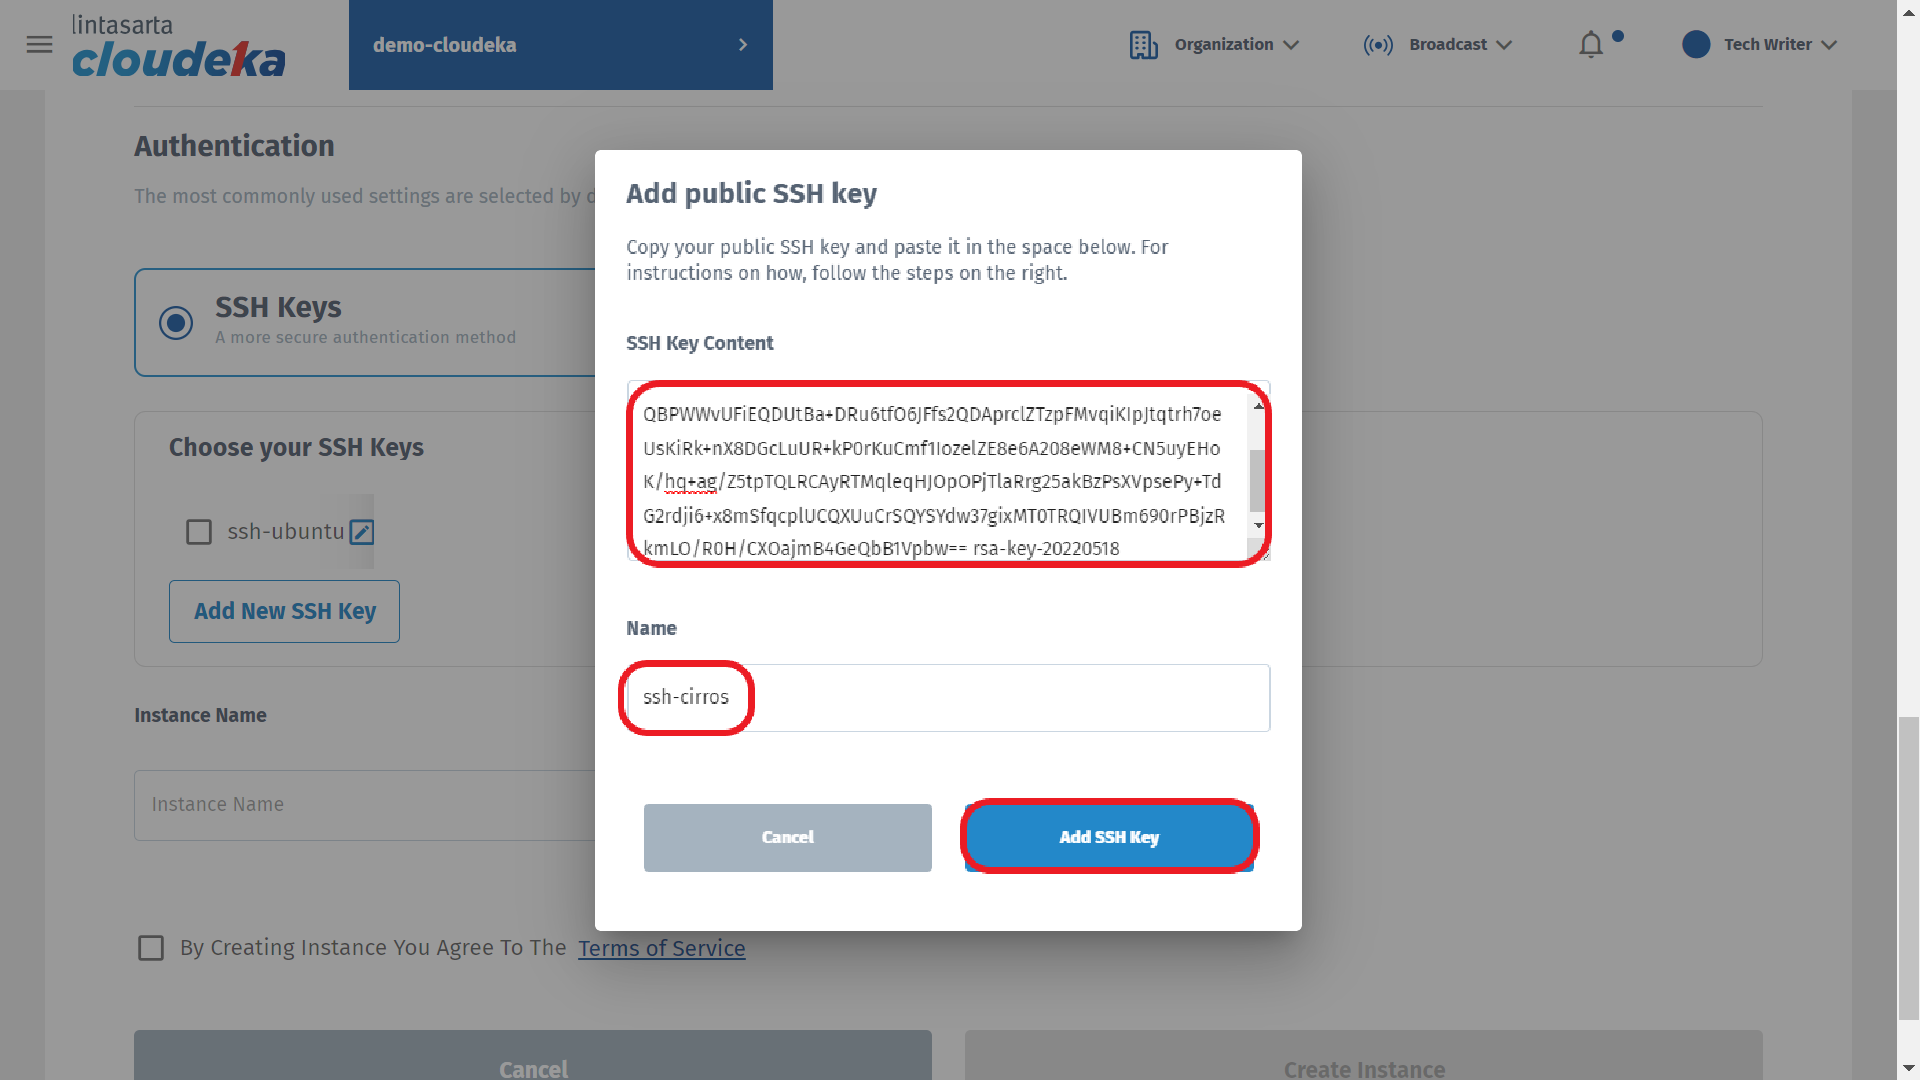
PuTTY Key Generator - SSH Key Content