> For the complete documentation index, see [llms.txt](https://docs.cloudeka.id/llms.txt). Markdown versions of documentation pages are available by appending `.md` to page URLs; this page is available as [Markdown](https://docs.cloudeka.id/network/deka-dns/create-dns.md).
# Create DNS
This guide describes how to create a DNS.
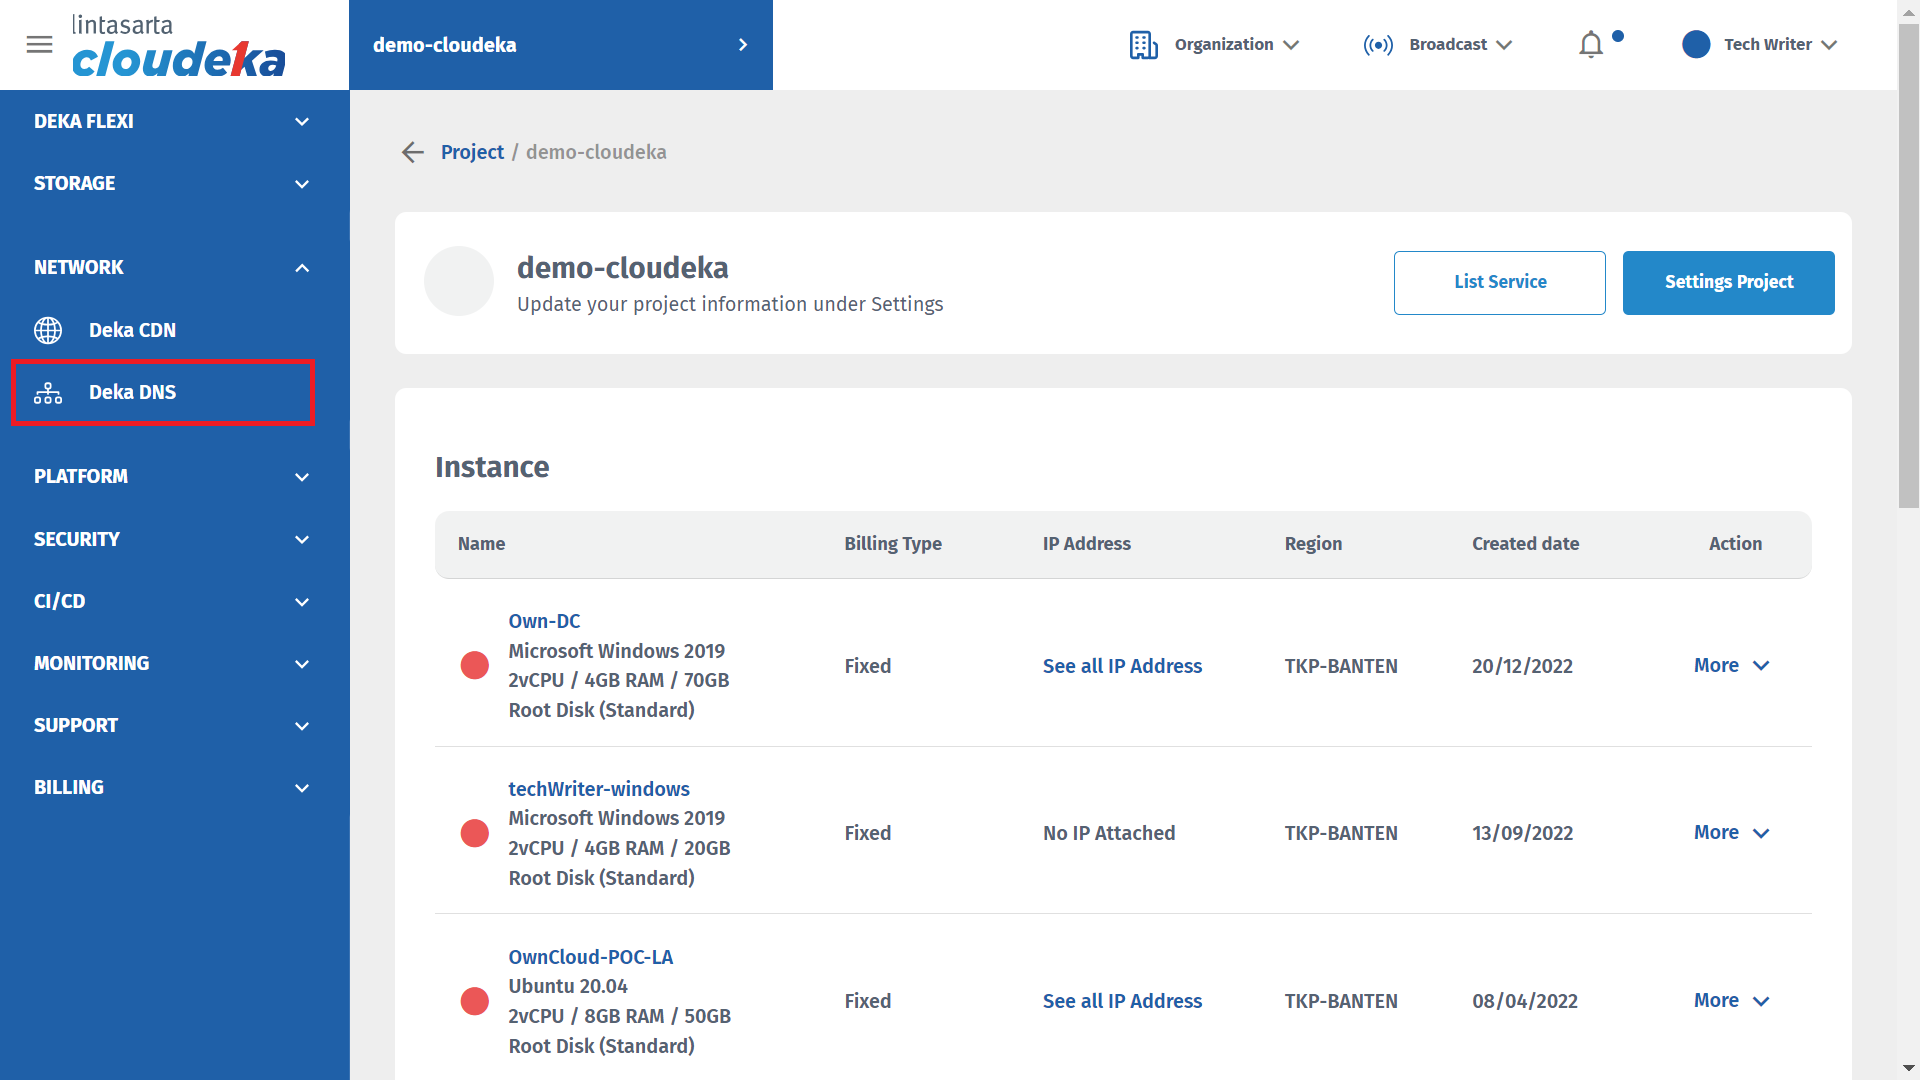
* Go to the **DNS** page, the page displays **DNS Management**
DNS Management Page
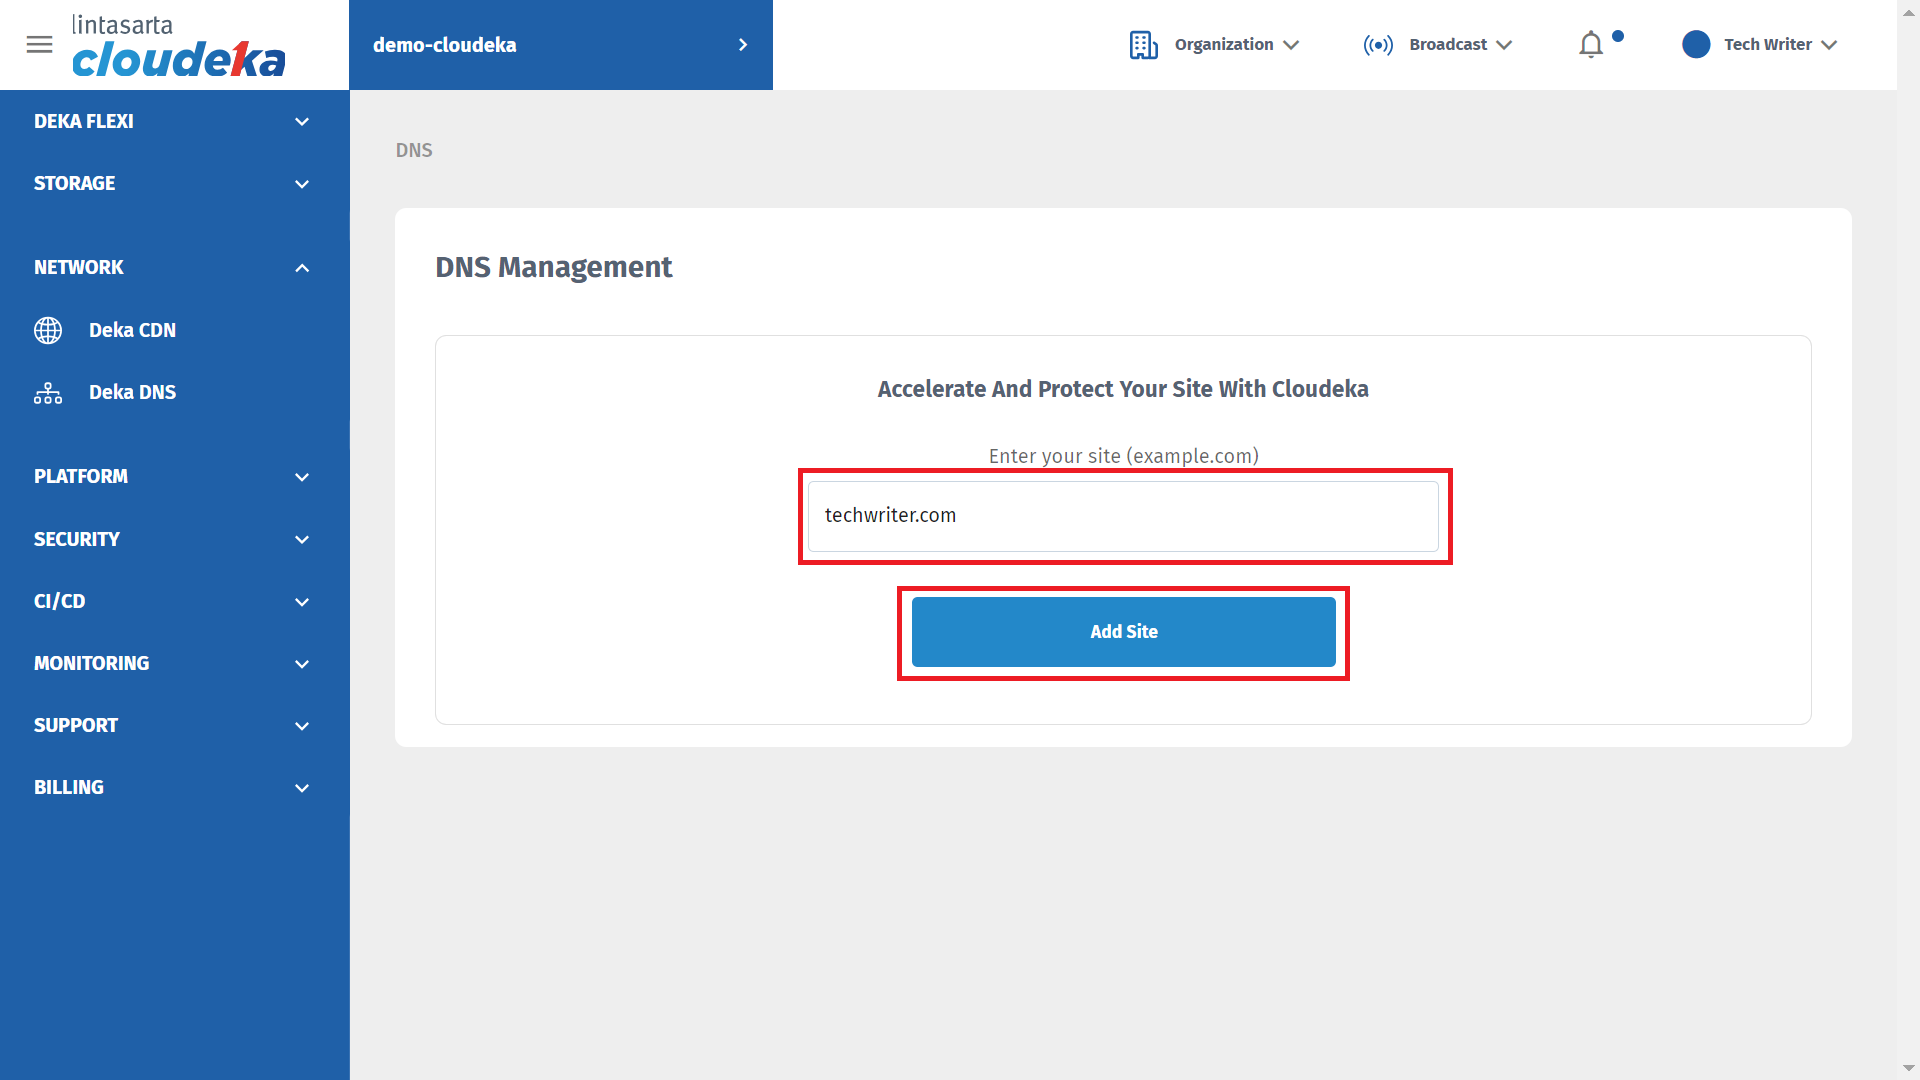
* Then type the desired DNS name, for example **techwriter.com**, then click the **Add Site** button
Input DNS
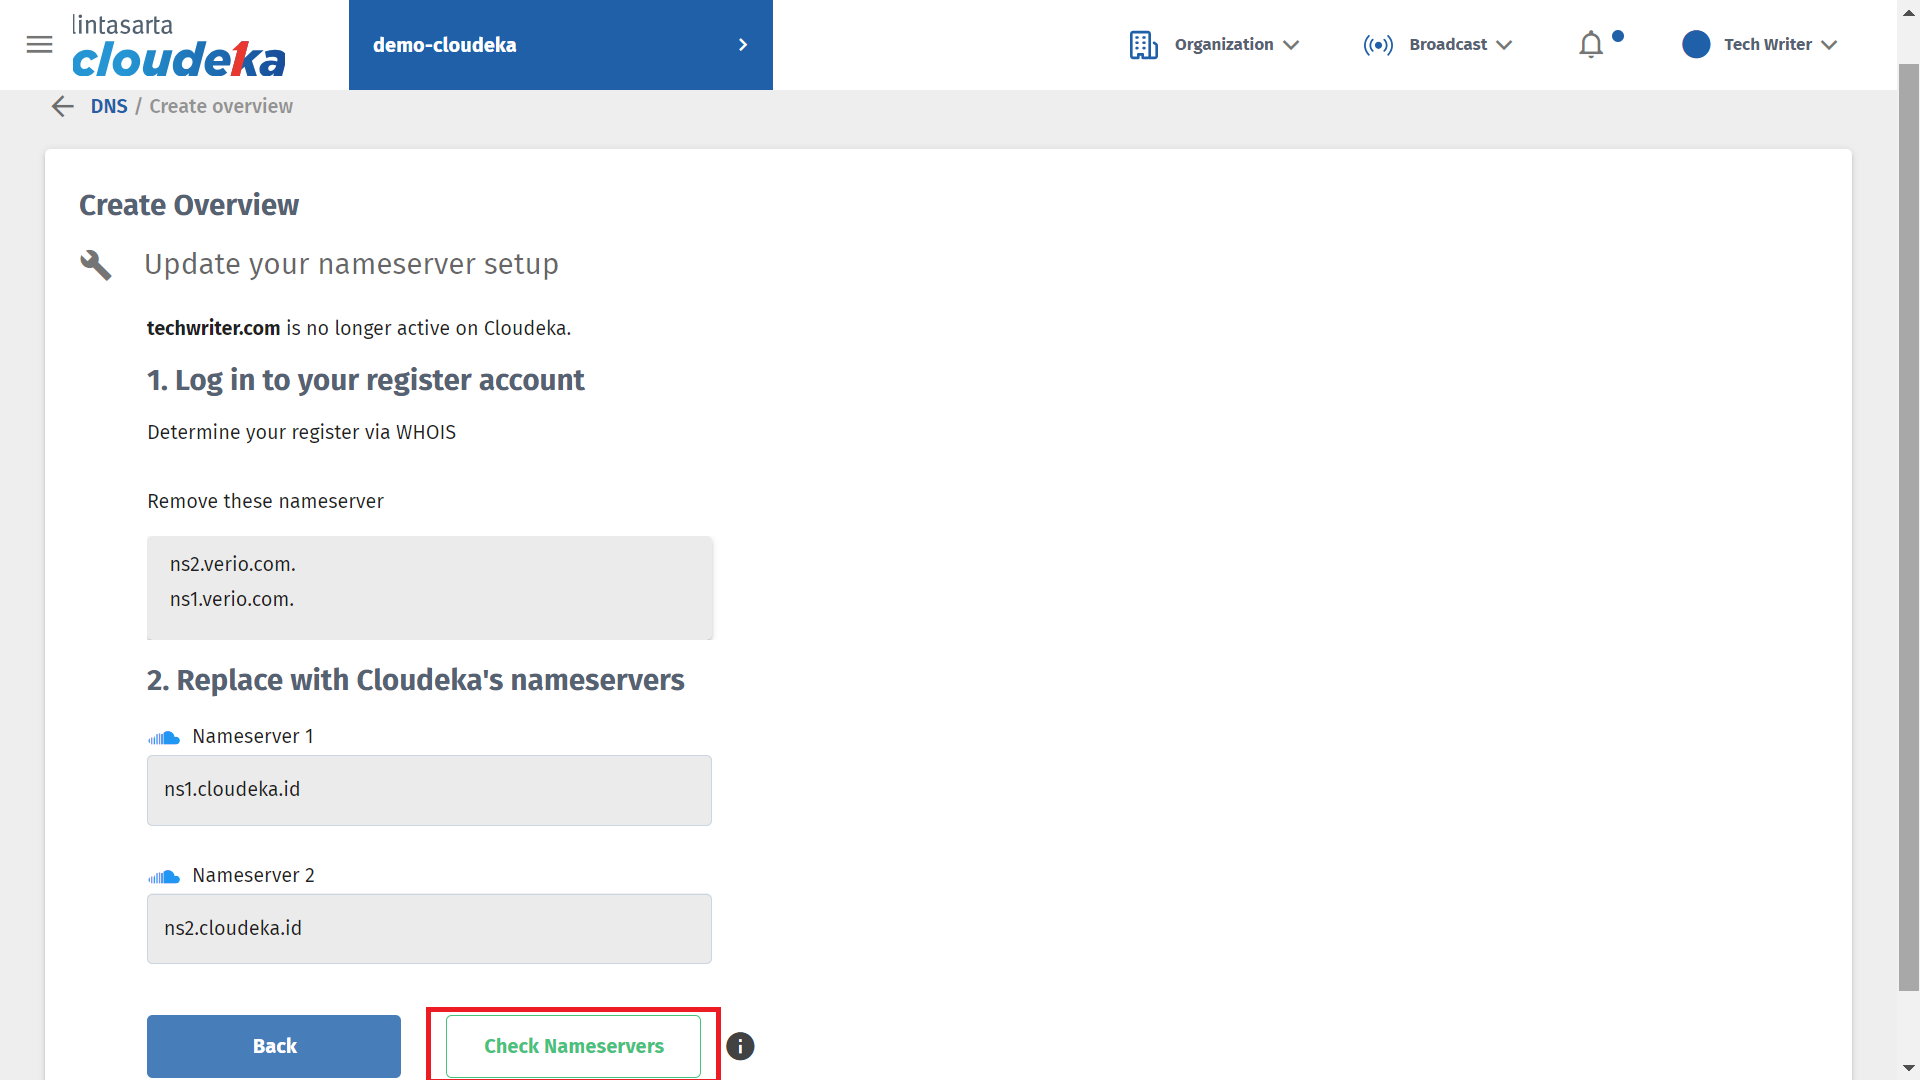
* Then the **Create Overview** page will appear. There is cloudeka nameserver information used by the DNS. The user must change the nameservers and then click **Check Nameservers**. After changing the nameservers click **Back.**
Create Overview Page
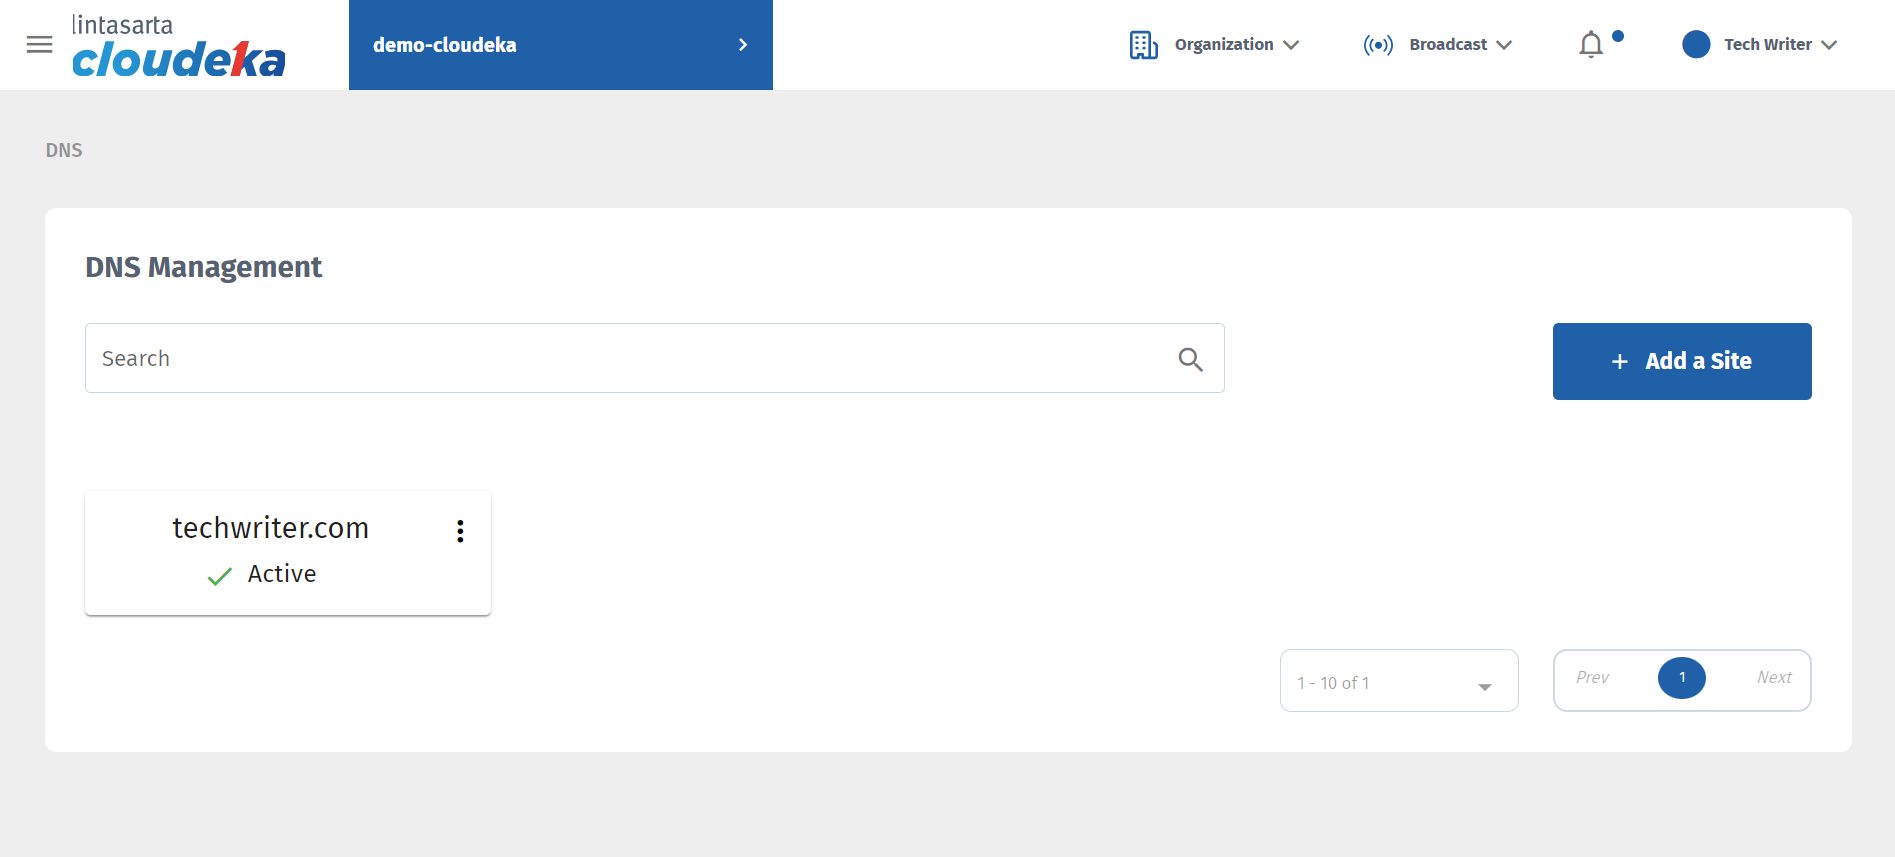
* It can be seen **techwriter.com** status is **Active** on **DNS Management** page