Delete NAT Gateway
Delete NAT Gateway
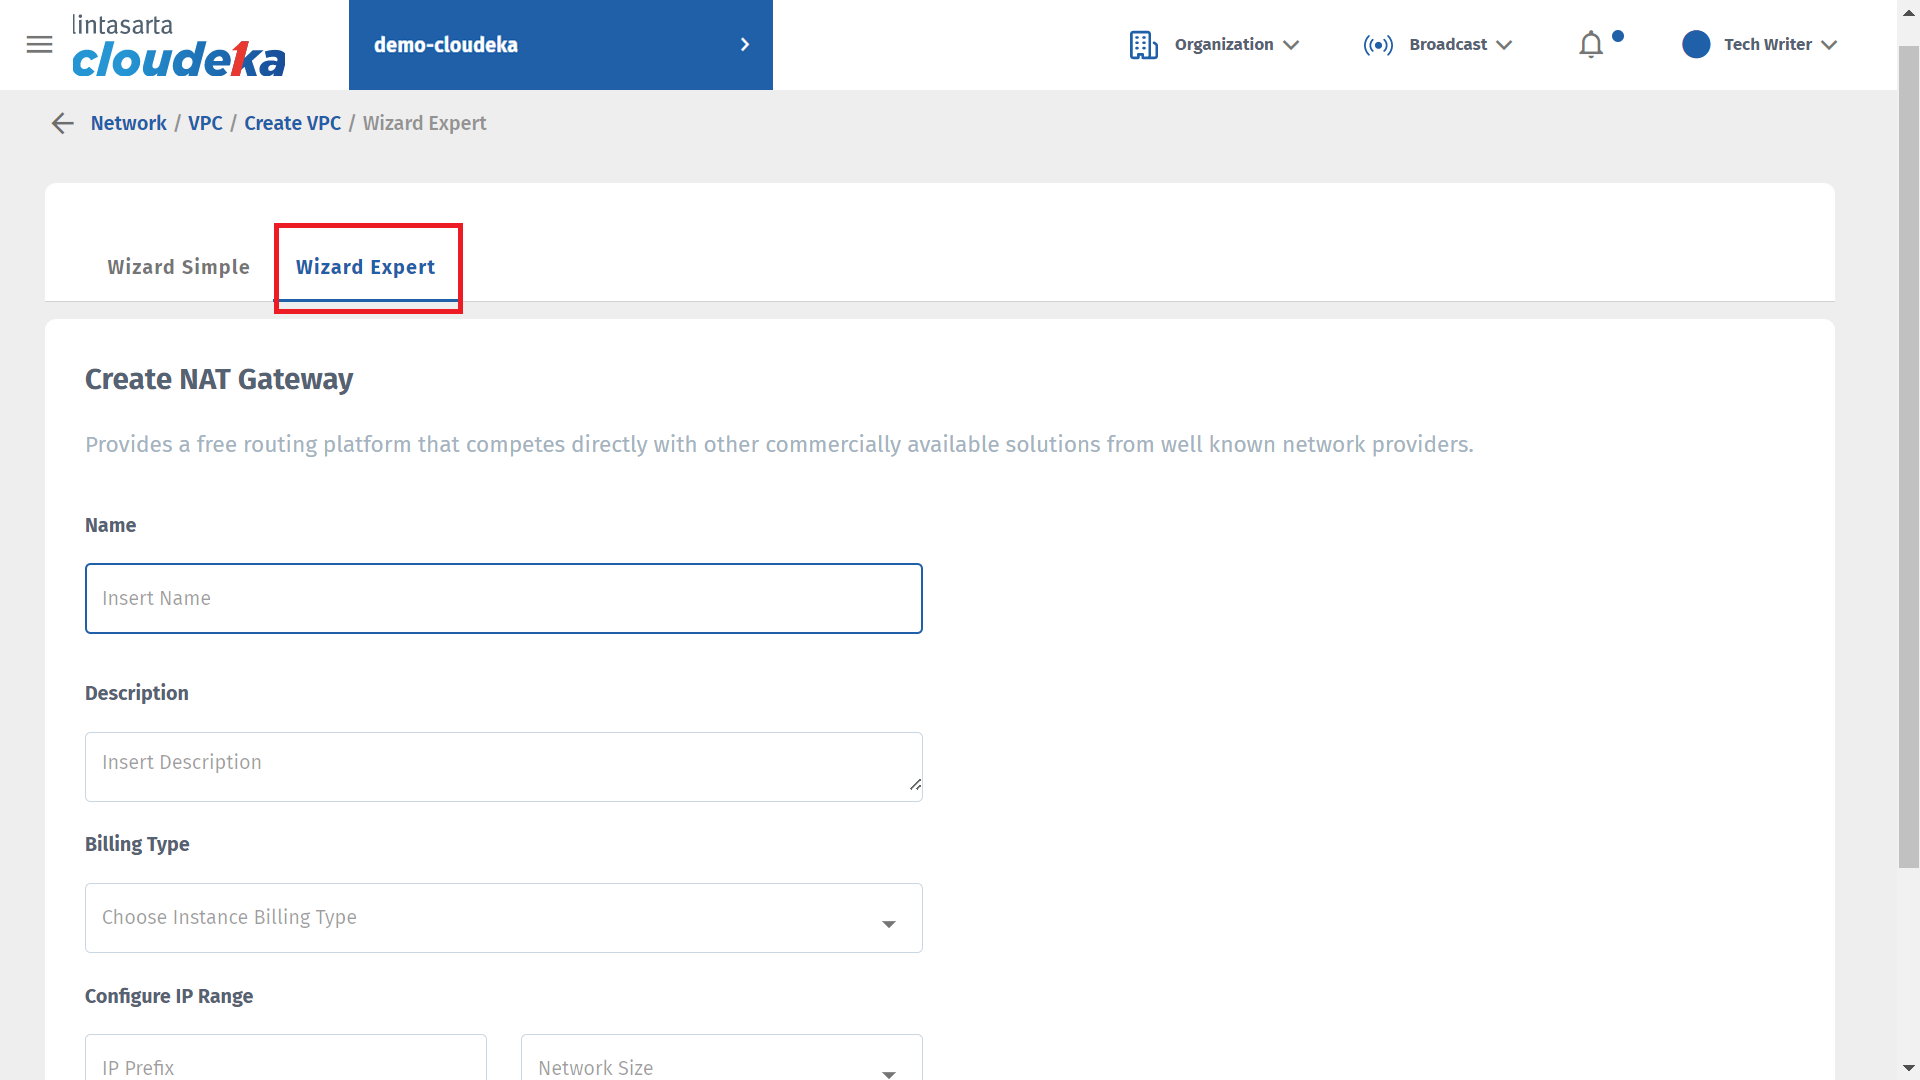
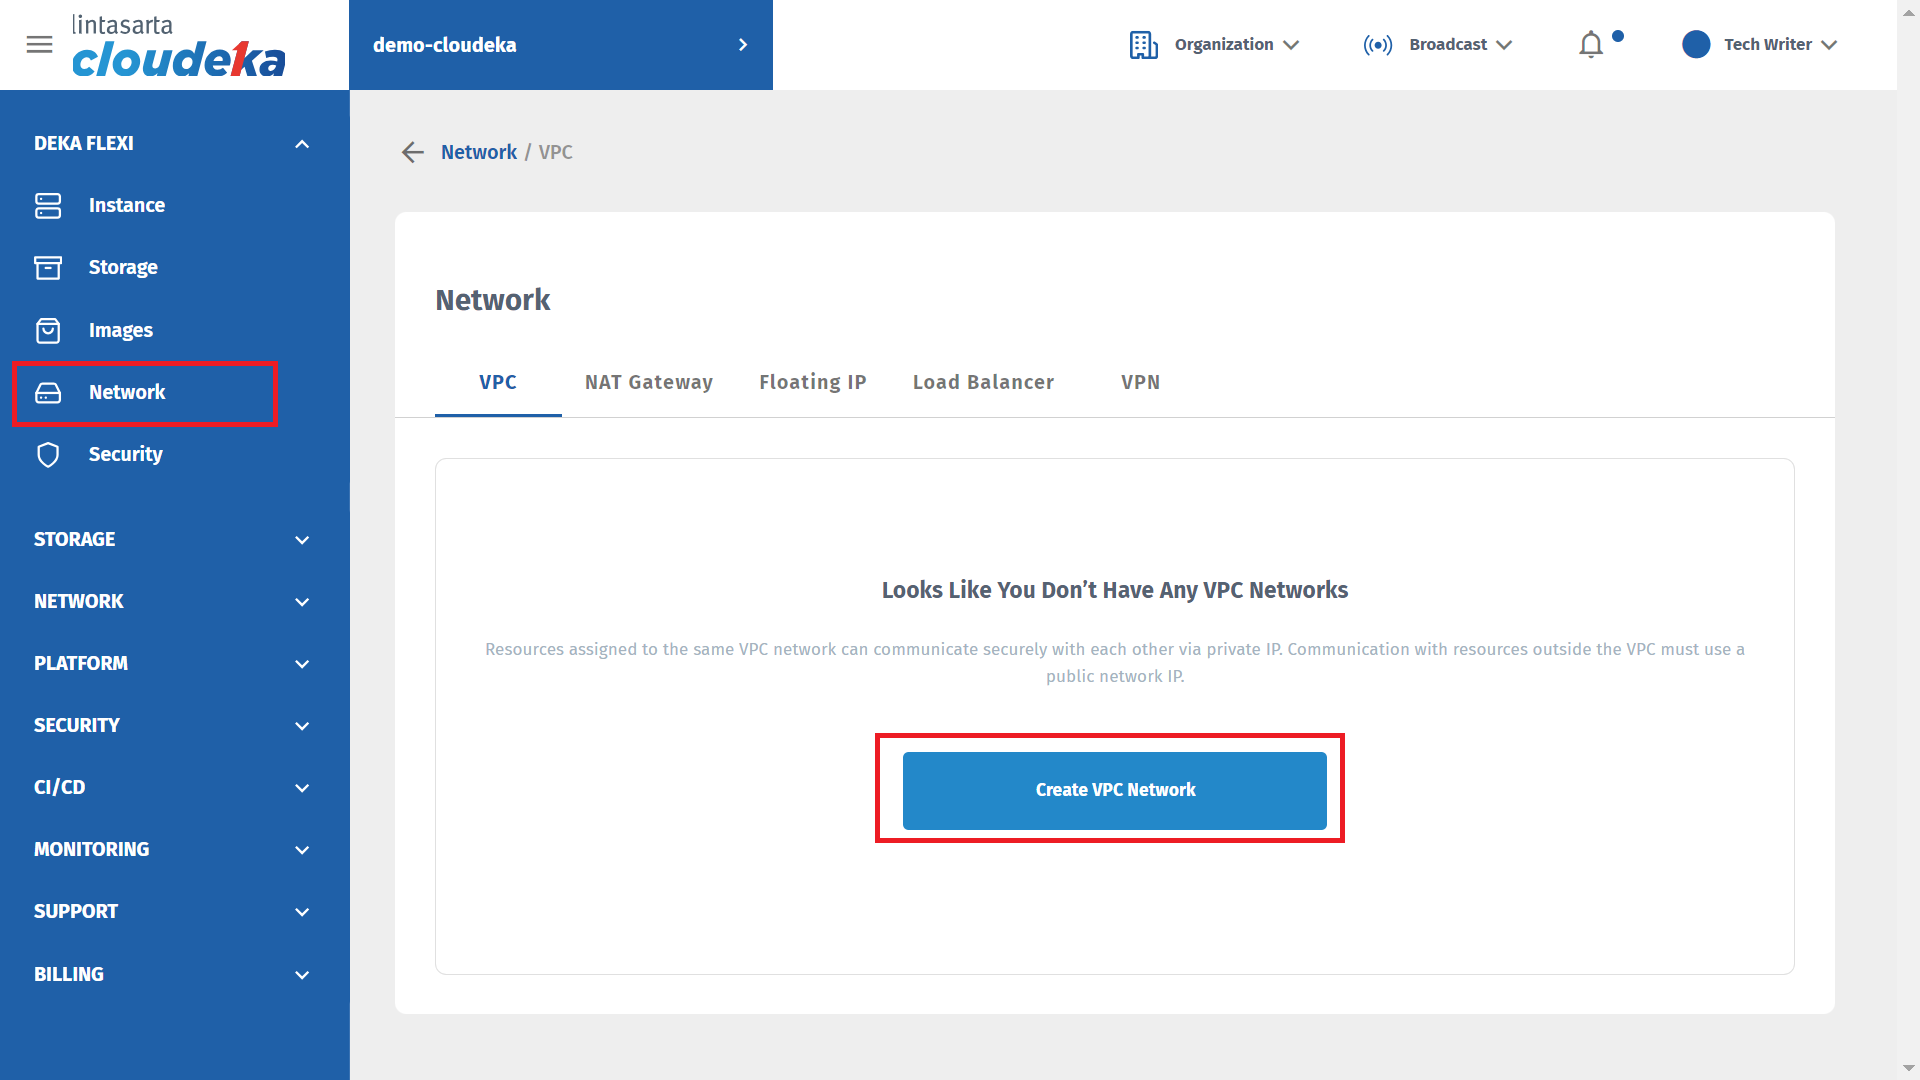
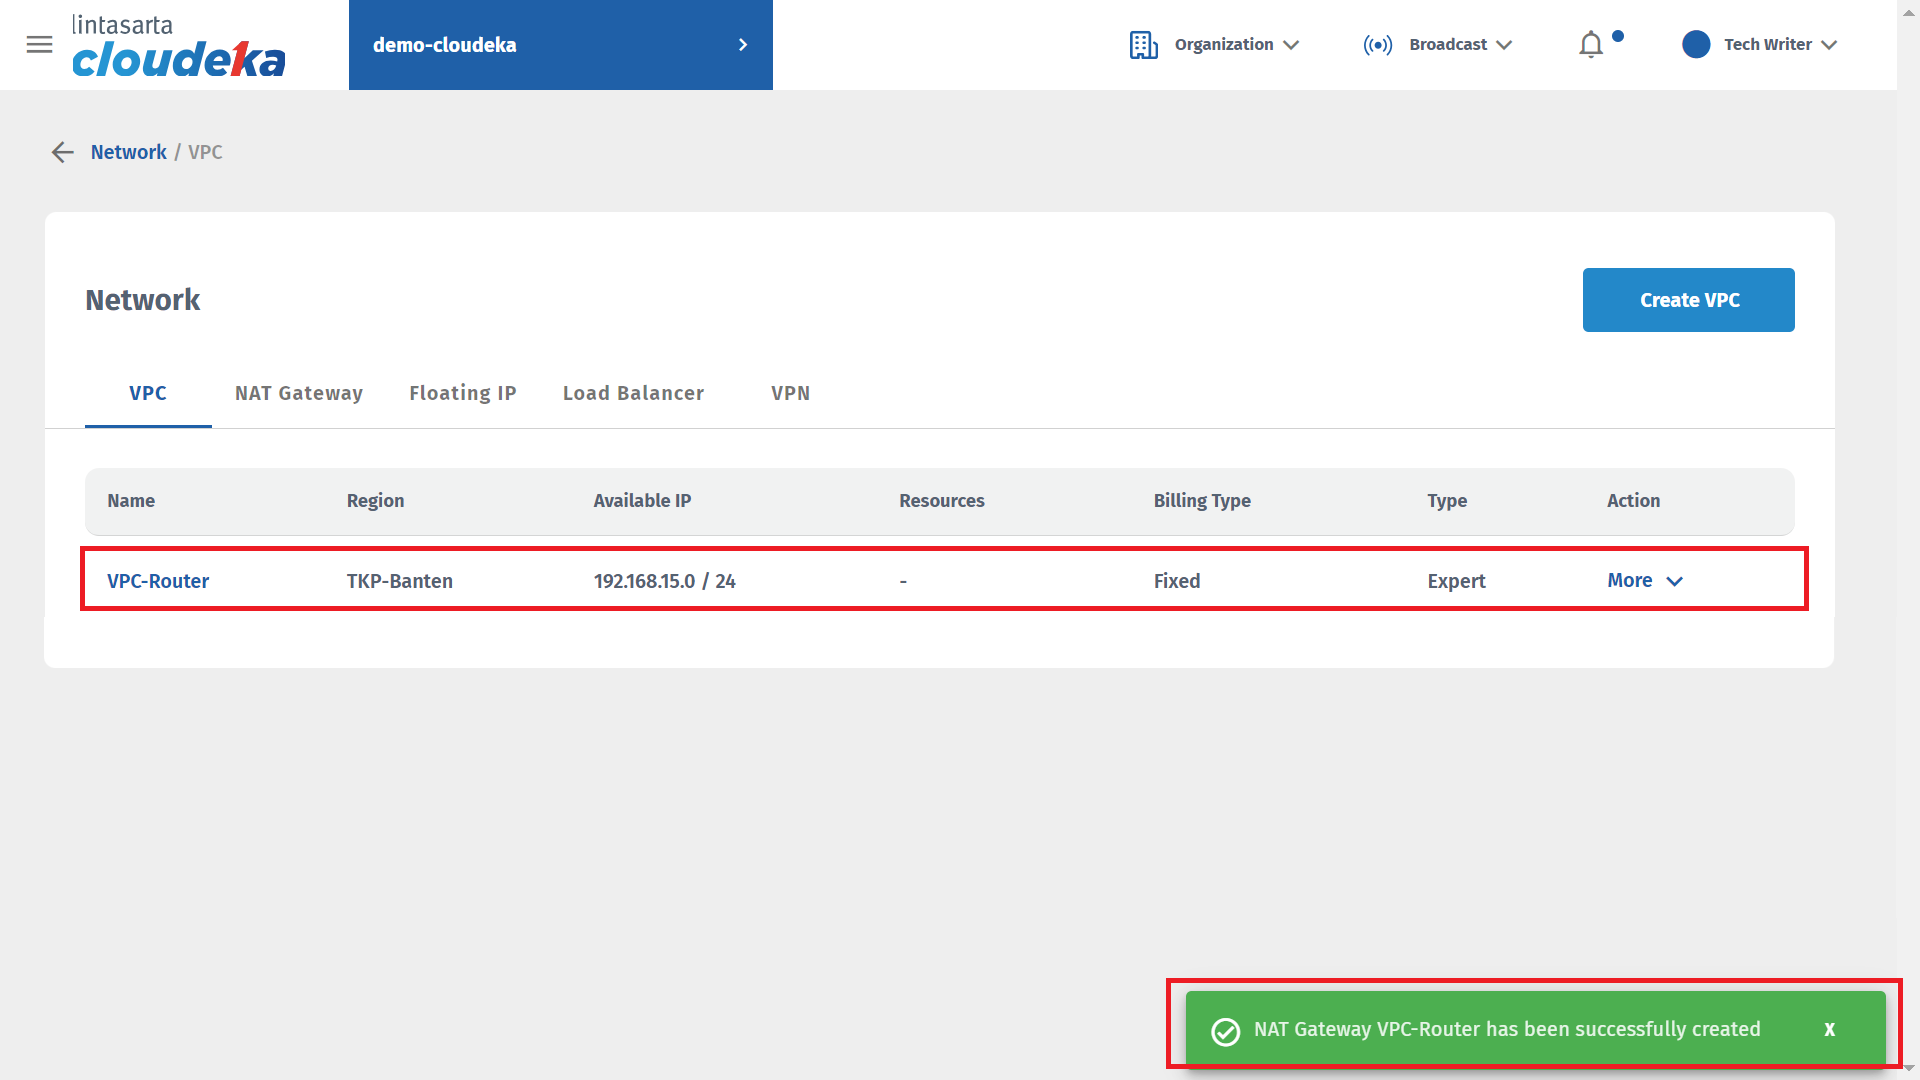
Create NAT Gateway
| Column | Description |
|---|---|
| Name | The name of the NAT Gateway configuration created. |
| Description | Additional information about the NAT Gateway created. |
| Billing Type | The type of payment to be used. |
| Configuration IP Range | Specifies the IP address to be used as the source address used by the NAT Gateway. There are two columns that must be filled in: a.IP Prefix is the network address used in the IP address subnet to be used. b.Network Size is the number of IP addresses used written in CIDR notation from the IP Prefix entered. |
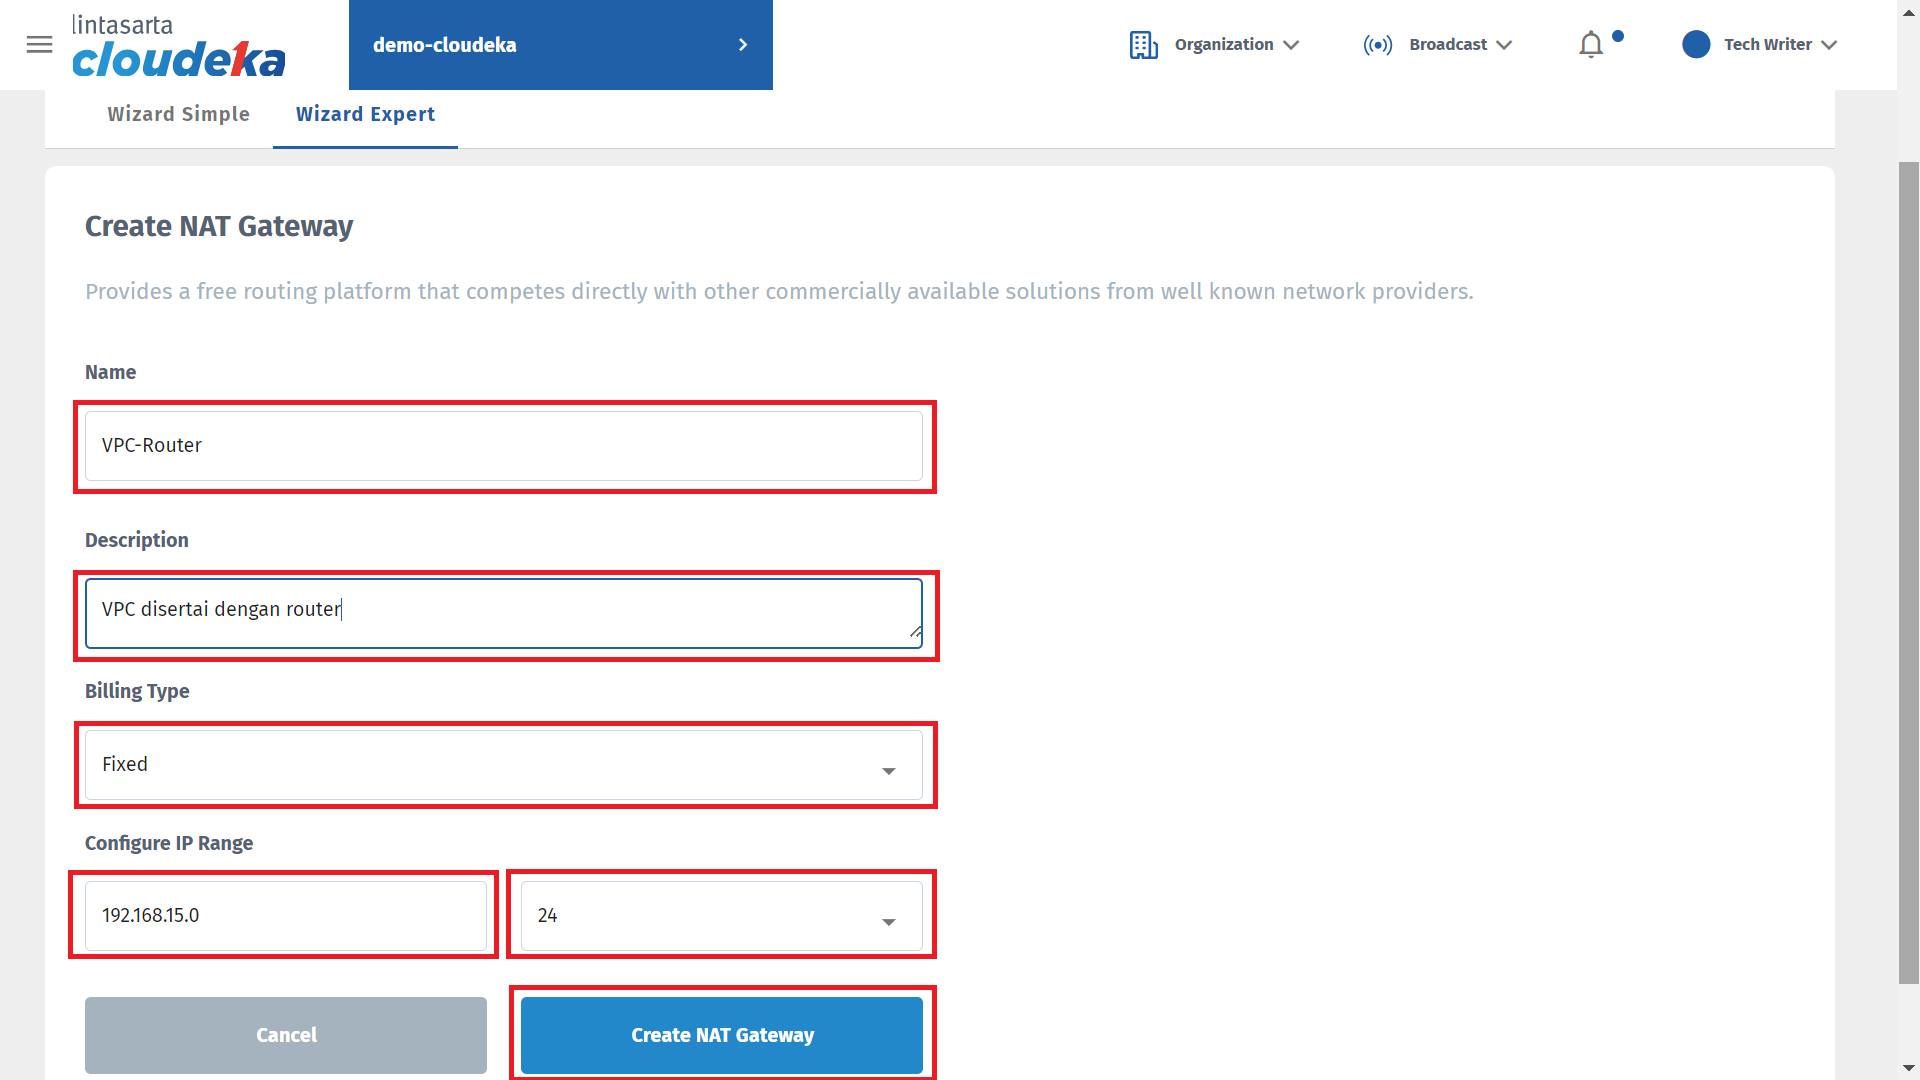
Create NAT Gateway
Create NAT Gateway
Create NAT Gateway