> For the complete documentation index, see [llms.txt](https://docs.cloudeka.id/llms.txt). Markdown versions of documentation pages are available by appending `.md` to page URLs; this page is available as [Markdown](https://docs.cloudeka.id/deka_flexi/nat-gateway/remote-instance/floating-ip-configuration.md).
# Floating IP Configuration
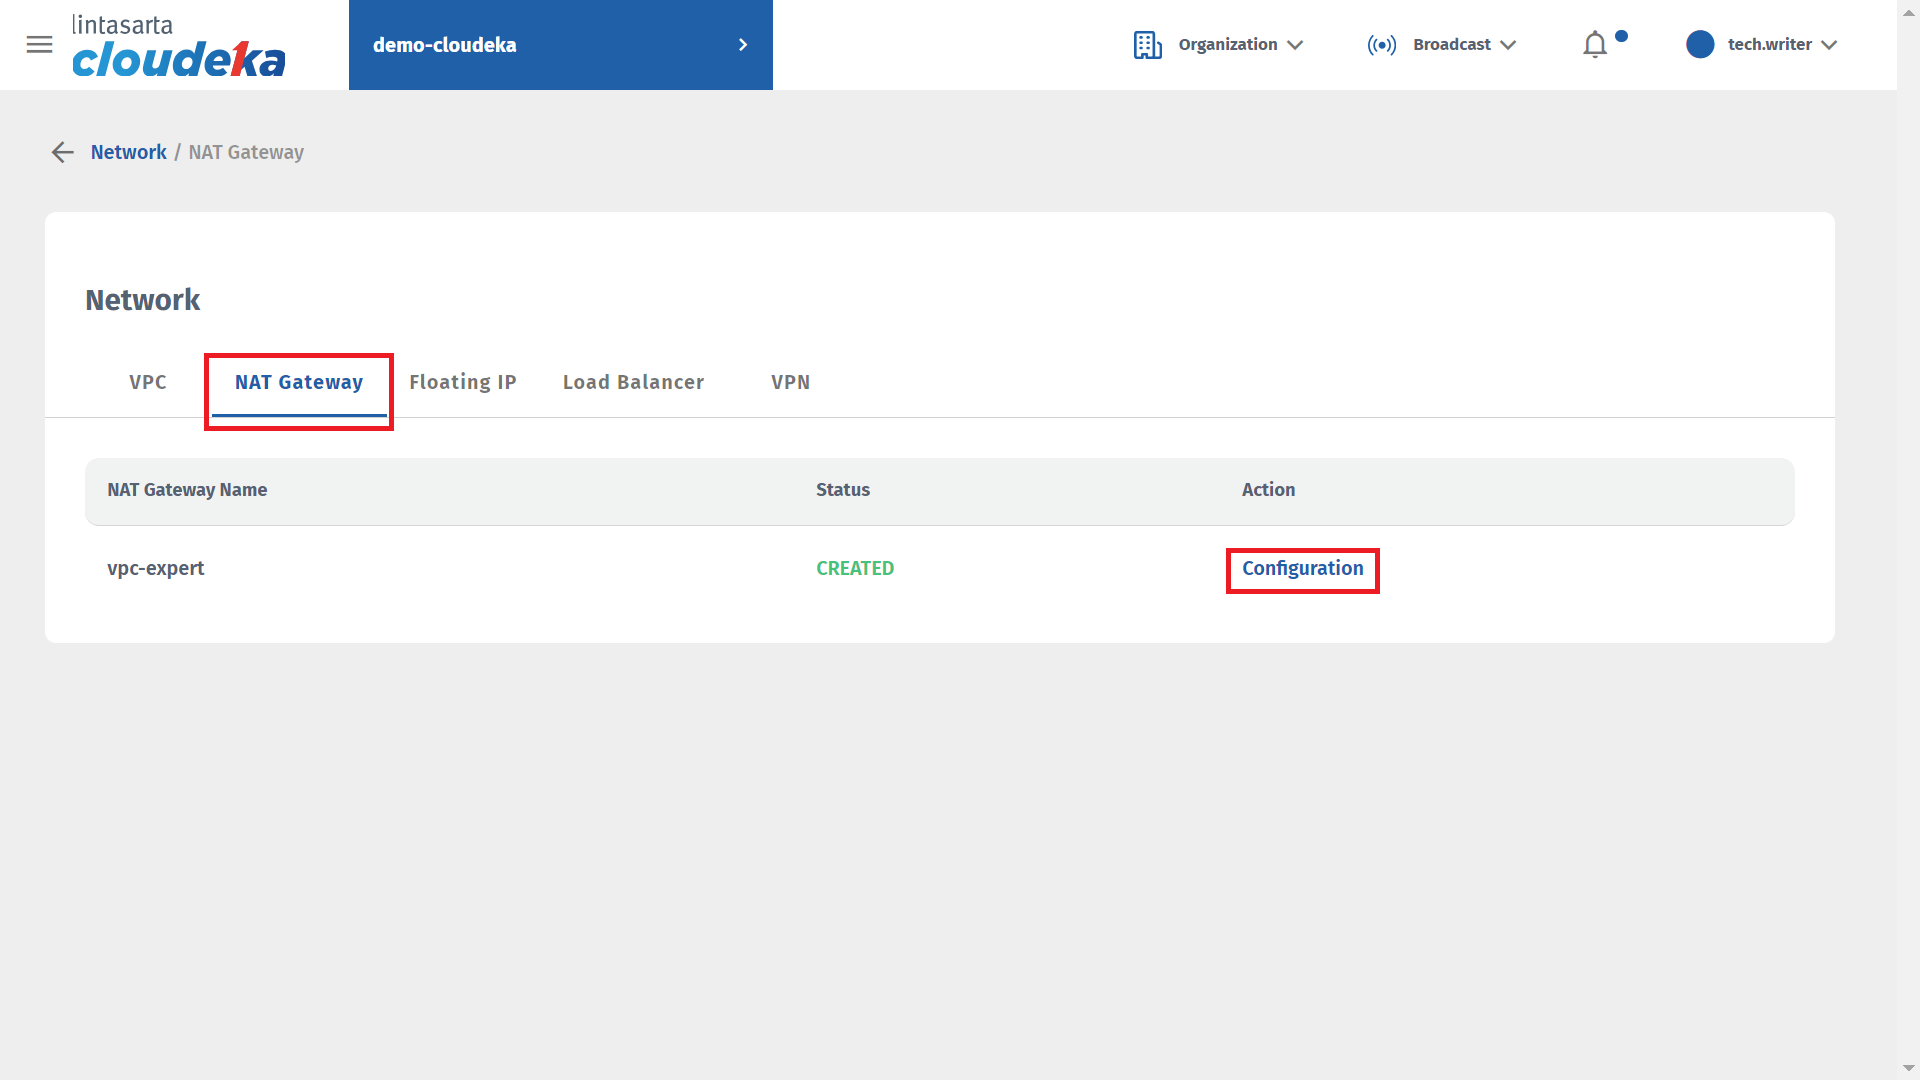
After successfully creating a virtual machine on the Instance page, the next step is to configure Floating IP and NAT on the NAT Gateway. To go to the NAT Gateway page, select the Network menu, then select the NAT Gateway label and press the Configuration button.
Floating IP Configuration
The NAT Gateway Configuration page appears, select the Floating IP label and press the Create Floating IP button.
Floating IP Configuration
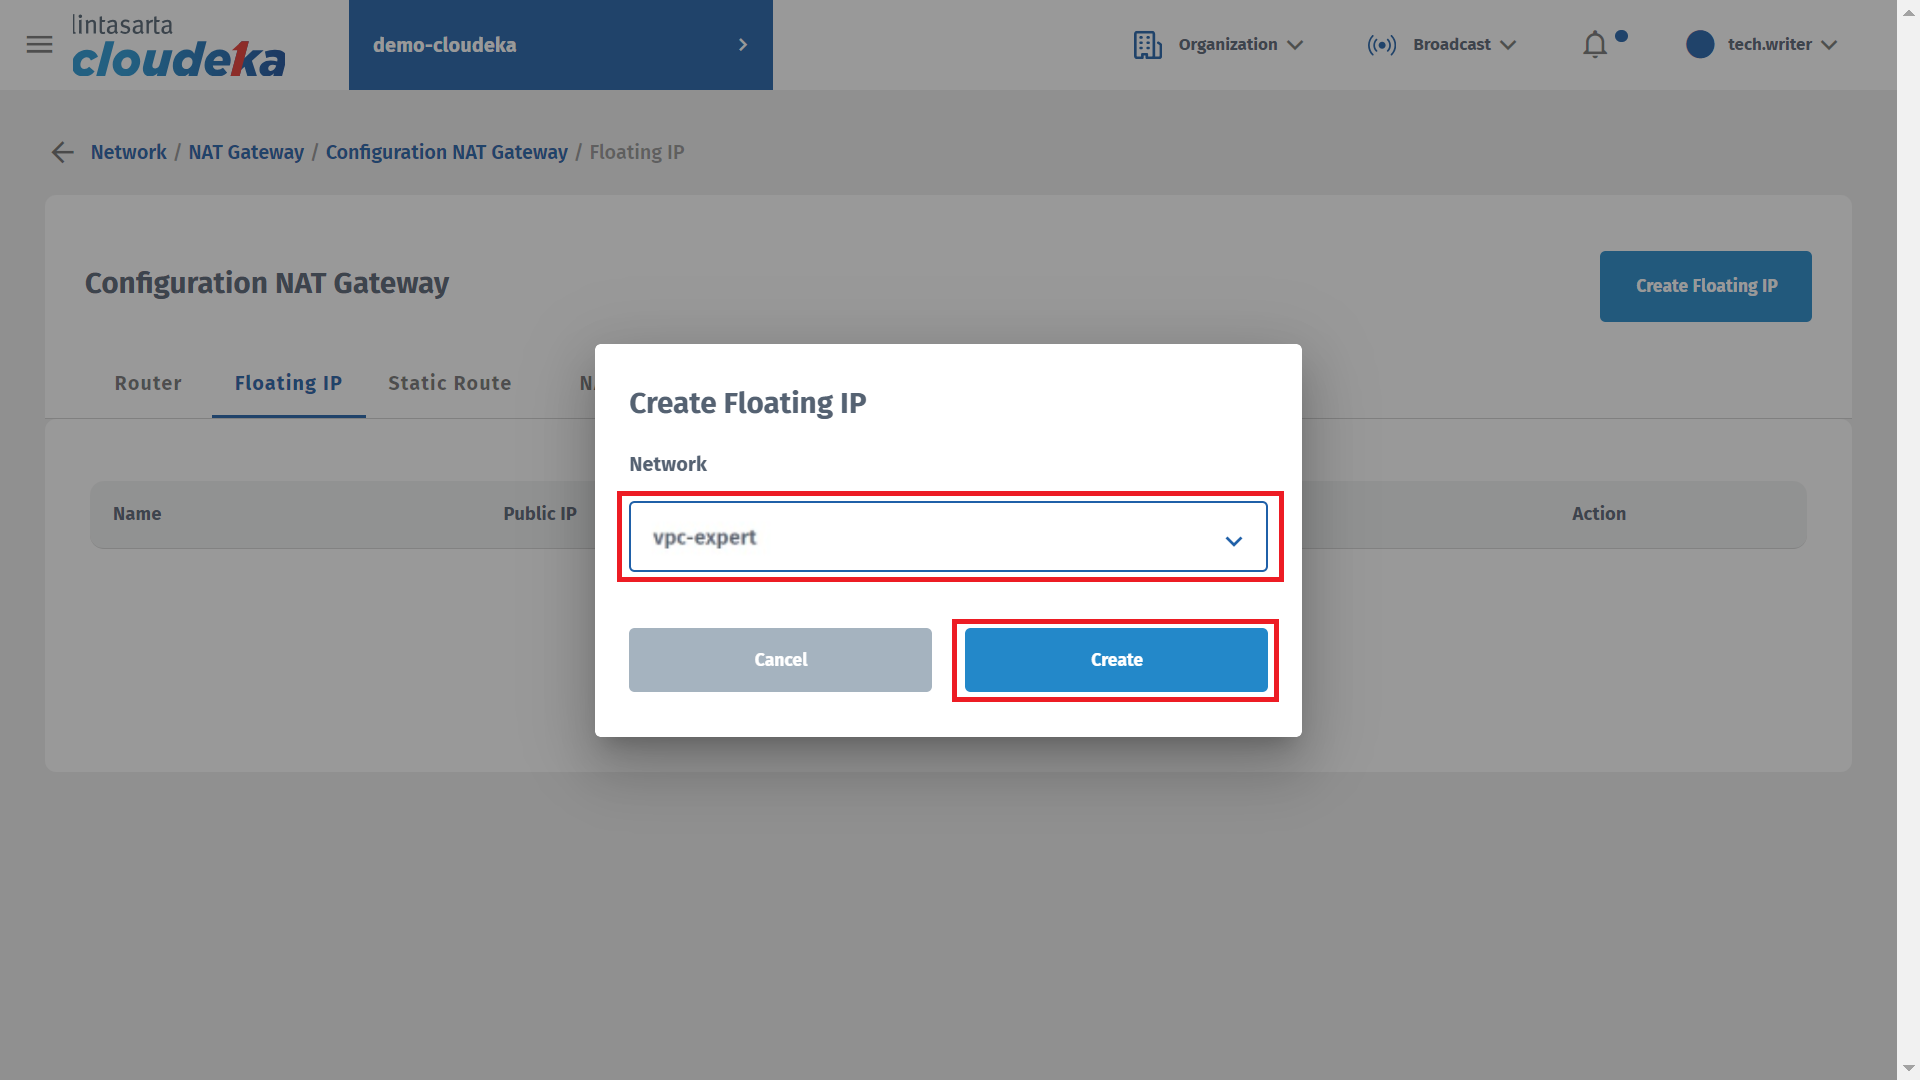
Select the VPC that will be assigned an IP address and press the Create button to continue the floating IP creation process.
Floating IP Configuration
A Floating IP notification has been successfully created. It can be seen on the Floating IP label with the status Created and getting a Public IP address 103.191.14.45.