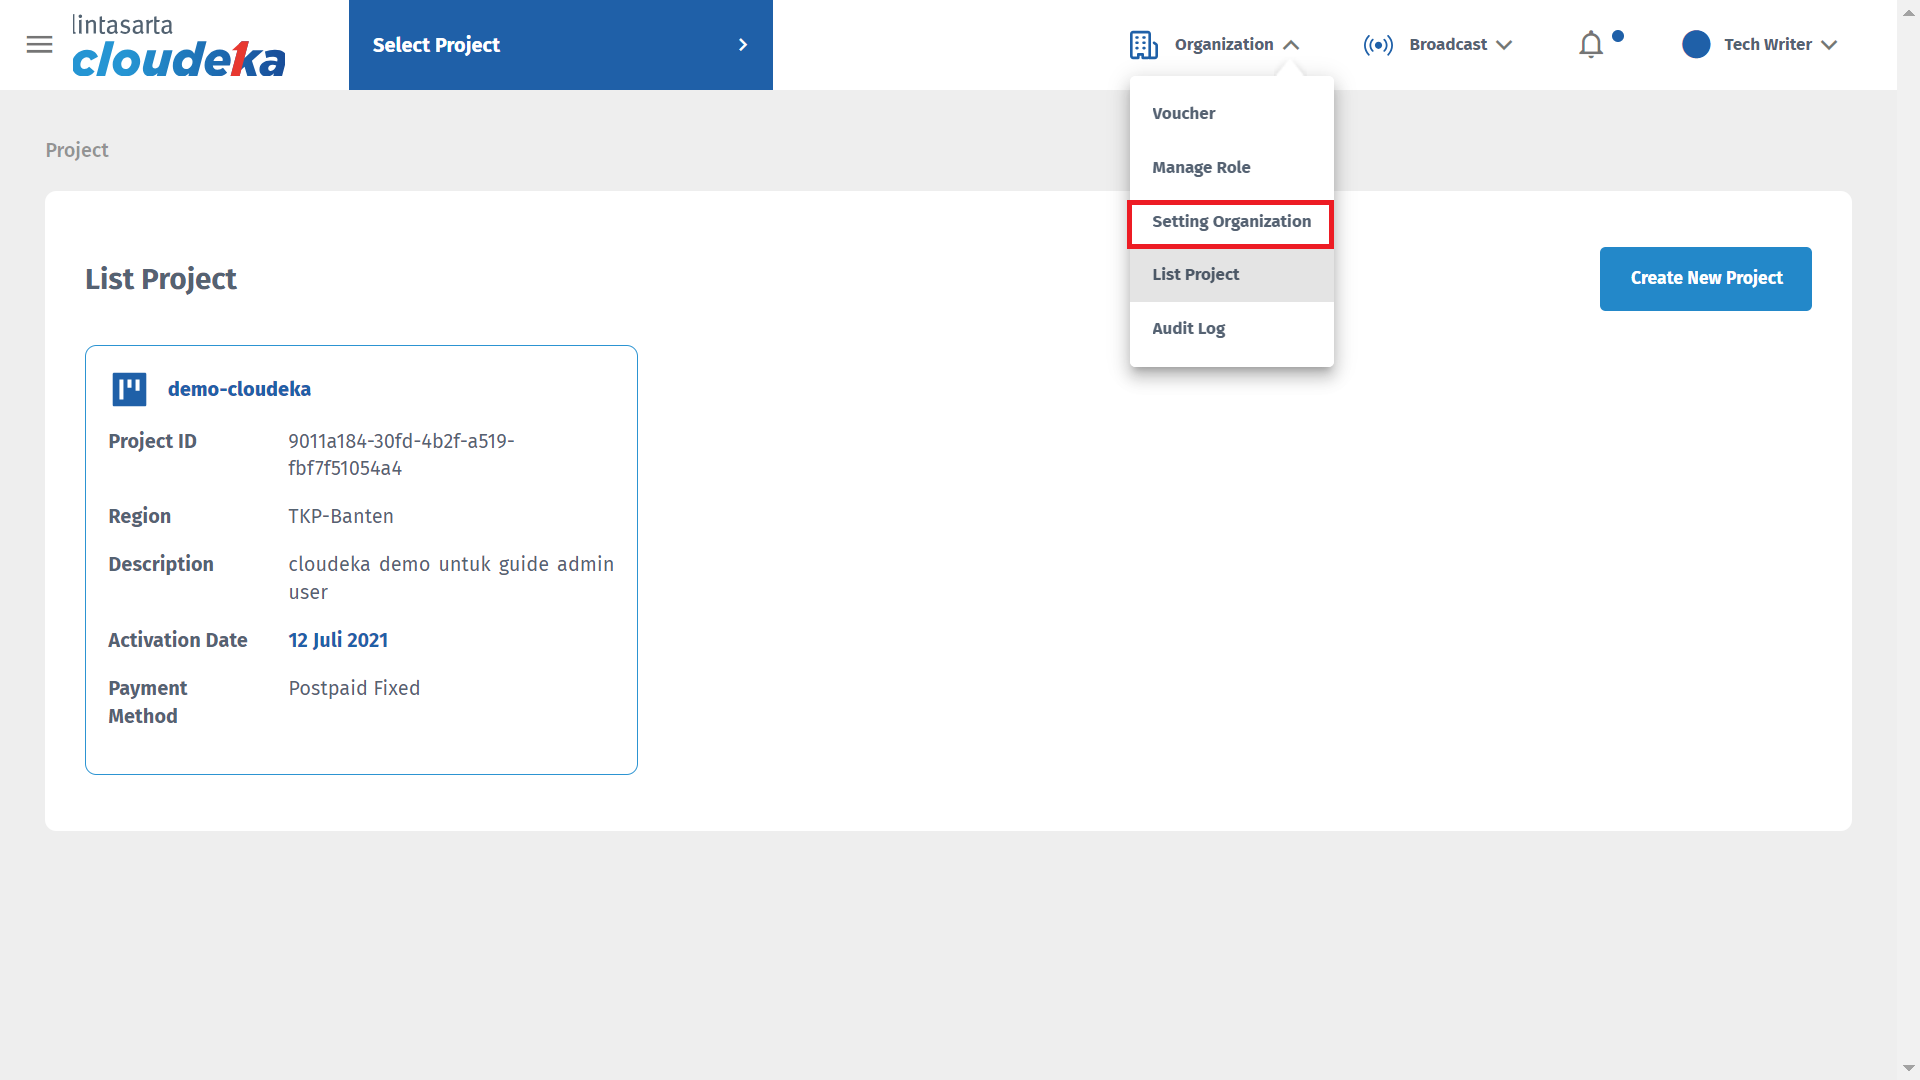
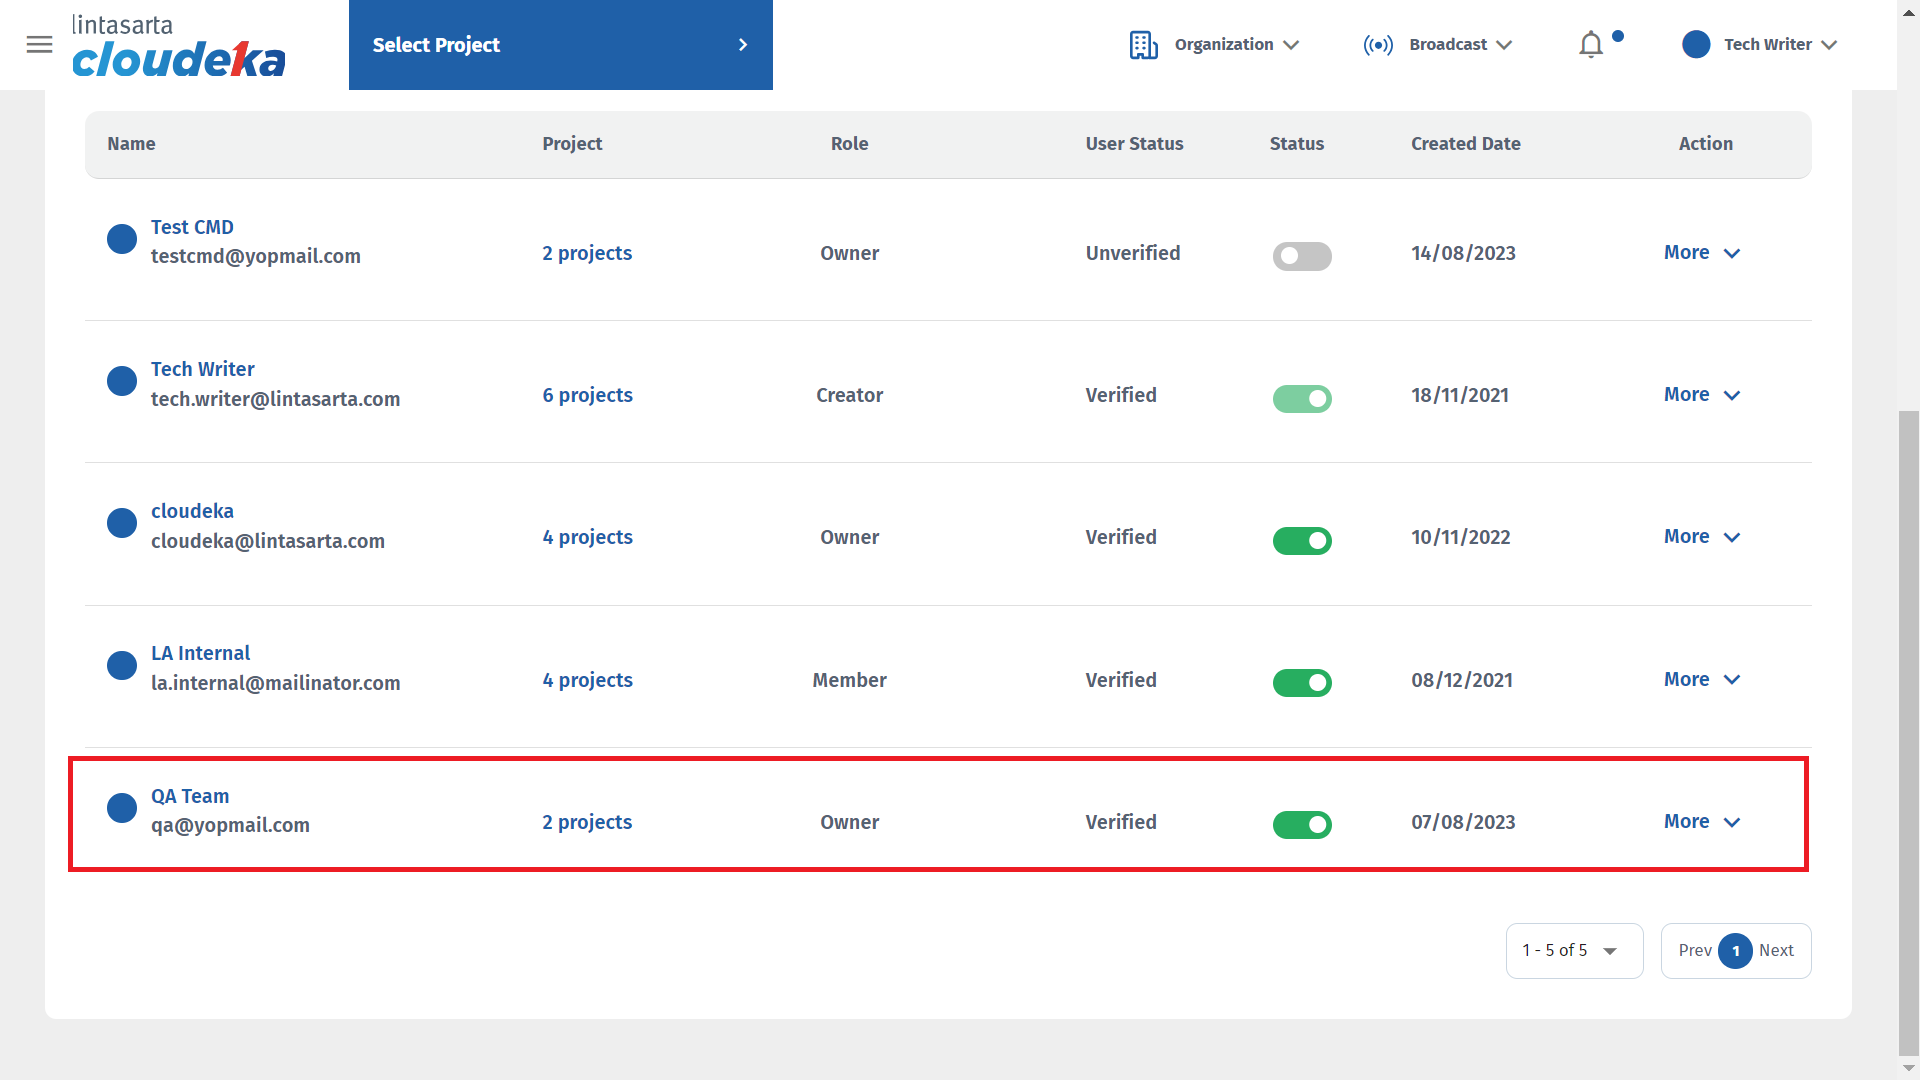
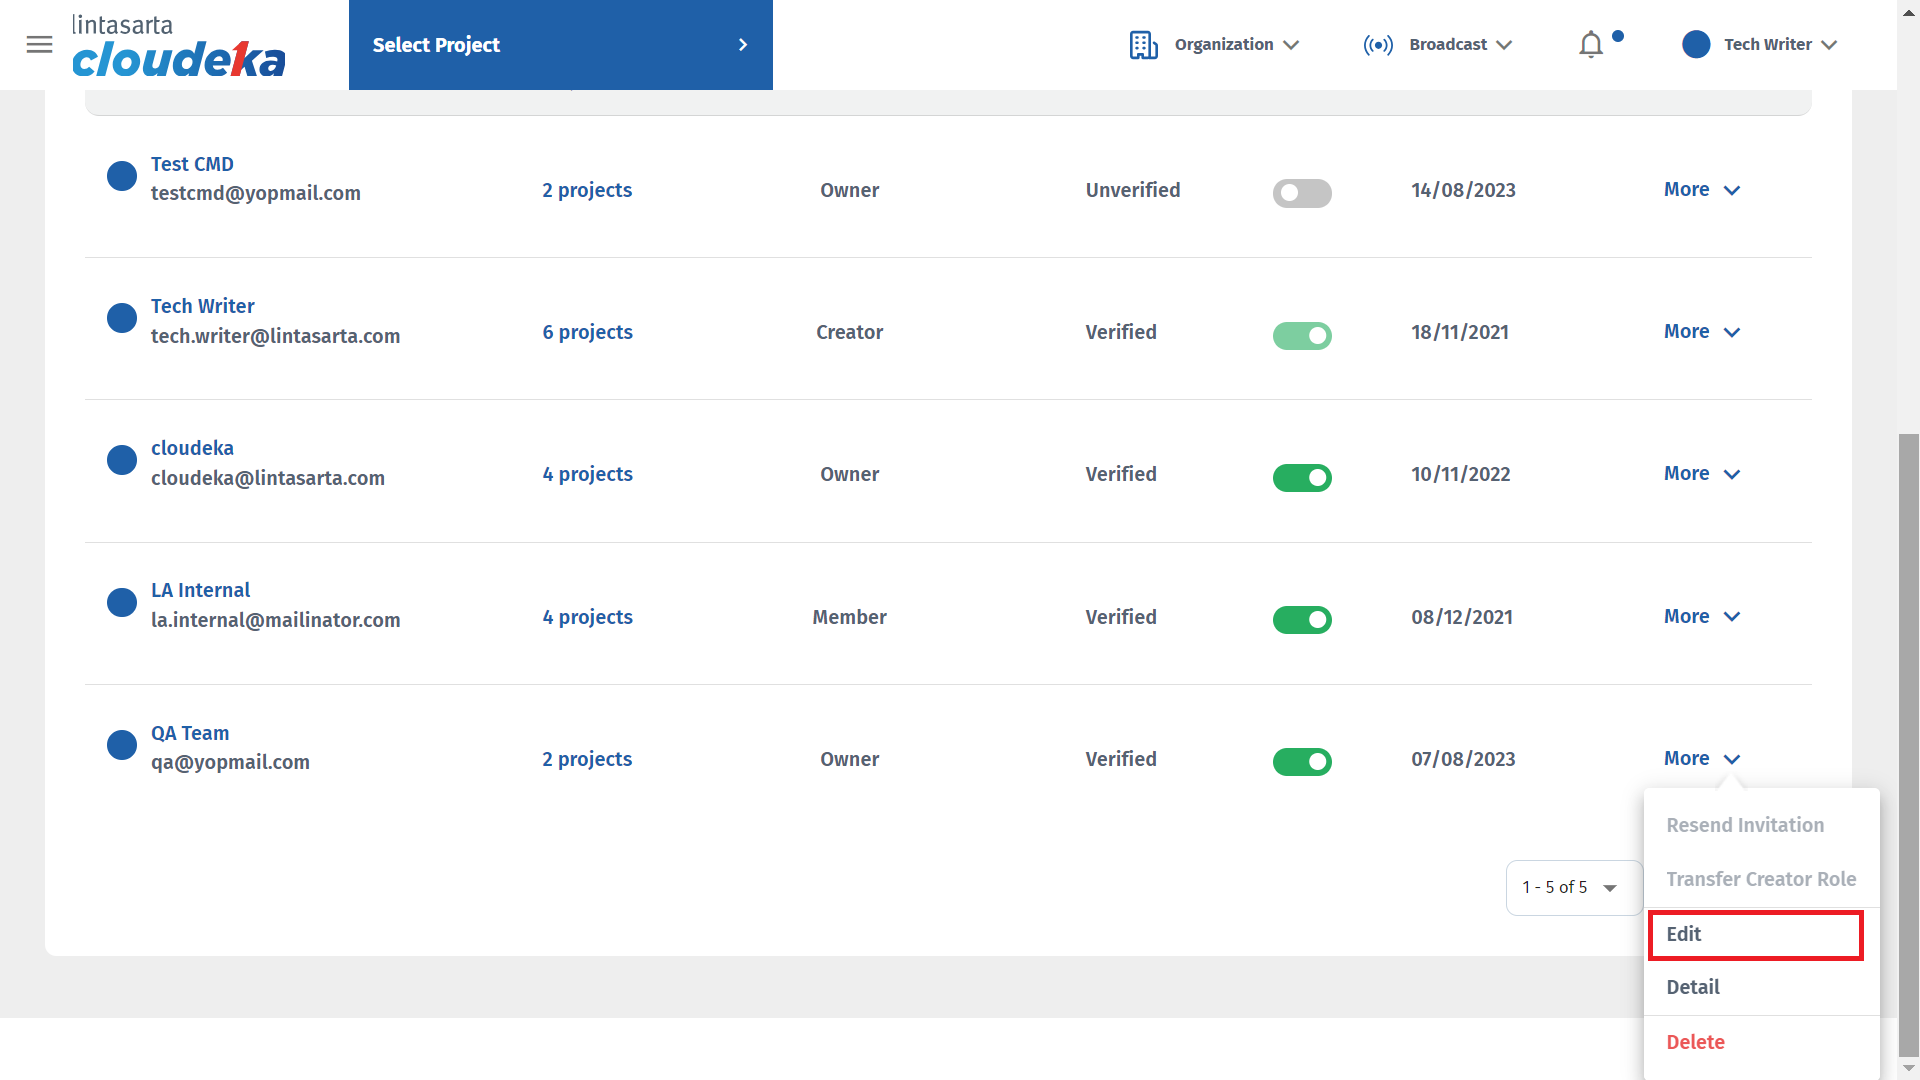
List Project
List Project
| Column | Description |
|---|---|
| Name | User name in Organization |
| Project | Project name in Organization |
| Role | Role of user |
| User Status | Status of the user is it verified or not |
| Status | Status of the user is it active or inactive |
| Created Date | User creation time |
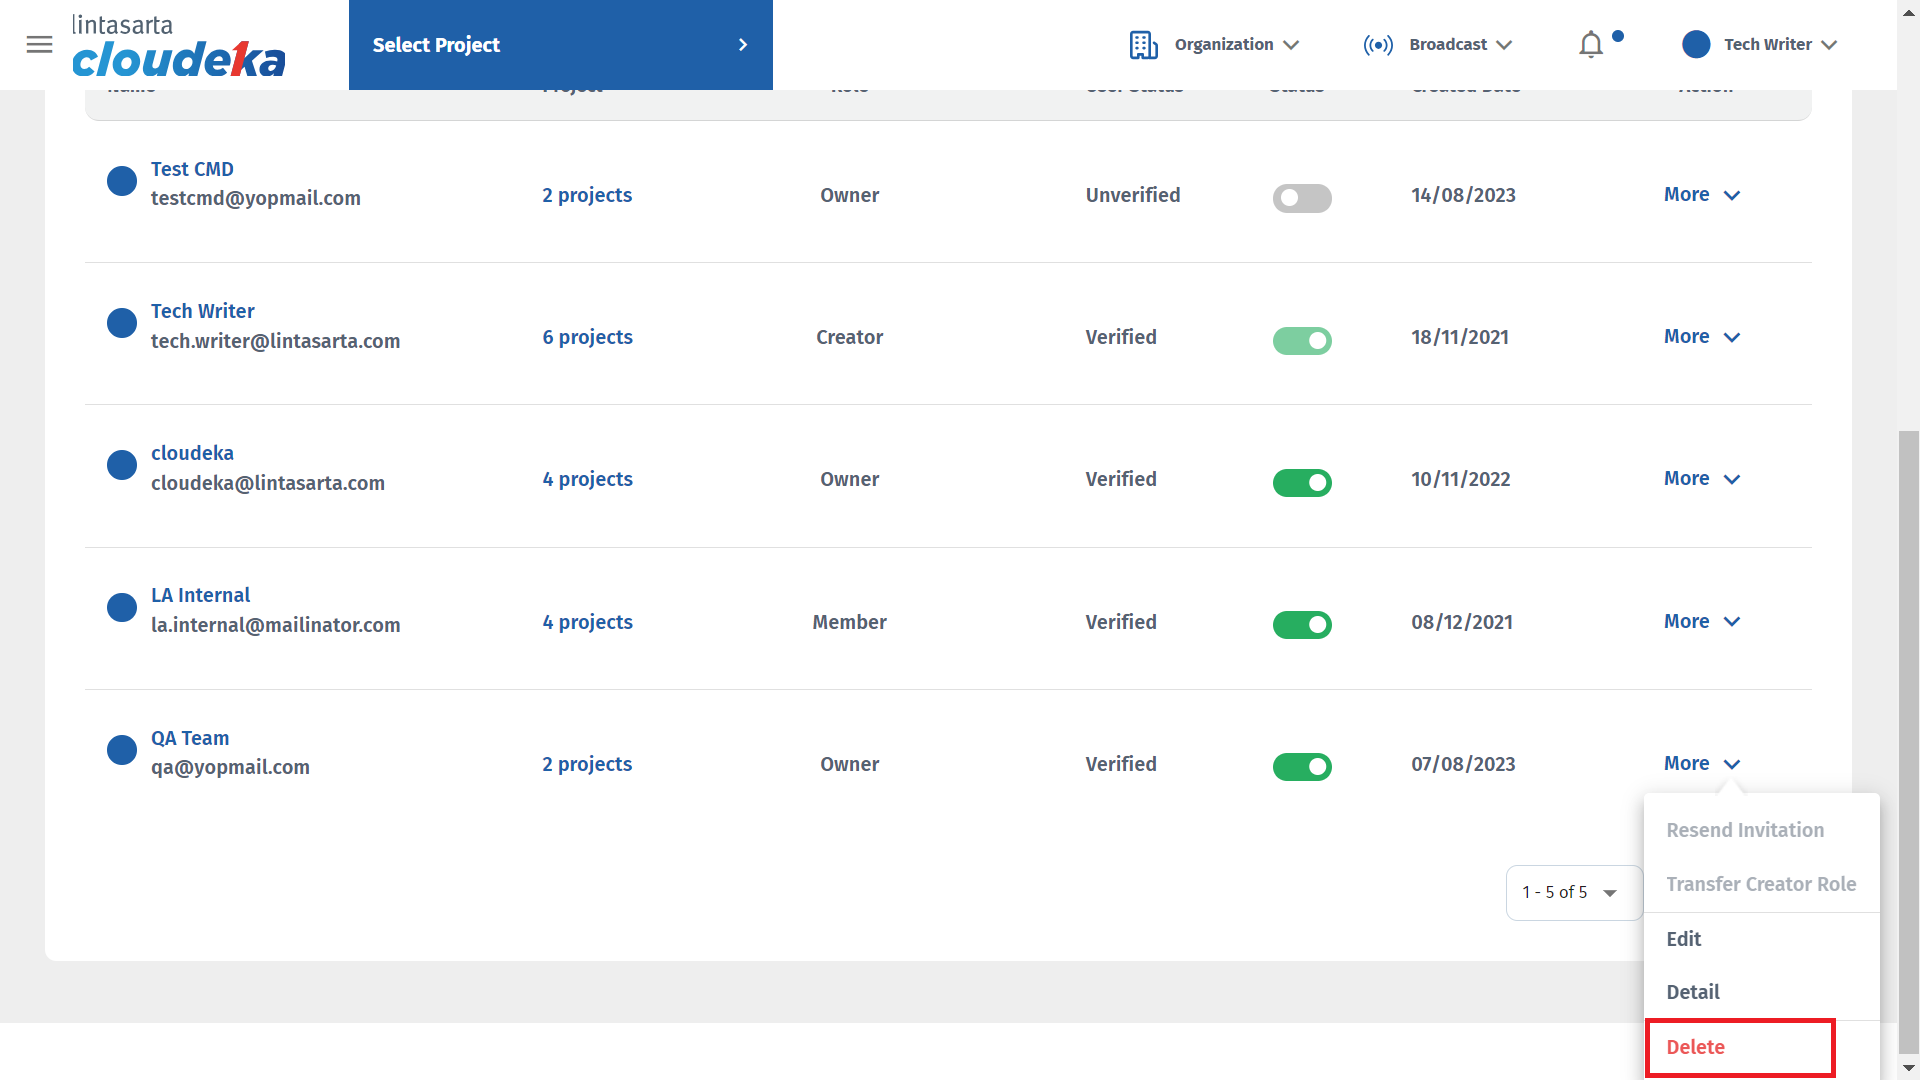
| Action | To perform an action on a user, such as edit or delete user |
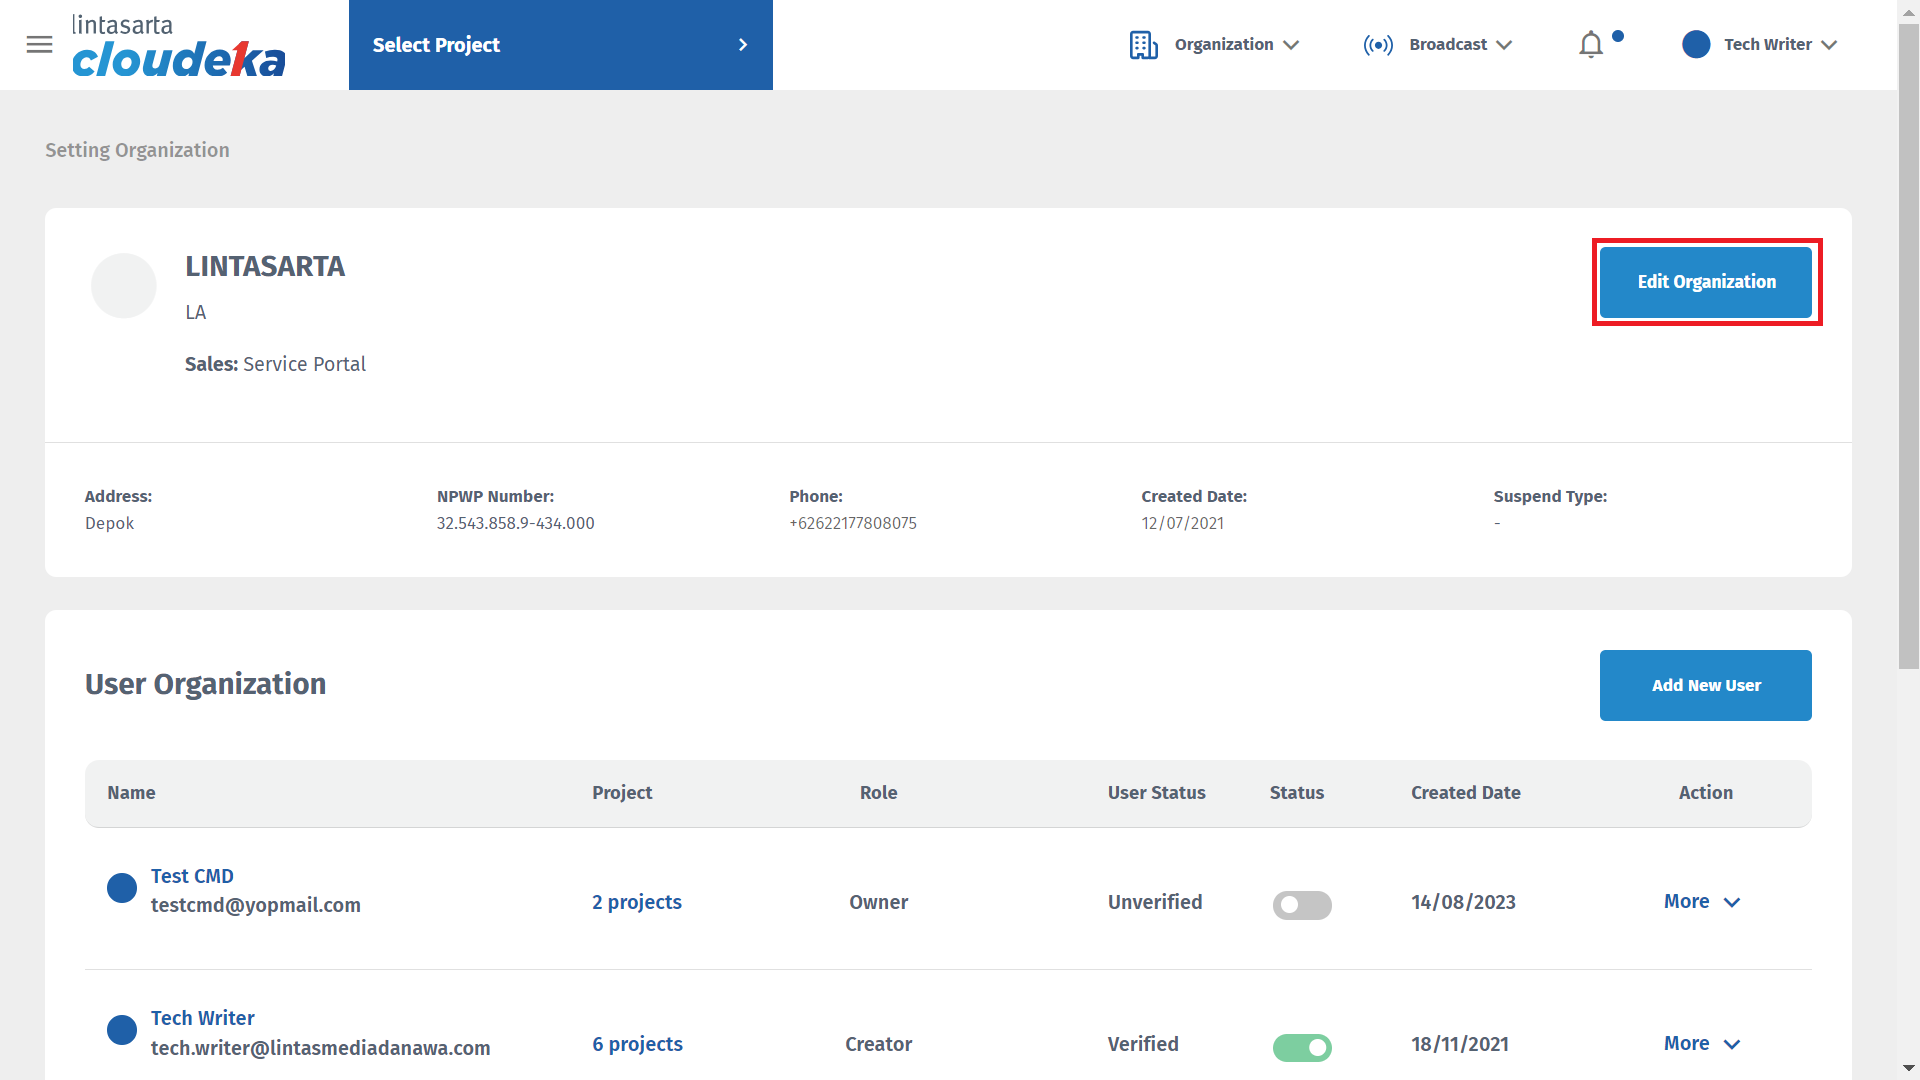
Setting Organization
| Column | Description |
|---|---|
| Details | Description of Organization |
| Address | Organization address |
| Phone Number | Organization phone number |
| NPWP Number | Organization Taxpayer Identification Number, but the NPWP number cannot be changed |
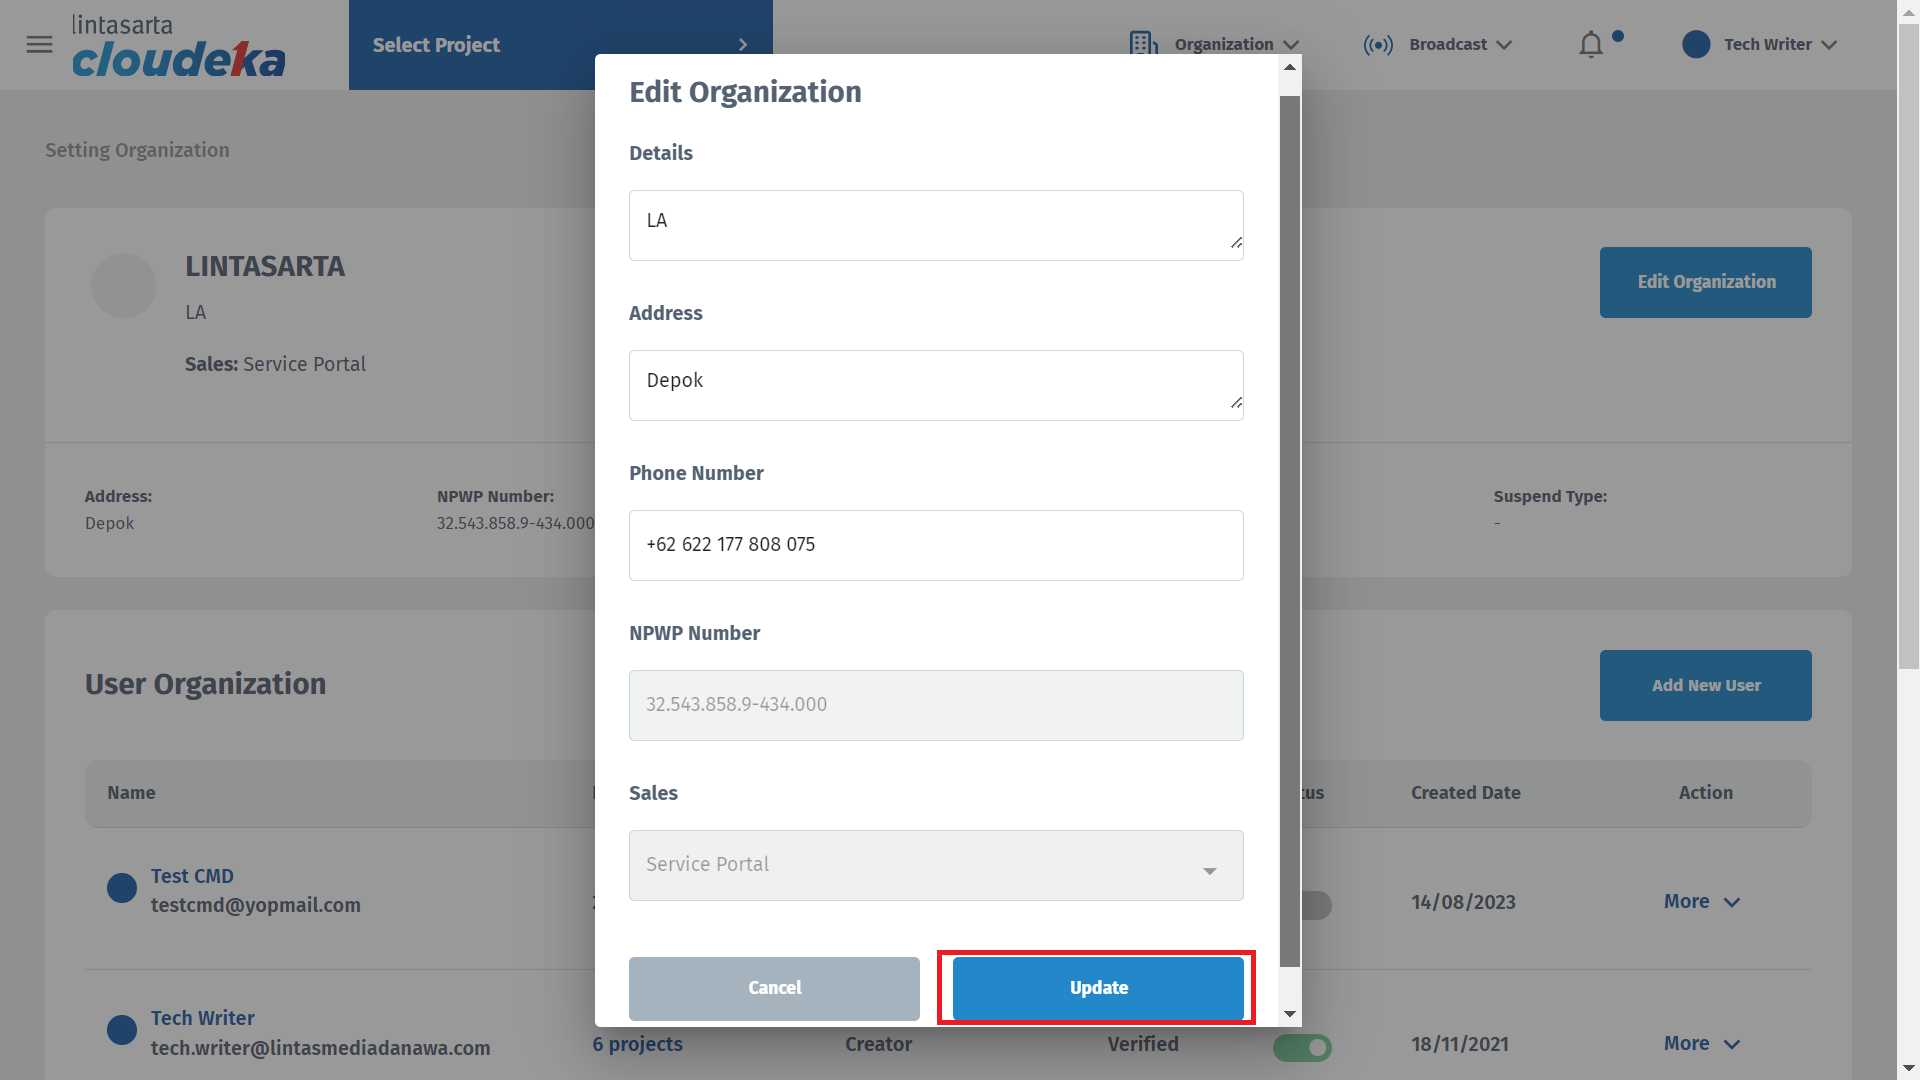
Edit Organization

Data has been saved
List Project
Setting Organization
| Column | Description |
|---|---|
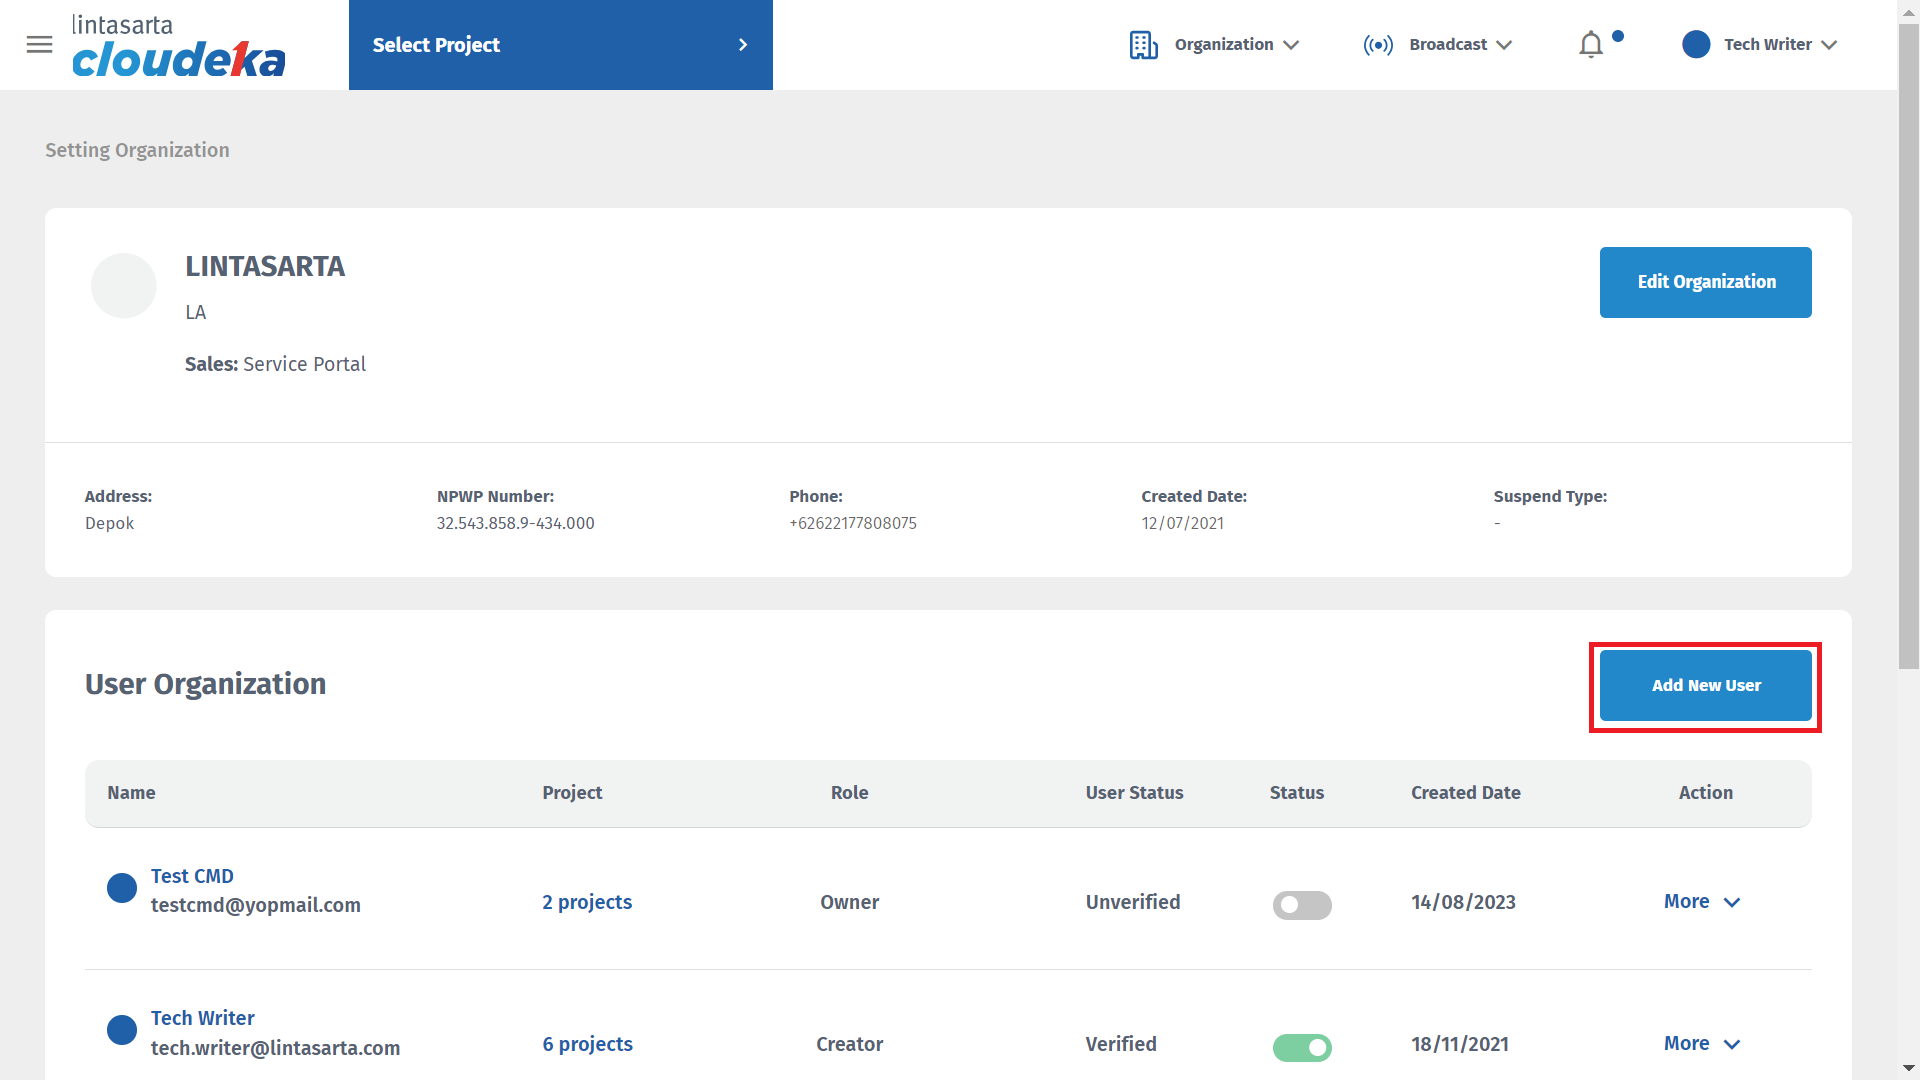
| User Name | Name of user. |
| Email address of user. | |
| Phone Number | Phone number of user. |
| Select Project | To determine which project will be assigned to the user. |
| Select Role | To determine the role member. |

Add New User
Data has been saved
| Column | Description |
|---|---|
| Password | Consist of a minimum of 8 characters using a combination of uppercase, lowercase, numbers & symbols. It is made for the security of customer data. If the password created does not match the requirements, a warning will appear, for example: must include the symbol. |
| Confirm New Password | Re-type your new password |
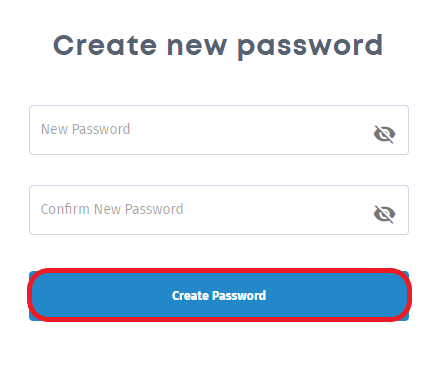
Create Password
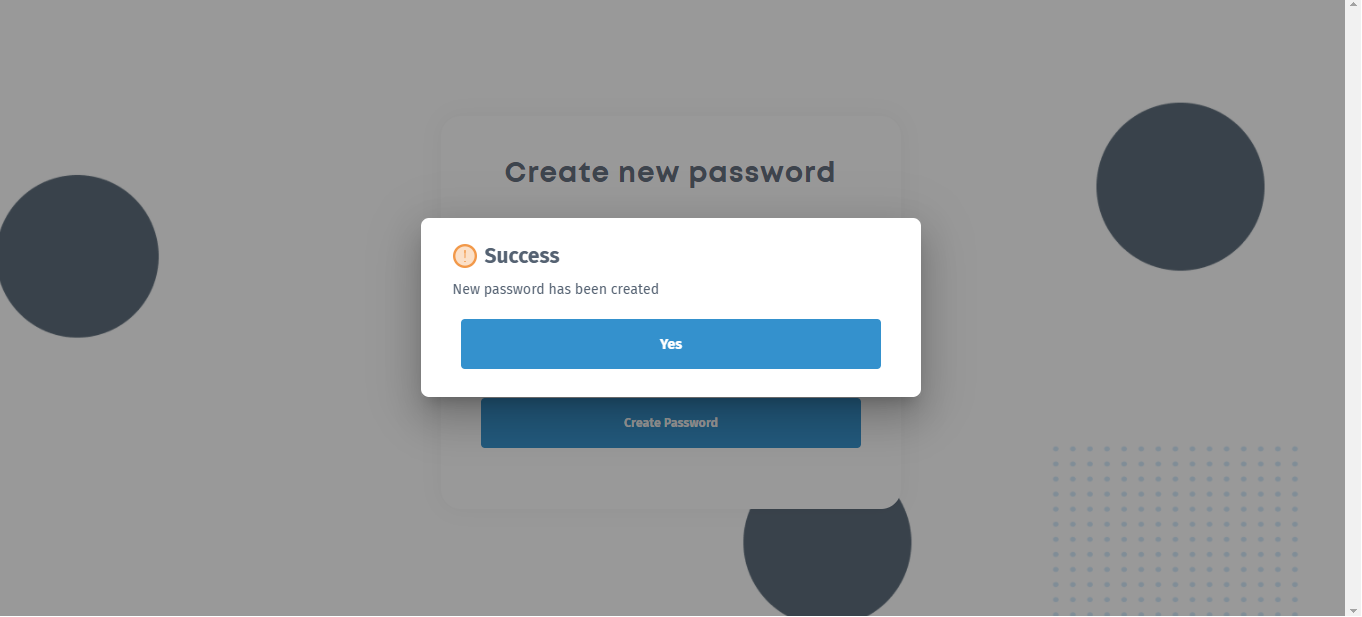
New Password Has Been Created
Setting Organization

List Project
Setting Organization
| Column | Description |
|---|---|
| Member Name | Name of user. |
| Email address of the user. | |
| Phone Number | Phone number of the user |
| Select Project | To determine which project will be assigned to the user. |
| Select Role | To determine the role user. |
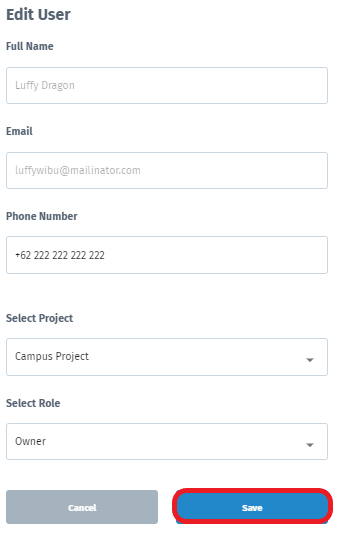
Edit User
Data Saved Successfully

List Project
Organization Settings
Warning Delete