Add/EditPort
You can add ports to a VPC for other instances to use.
On the Network page, select the VPC that you want to add the port to.
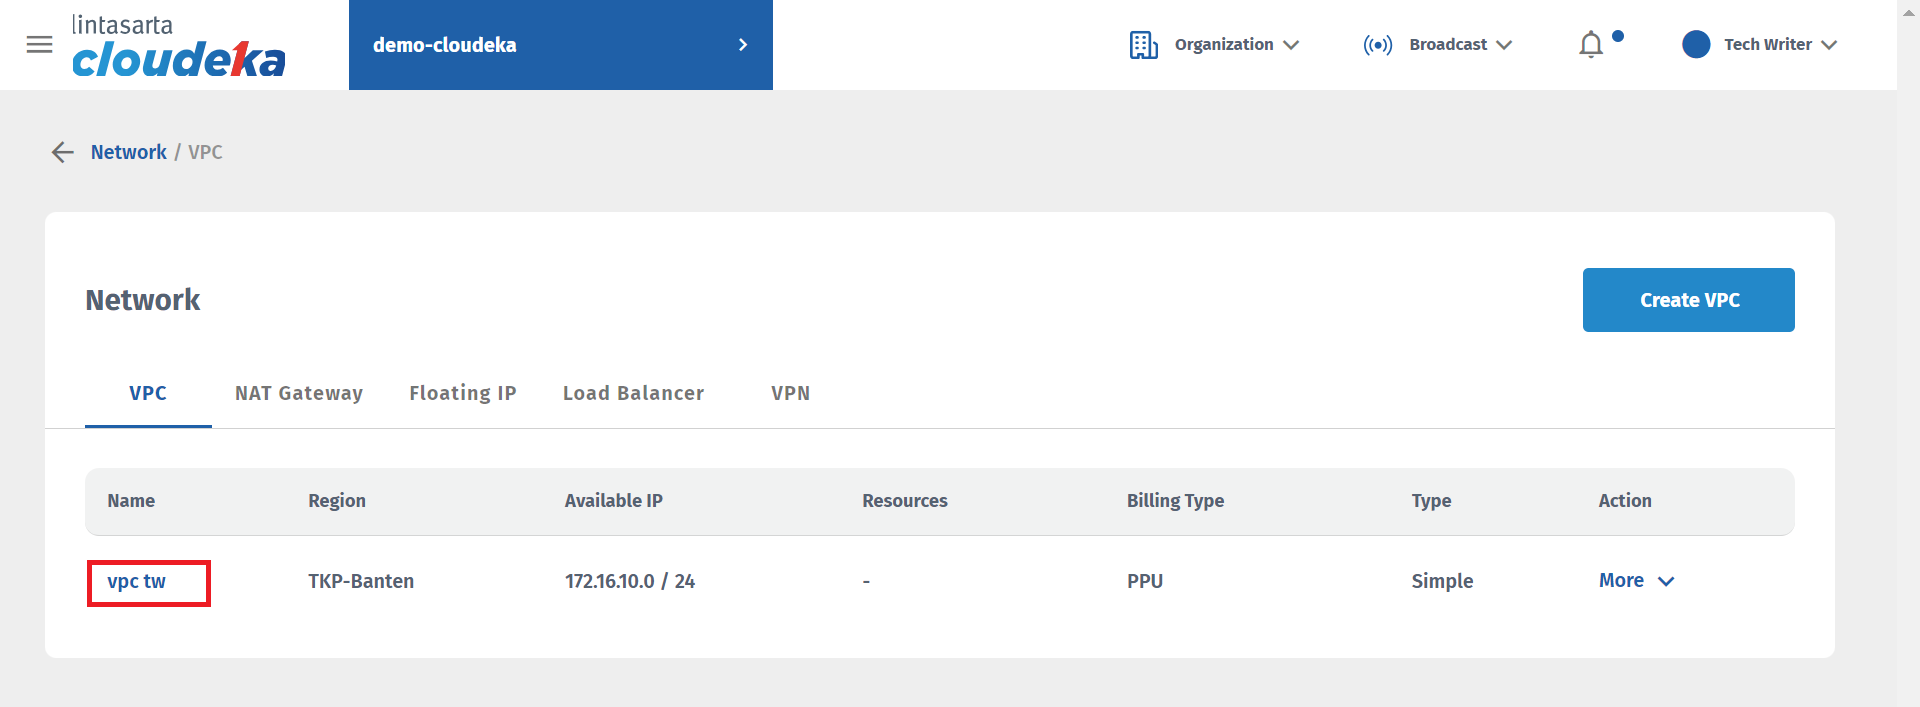
Select the Ports tab and press the Add Port button.
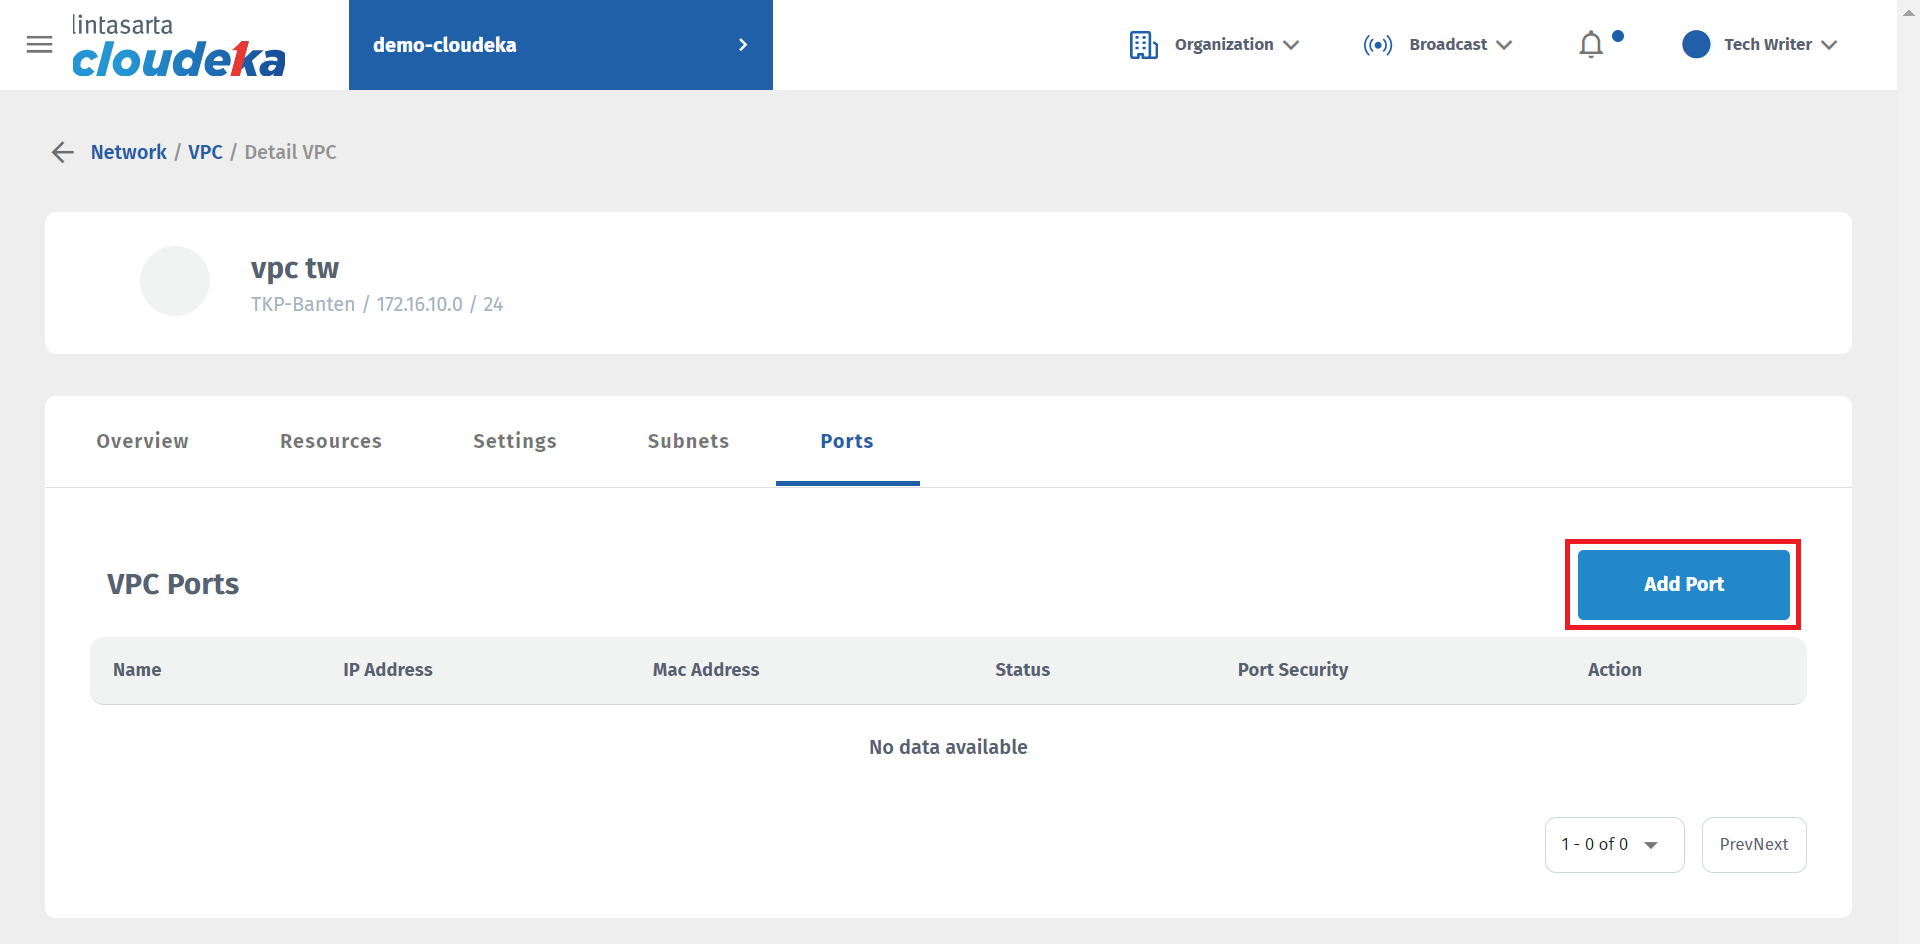
The Add VPC Port window appears, with three columns that you must fill in.
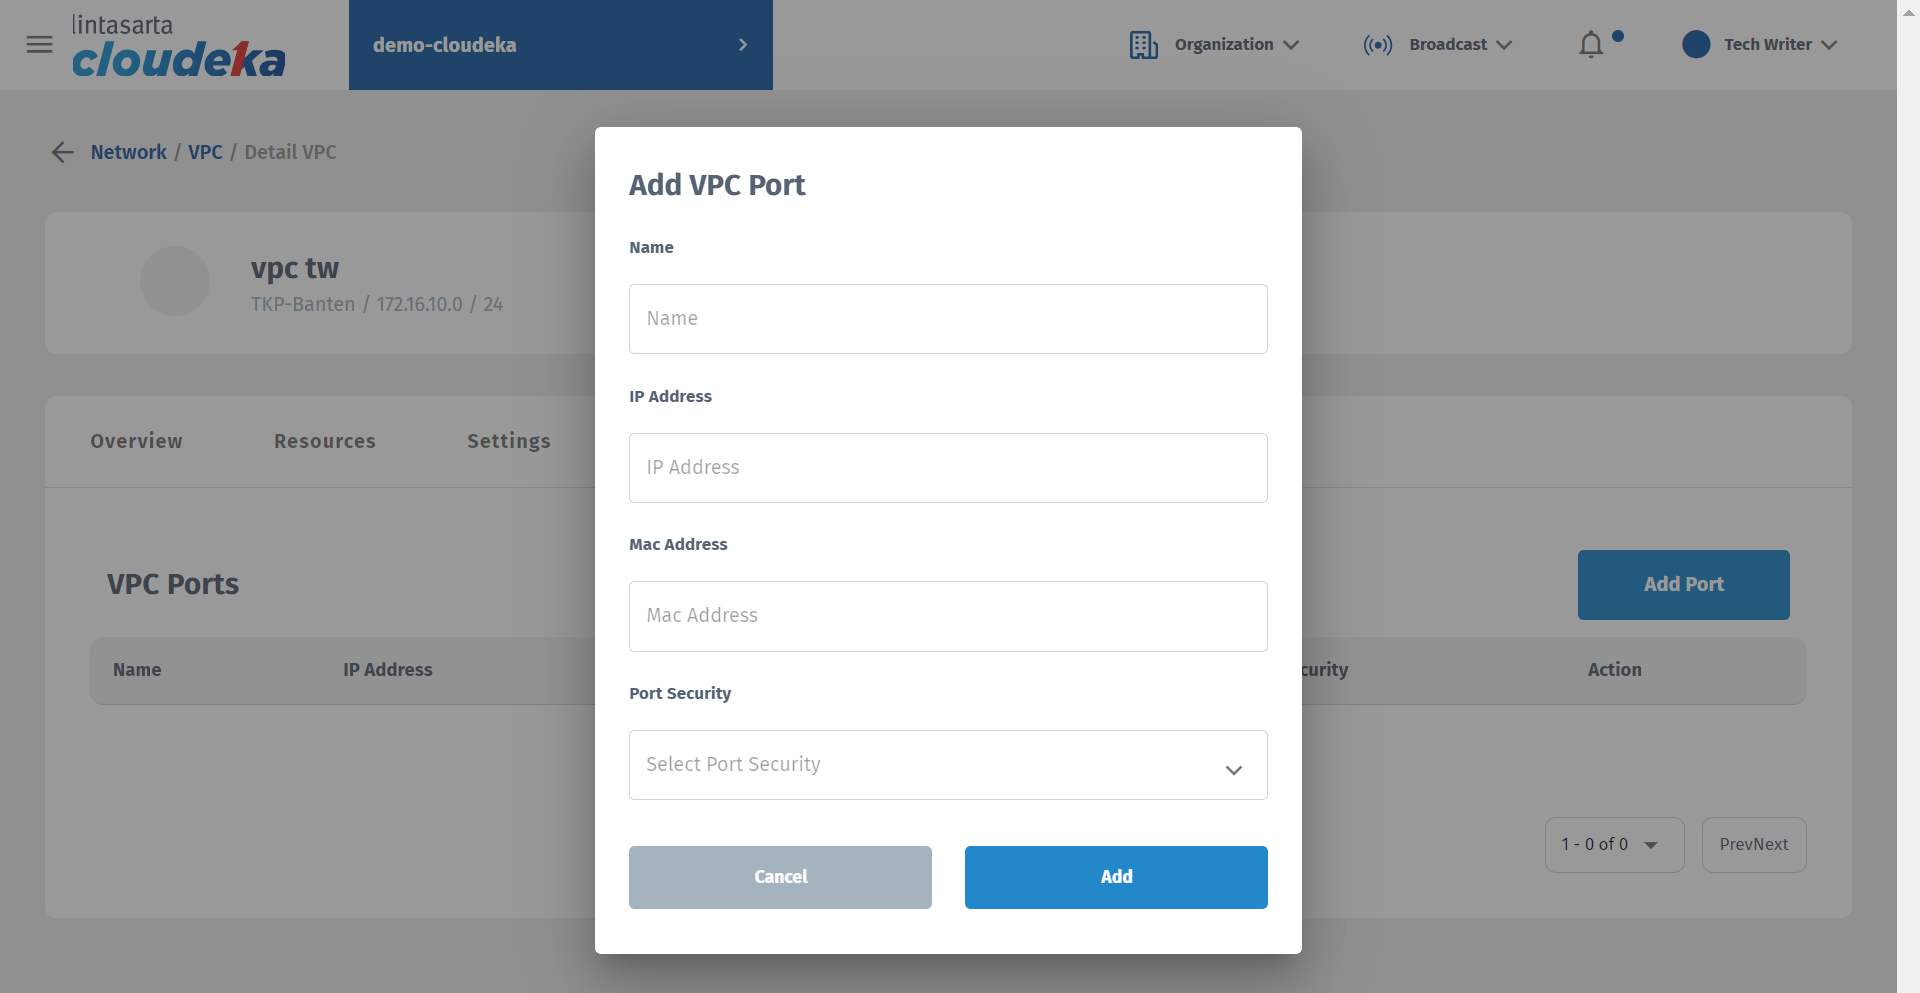
Name
Port name used. The minimum name length is 5 characters.
IP Address
IP address used. For example, if the IP address on the network that uses a class C IP address is 198.18.1.0/24, then you must fill in the IP Address column with the host address starting from 198.18.1.2 to a maximum of 192.18.1 254.
MAC Address
A unique address used to identify a device. This column is optional to fill in, because when you add a port your port automatically gets a MAC Address.
Port Security
Two options are available: a.Enabled can be directly used by Instances b.Disabled is available in the VPC Port list but cannot be used by the Instance.
After filling in all the columns, the next step is to press the Add button to continue the process of adding ports to the VPC.
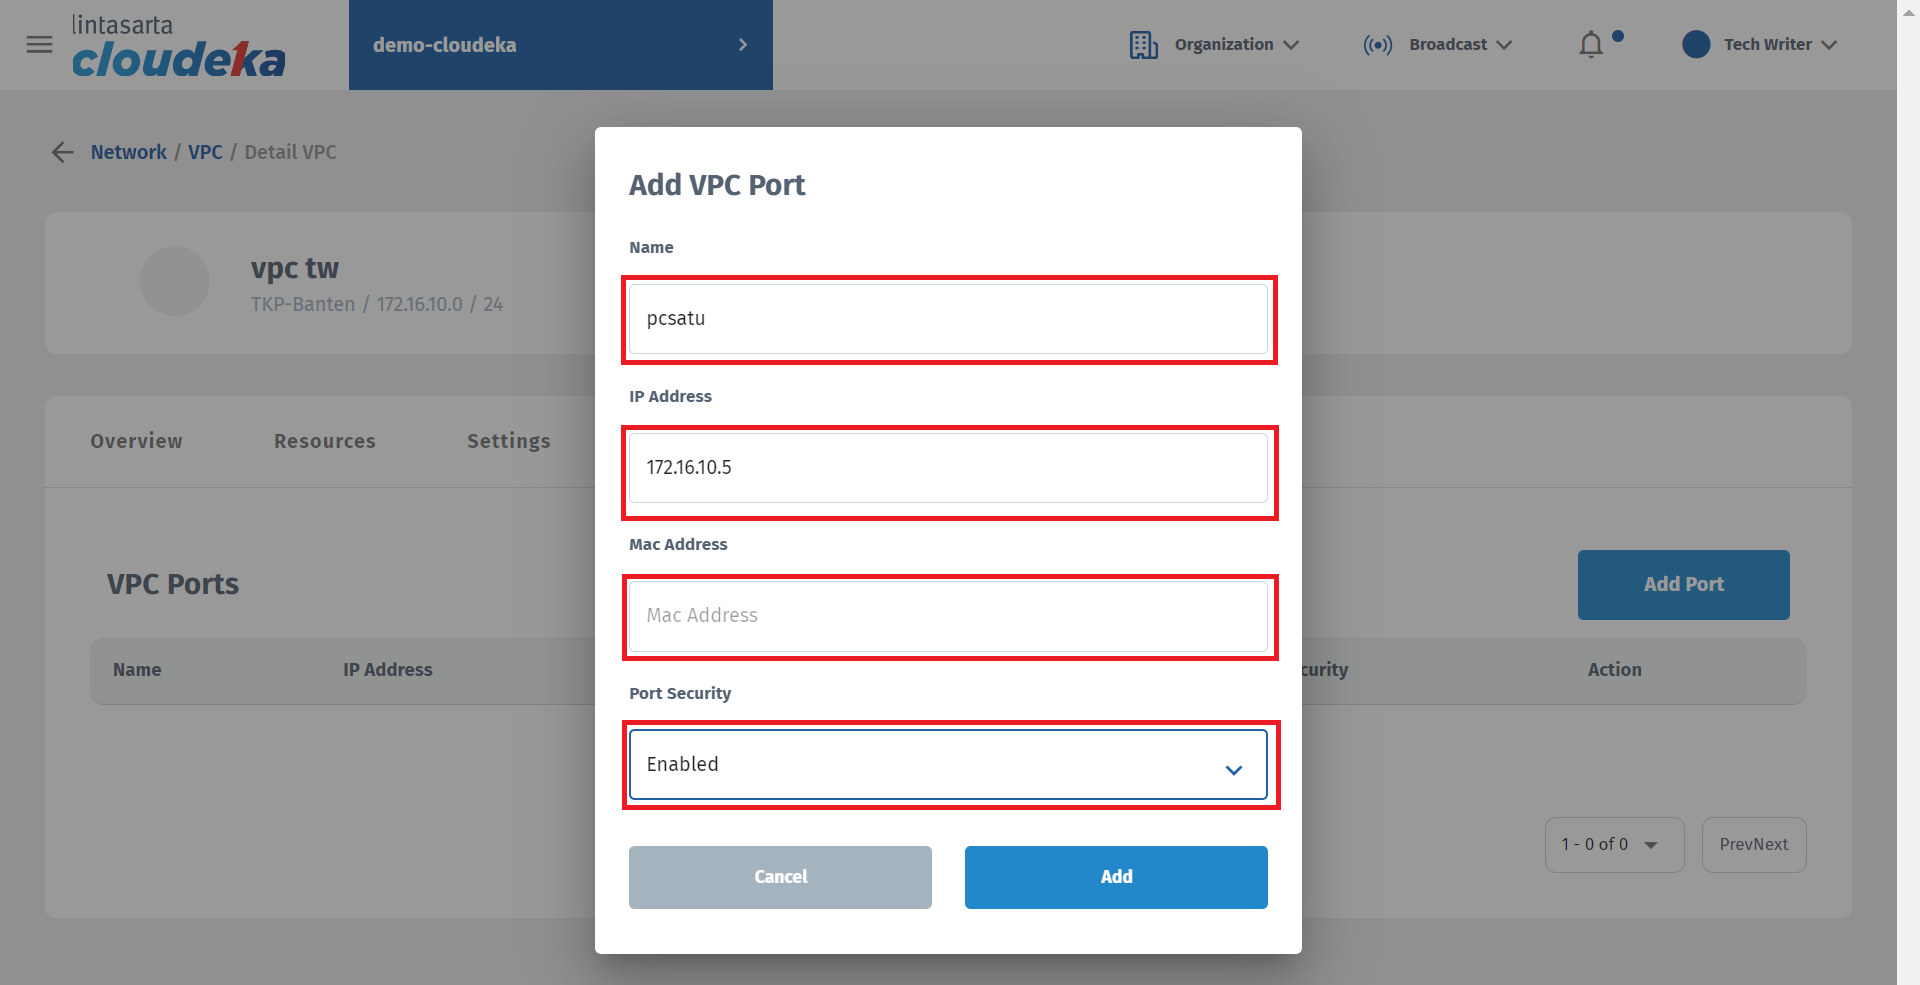
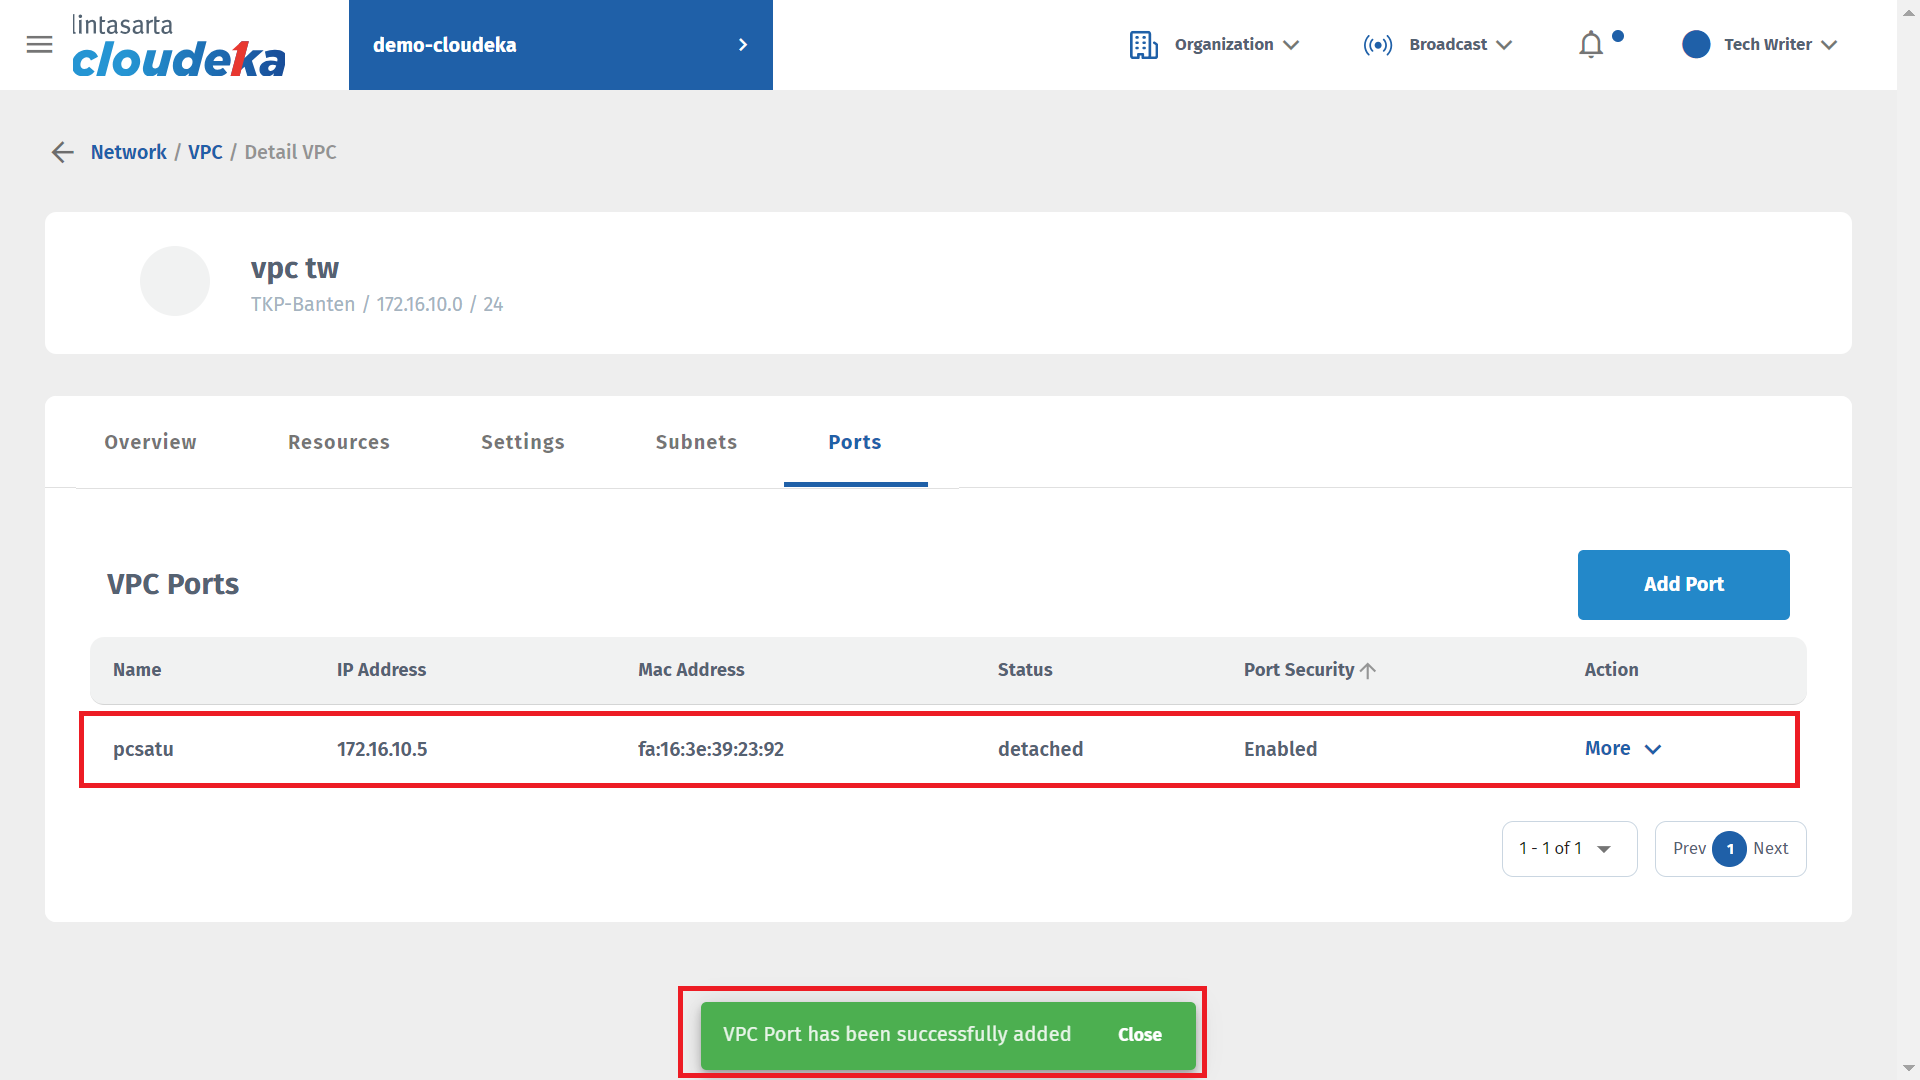
A notification "VPC port has been successfully added" appears and the port is available in the VPC Port list.
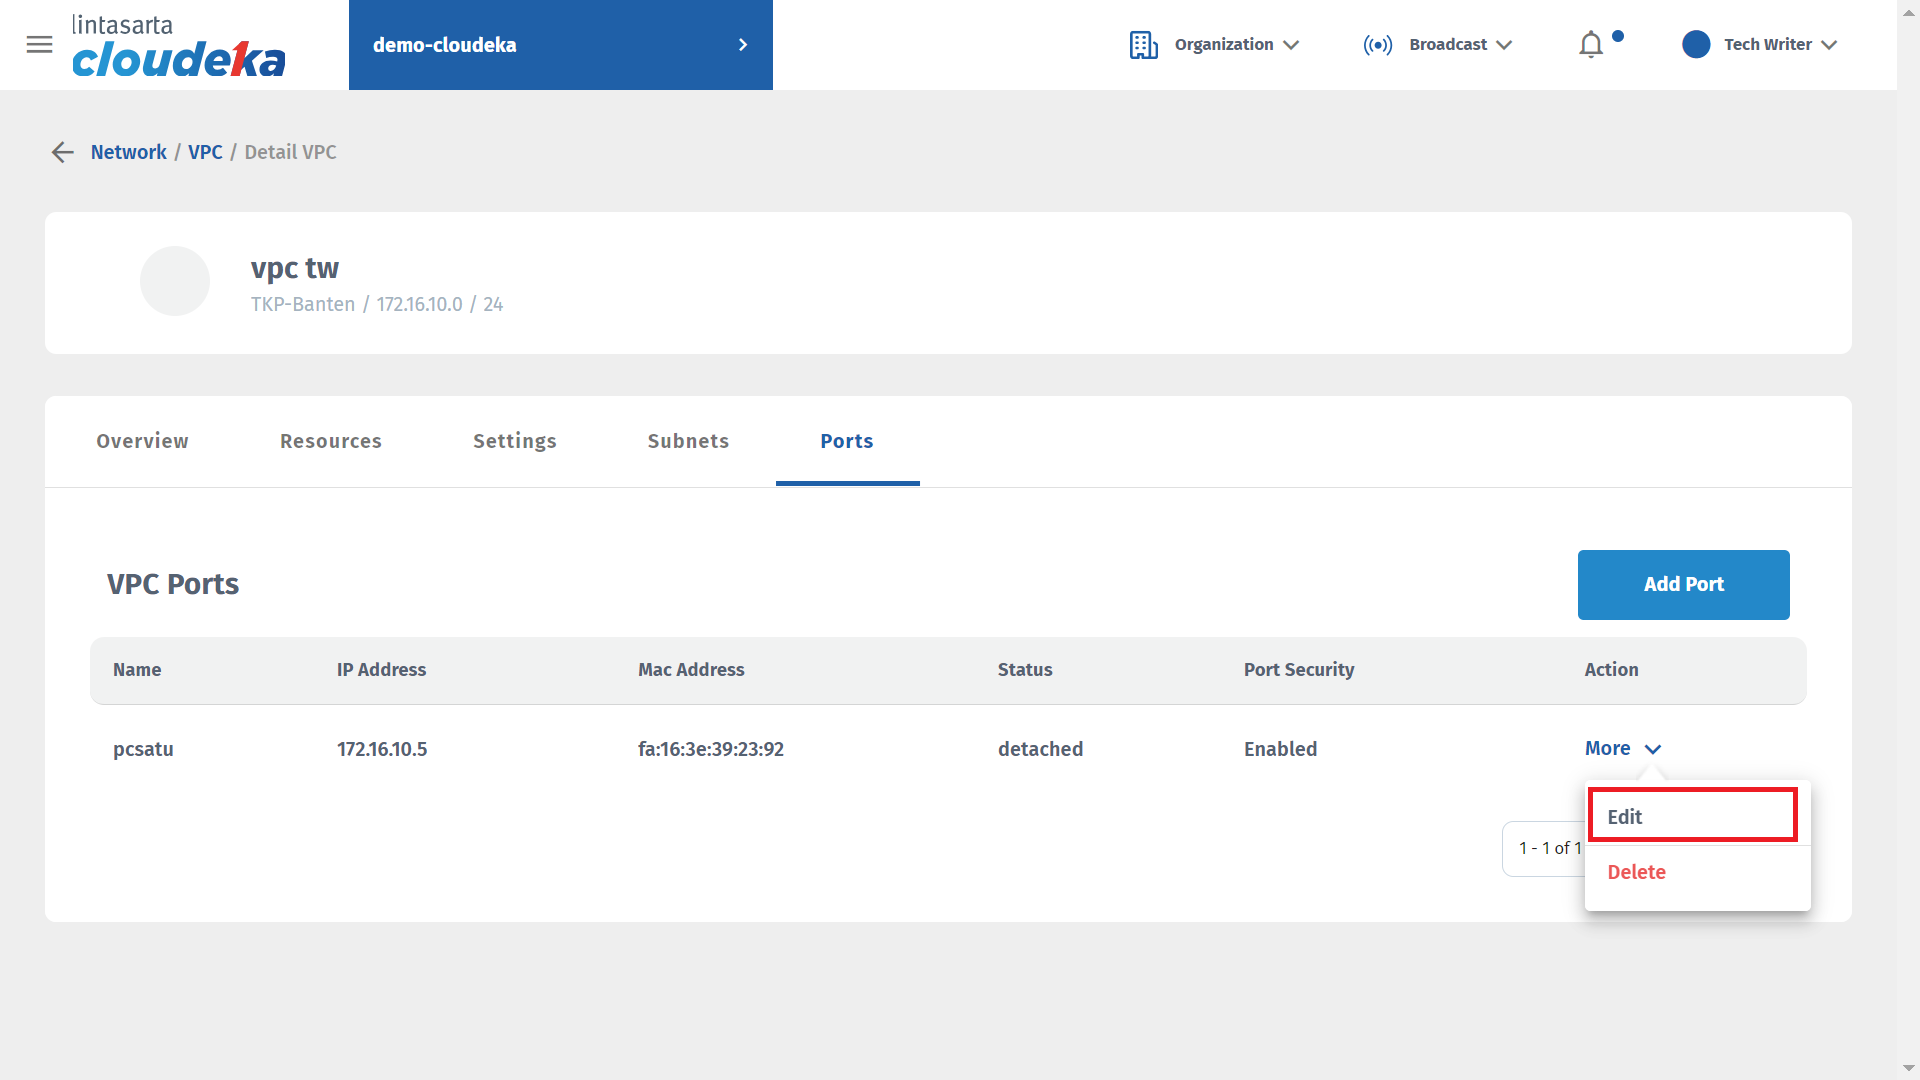
To be able to update the data used by the port on the VPC Details page, press the More button and select Edit.
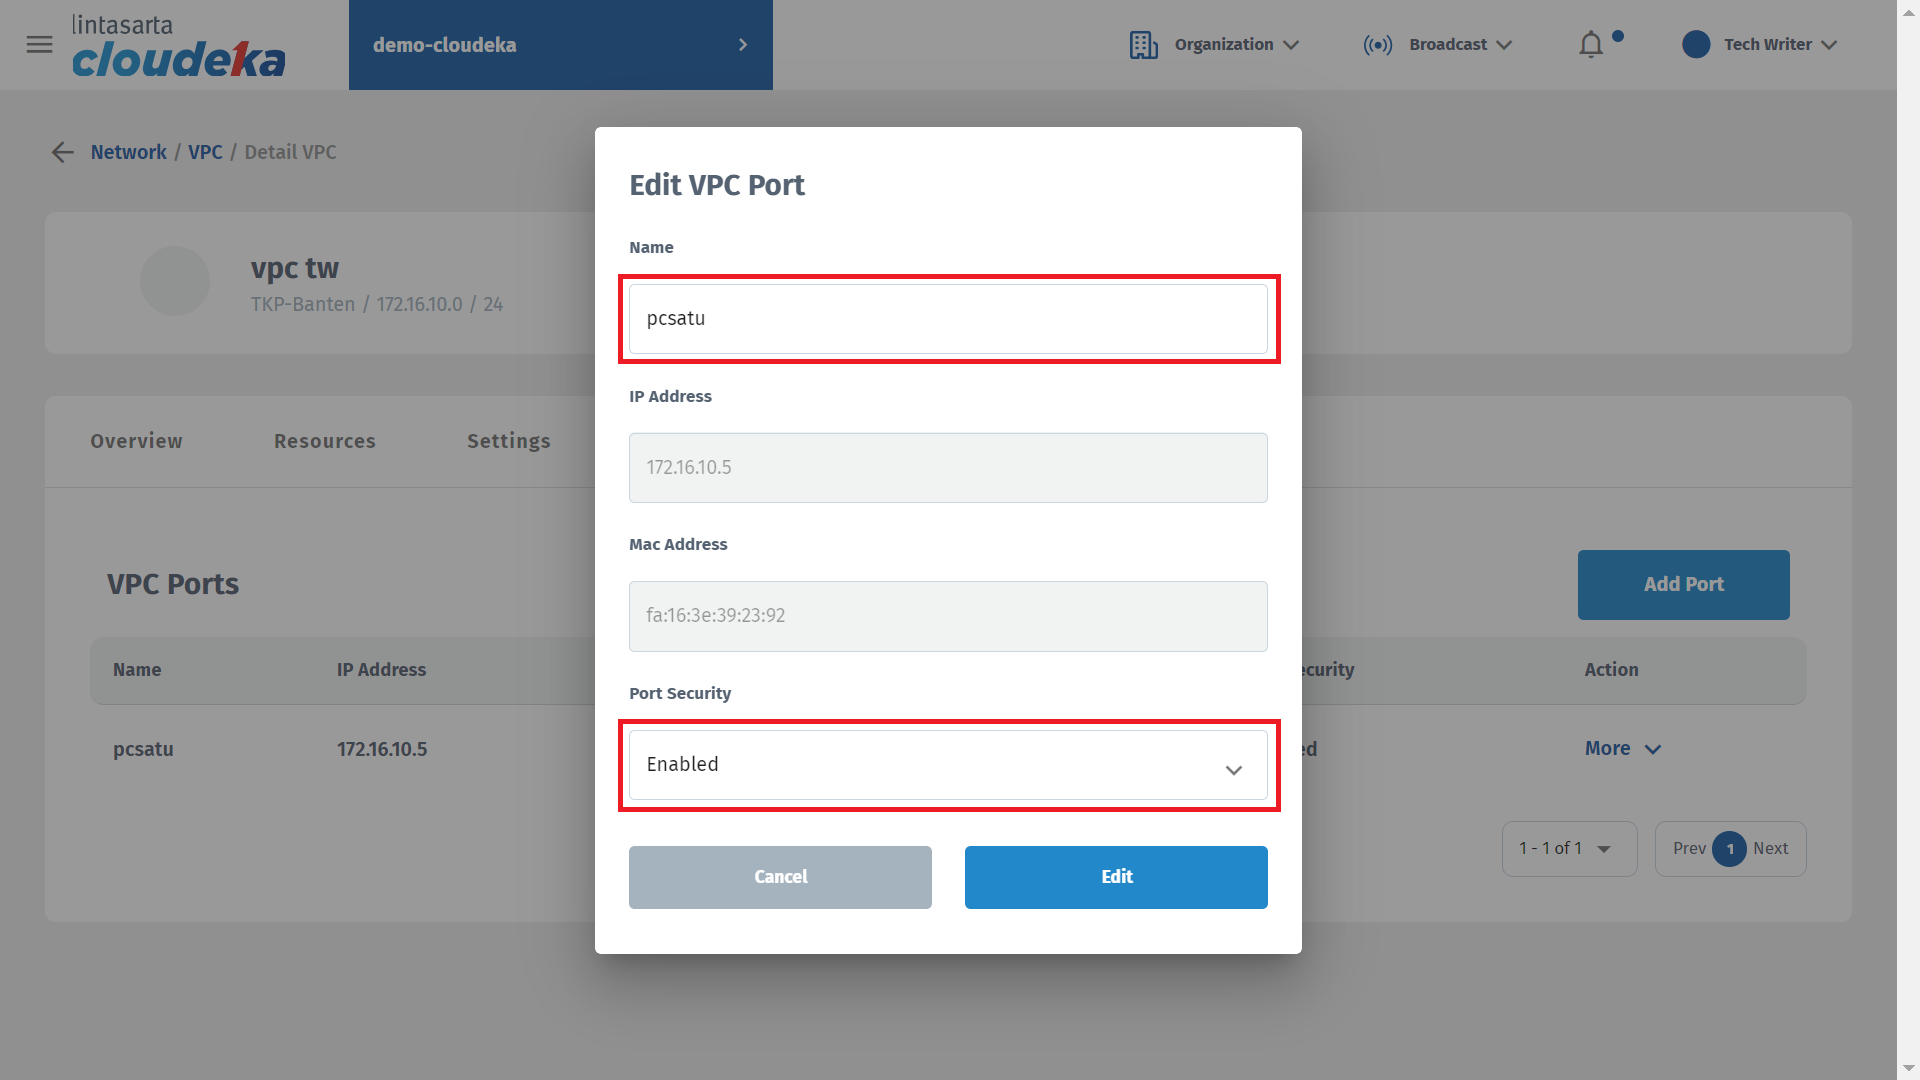
You can only change the port configuration that has been added to VPC Ports, namely Name and Port Security.
Last updated
