> For the complete documentation index, see [llms.txt](https://docs.cloudeka.id/llms.txt). Markdown versions of documentation pages are available by appending `.md` to page URLs; this page is available as [Markdown](https://docs.cloudeka.id/ci-cd/deka-registry/labels.md).
# Labels
On the Labels tab of the Deka Registry can add labels, update labels, and remove unused labels.
## Create Label
Here are the steps to add labels in the Deka Registry repository to the Cloudka portal service.
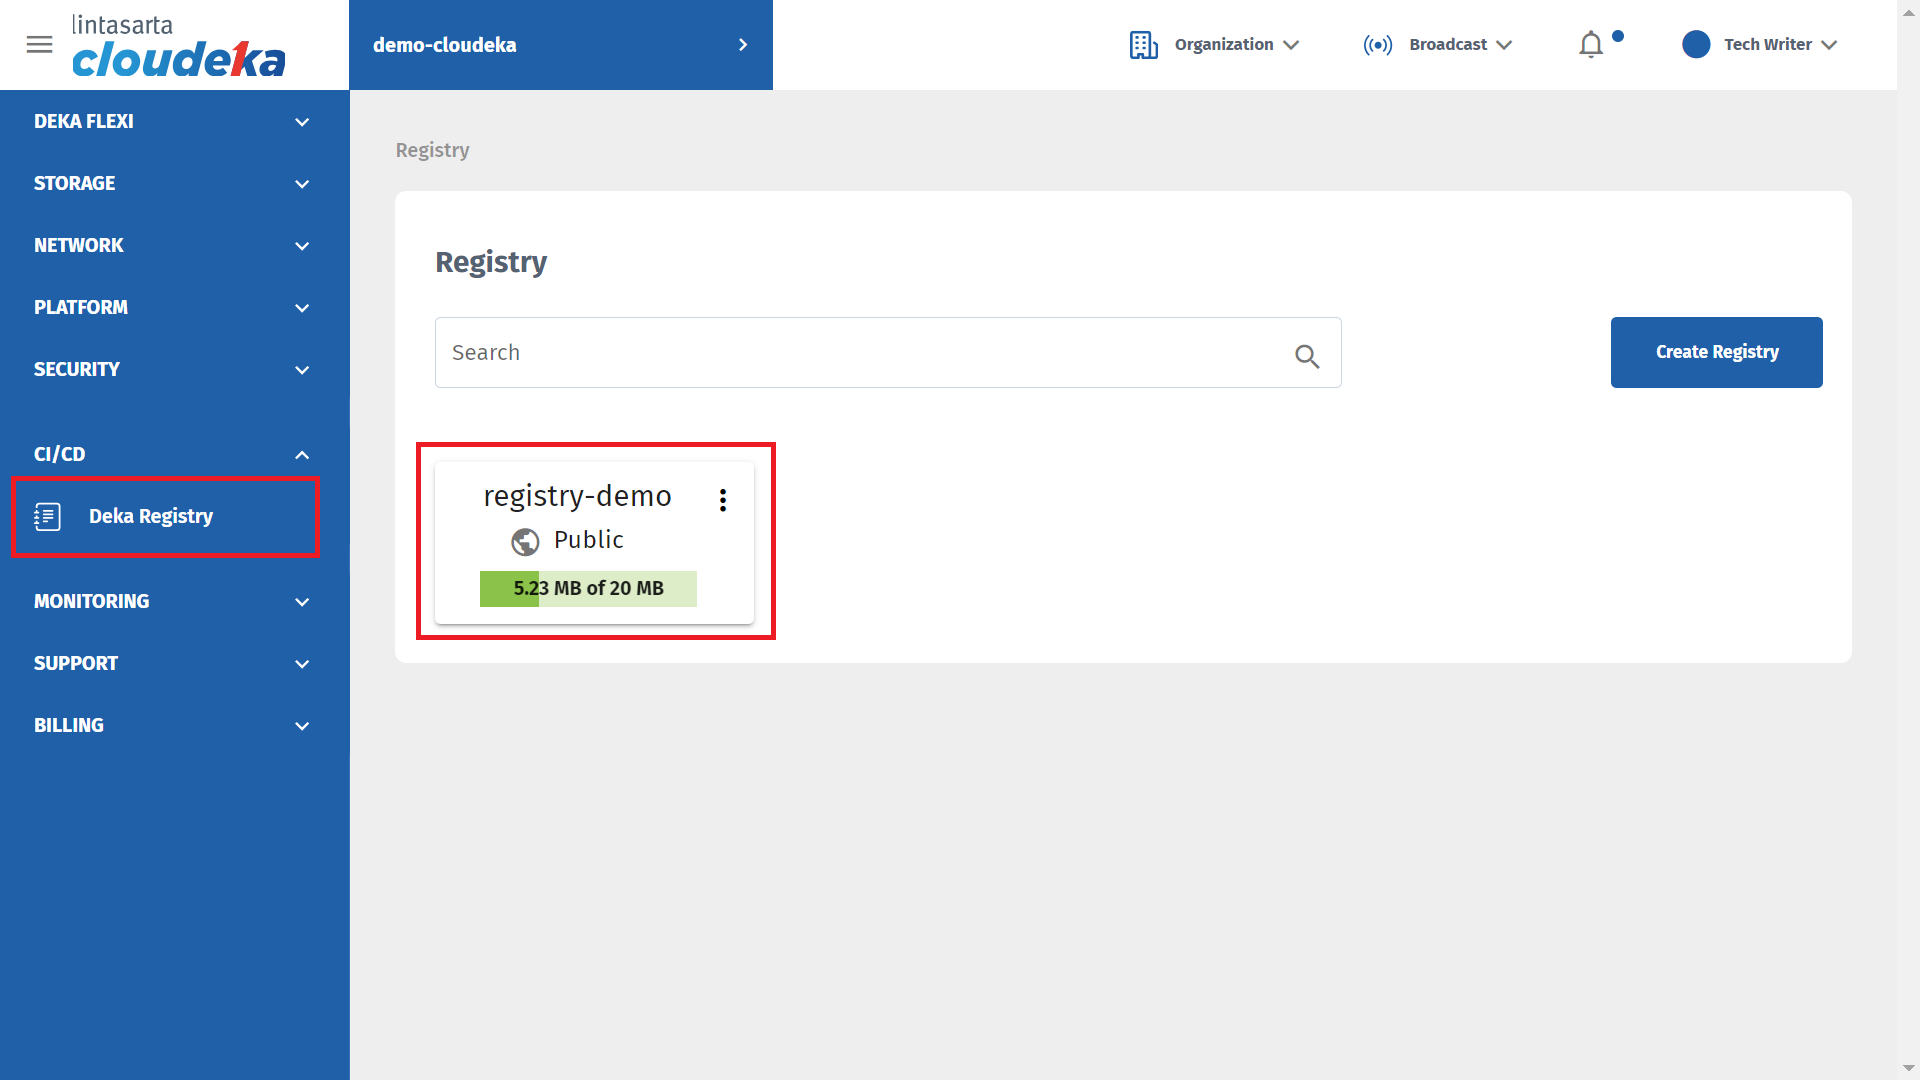
* On the Cloud services portal page click Deka Registry in CI/CD.
Create Label (a)
\
\\
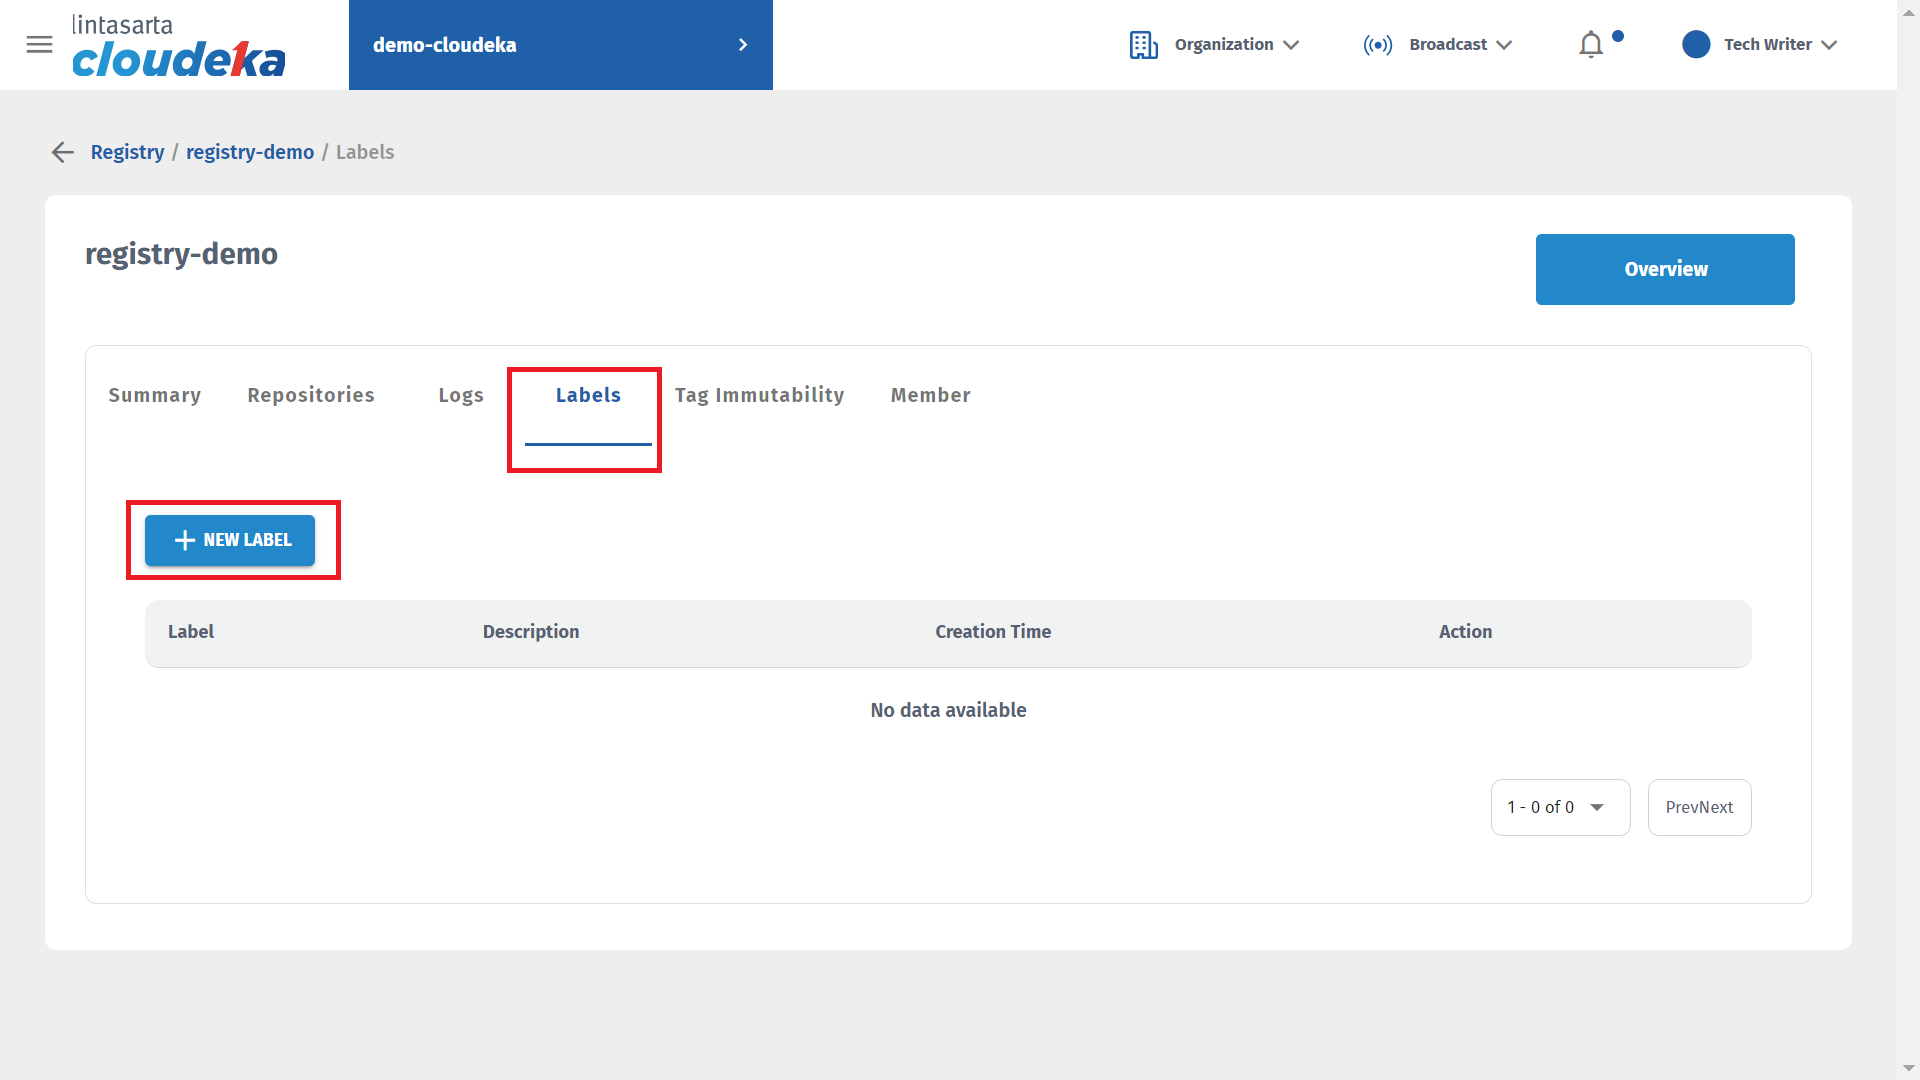
* Click the Labels tab and click the + New Label button.
Create Label (b)
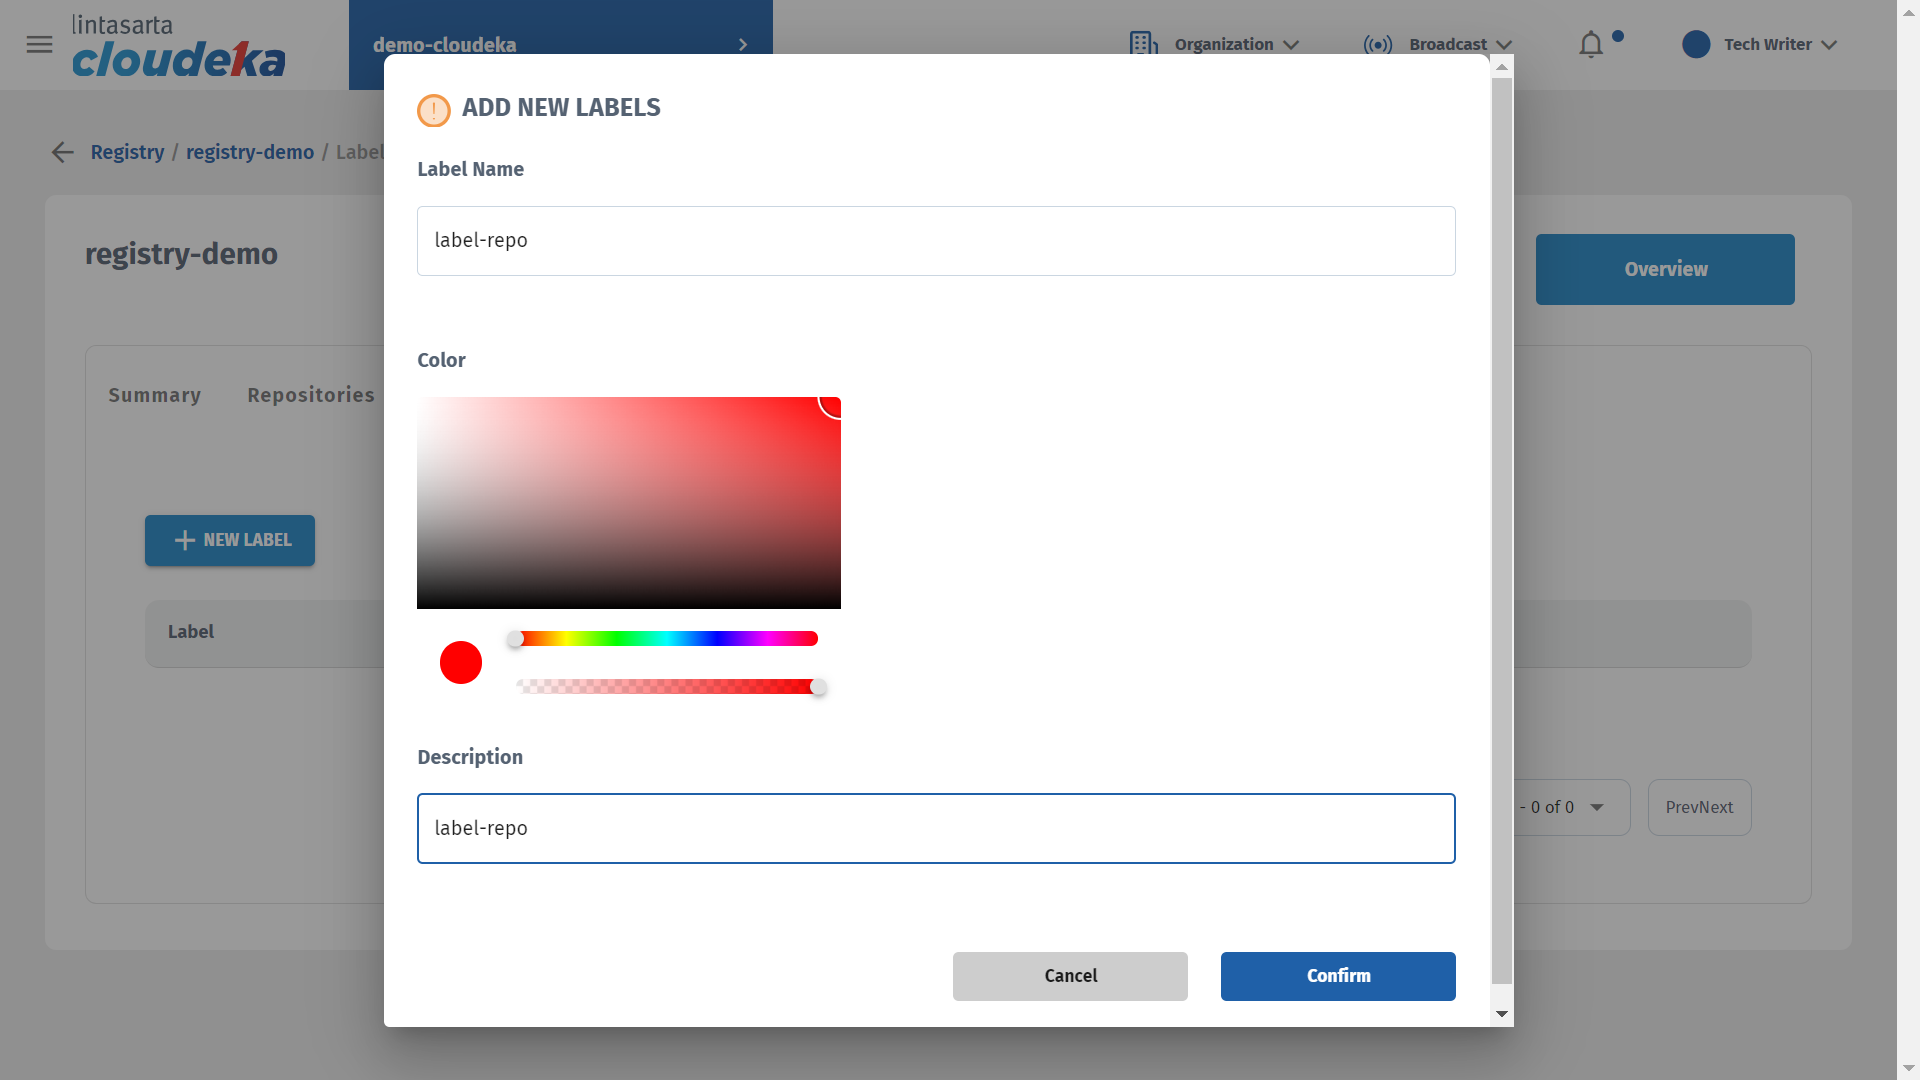
* Enter a name in the Label Name column, select a color for the label, and add a label description in the Description column. Click the Confirm button to continue with the process.
Create Label (c)
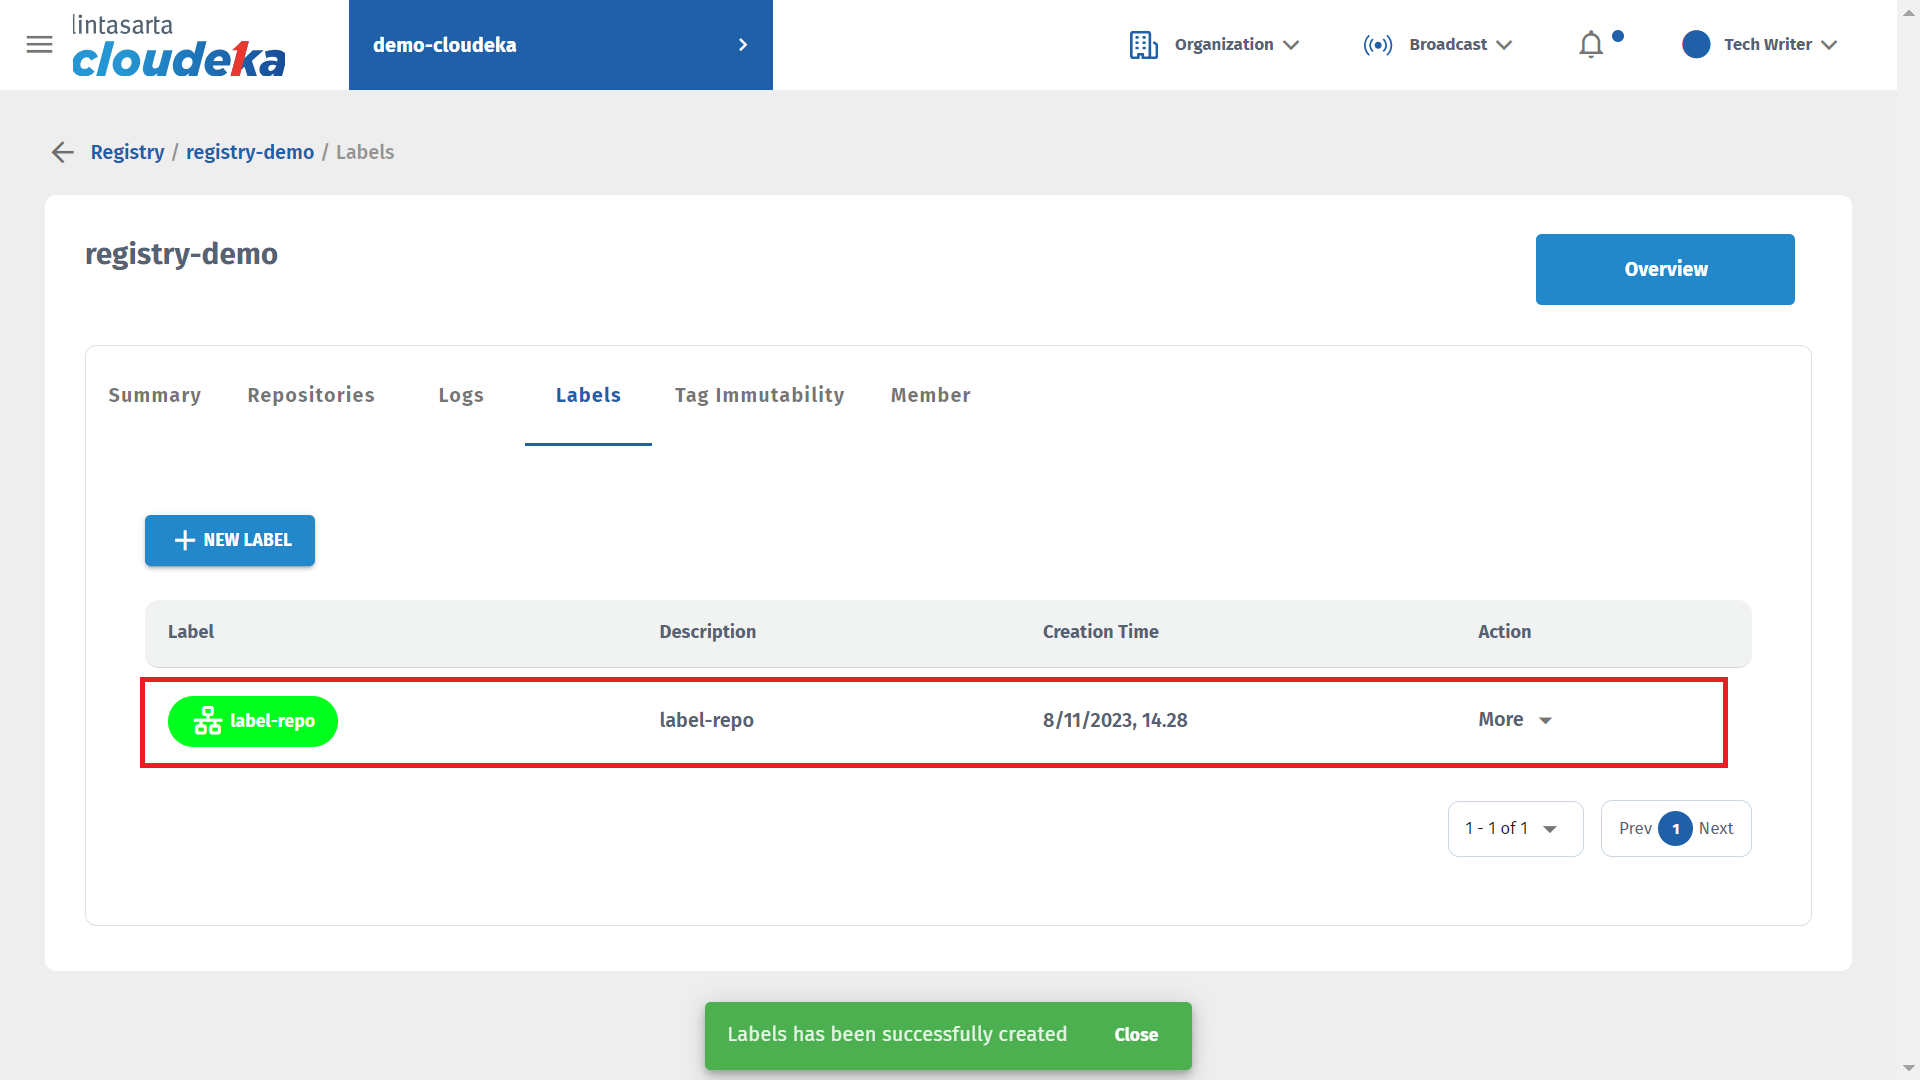
* The Labels notification has been successfully created and the label was successfully added to the Deka Registry.
Create Label (d)
## Edit Label
Here are the steps to change the created label:
* On the Cloud services portal page click Deka Registry in CI/CD.
Edit Label (a)
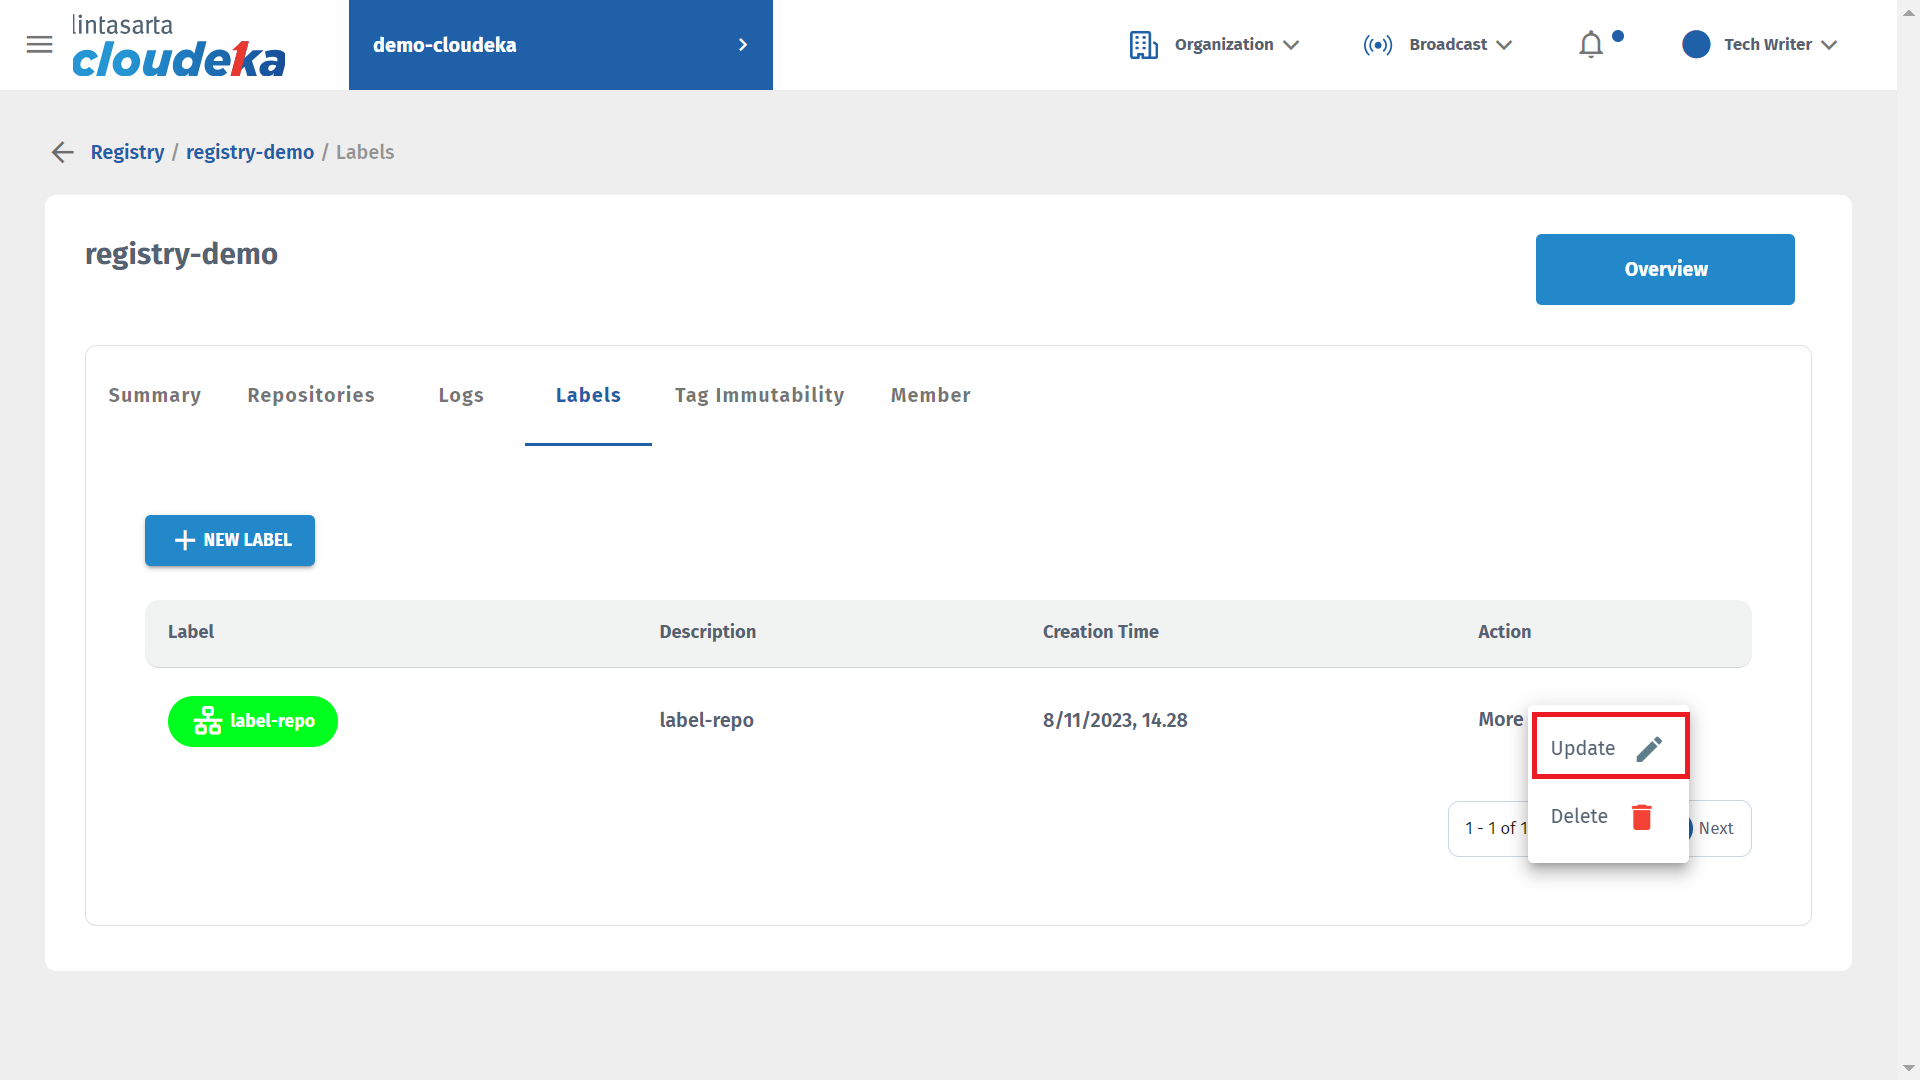
* On the Labels tab, select the label that the data will update by clicking More select Update.
Edit Label (b)
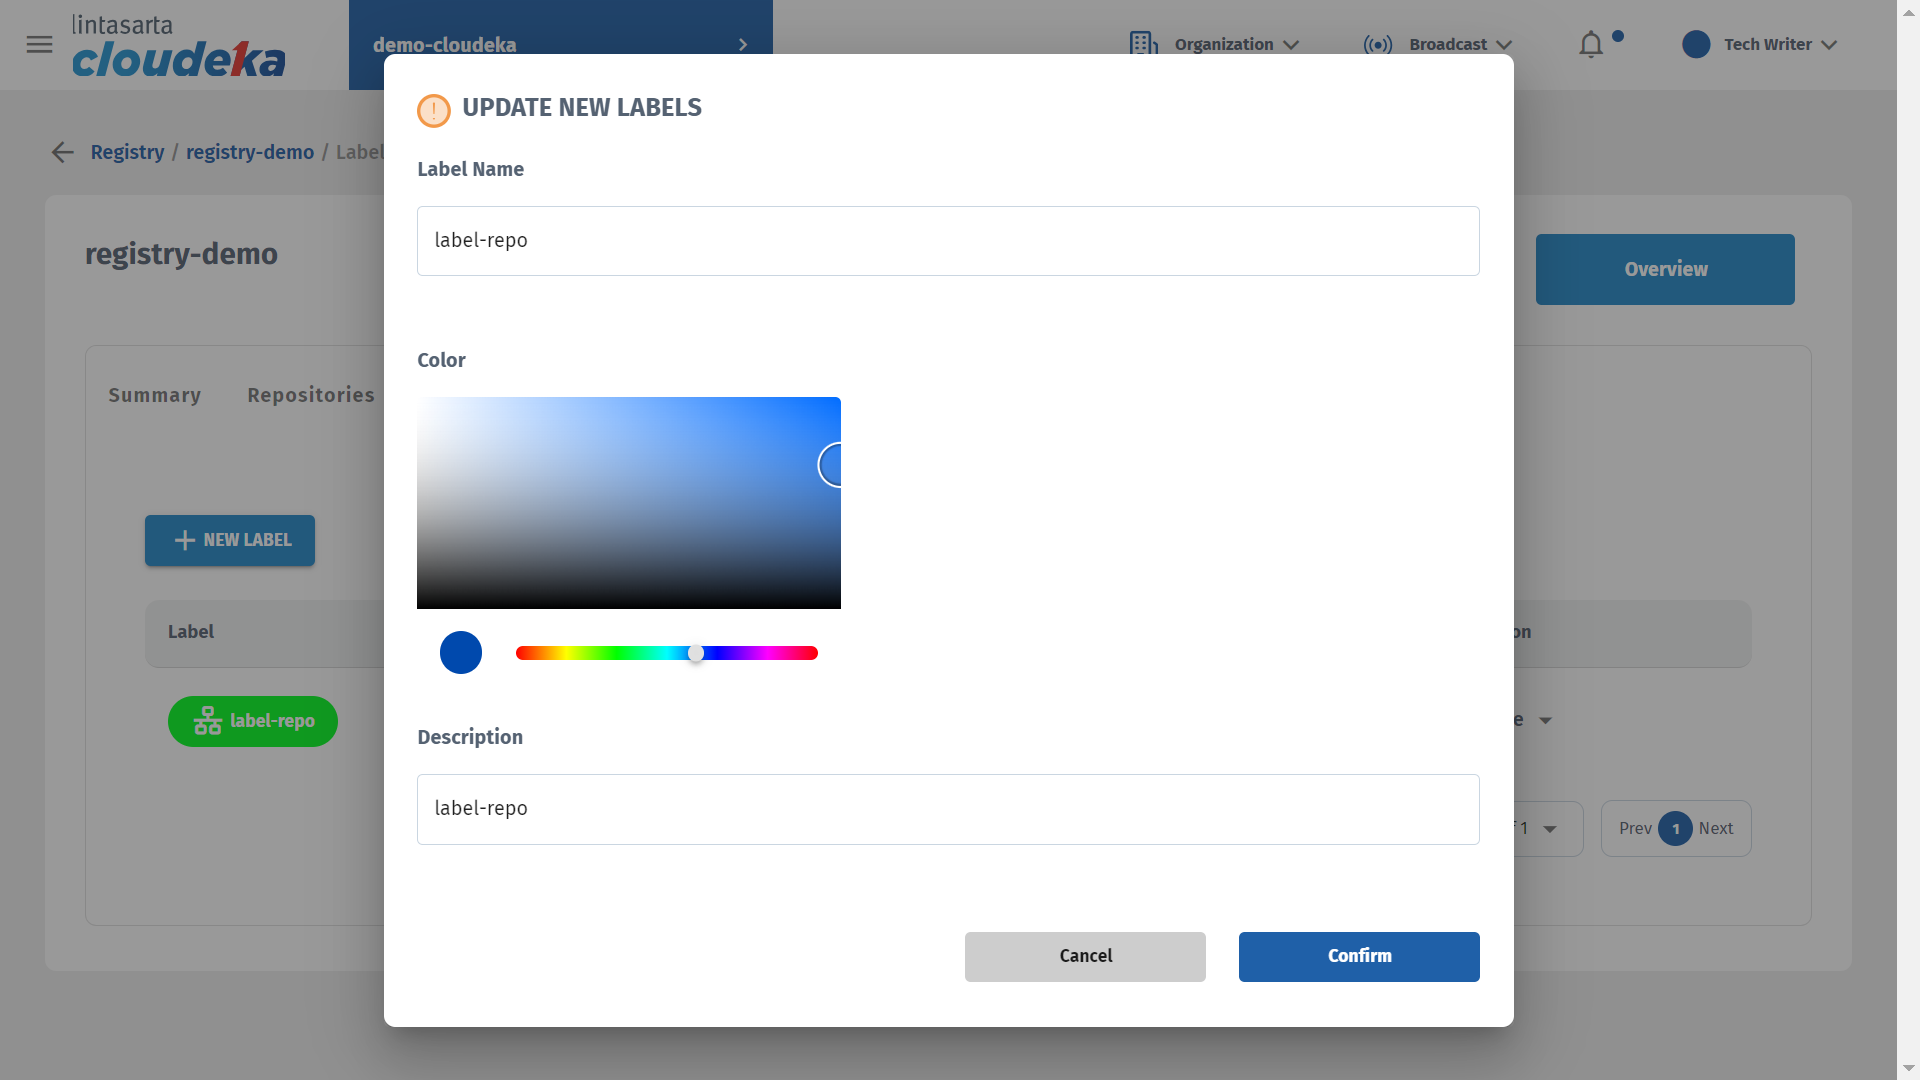
* Update New Labels editable data such as Label Name, Color, Description.
Edit Label (c)
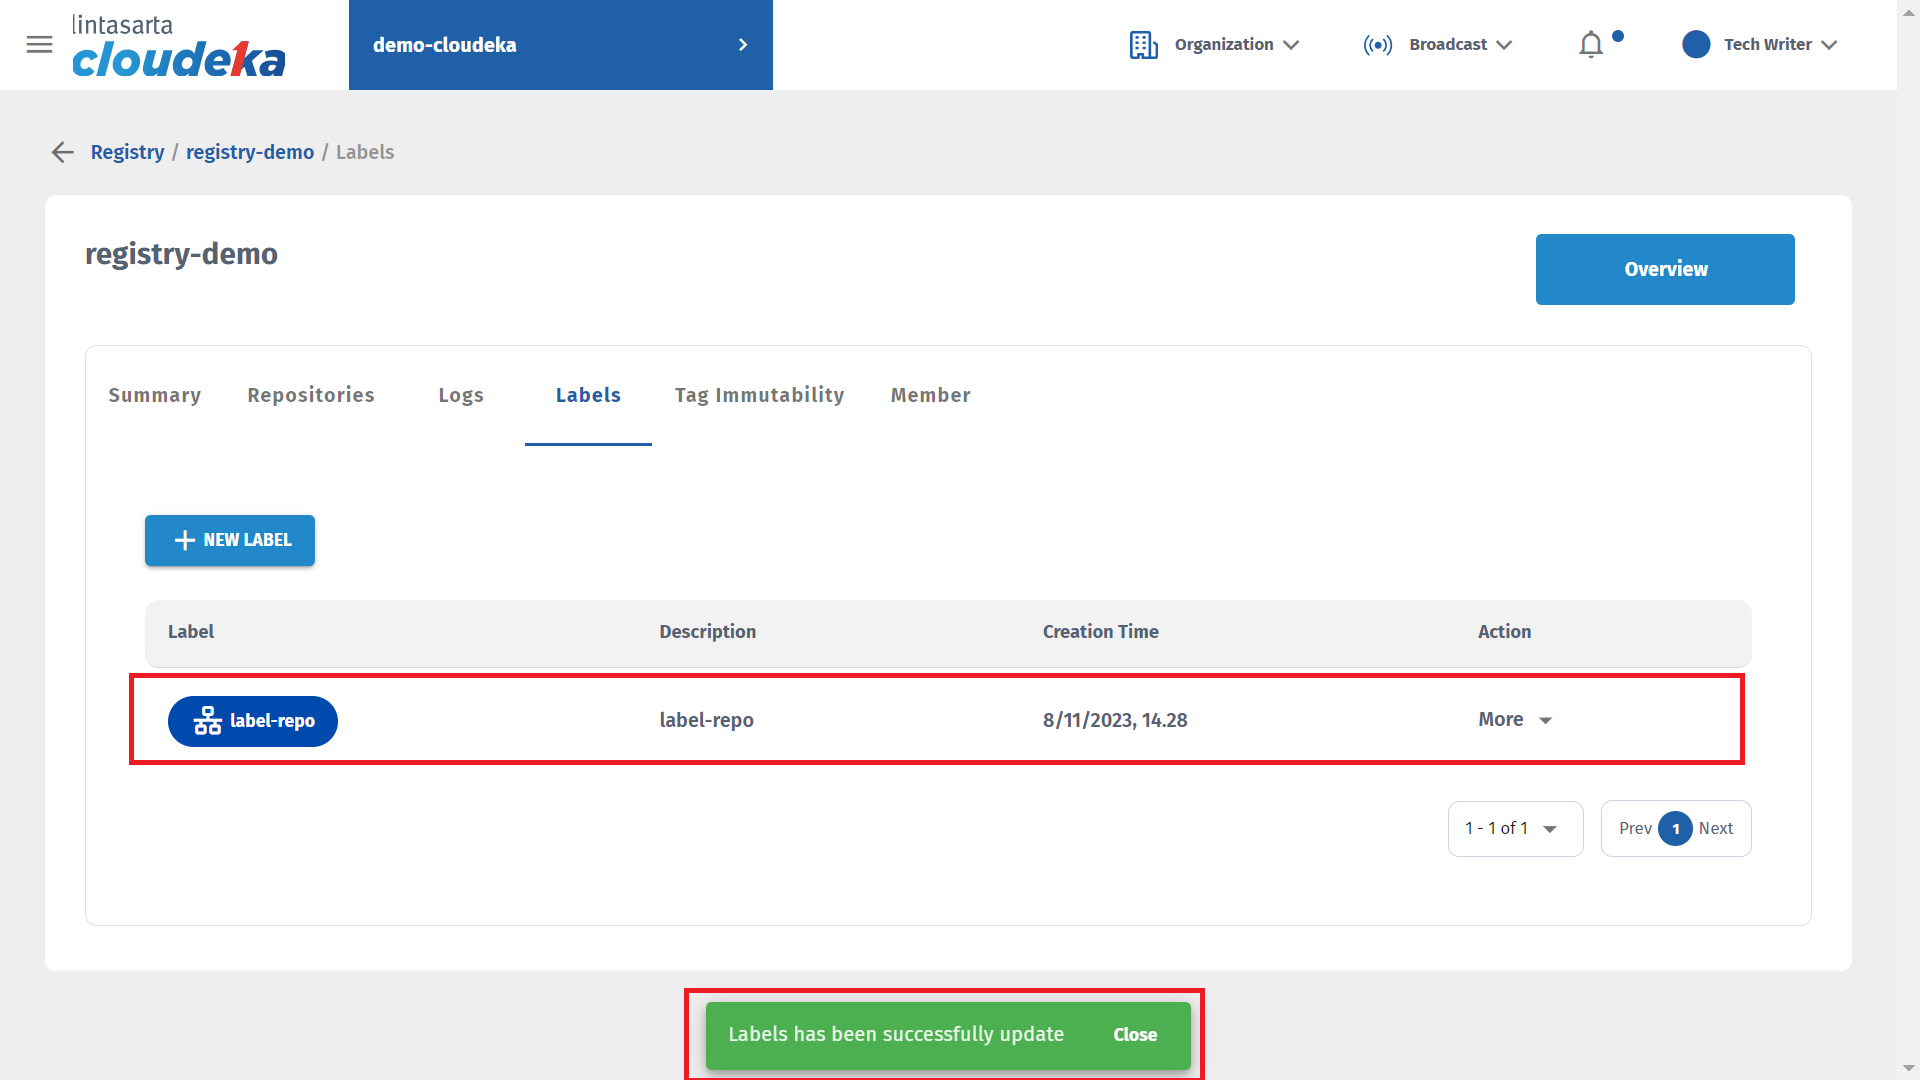
* The Label notification has been successfully updated that the label was successfully updated.
Edit Label (d)
## Delete Label
Here are the steps to remove a repository label in the Deka Registry on the Cloudka portal service.
* On the Deka Registry page of the Cloudka portal service.
Delete Label (a)
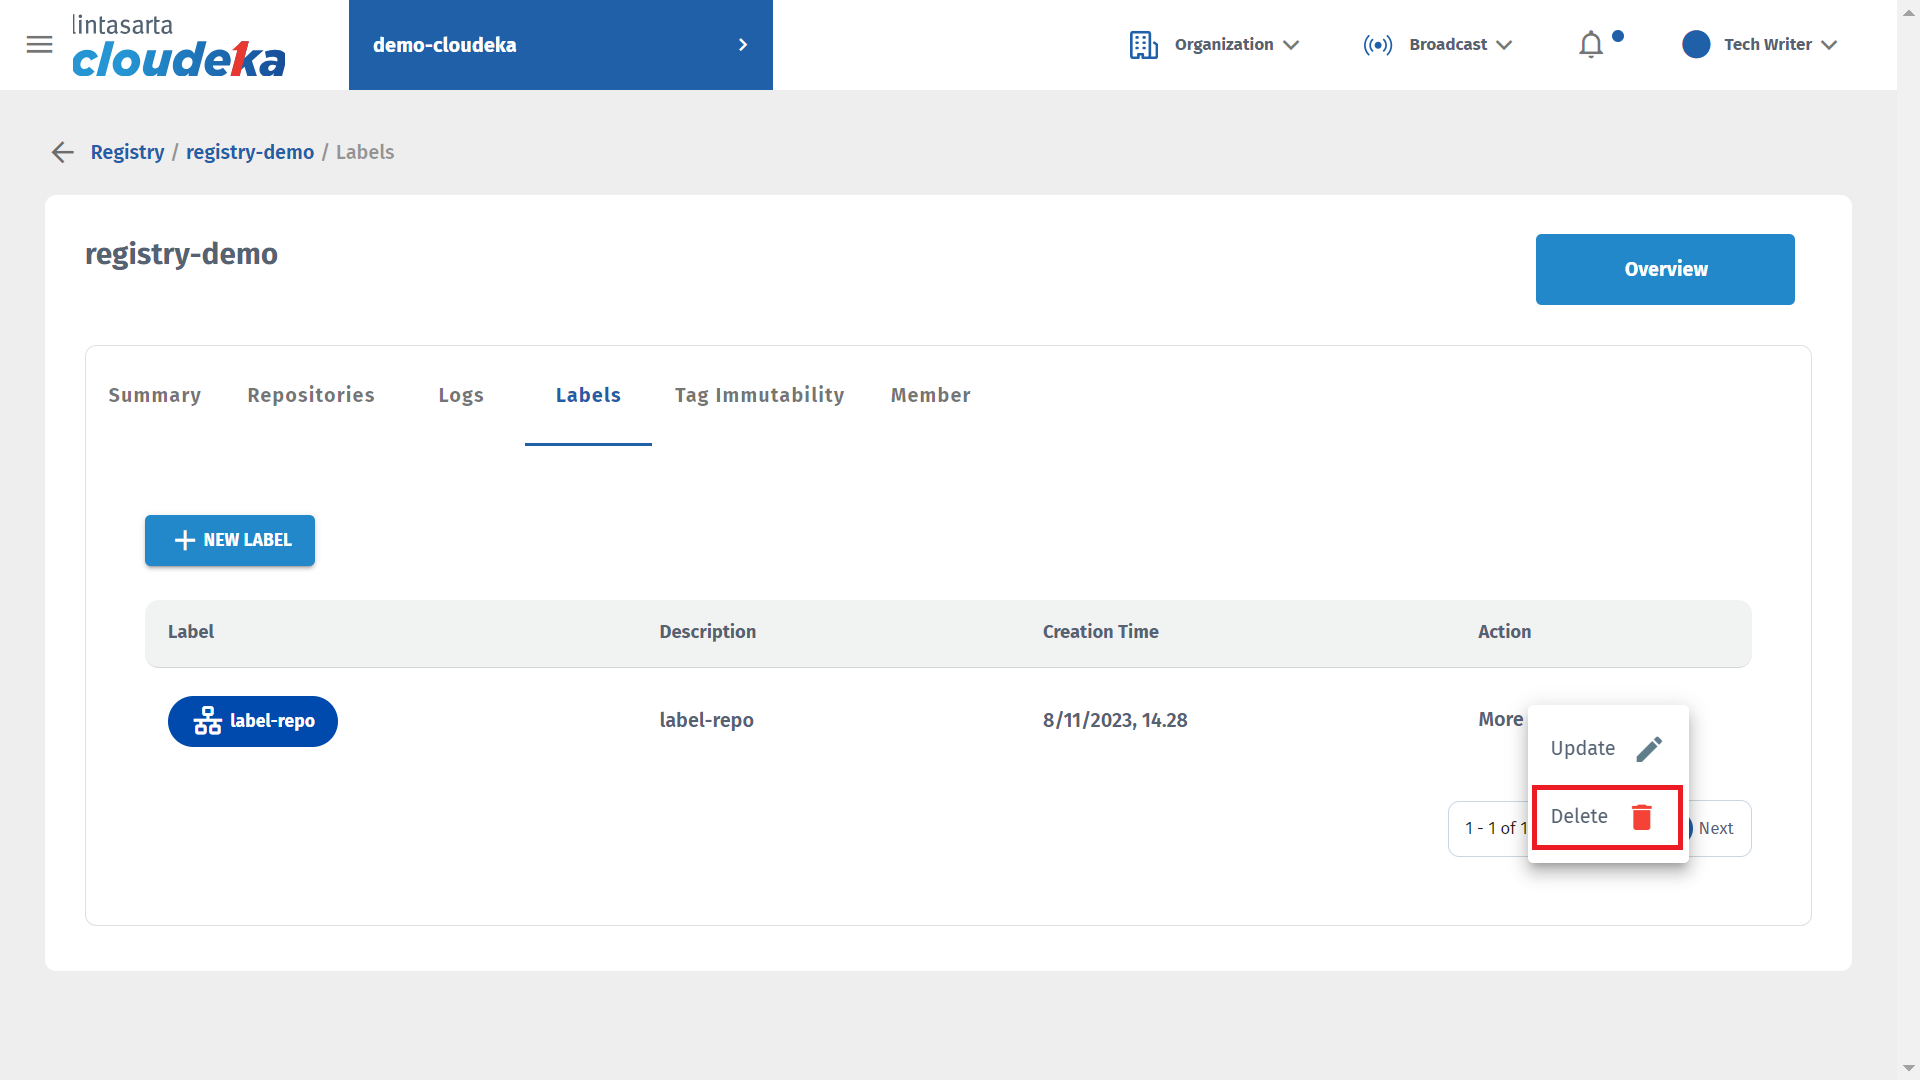
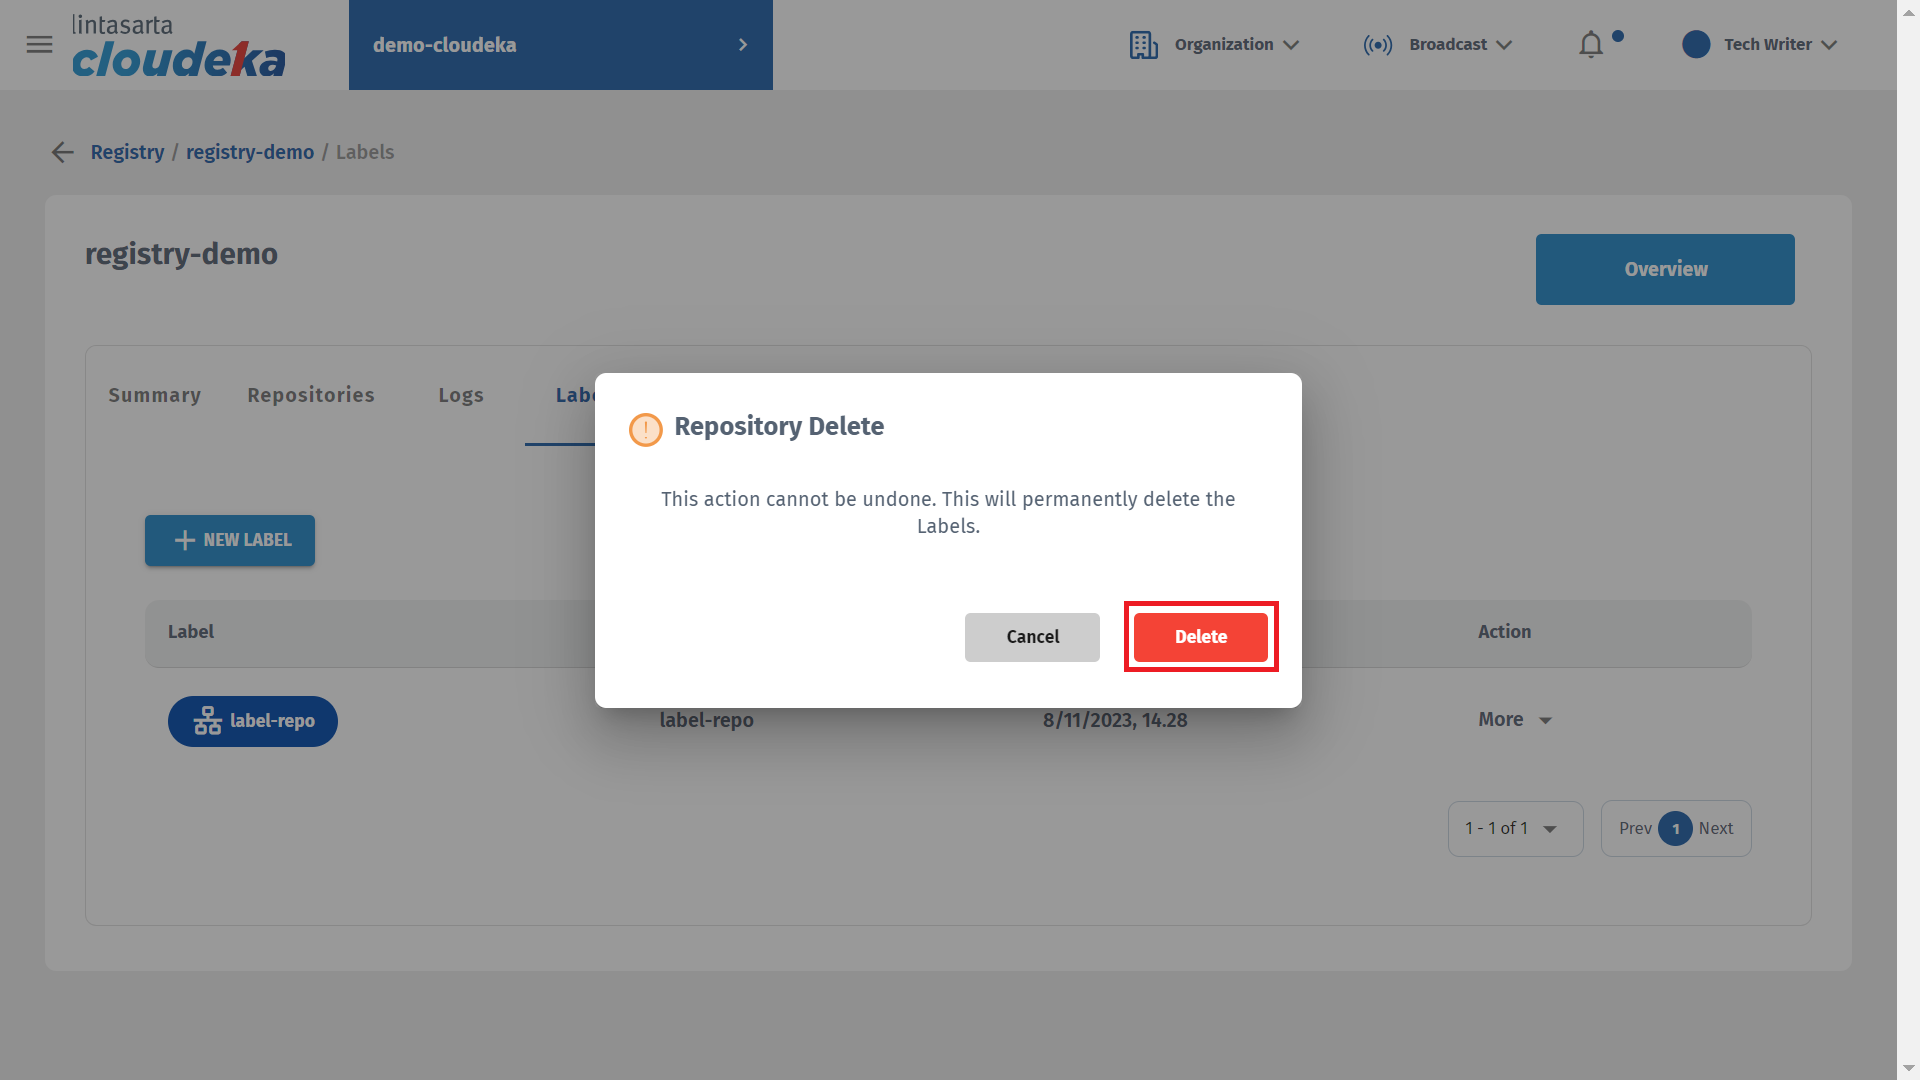
* Click the Labels tab, select the label to remove by clicking the More button and selecting Delete.
Delete Label (b)
* The Repository Delete window displays click the Delete button to continue with the delete process.
Delete Label (c)
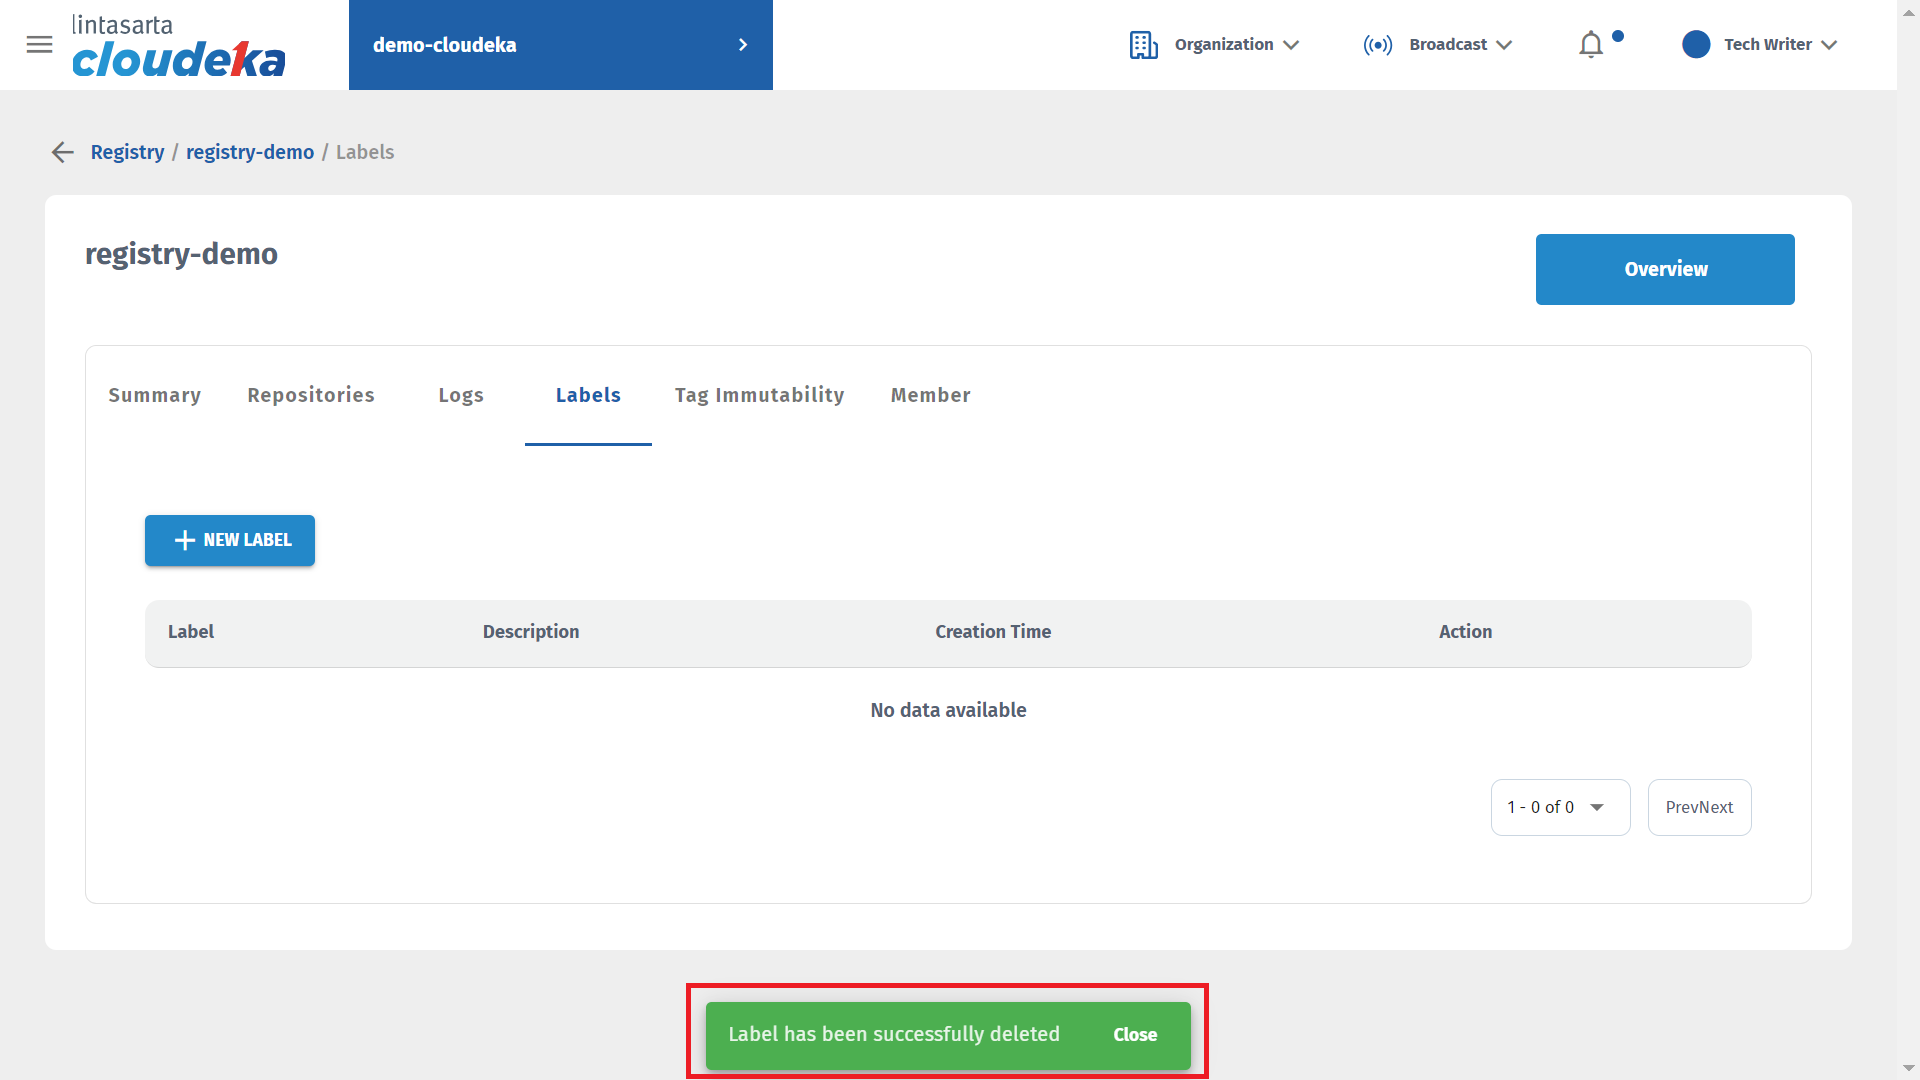
* Display "Label has been successfully deleted" notification that the label was successfully deleted.