> For the complete documentation index, see [llms.txt](https://docs.cloudeka.id/llms.txt). Markdown versions of documentation pages are available by appending `.md` to page URLs; this page is available as [Markdown](https://docs.cloudeka.id/deka-prime/menu-security/nat.md).
# NAT
NAT (Network Address Translation) is a technique used in networks to change the host IP address in packets sent between networks. On the NAT tab you can add DNAT, add SNAT, update the DNAT/SNAT configuration, and delete the DNAT/SNAT configuration.
## Add DNAT
The following is a guide to adding DNAT to the NAT tab.
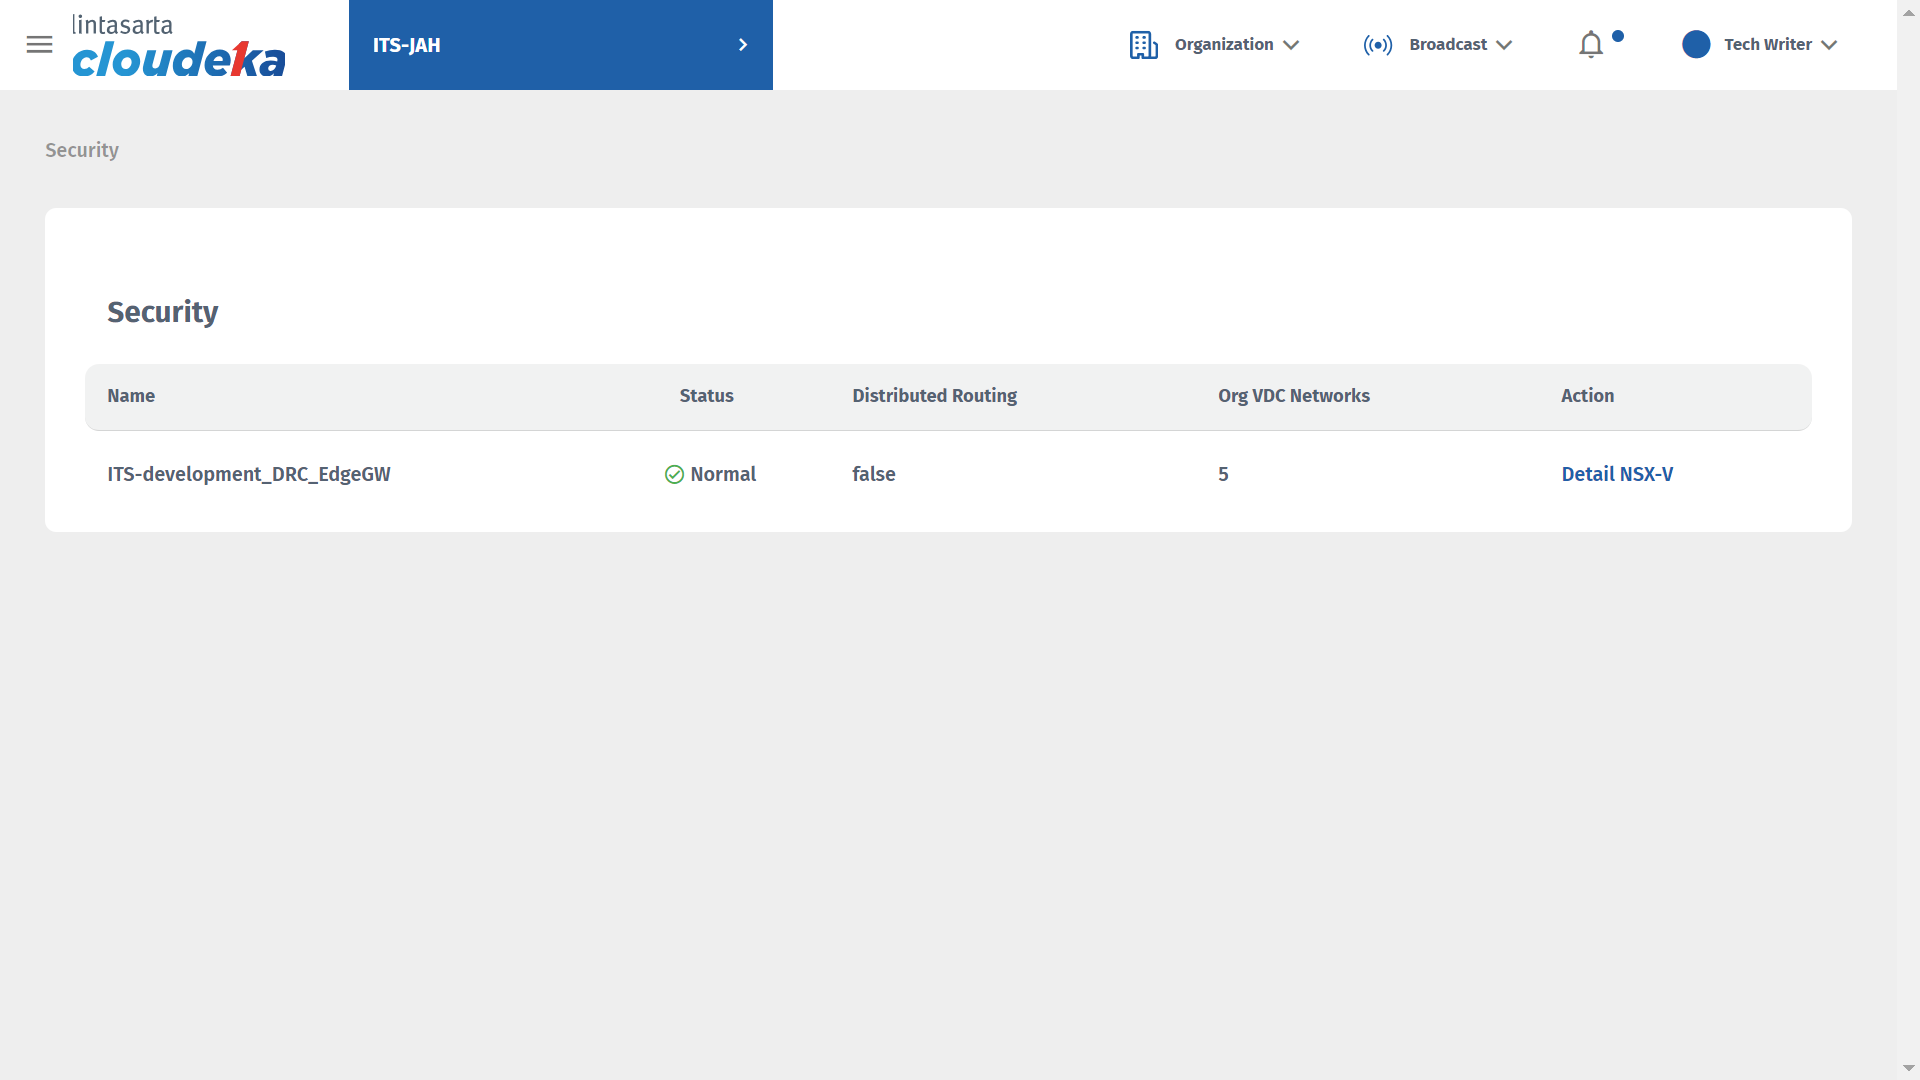
* On the Security menu, click Details.
Add DNAT
* Select the NAT tab then click the "+ DNAT Rule" button.
Add DNAT
* Fill in Applied On, Original IP/Range, Protocol, Translated IP/Range, and Description, click the Confirm button to save the DNAT settings.
Add DNAT
Add DNAT
* The notification "NAT has been successfully updated!" will appear.
## Add SNAT
Here are the steps to add SNAT to the NAT tab.
* On the Security menu click Details.
Add SNAT
* Select the NAT tab and click the **"+ SNAT Rule"** button.
Add SNAT
* Fill in Applied On, Original IP/Range, Protocol, Translated IP/Range, and Description, click the Confirm button to save the SNAT settings.
Add SNAT
* Fill in Applied On, Original IP/Range, Protocol, Translated IP/Range, and Description, click the Confirm button to save the SNAT settings.
Add SNAT
Add SNAT
* The notification "NAT has been successfully updated!" will appear.
## Edit DNAT/SNAT
Here are the steps to upgrade SNAT/DNAT on NAT:
* On the Security menu click Details.
Edit DNAT/SNAT
* Select the NAT tab, select the DNAT/SNAT data that will be updated then click the "edit" button.
Edit DNAT/SNAT
* The Edit /DNAT SNAT Rule window appears. The data that can be changed are Applied On, Original IP/Range, Protocol, Translated IP/Range, and Description, click the Confirm button to save the changes.
Edit DNAT/SNAT
Edit DNAT/SNAT
* The notification "Successfully updated NAT Rule" appears.
## Delete DNAT/SNAT
Here are the steps to remove the SNAT/DNAT configuration on NAT:
* On the Security menu, click Details.
Delete NAT
* Select the NAT tab then select the firewall data to be deleted then click the Delete icon.
Delete NAT
* Click Confirm.
Delete NAT
* The notification "Successfully updated NAT Rule" appears.