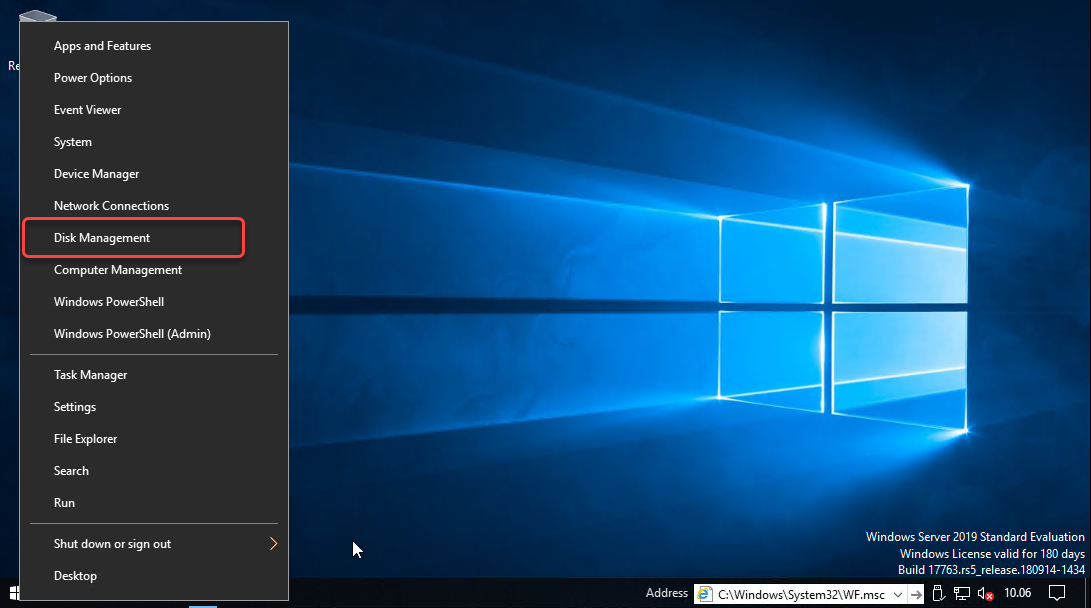
Windows - Disk Management
Windows - Disk Management
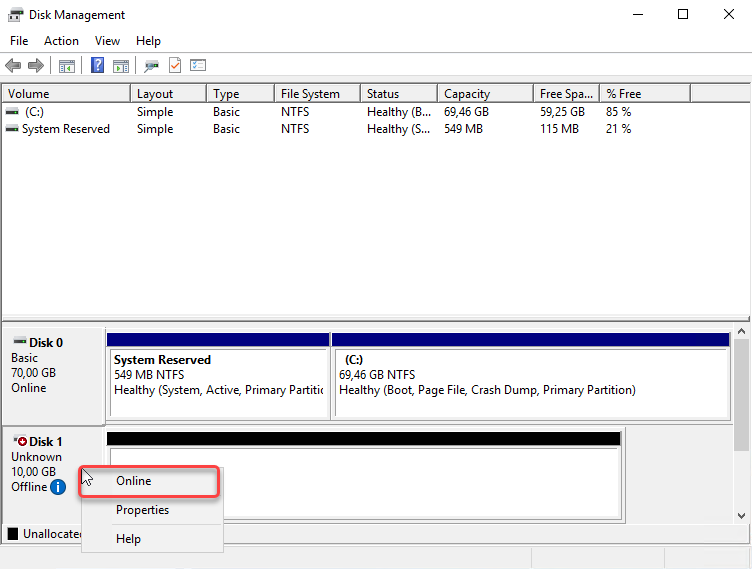
| Column | Description |
|---|---|
| Volume | Partition and logical drives are known as volumes |
| Layout | The type of the volume |
| Type | The type of Disk |
| File System | The types of file system. Disk Management only supports 3 types of file system: FAT,FAT32, and NTFS |
| Status | The status of volume |
| Capacity | The capacity of each volume in MB or GB |
| Free Space | The free space of each volume in MB or GB |
| % Free | The free space of each volume in % |
| Disk 0 | The single physical drive you have in your system |
| Disk 1 | another single physical drive that you just attached |
Disk Management
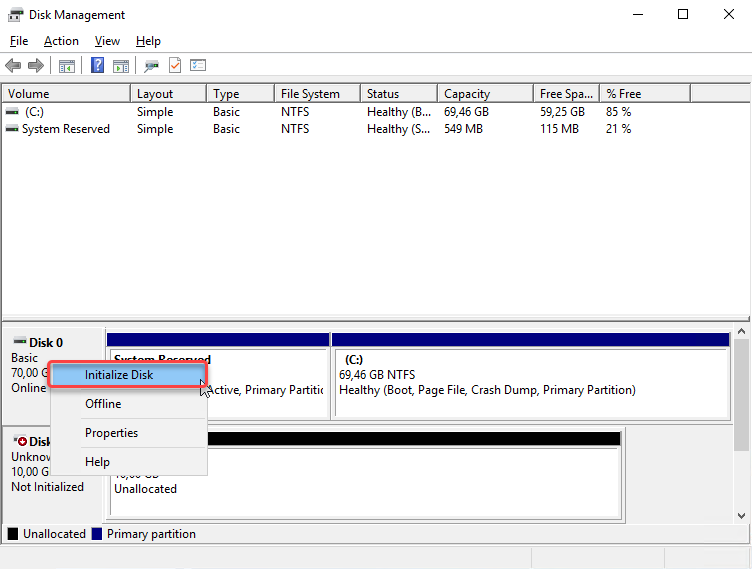
Disk Management - Initialize Disk
| Column | Description |
|---|---|
| GPT (GUID Partition Table) | The newer GPT partition table style is required on your boot drive by newer computers that use UEFI instead of BIOS. GPT is more robust and allows for volumes bigger than 2TB, and also GPT supports up to 128 partitions on the same hard drive |
| MBR (Master Boot Record) | Old format partition that is used by 32-bit PCs, older PCs, and removable drives such as memory cards. One of these limitations is that MBR only supports up to 4 primary partitions, the next limitation is that partitions using the MBR format have a maximum size of 2TB |
.png)
Disk Management - Initialize Disk (GPT)
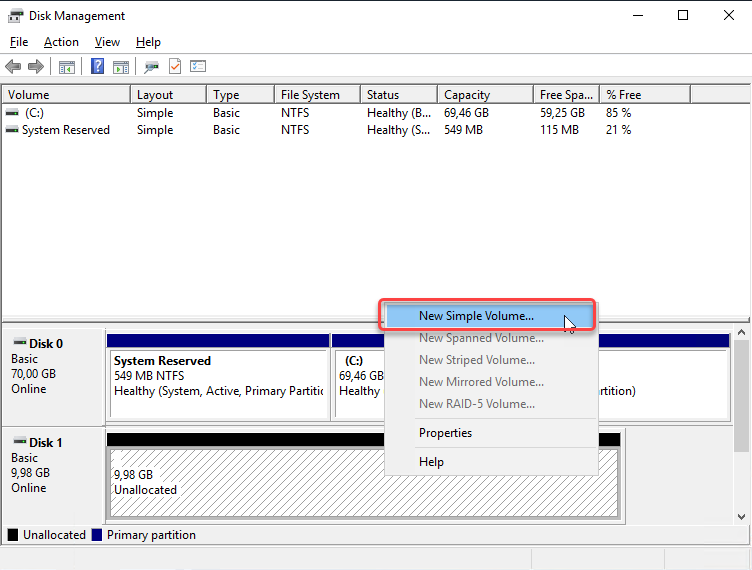
Disk Management - New Simple Volume
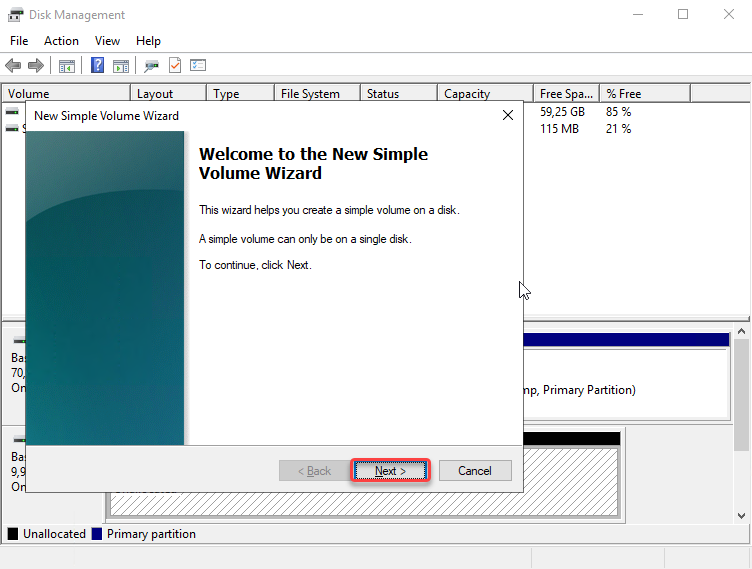
New Simple Volume Wizard
| Column | Description |
|---|---|
| Maximum disk space in MB | The maximum size you can use. |
| Minimum disk space in MB | The minimum size you can use |
| Simple volume size in MB | Specify the volume size as needed. |
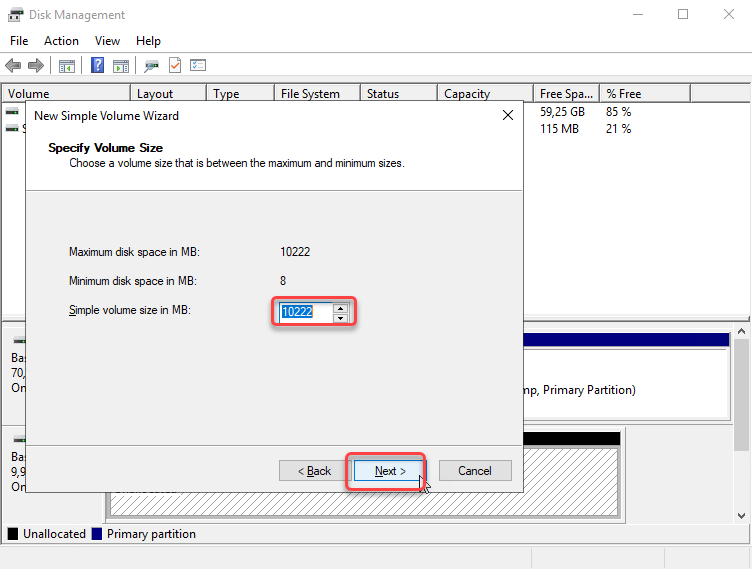
New Simple Volume Wizard - Specify Volume Size
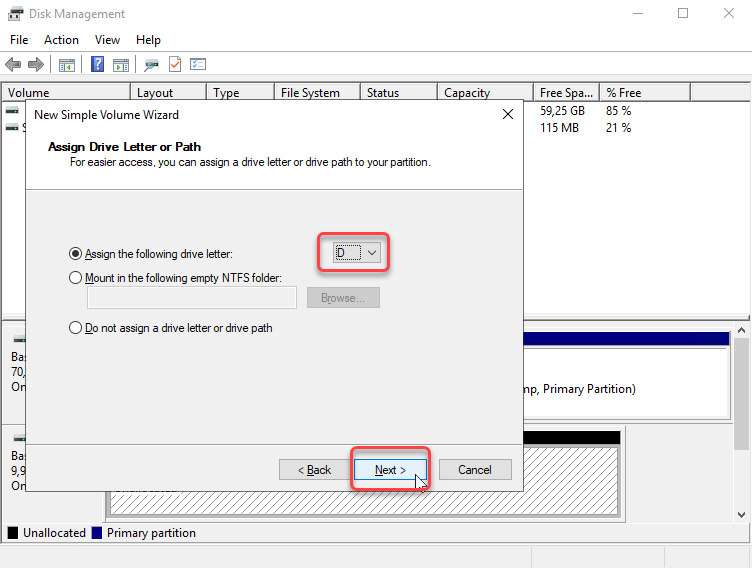
New Simple Volume Wizard - Assign Drive Letter or Path
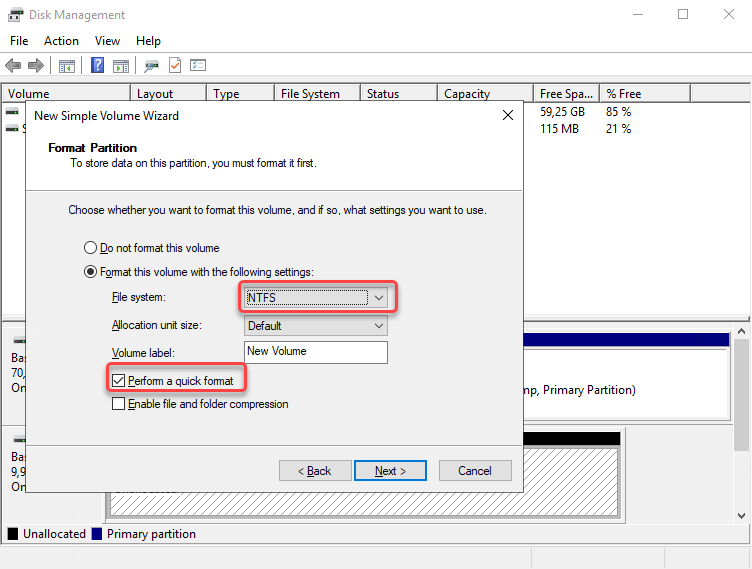
New Simple Volume Wizard - Format Partition
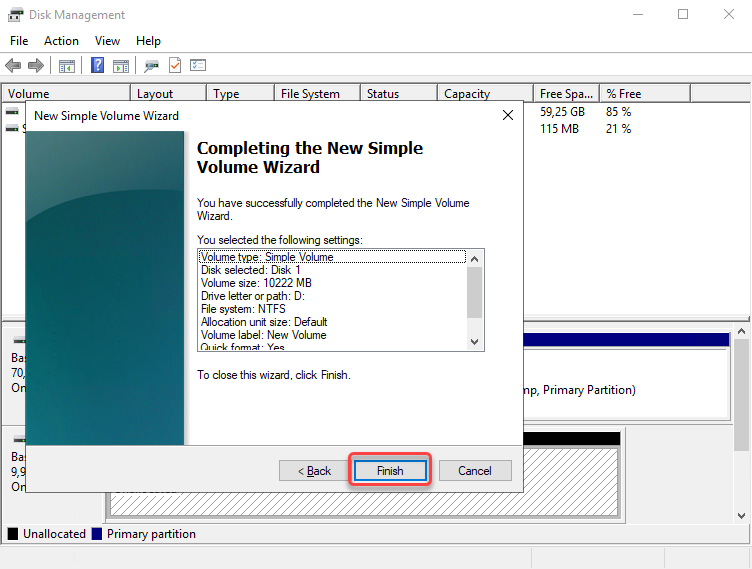
New Simple Volume Wizard - Finish
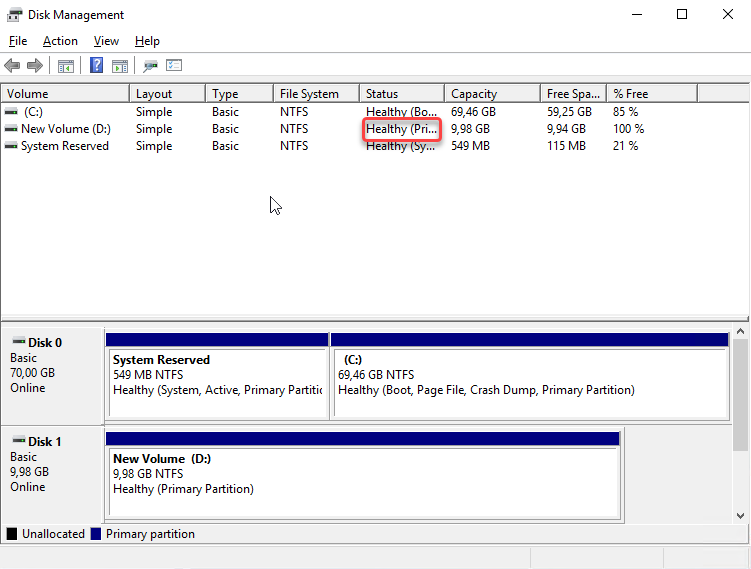
Disk Management