You can enjoy a Load Balancer in Cloudka Portal Services, you must create a Load Balancer earlier, following these steps:
On the Cloudeka portal, open the Network menu, select Load Balancer, and click Create Load Balancer.
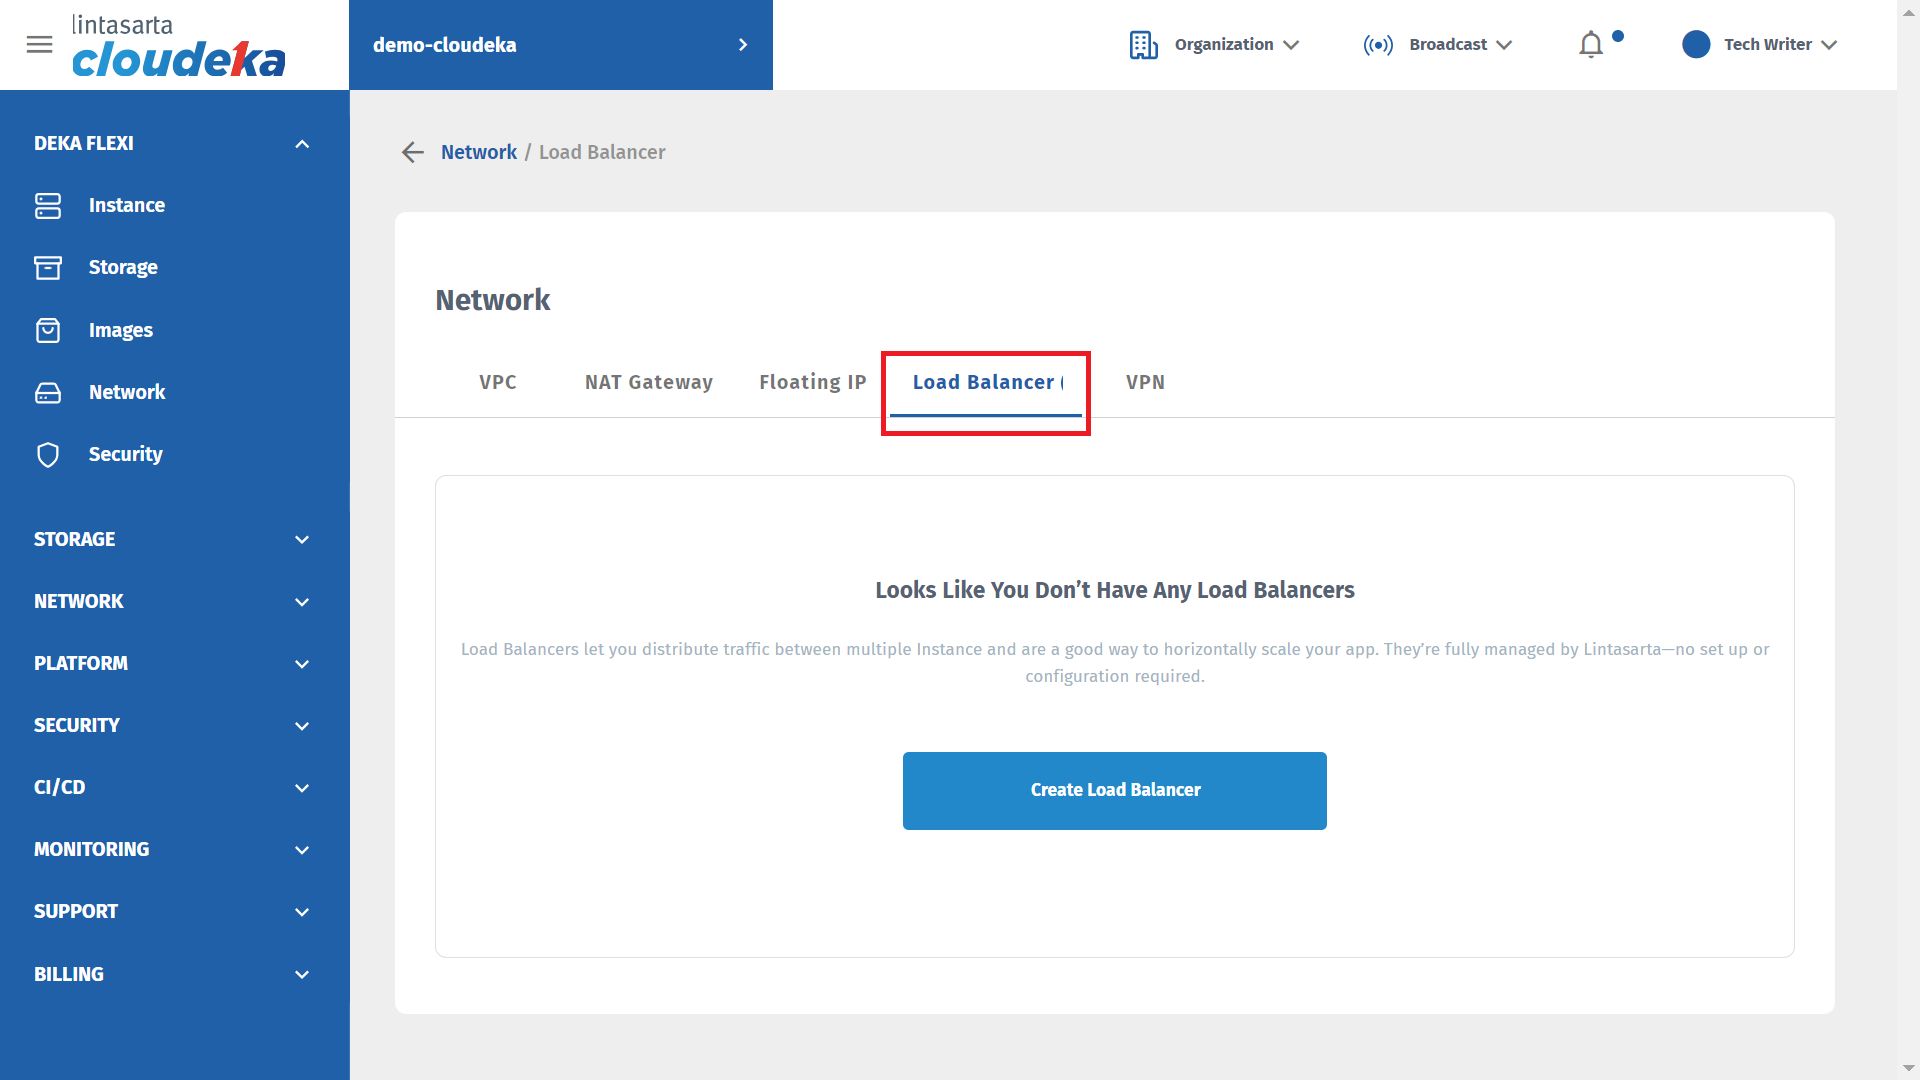
Network - Load Balancer
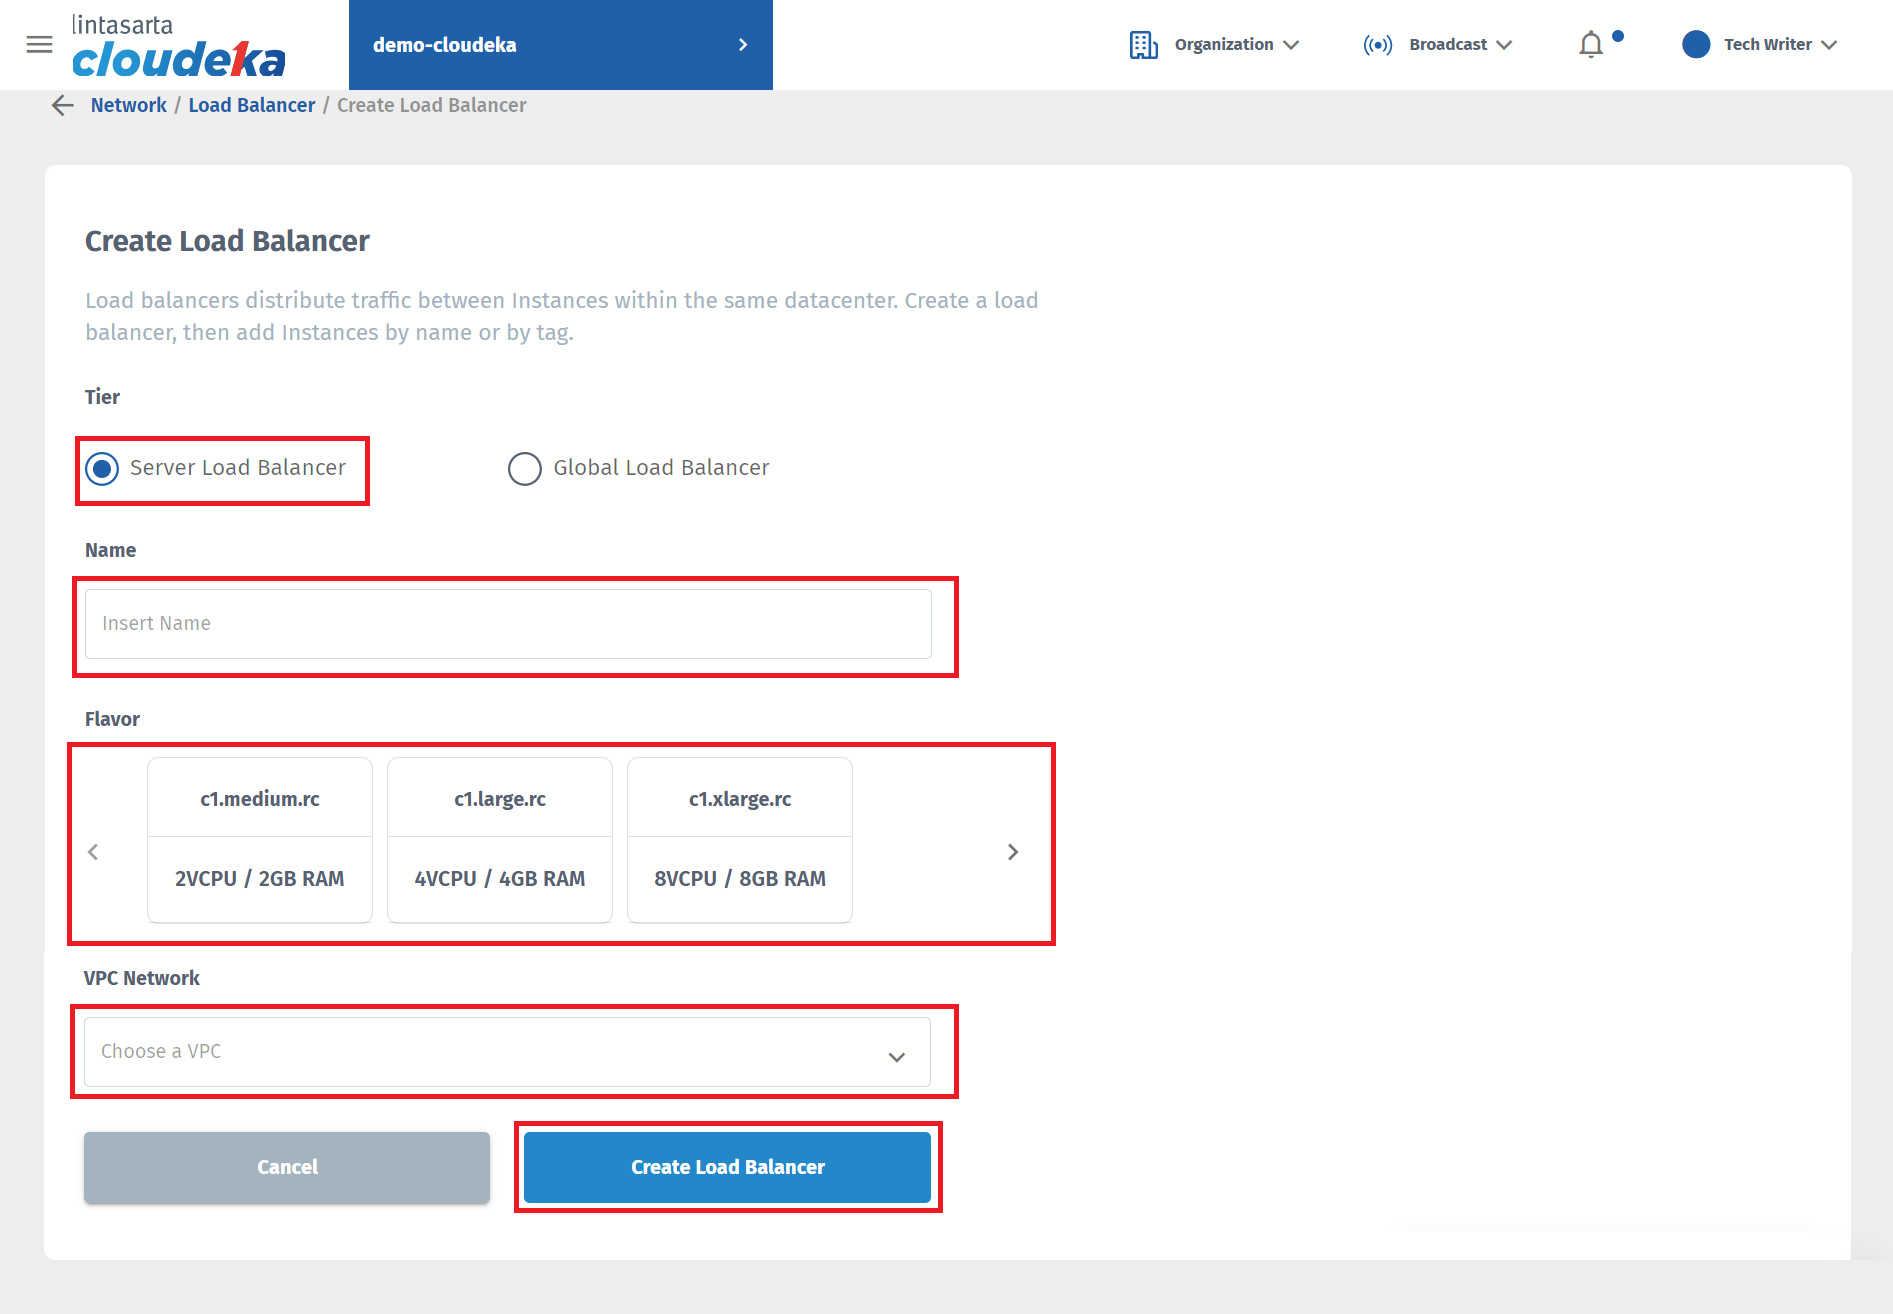
The Create Load Balancer page appears in the Tier section, select Server Load Balancer and fill in the Name, Flavor and VPC Network fields, then click Create Load Balancer.
Column
Description
Name
Your name load balancer.
Flavor
There are 3 size options that can be used including:
c1.medium.rc 2VCPU / 2GB RAM
c1.large.rc4VCPU / 4GB RAM
c1.xlarge.rc8VCPU / 8GB RAM
VPC Network
The VPC network must be in the same segment as the instance to be load-balancing.
The notification Creating the Load Balancer will appear and the Status column will show ON-PROGRESS.
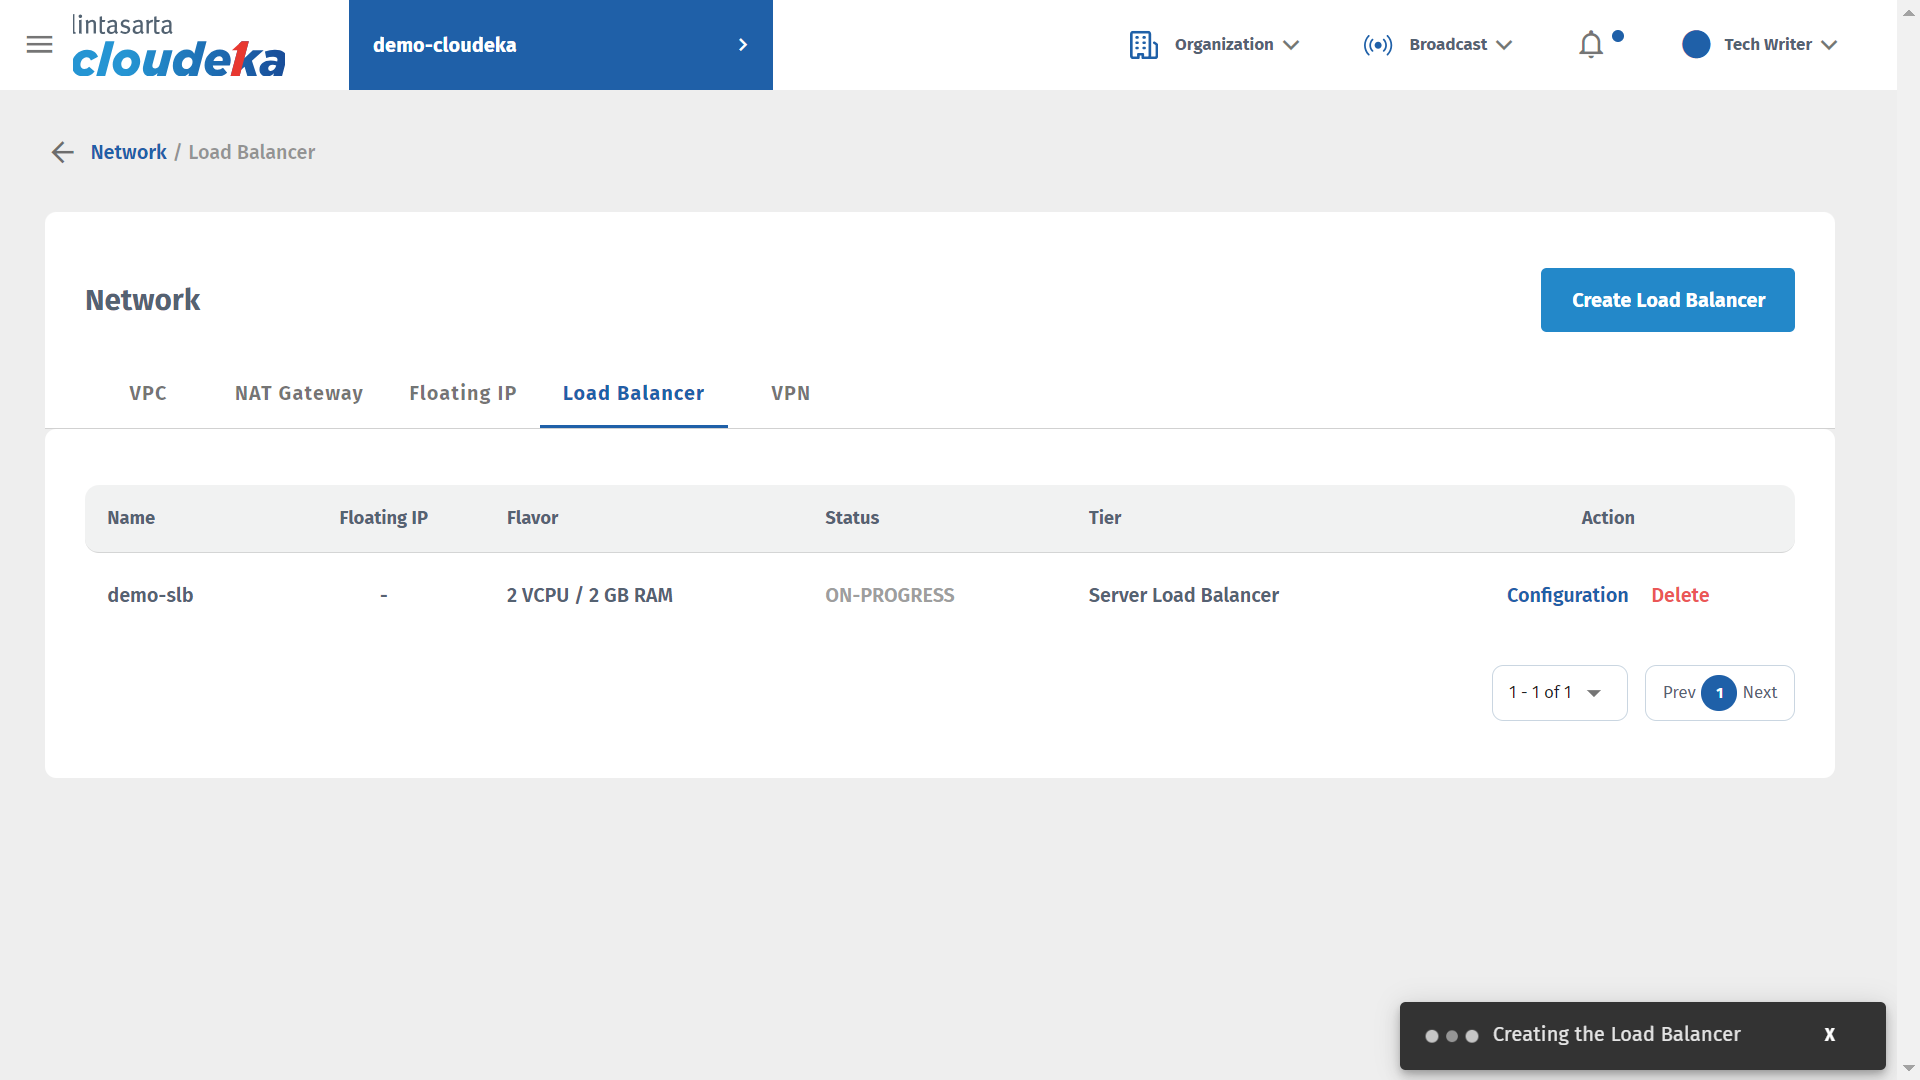
Notification - Creating the Load Balancer
If the load balancer is successfully created, a notification will appear Load balancer [nama load balancer] has successfully created.
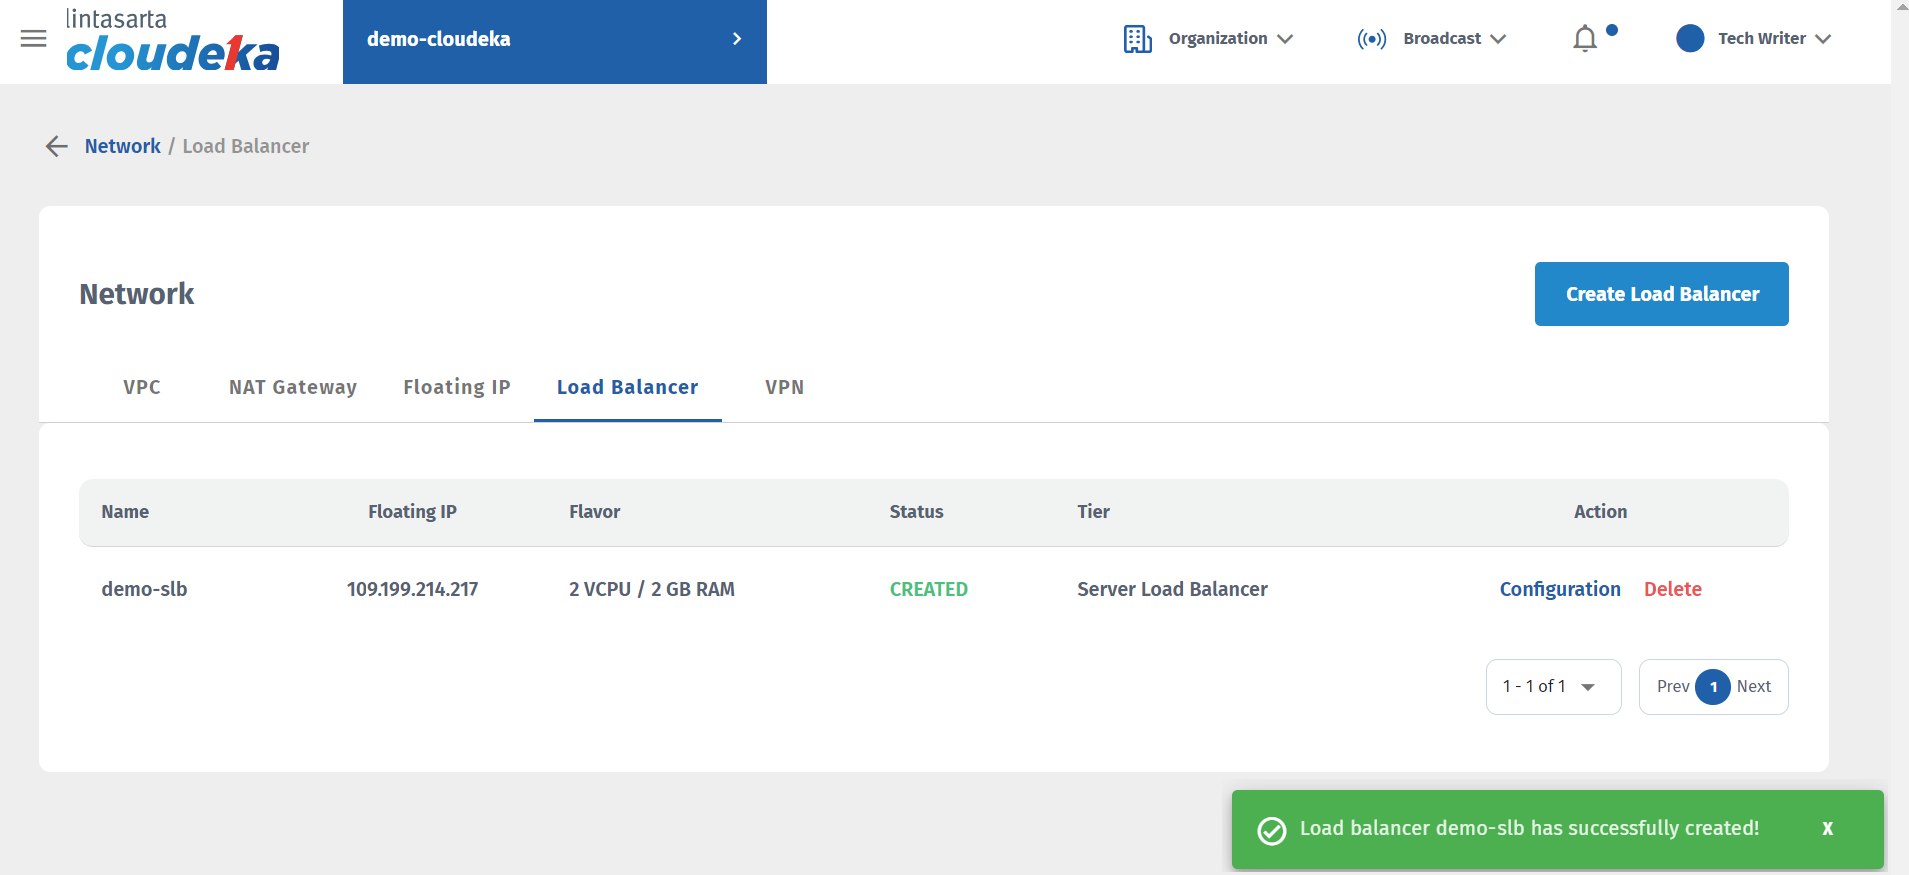
Notification - Load Balancer has successfully created