
Project Page List - Create
Project Page List - Create

Project Page List
| Column | Description |
|---|---|
| Role Name | Role name that will be create |
| Description | Role description, ex: admin member |
| Privileges | To determine the service permission to be given to the user assigned the role |
| Column | Description |
|---|---|
| Access | To determine what services will be granted access |
| Permission | To determine whether or not permission is granted for the service |
| Editor | If you tick in the editor field, then it gives access to full access |
| Viewer | If you tick in the viewer field, then it gives access to read-only |
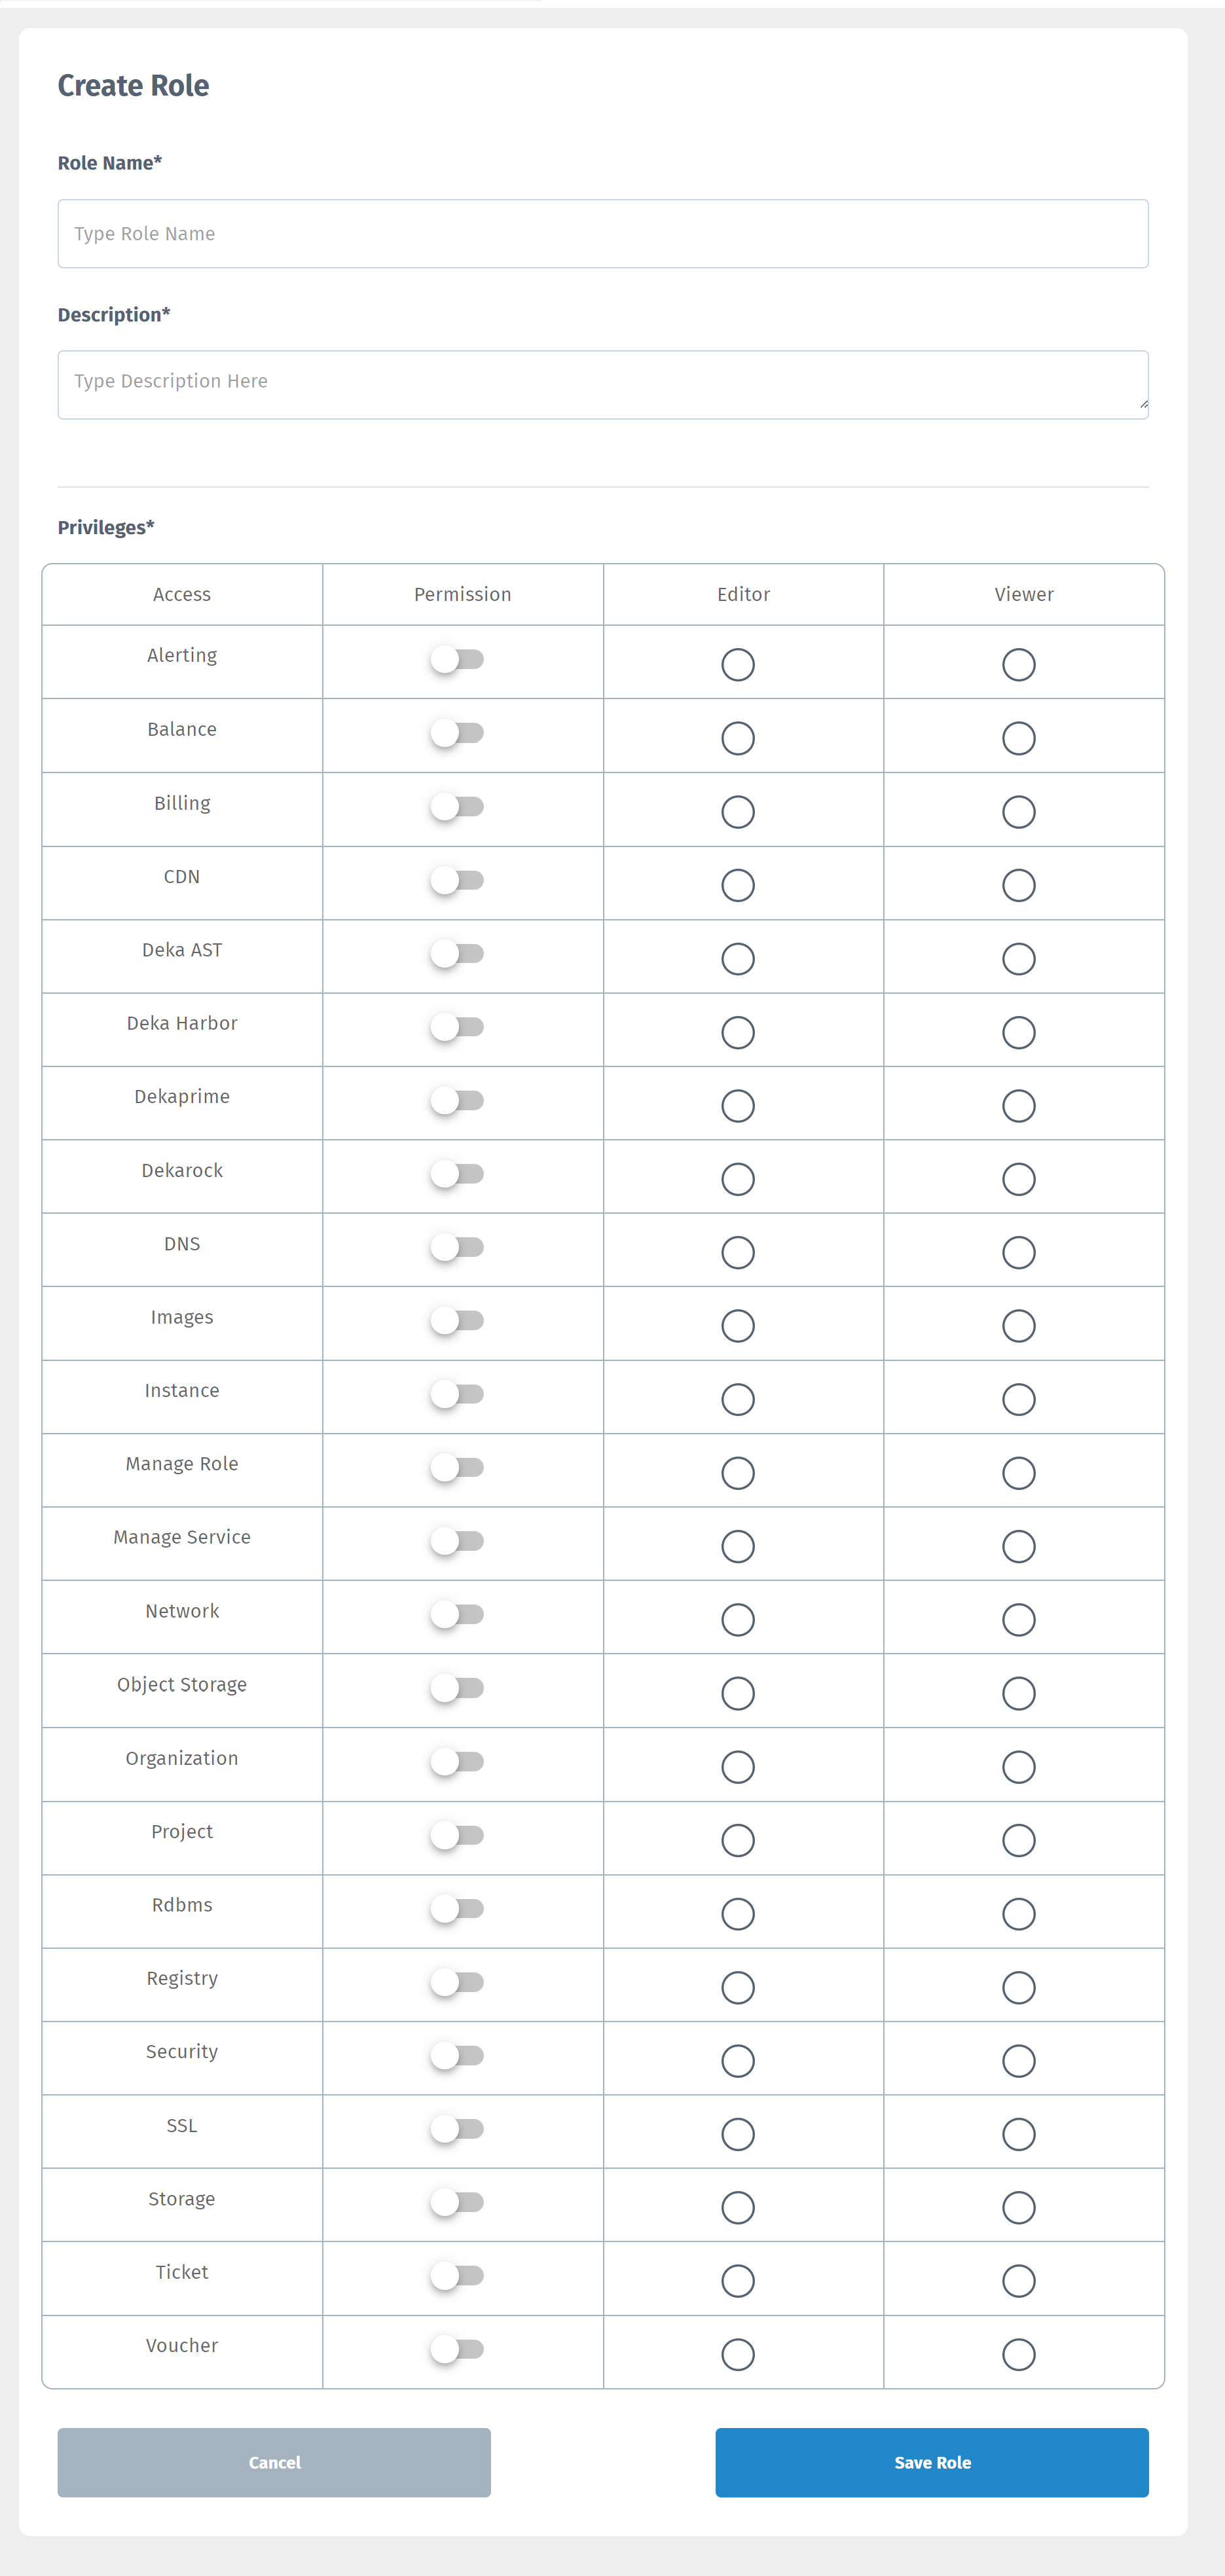
Create Role

Manage Role

Manage Role - Edit
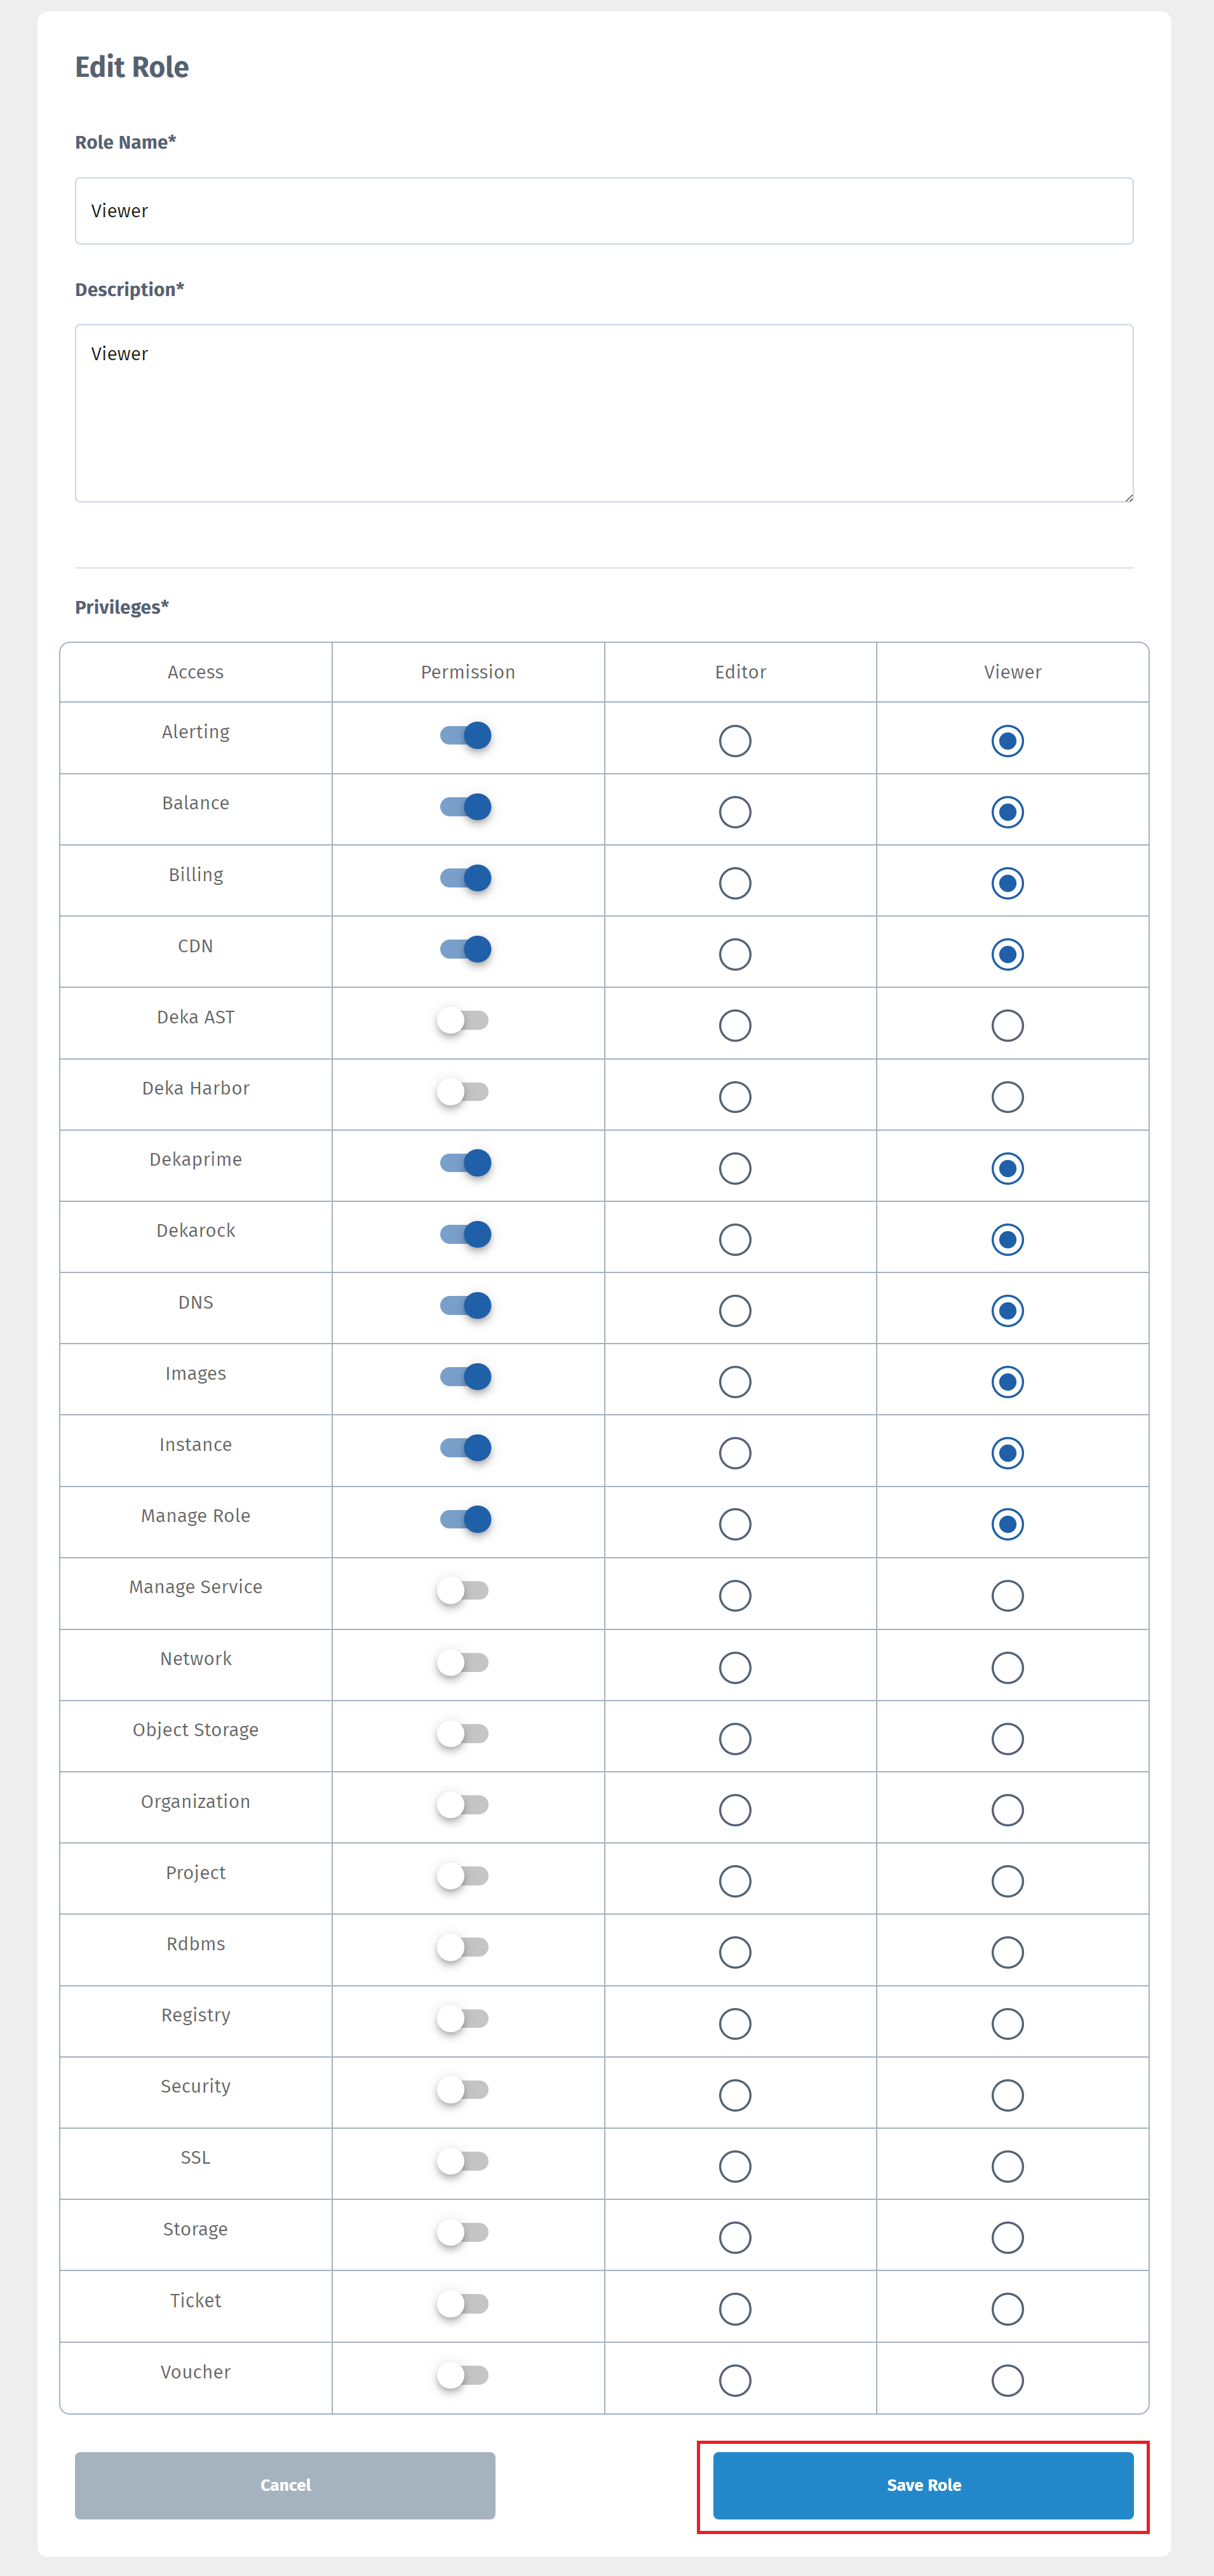
Edit Role

Manage Role
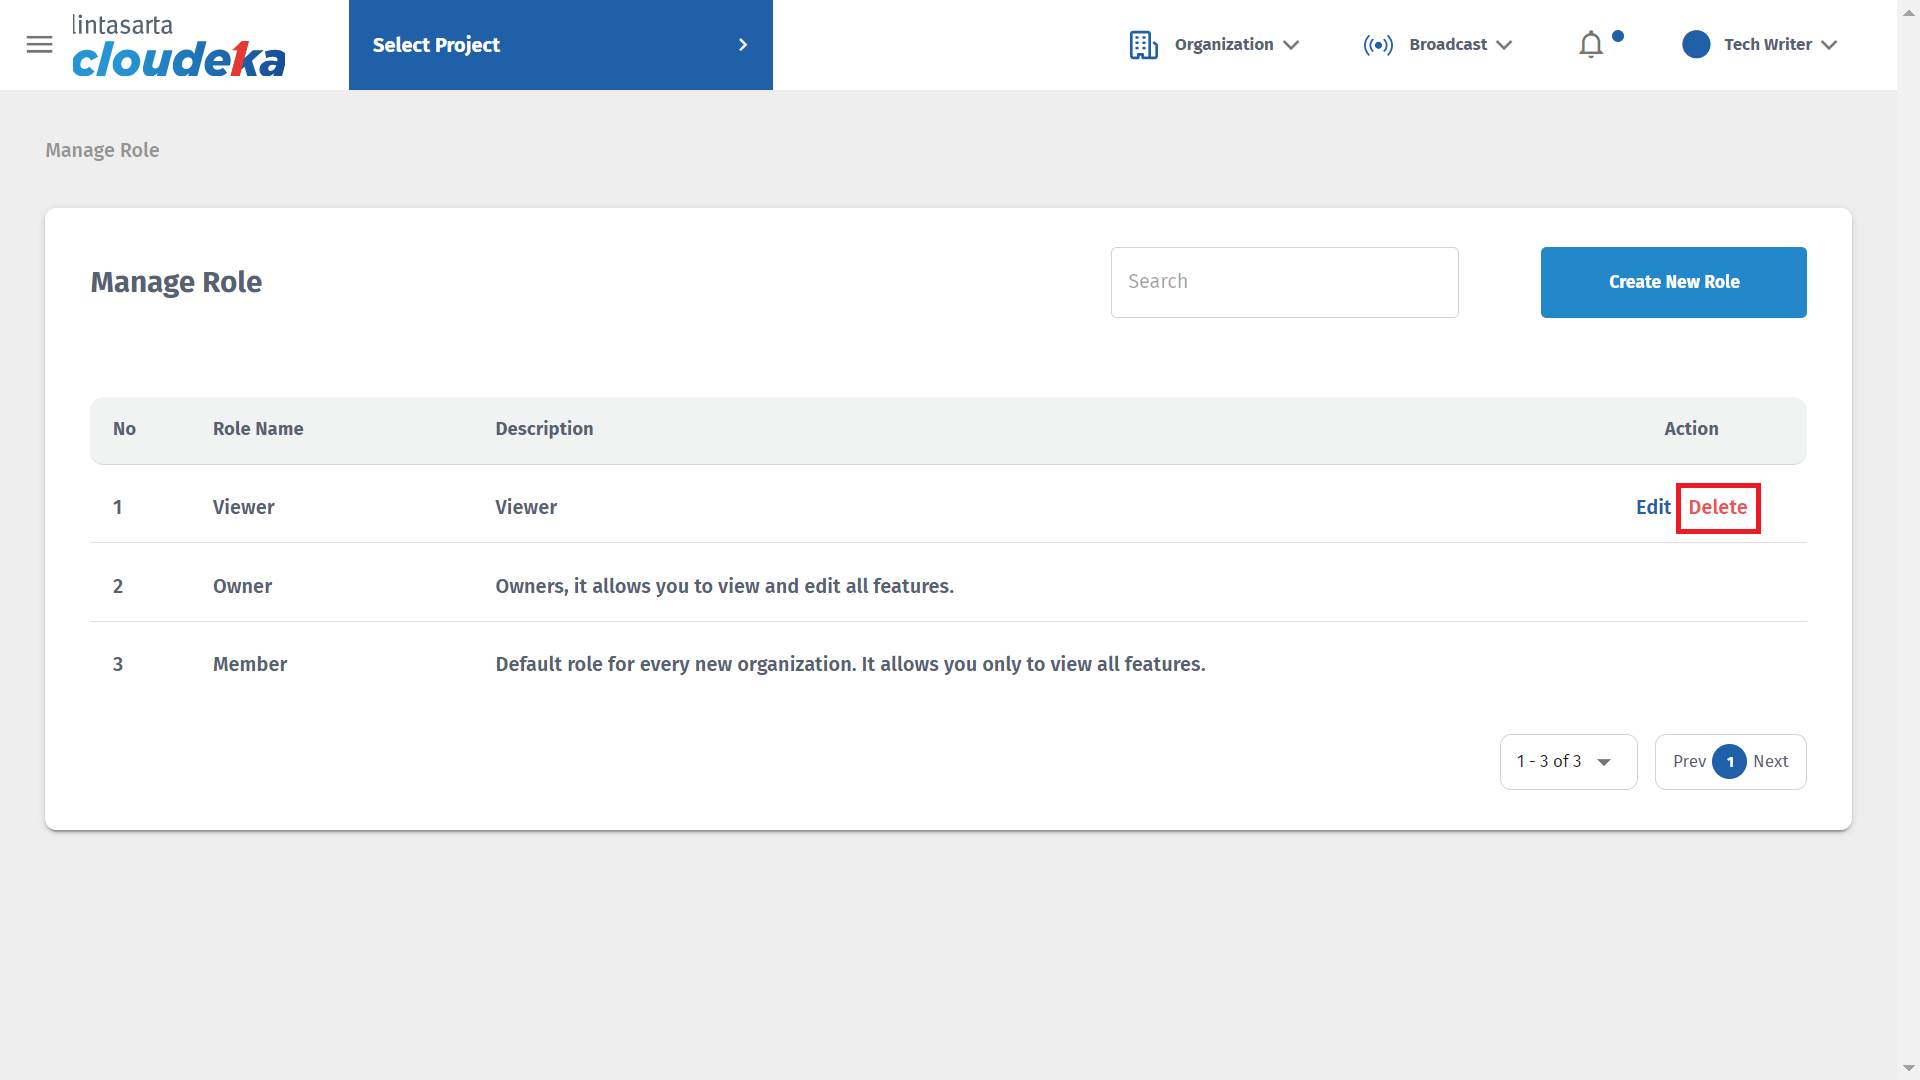
Manage Role - Delete
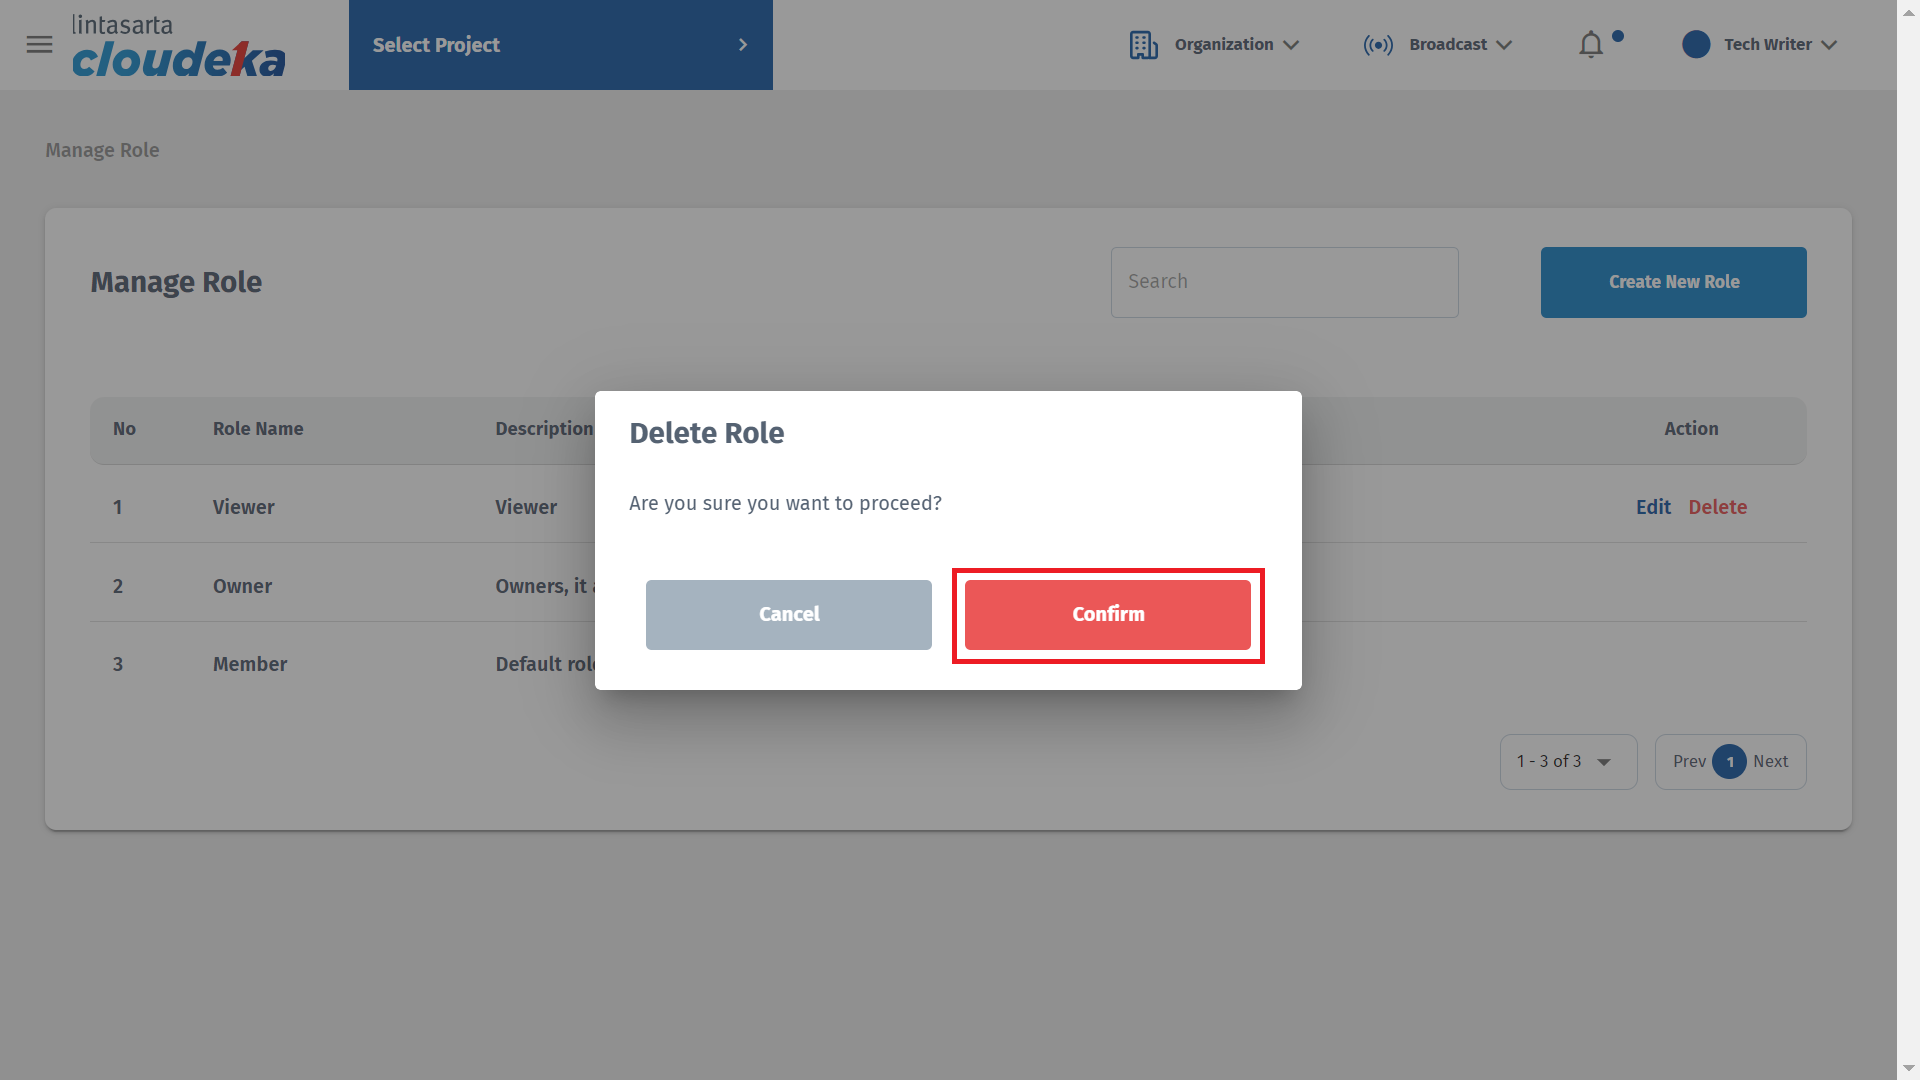
Warning Delete Role
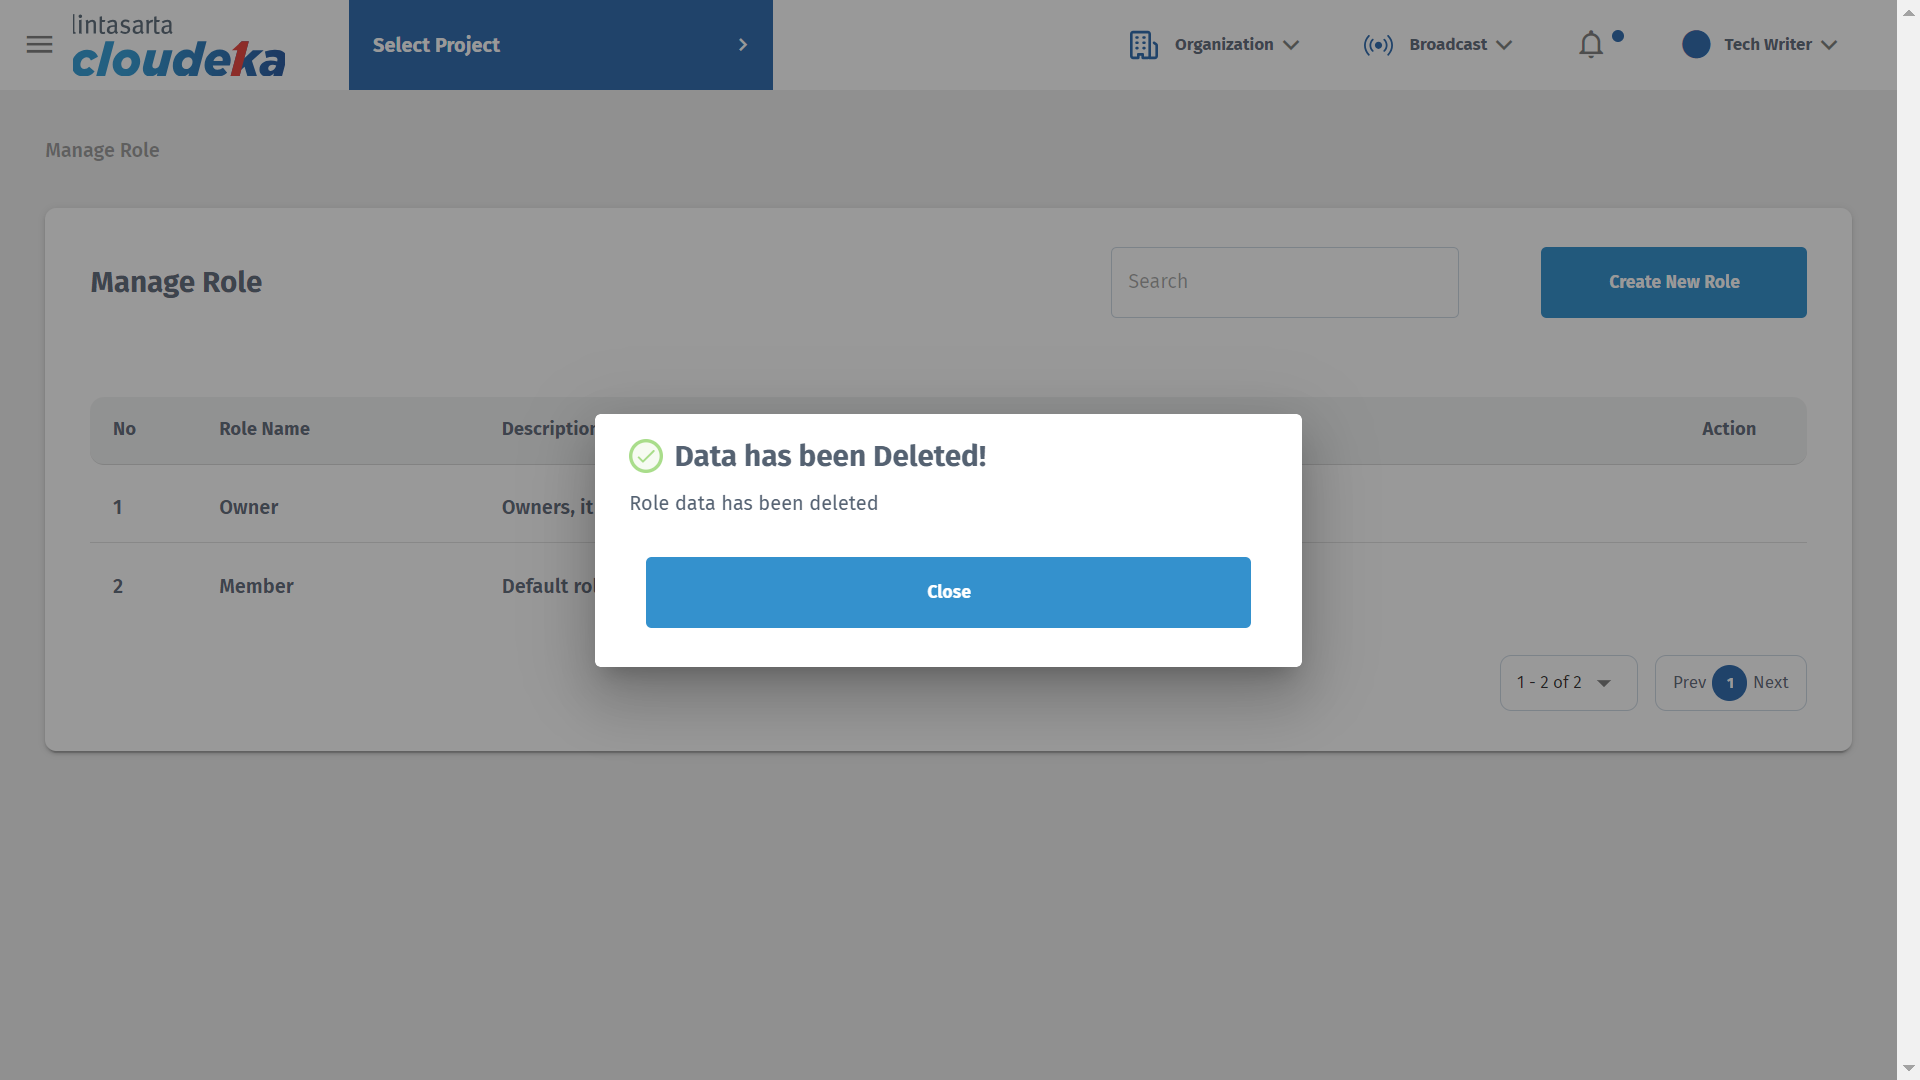
Delete Data Information
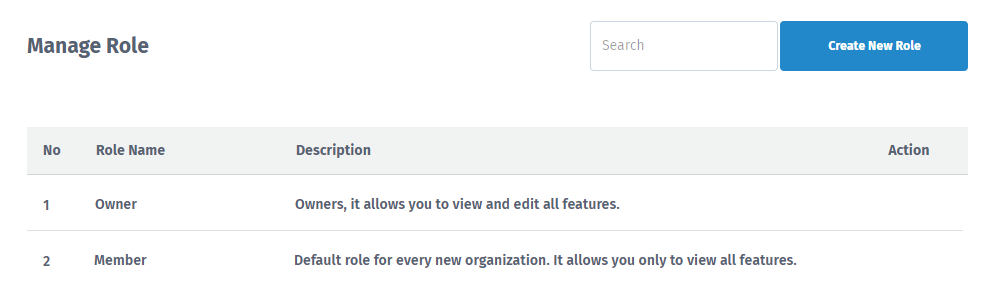
Manage Role