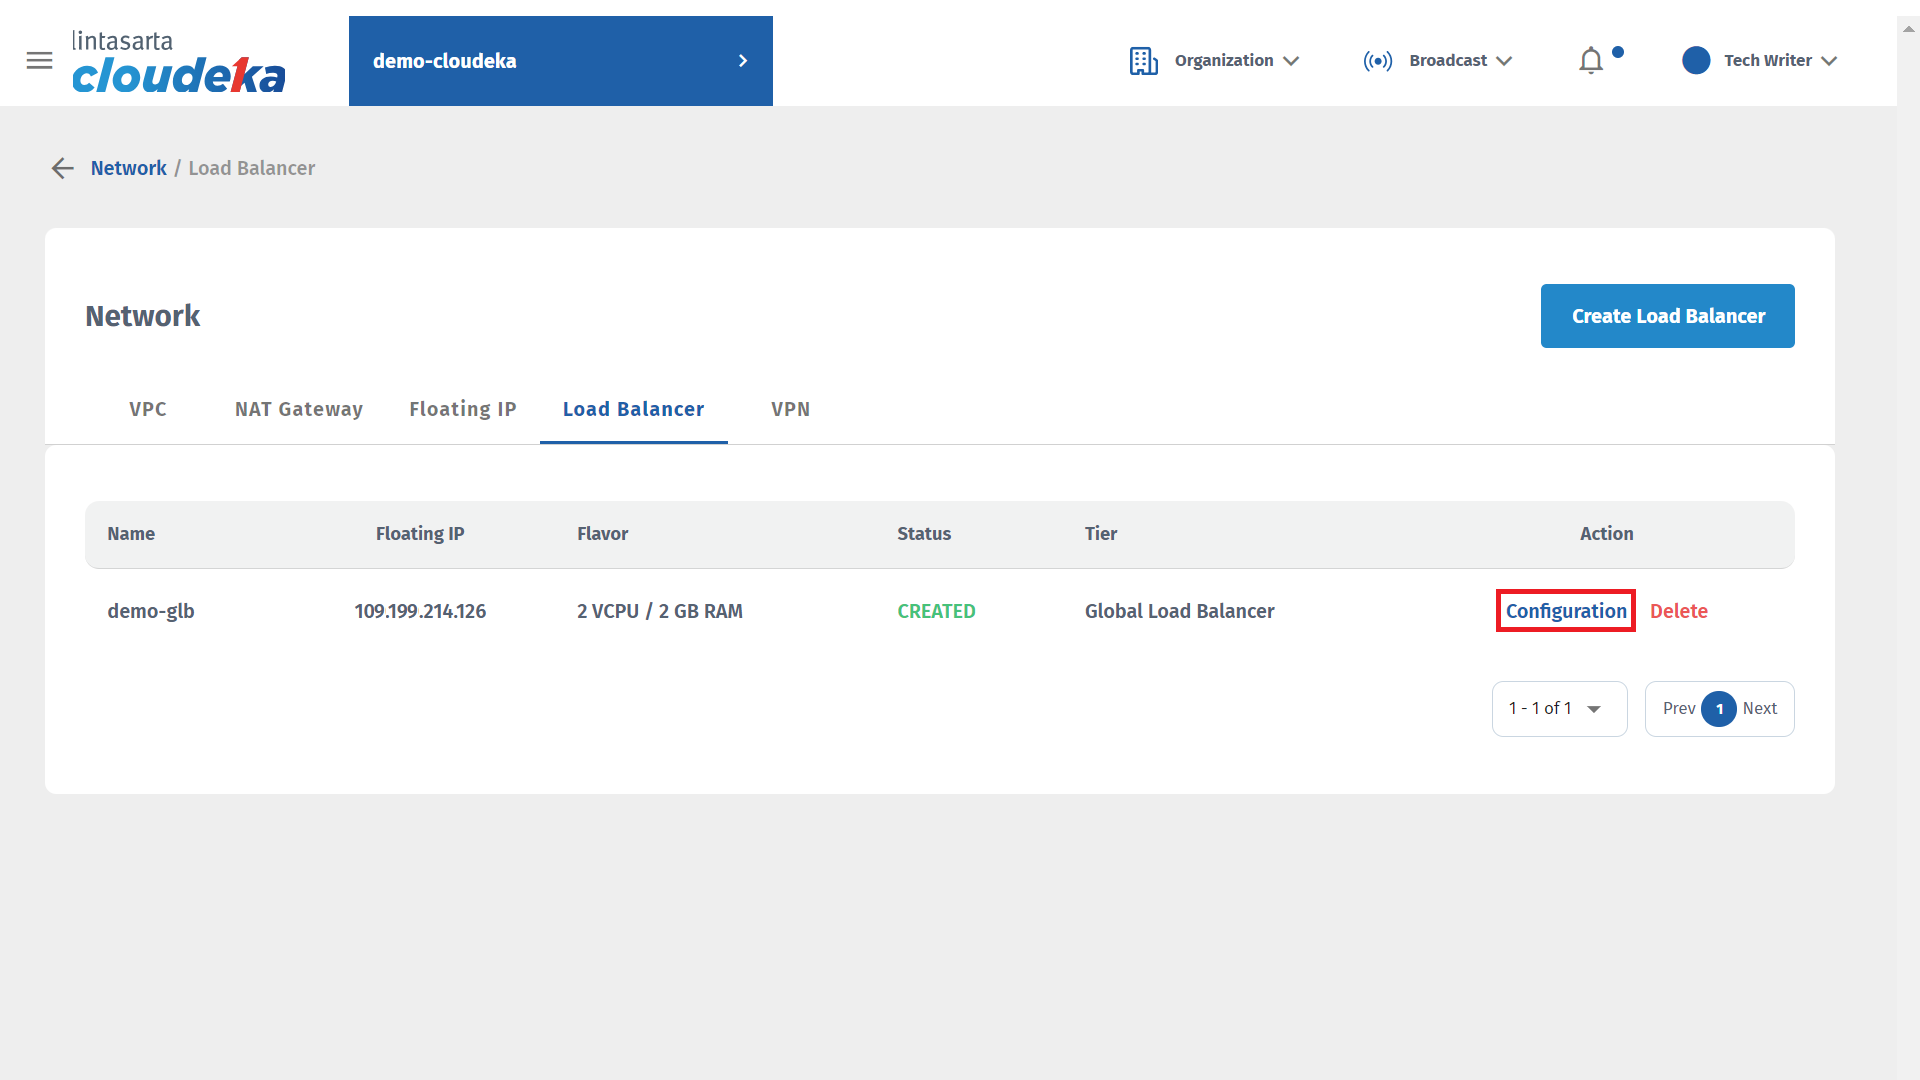
Config Deka GLB
Config Deka GLB
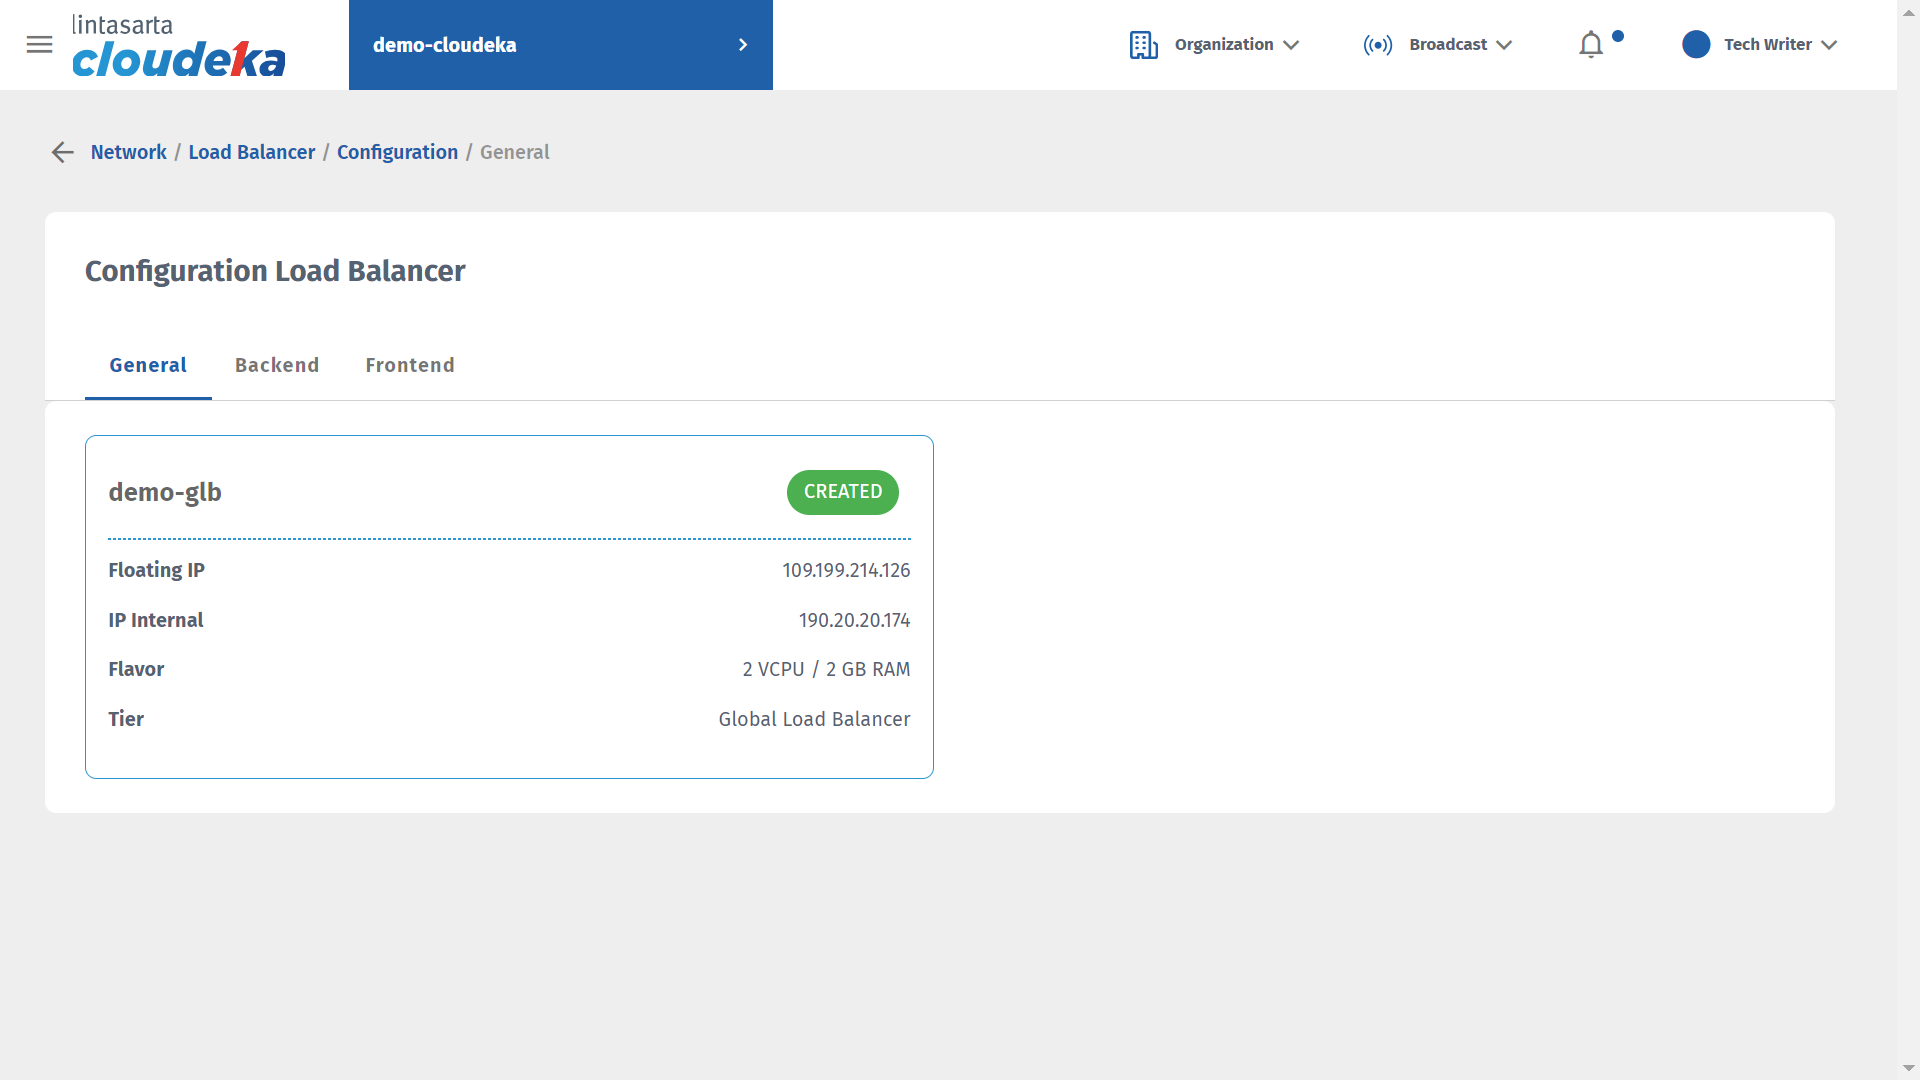
Config Deka GLB

Config Backend
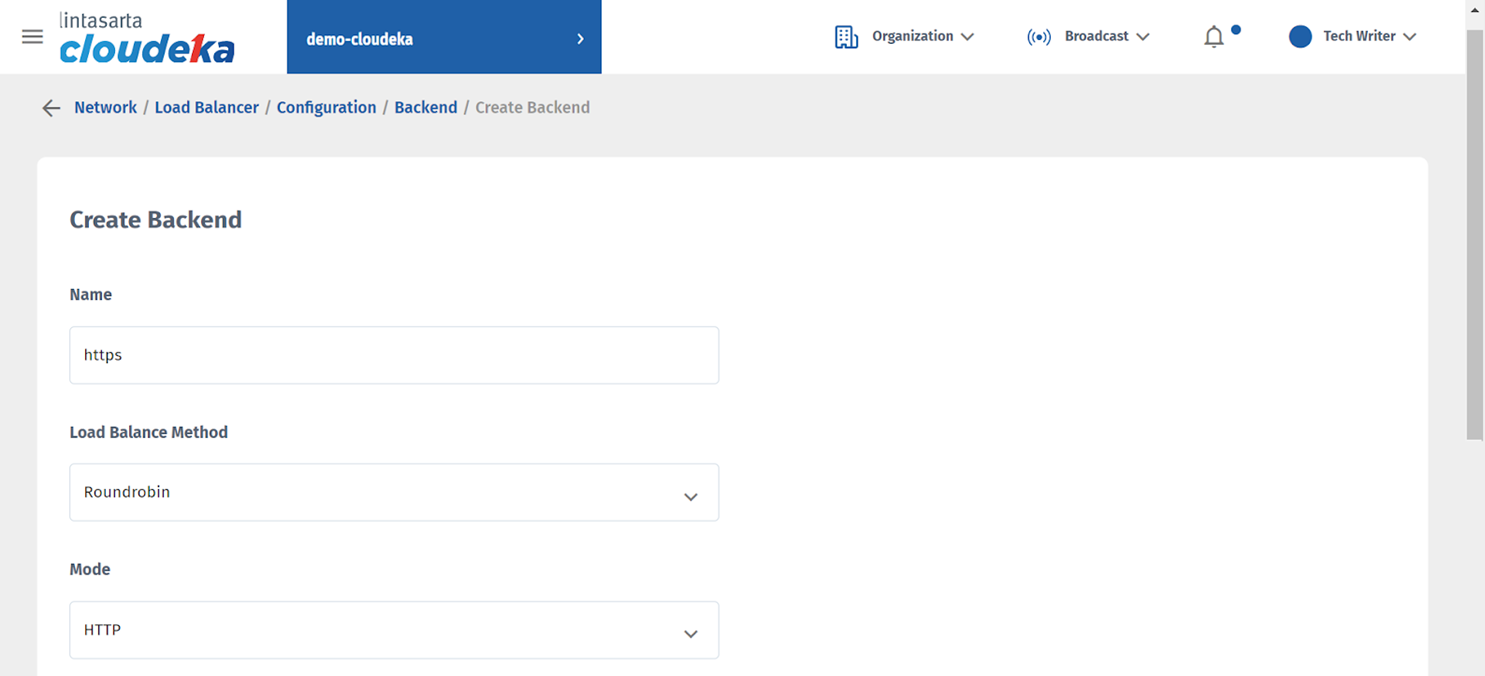
Config Backend
| Colum | Description |
|---|---|
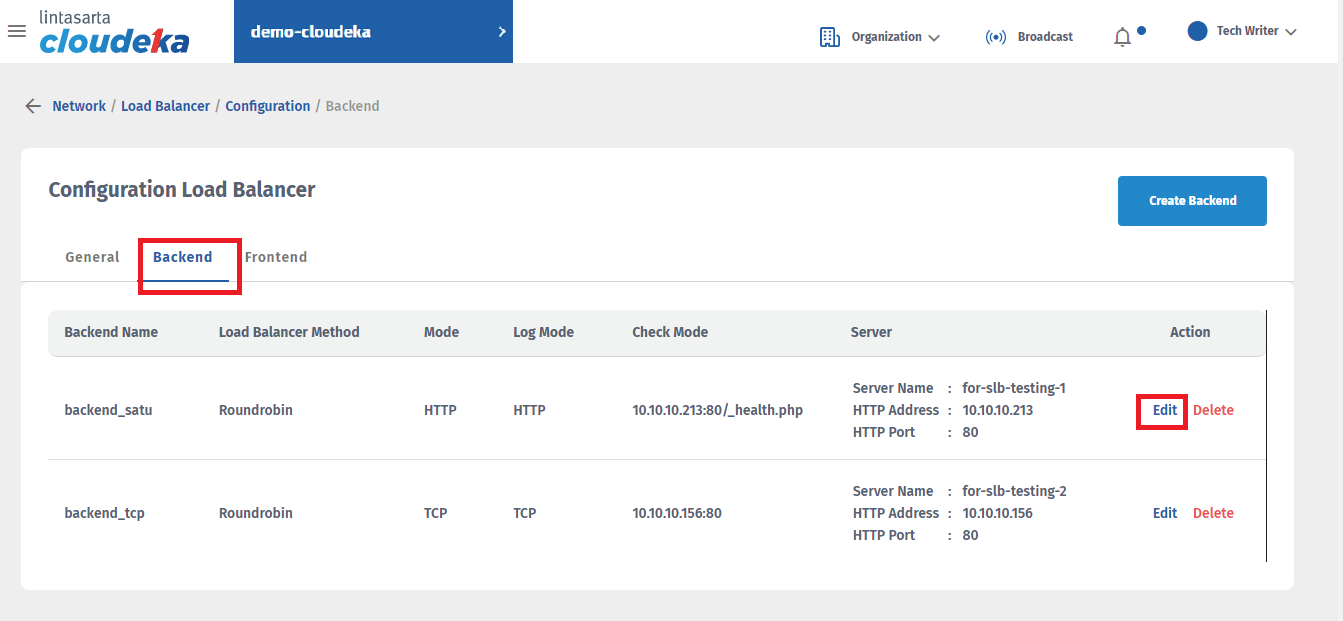
| Name | The backend configuration and for naming characters can only use A-Z, a-z, and “_” underscore |
| Load Balancer Method | In this column there are 3 options including Roundrobin, Least Connection, and Source. |
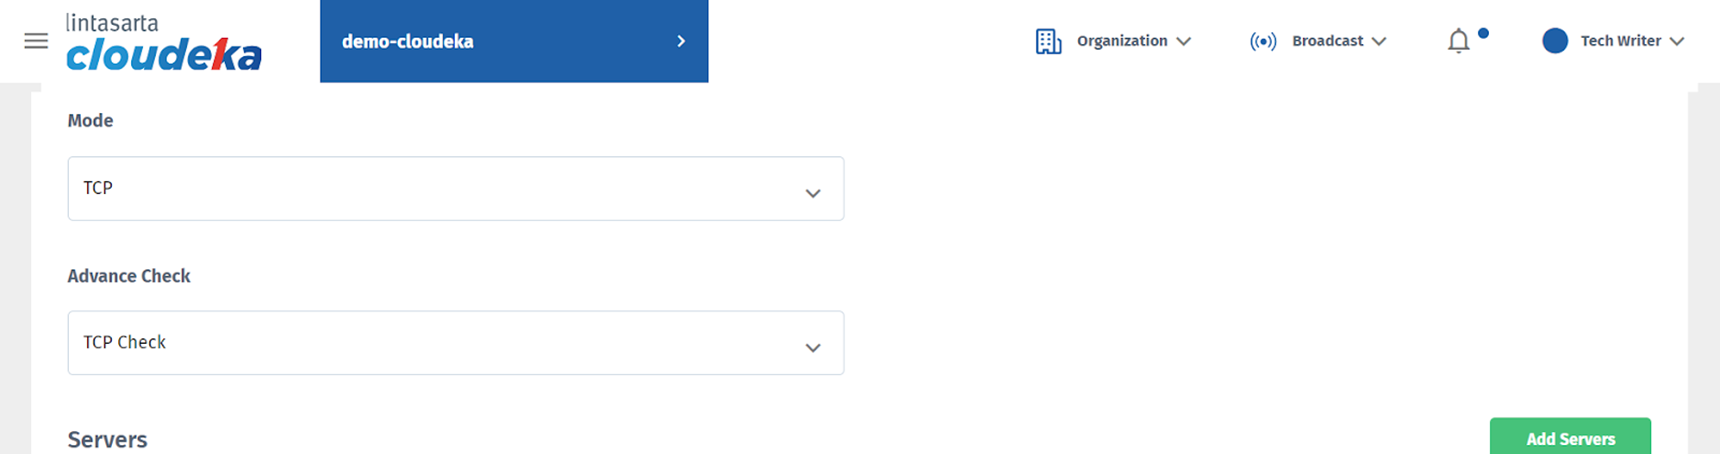
| Mode | There are 2 Modes including the following:
|
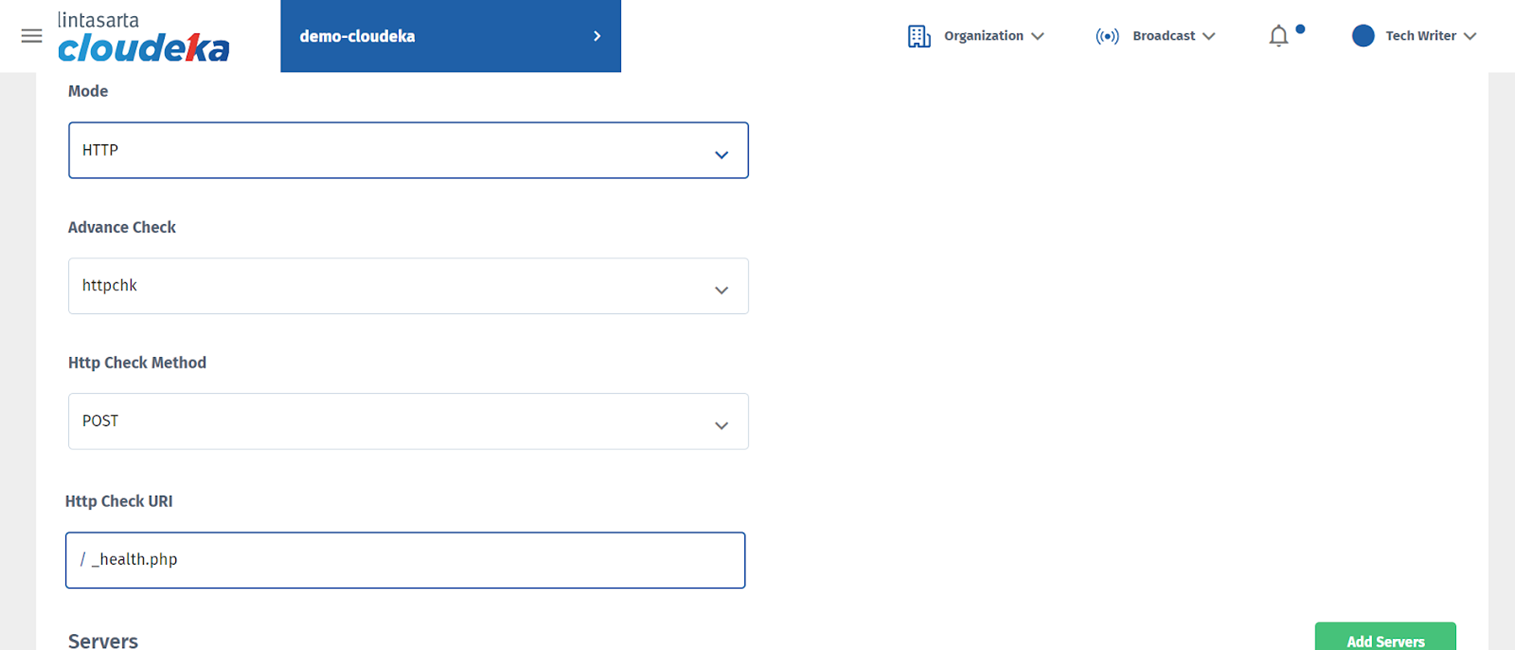
Config Backend - Protocol HTTP
| Column | Description |
|---|---|
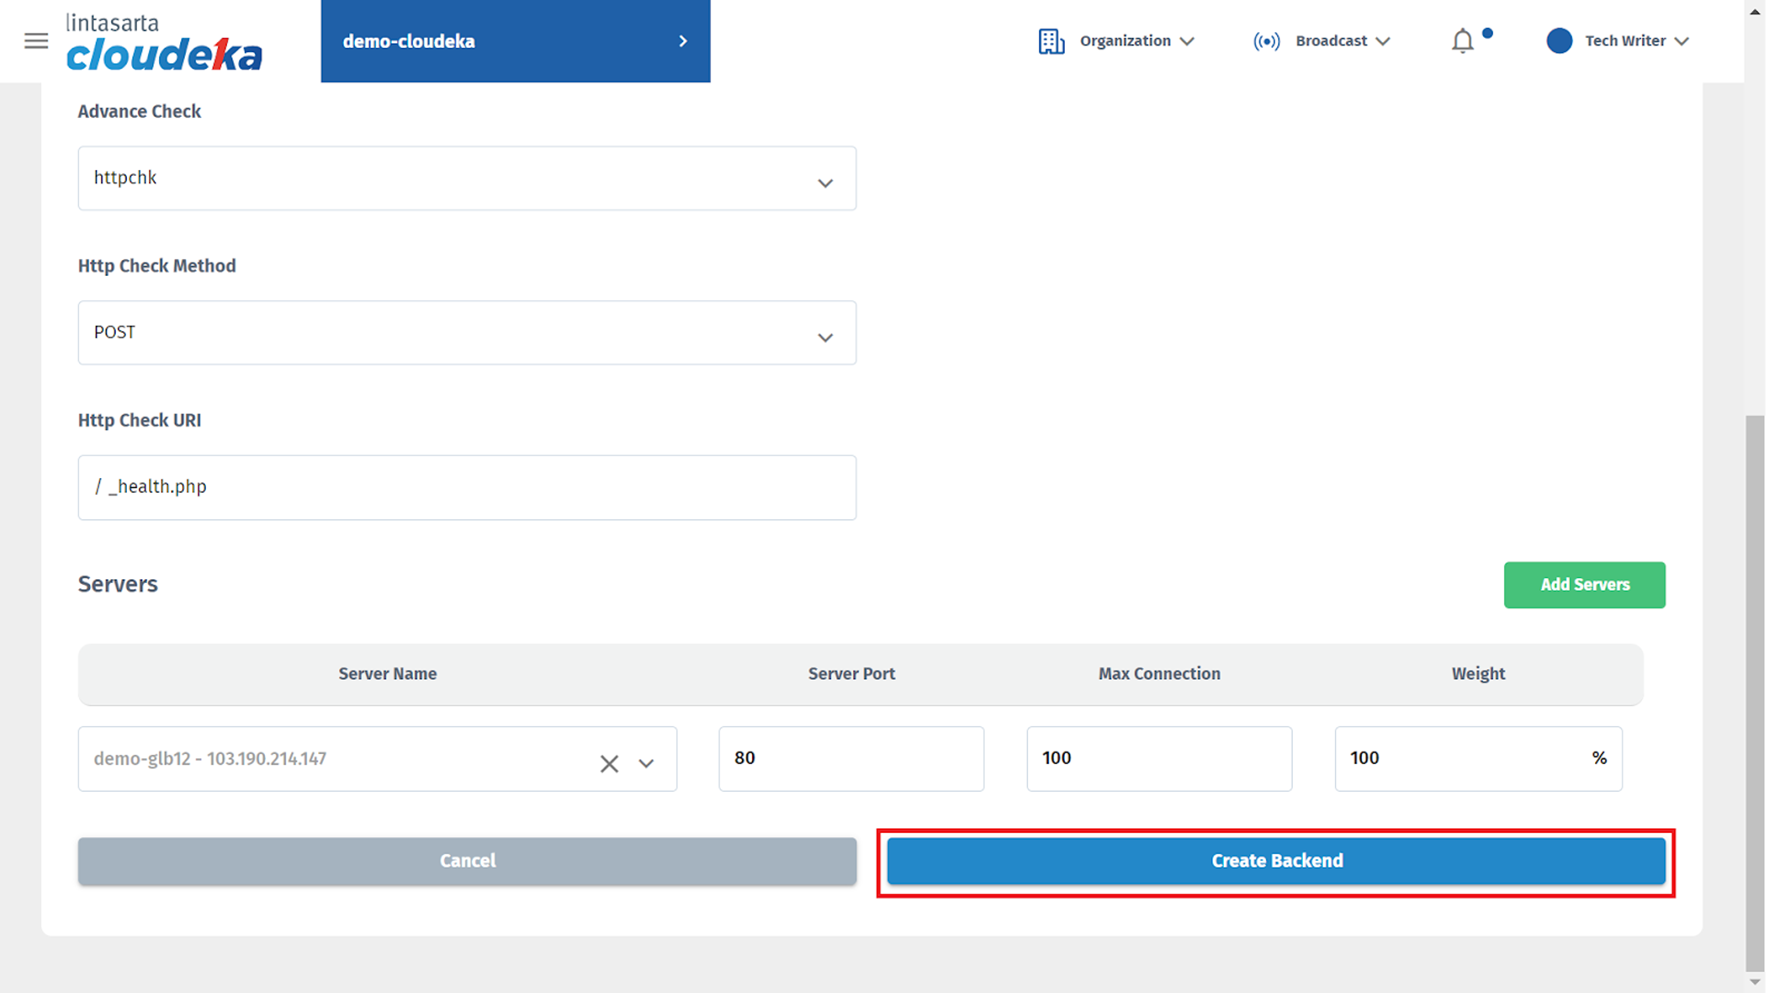
| Advanced Check | If in the Mode column, you select HTTP then click httpchk. |
| Http Check Method | There are 2 options:
|
| Http Check URI | This column is used to determine whether the server status is active or inactive. In this section type /_health.php |
Config Backend - Protocol TCP
| Colum | Description |
|---|---|
| Advanced Check | There are 2 options including the following:
|
Config Backend
| Colum | Description |
|---|---|
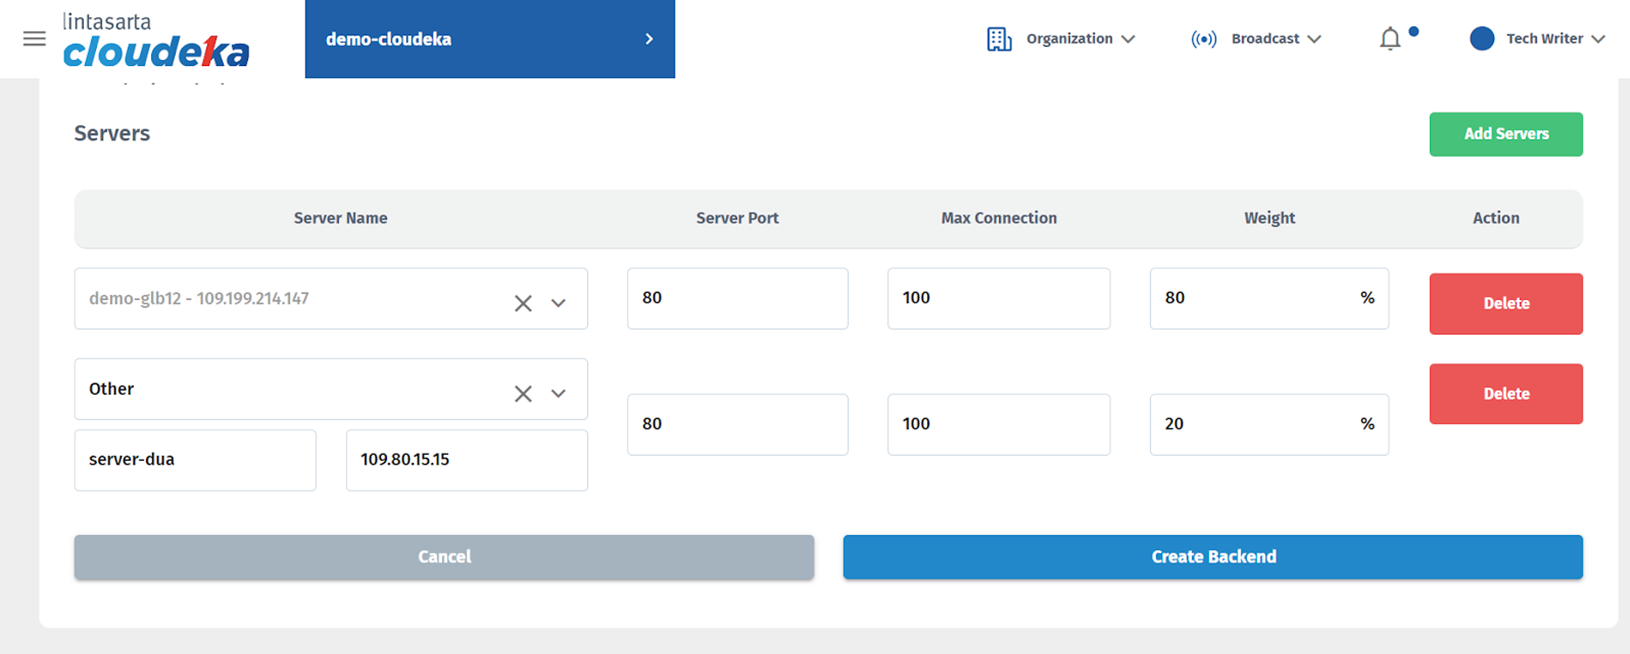
| Servers - Server Name | VM Instance that have floating IP exist in projects in one organization or another. |
| Servers - Server Port | The port that the server will use. |
| Servers - Max Connection | The maximum number of connections accepted on the server. |
| Servers - Weight | The load that will be received by the server. |
Config Backend
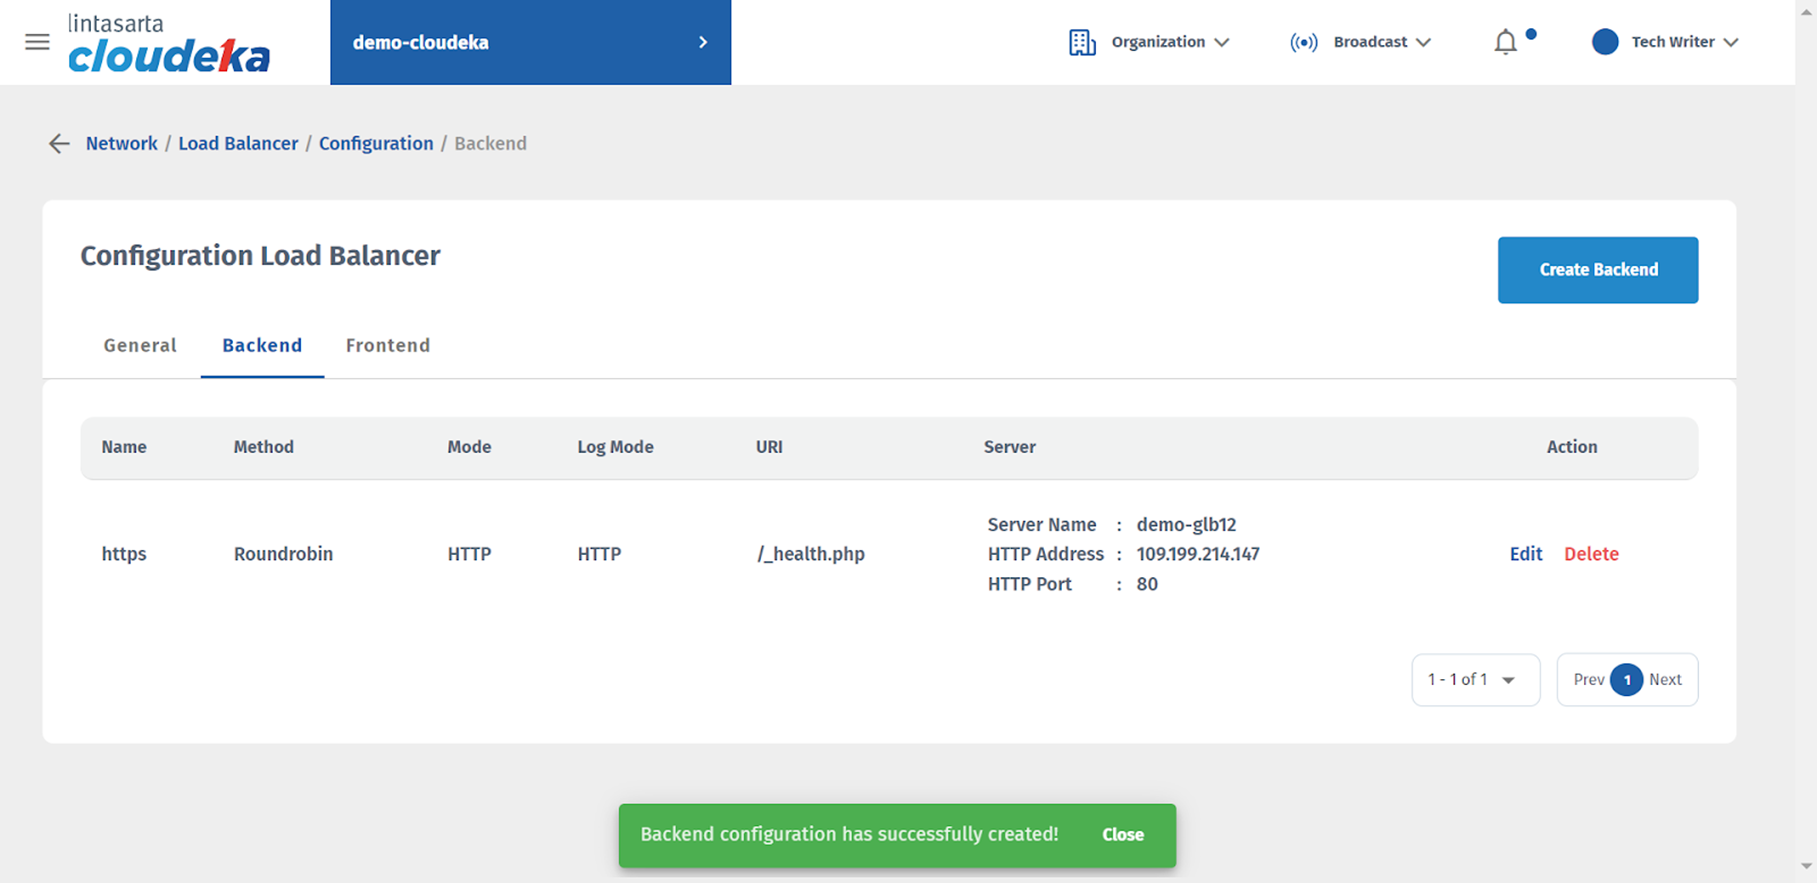
Config Backend
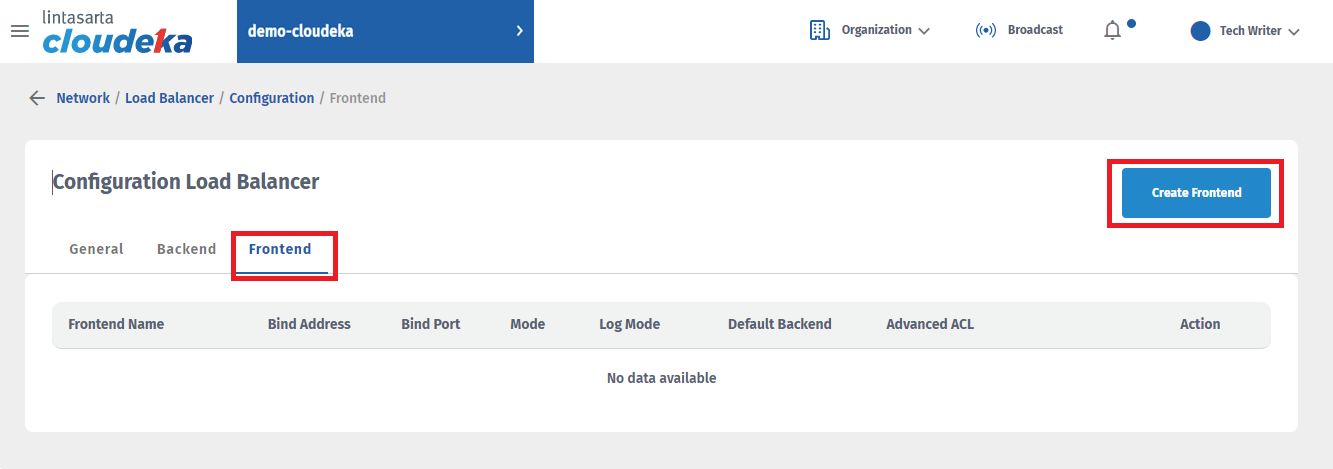
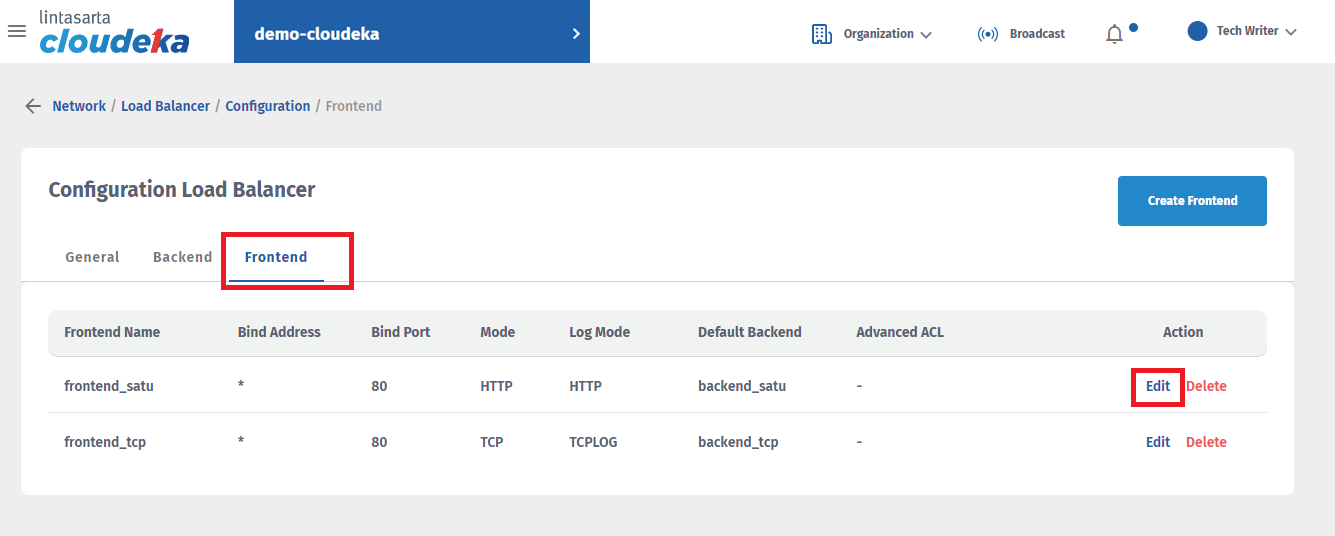
Config Frontend
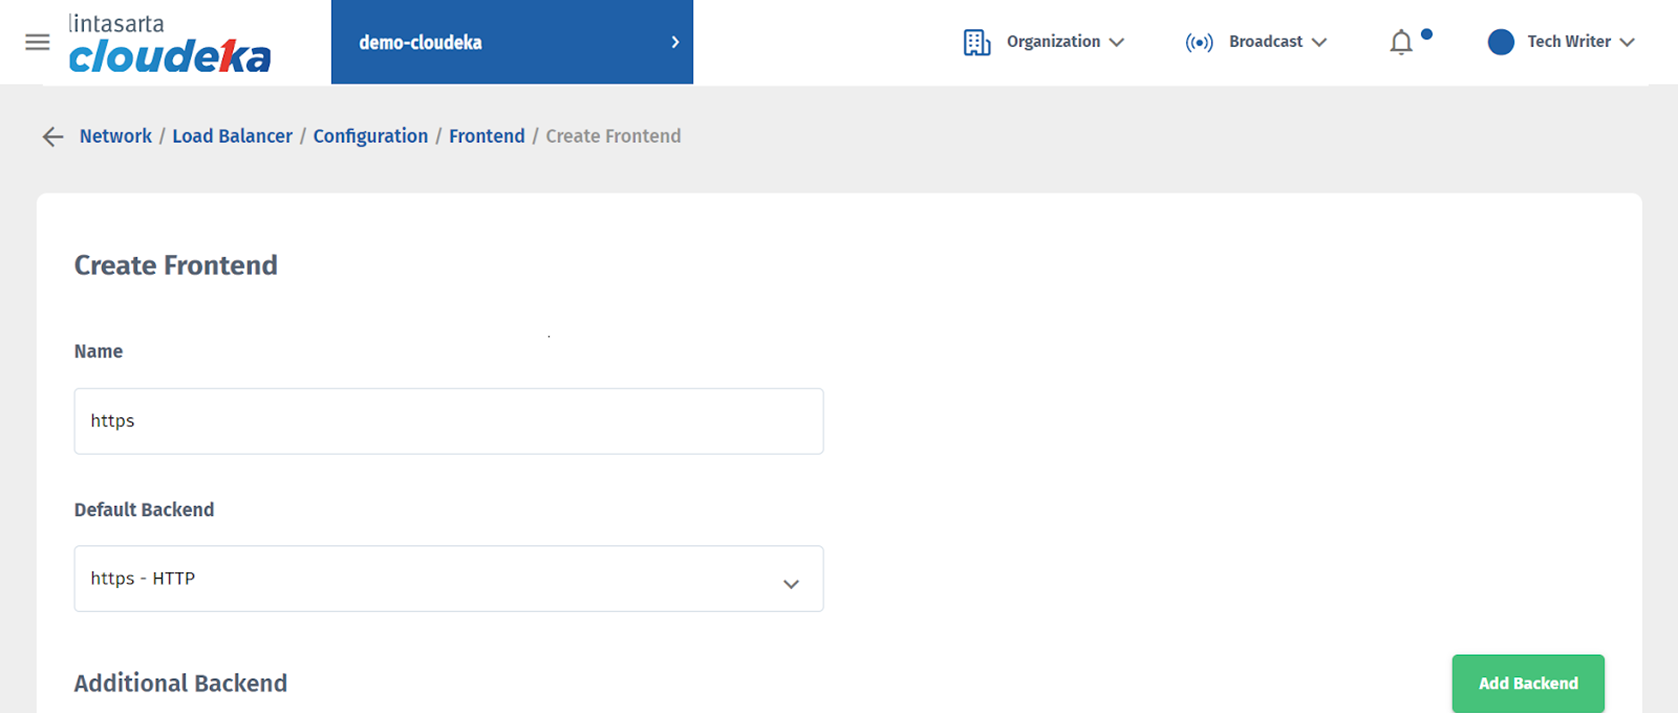
Config Frontend
| Colum | Description |
|---|---|
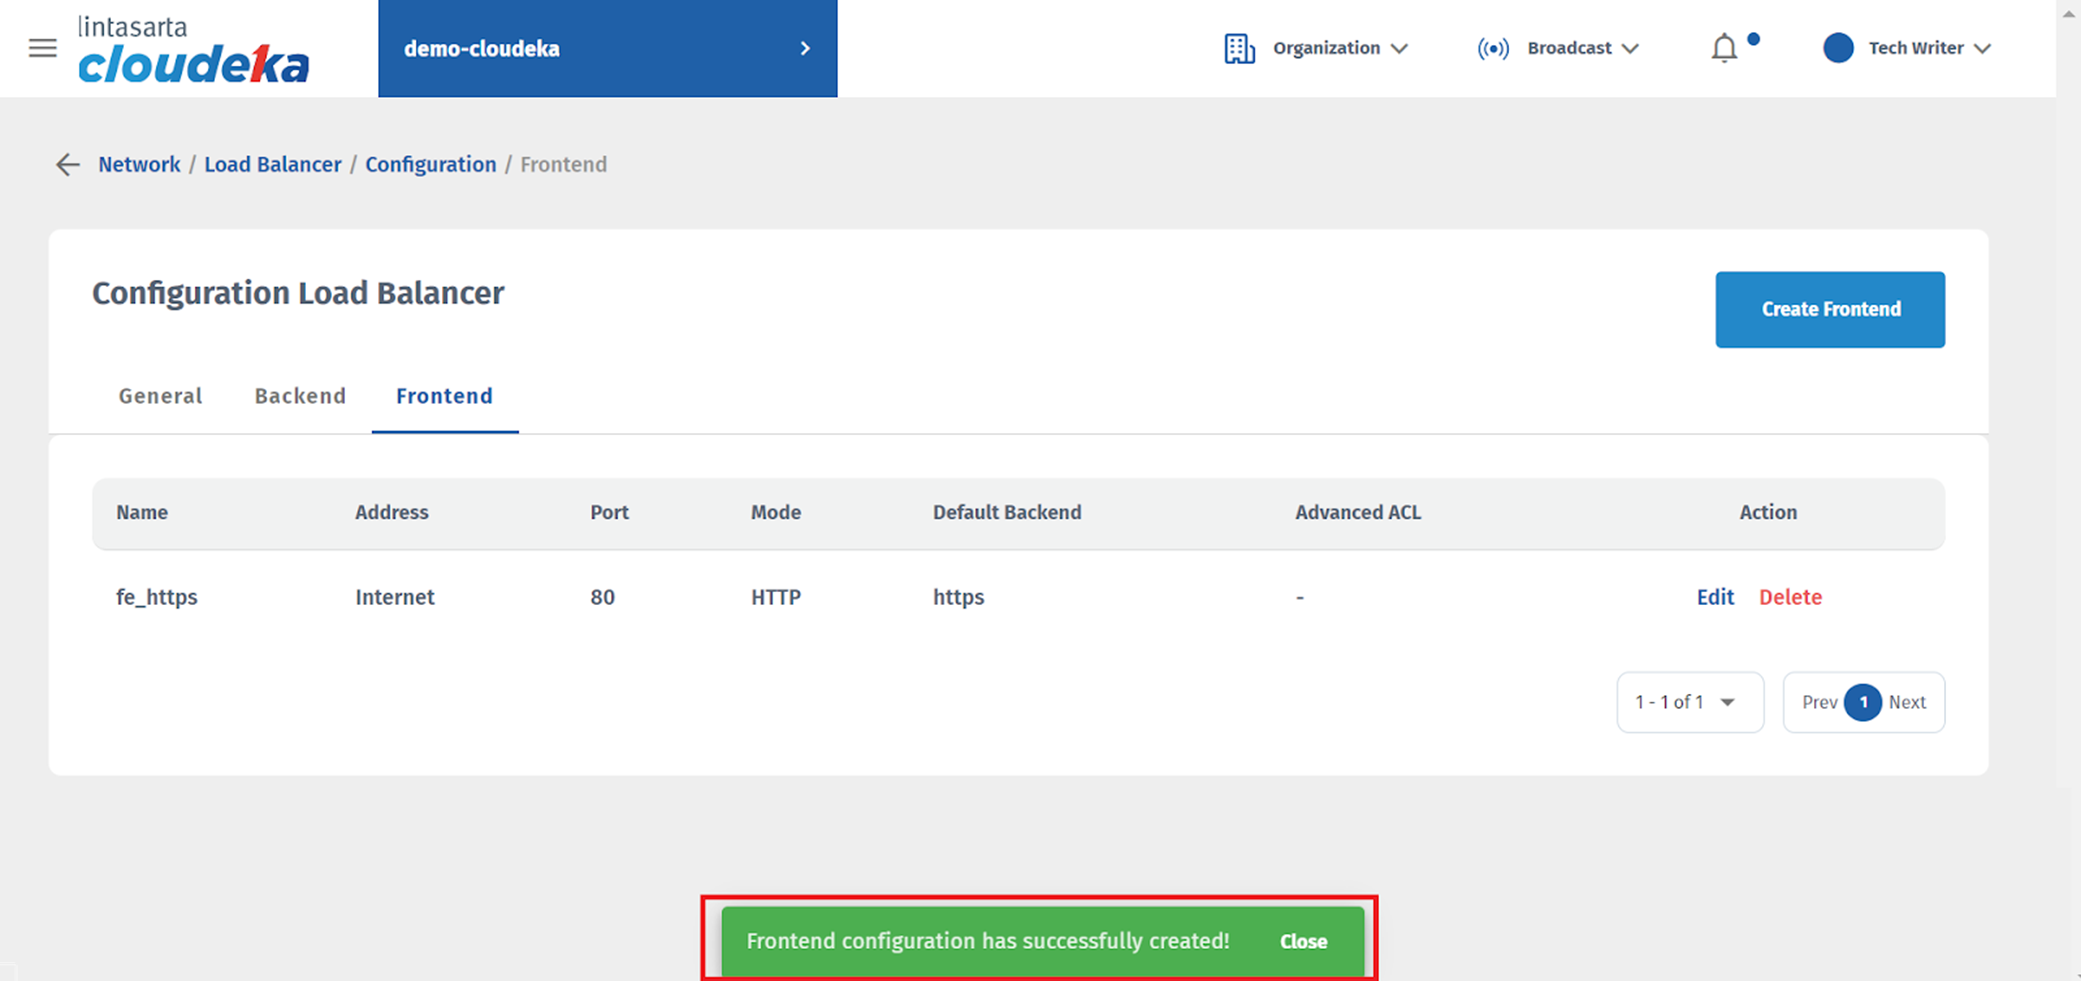
| Name | Frontend configuration name and for frontend naming characters only A-Z, a-z, and _ underscore |
| Default Backend | Select the backend that was previously created. |
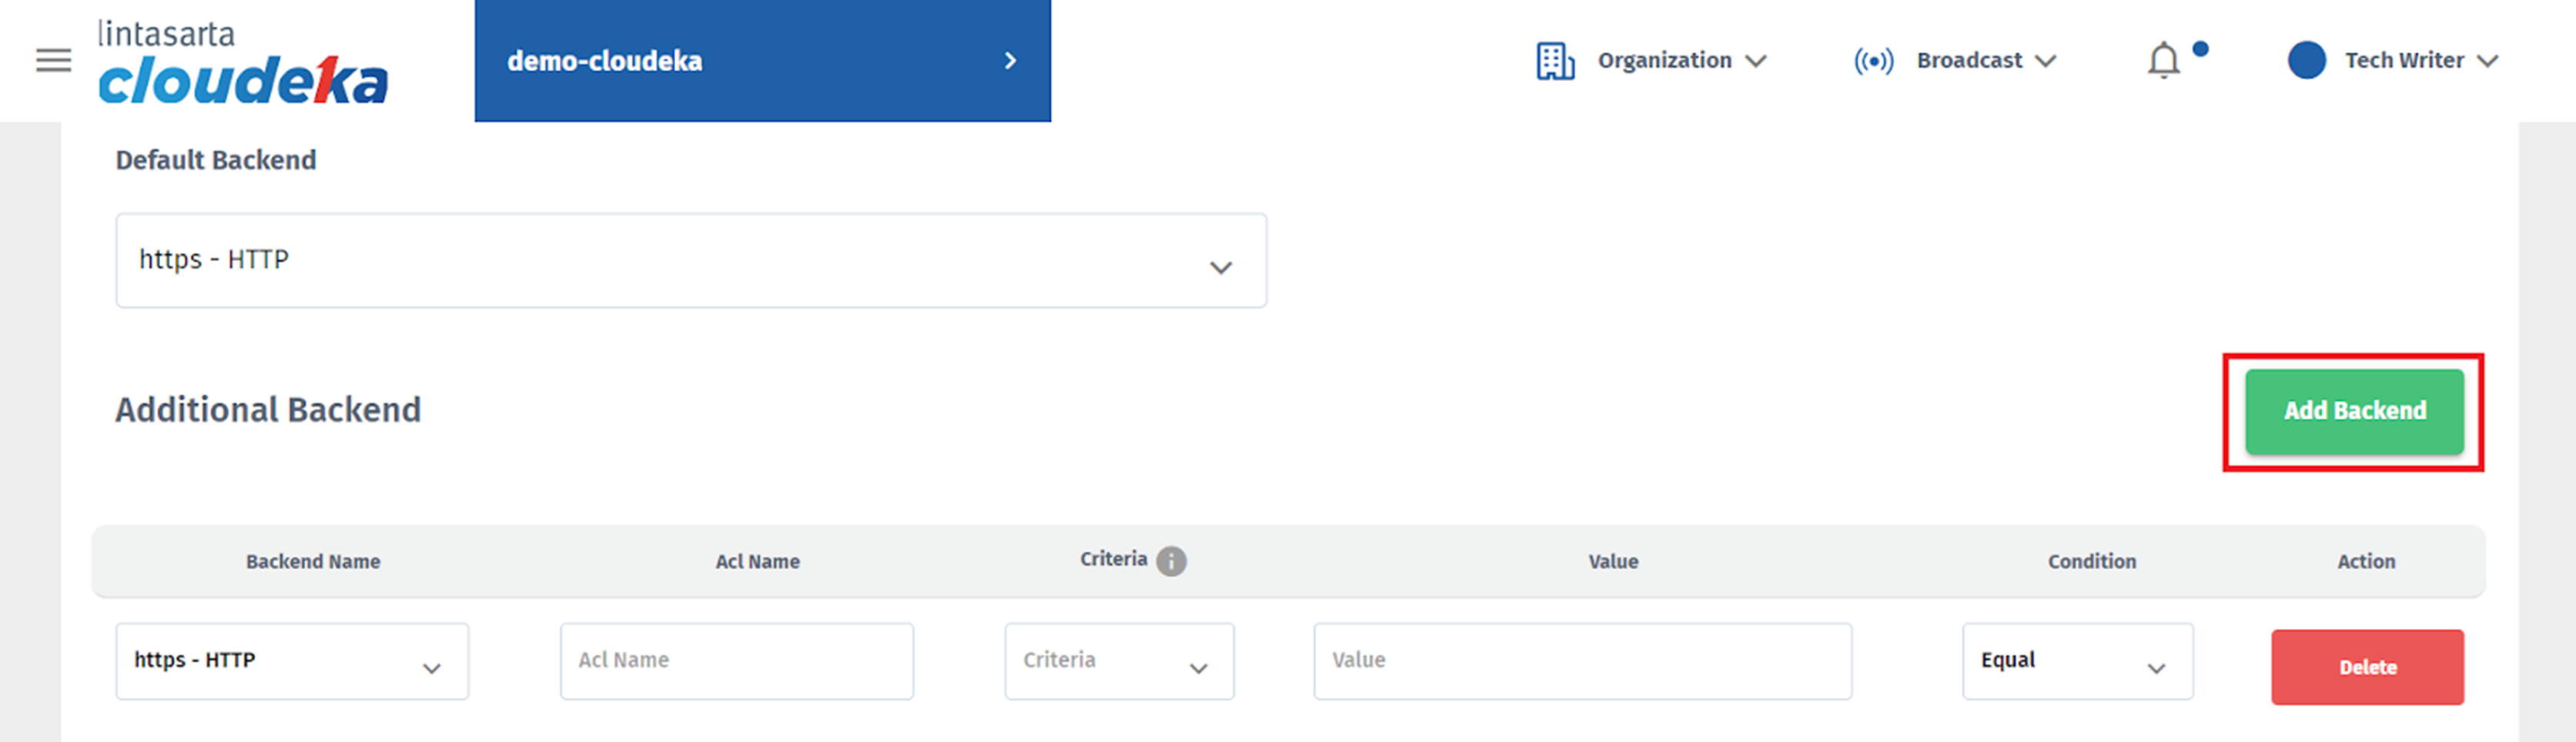
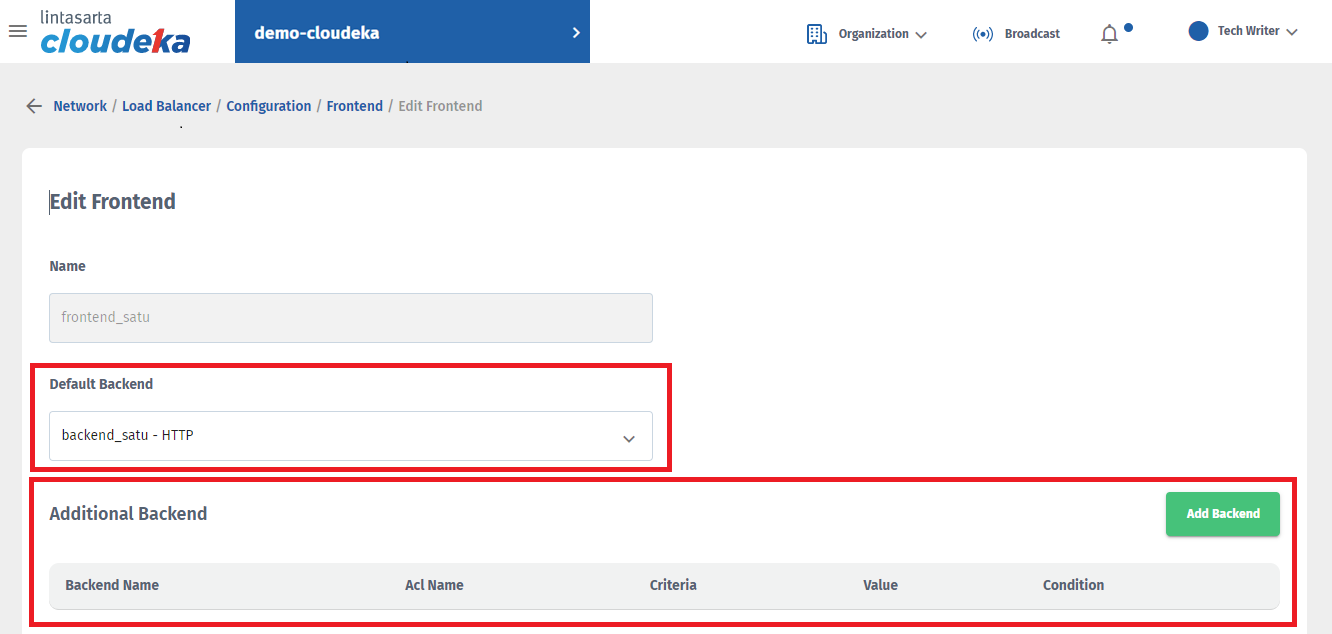
Config Frontend
| Column | Description |
|---|---|
| Backend Name | Backend configuration name. |
| ACL Name | To define rules that control access or behavior of specific traffic. |
| Criteria | To determine whether a request should be directed to a specific backend or not. There are 3 options including:
|
| Value | This column adjusts from your selection in the Criteria column.
|
| Condition | There are two options among them:
|
| Action | There is a Delete button to delete the Backend configuration that has been added. |
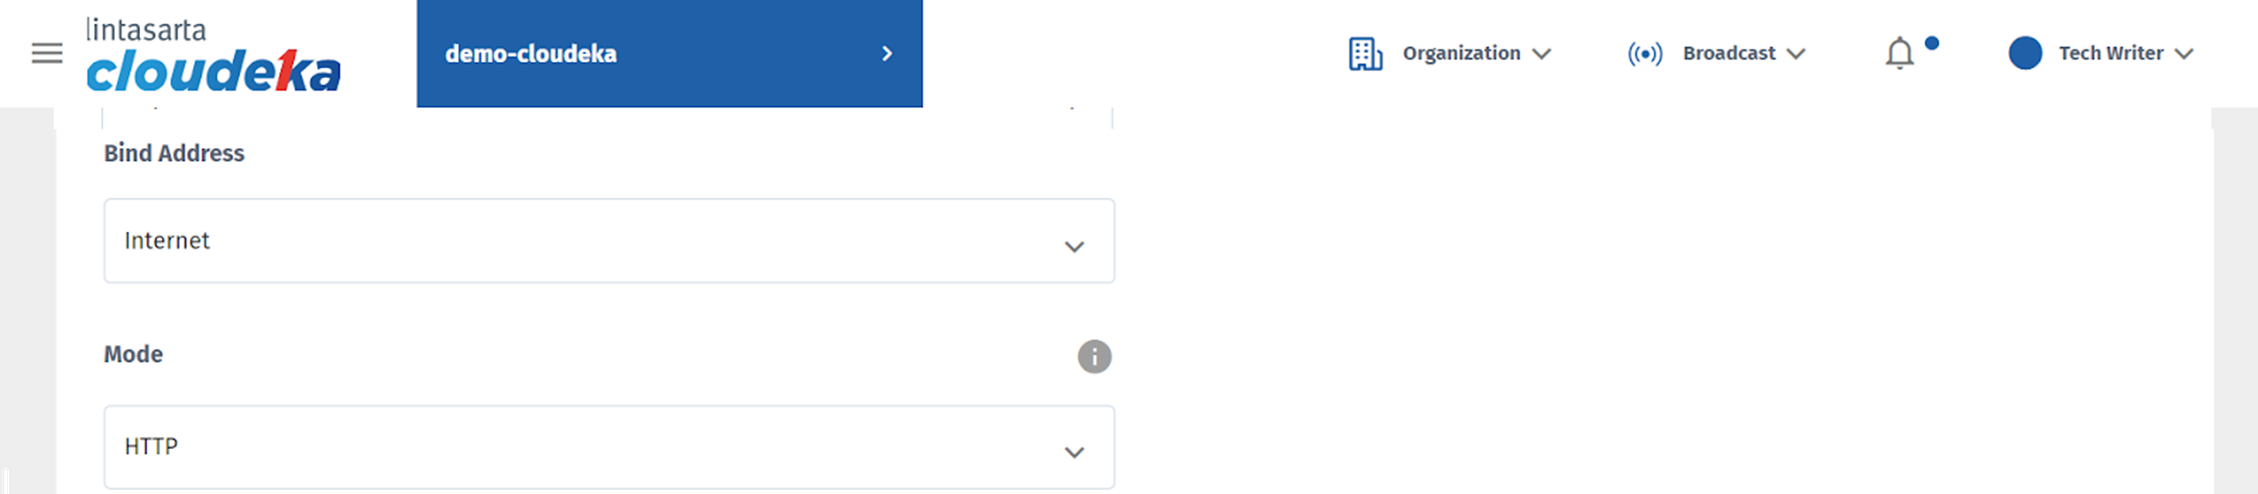
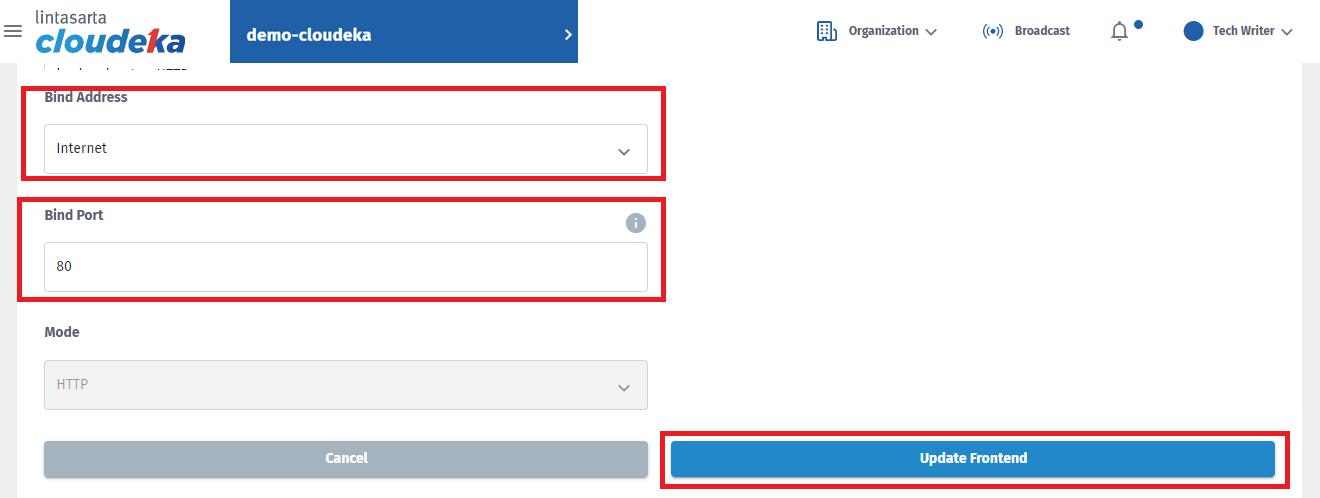
Config Frontend
| Colum | Description |
|---|---|
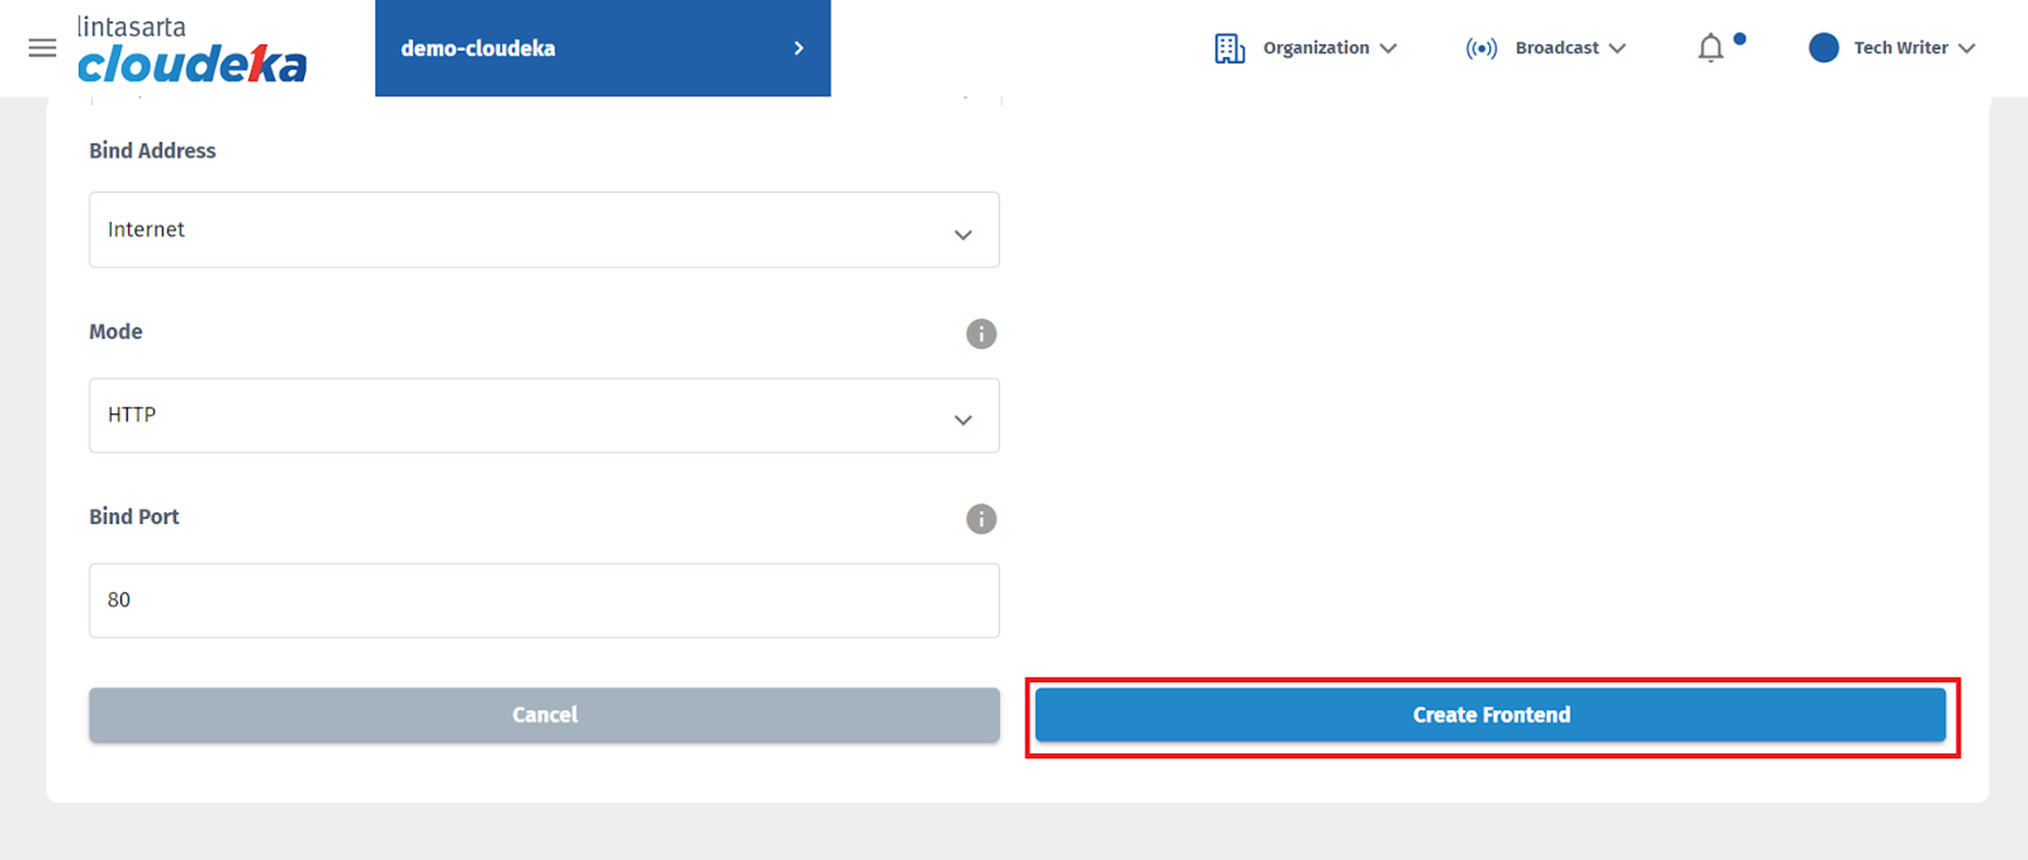
| Bind Address | Because Deka GLB configuration select Internet. |
| Mode | There are 3 options:
|
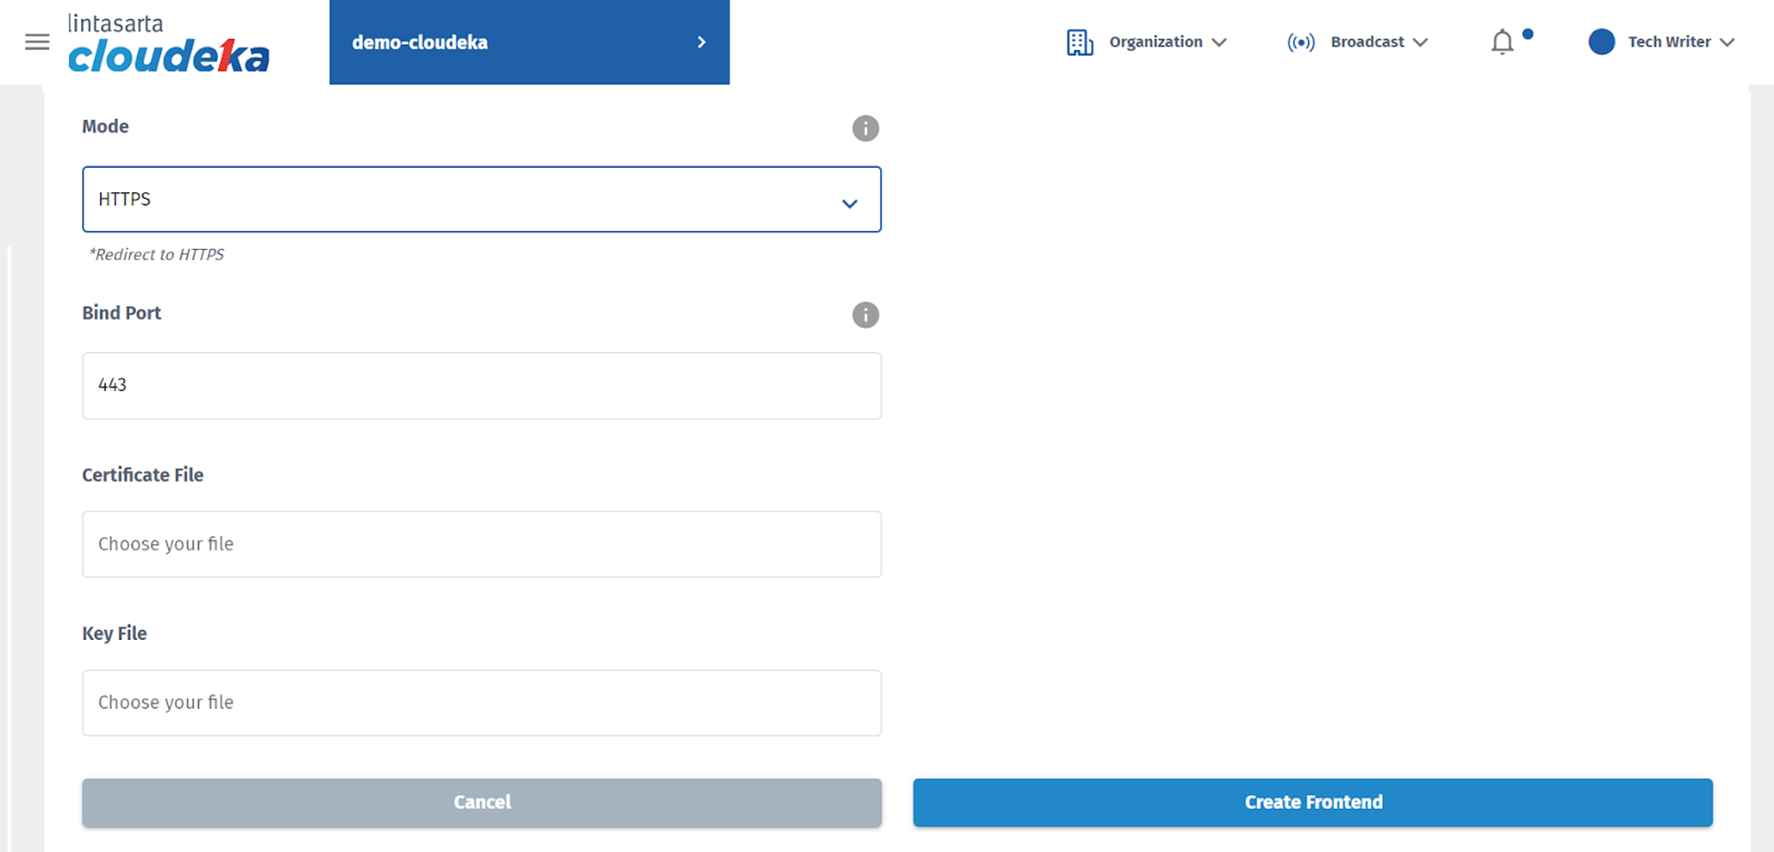
Config Frontend - Protocol HTTPS
| Column | Description |
|---|---|
| Bind Port | By default it used port 443. |
| Certificate File | You can upload the certificate file that you have. If you use the Cloudeka Portal Service, namely Deka SSL, you can download files in the SSL menu in the SSL Menu in the Manage Module. |
| Key File | You can upload the key file that you have. If you use the Cloudeka Portal Service, namely Deka SSL, you can download files in the SSL Menu in the Manage Module. |

Config Frontend- Protocol HTTP / Protocol TCP
| Column | Description |
|---|---|
| Bind Port | Determine the protocol used
|
Config Frontend
Config Frontend
Edit Configuration Backend
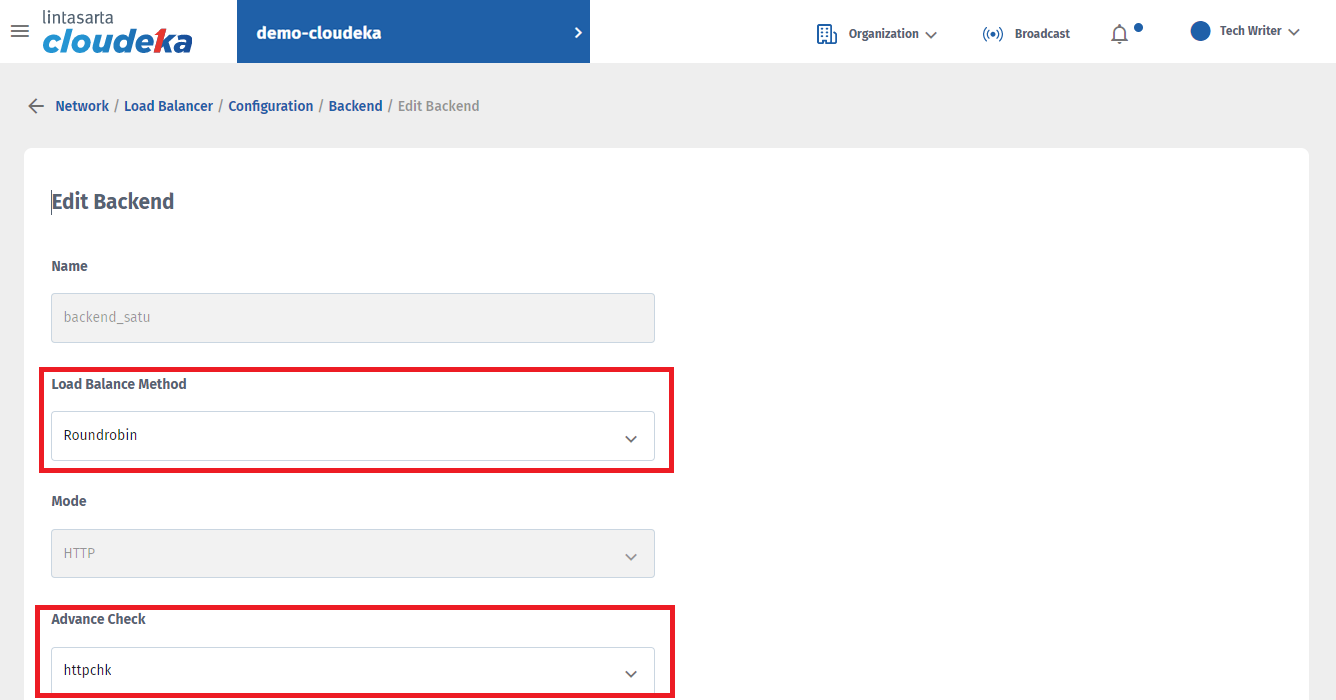
Edit Configuration Backend
Edit Configuration Backend
Edit Configuration Frontend
Edit Configuration Frontend
Edit Configuration Frontend
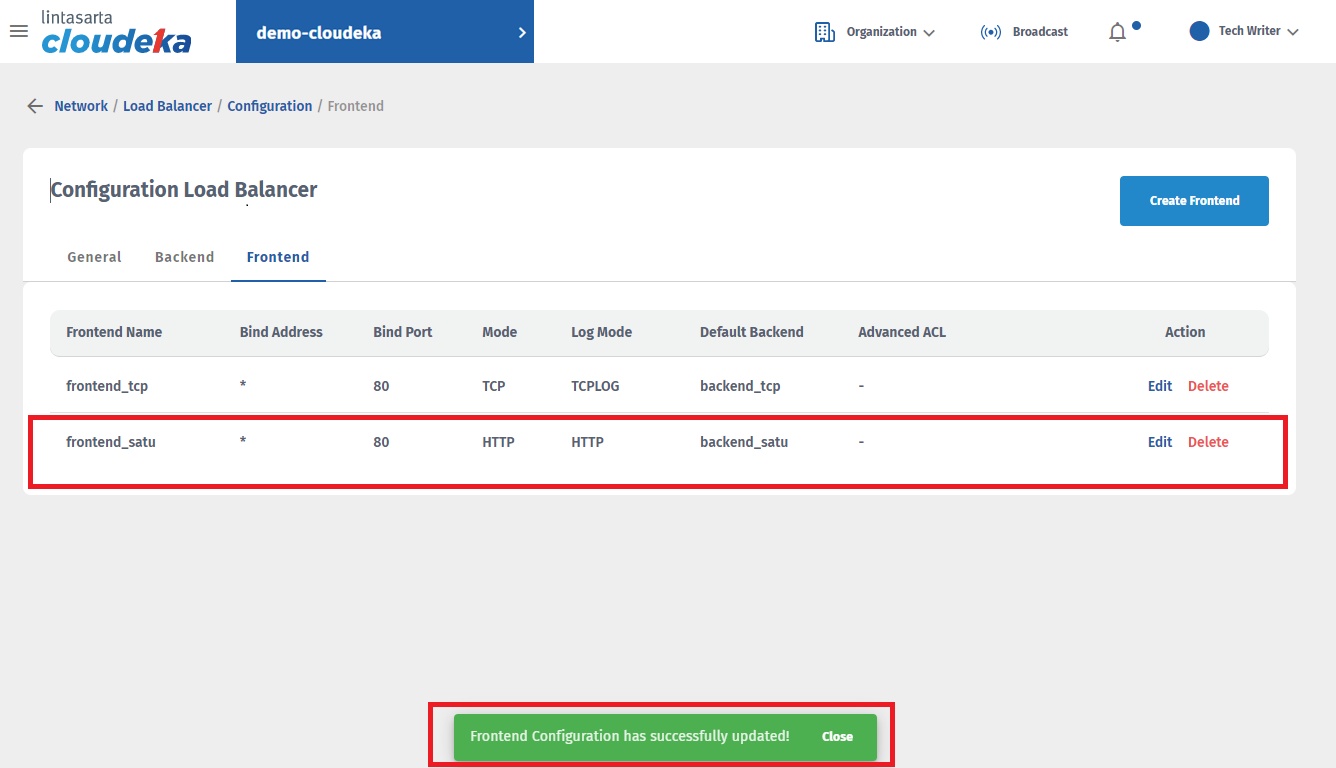
Delete Configuration FE

Delete Configuration FE
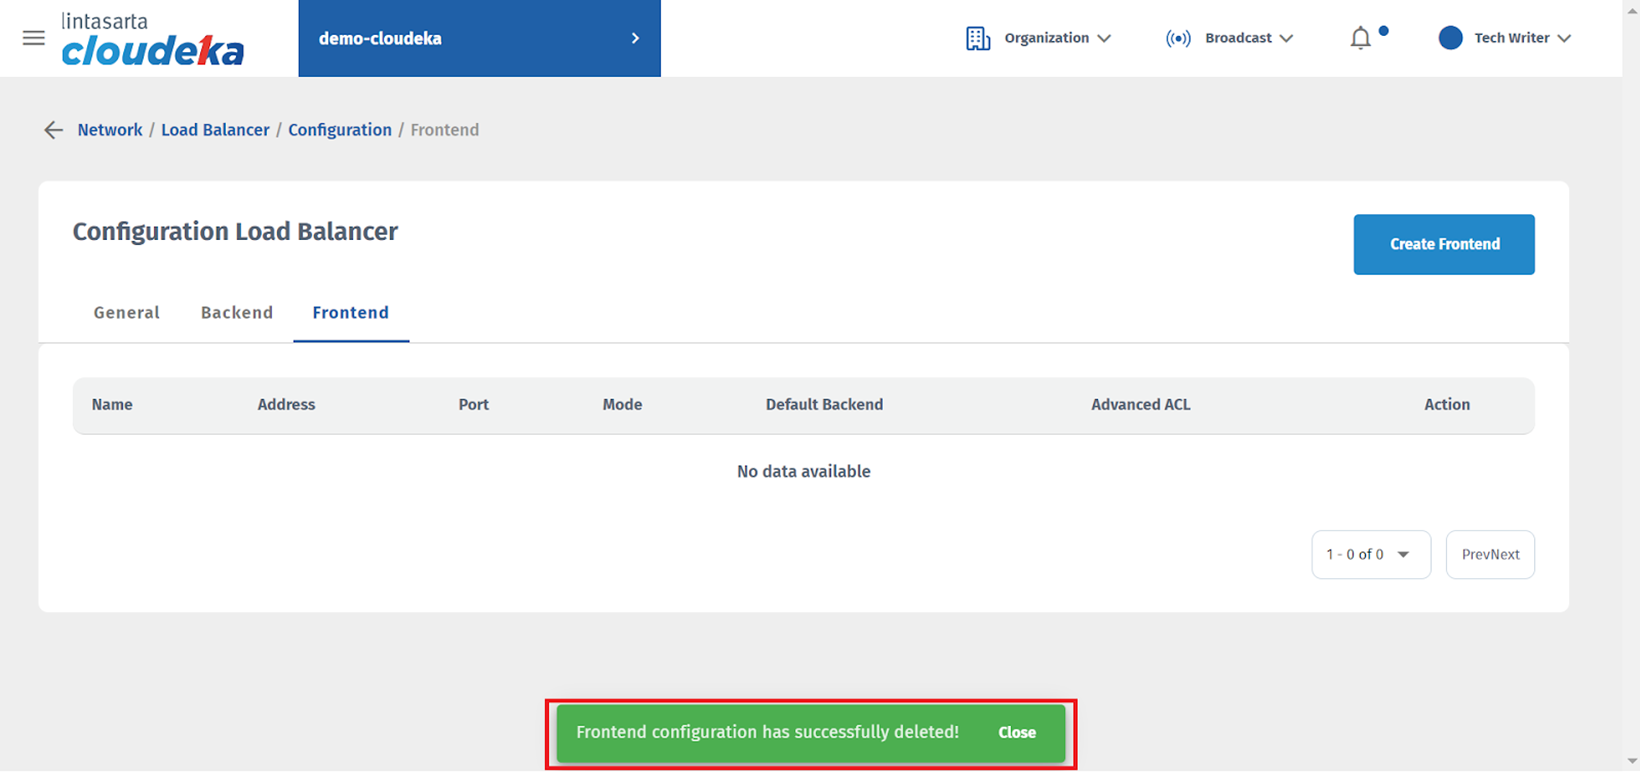
Delete Configuration FE
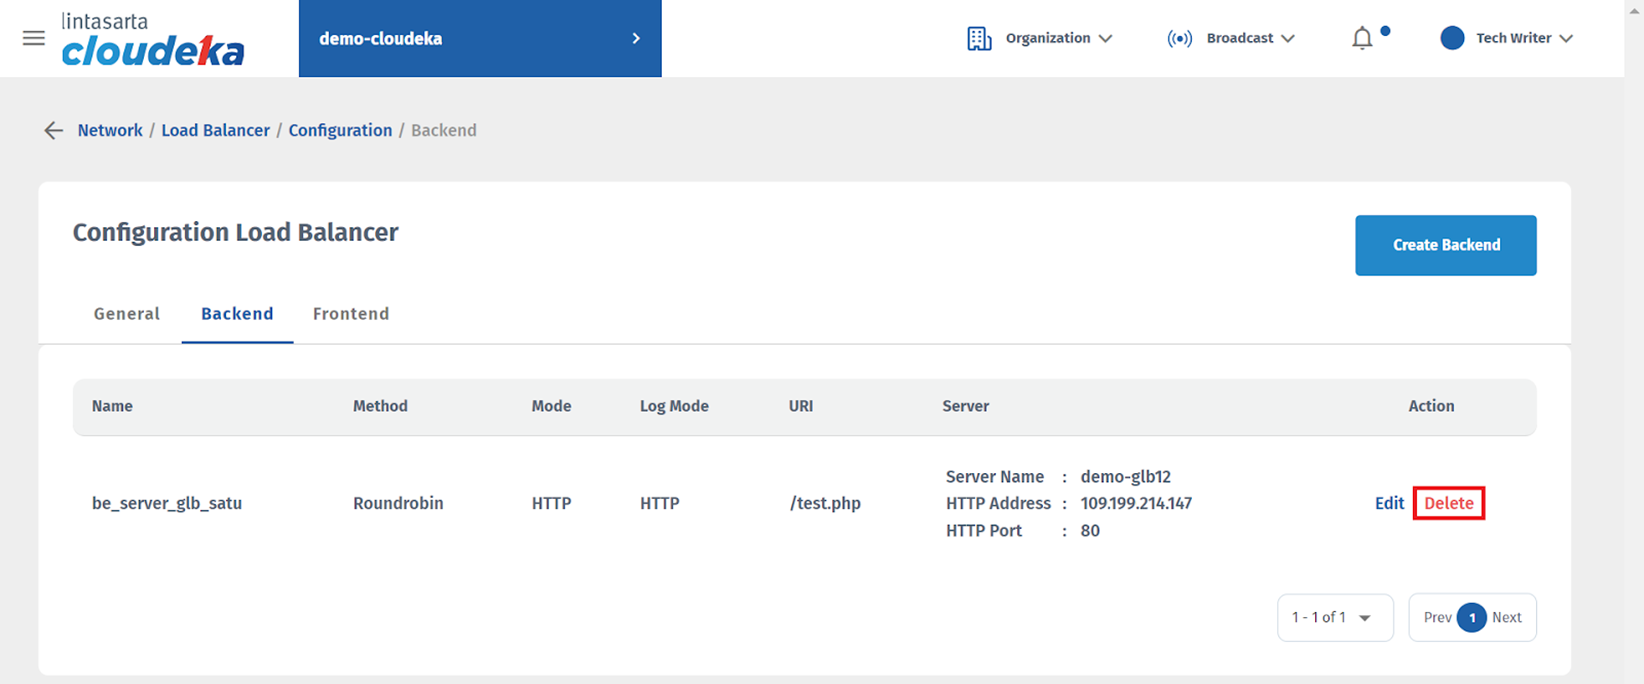
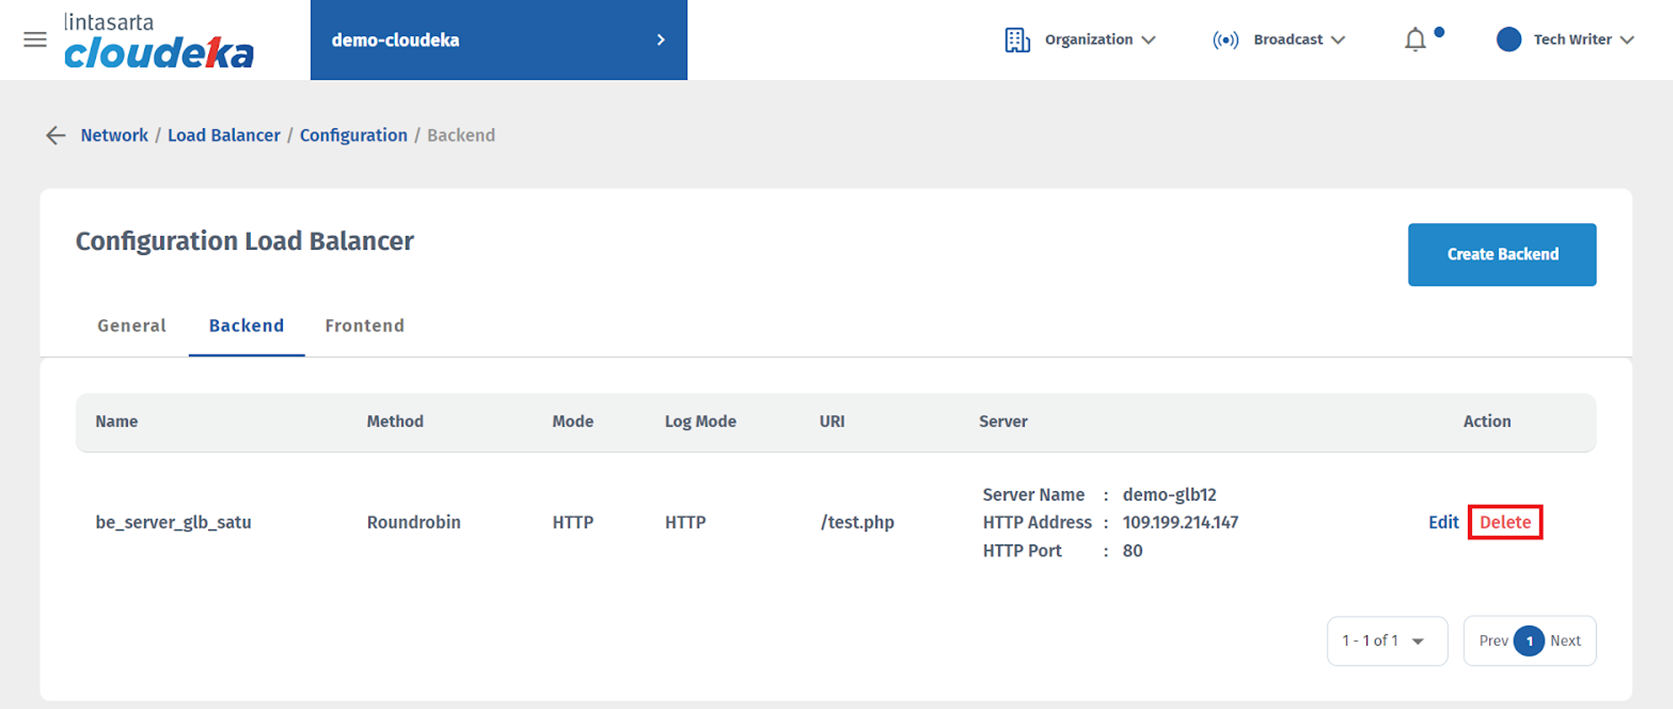
Delete Configuration BE
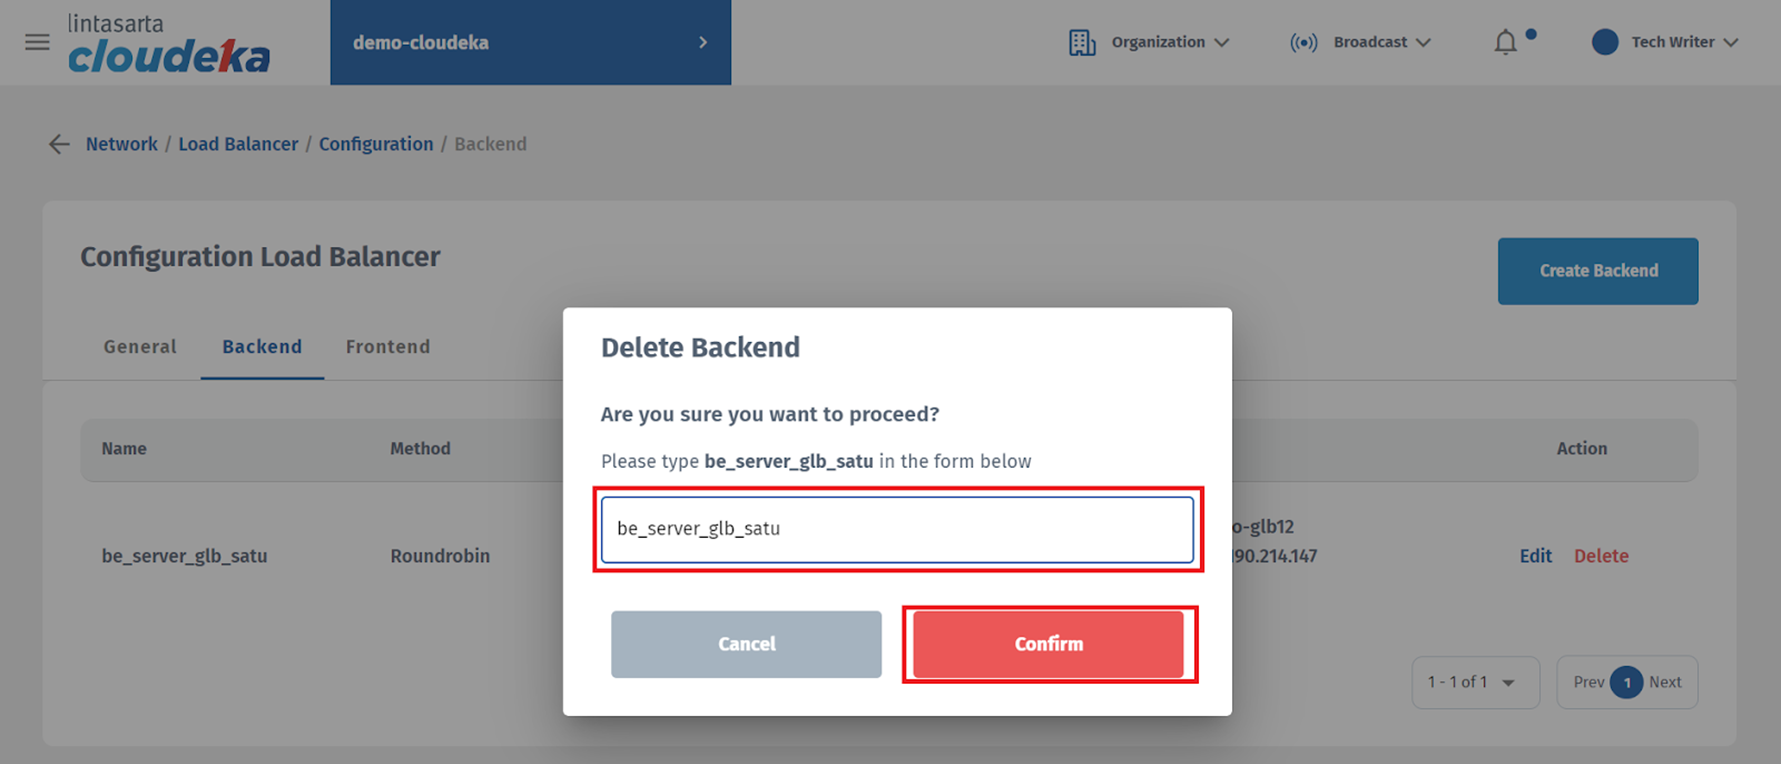
Delete Configuration BE
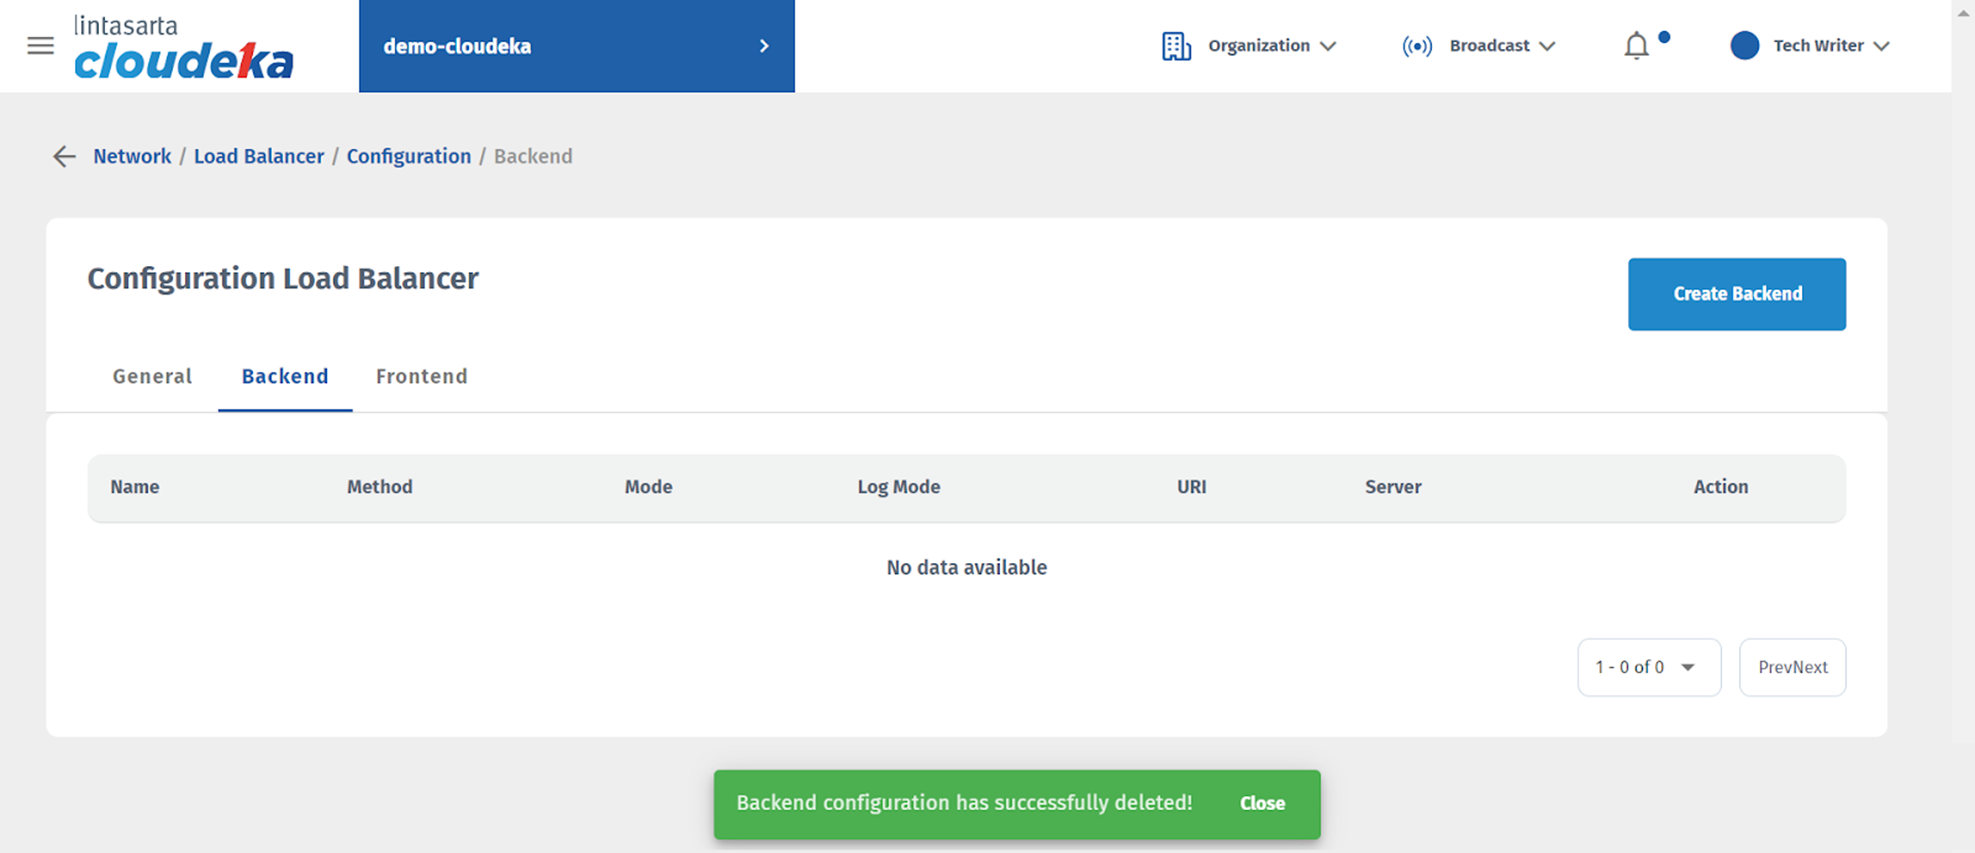
Delete Configuration BE