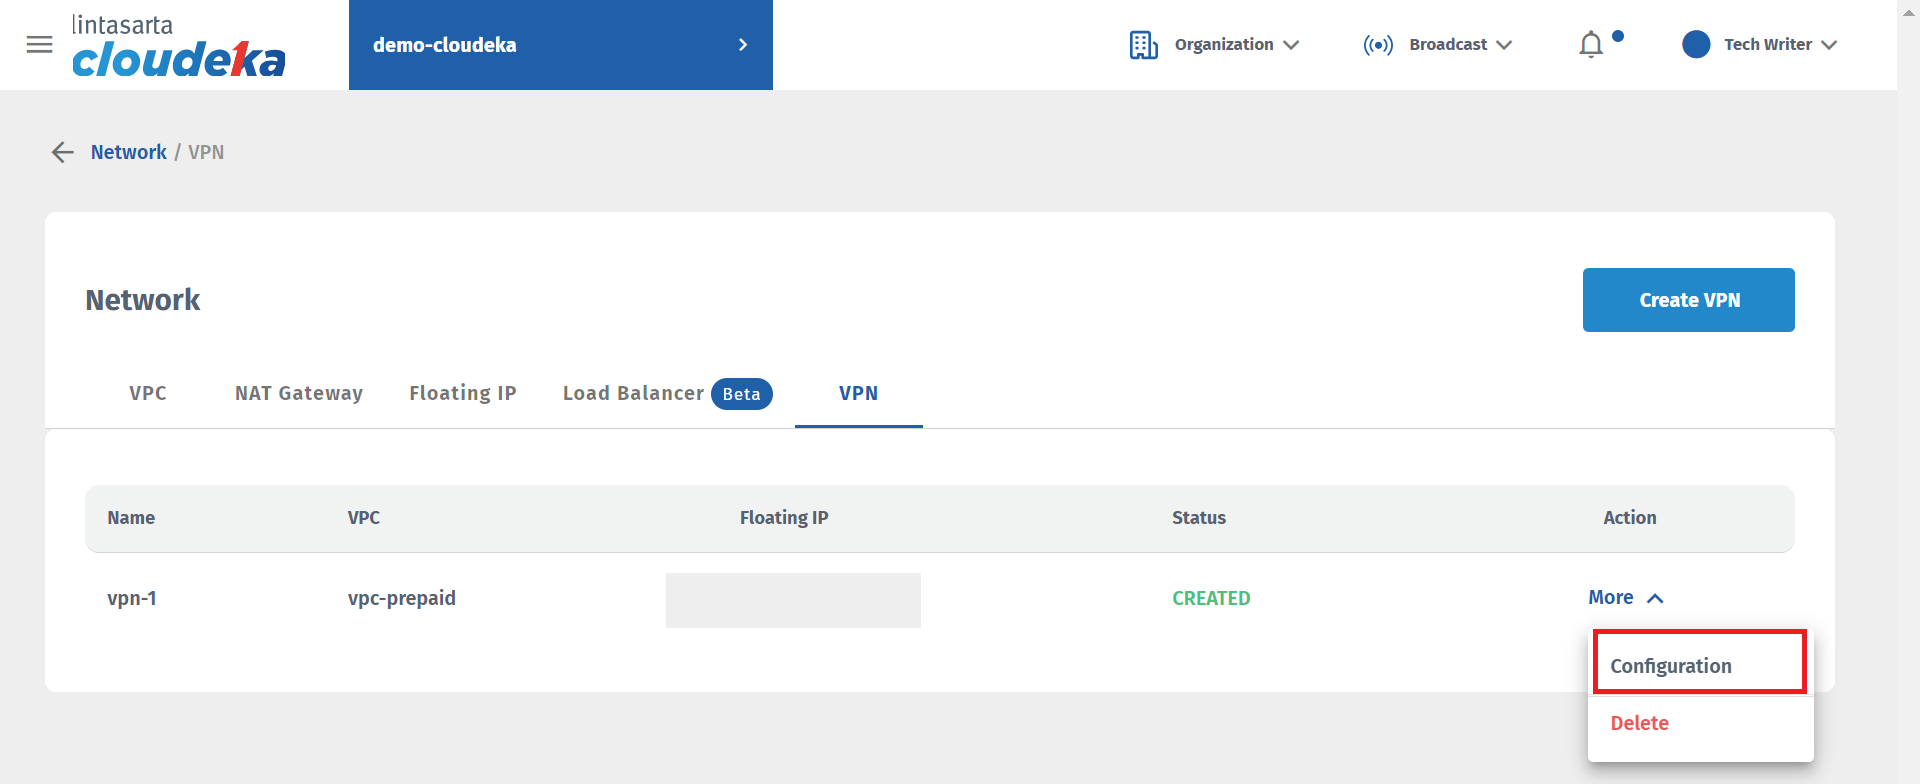
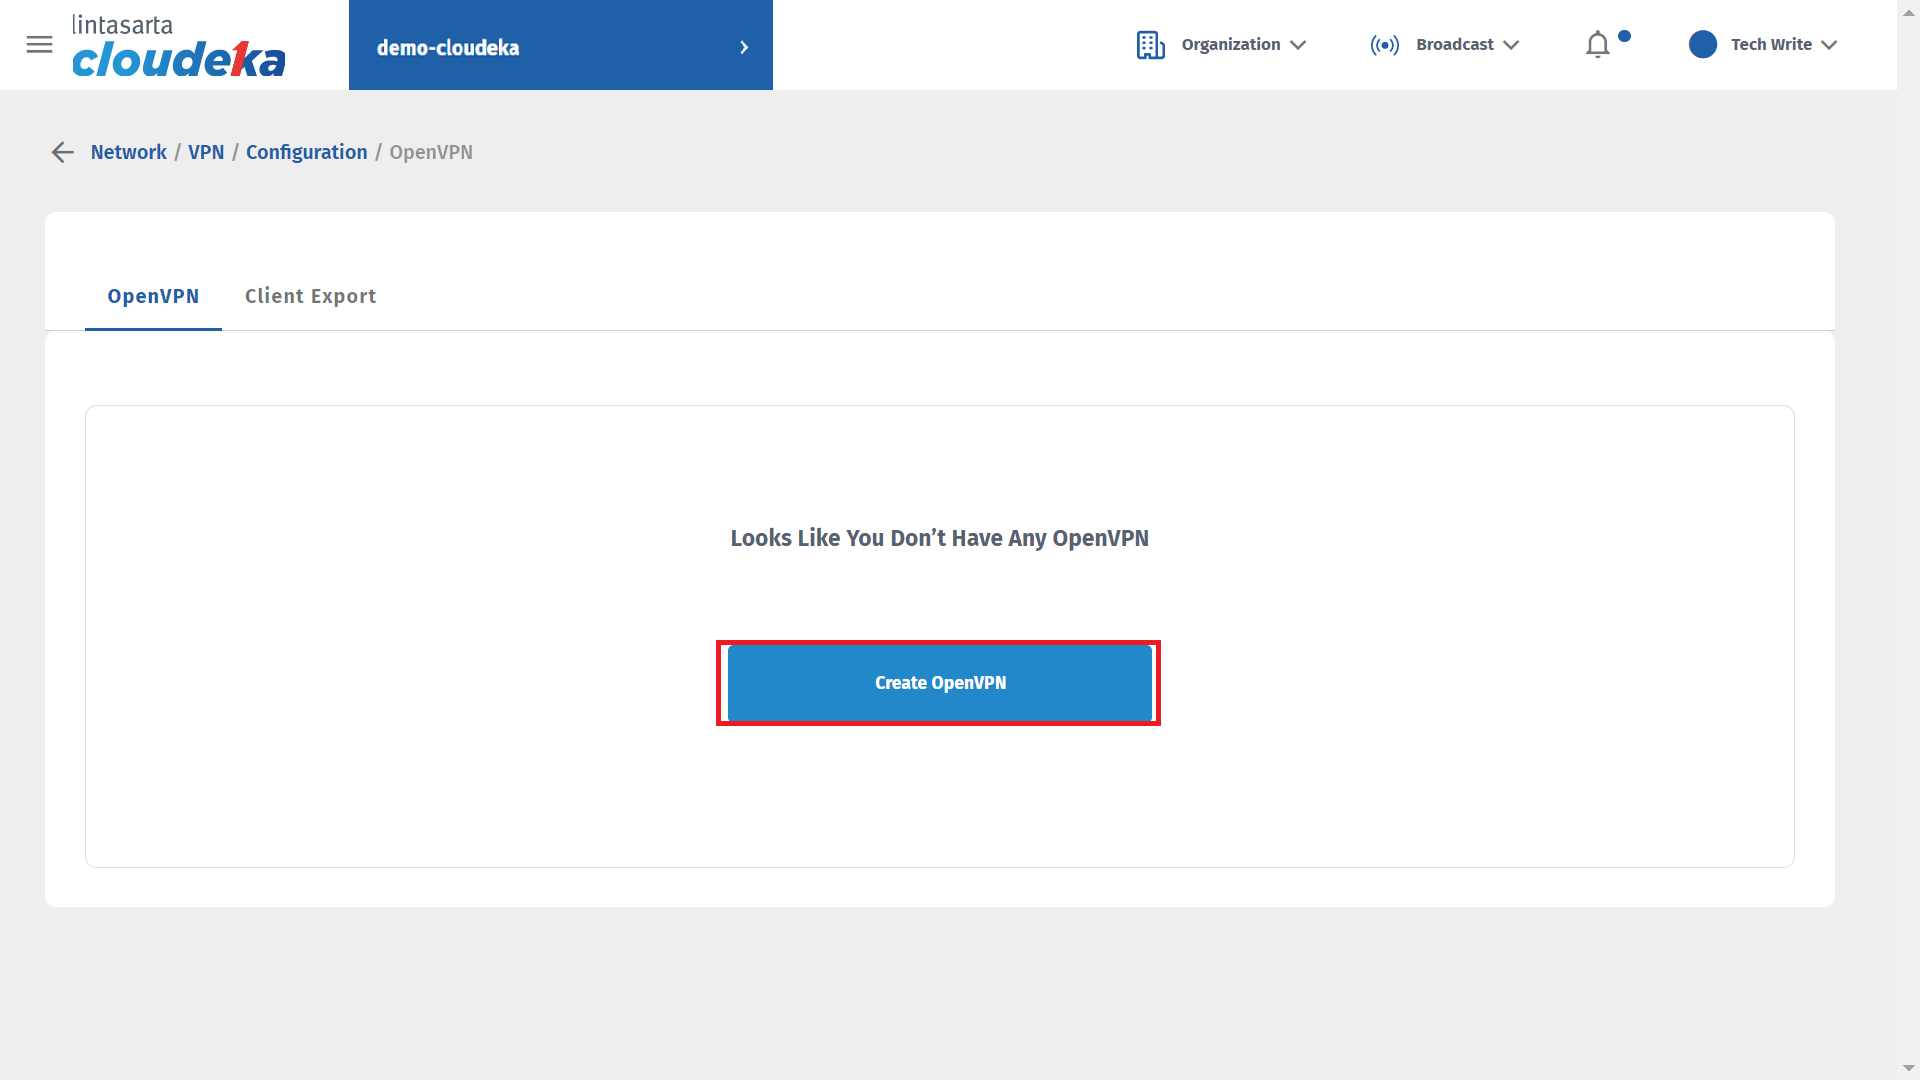
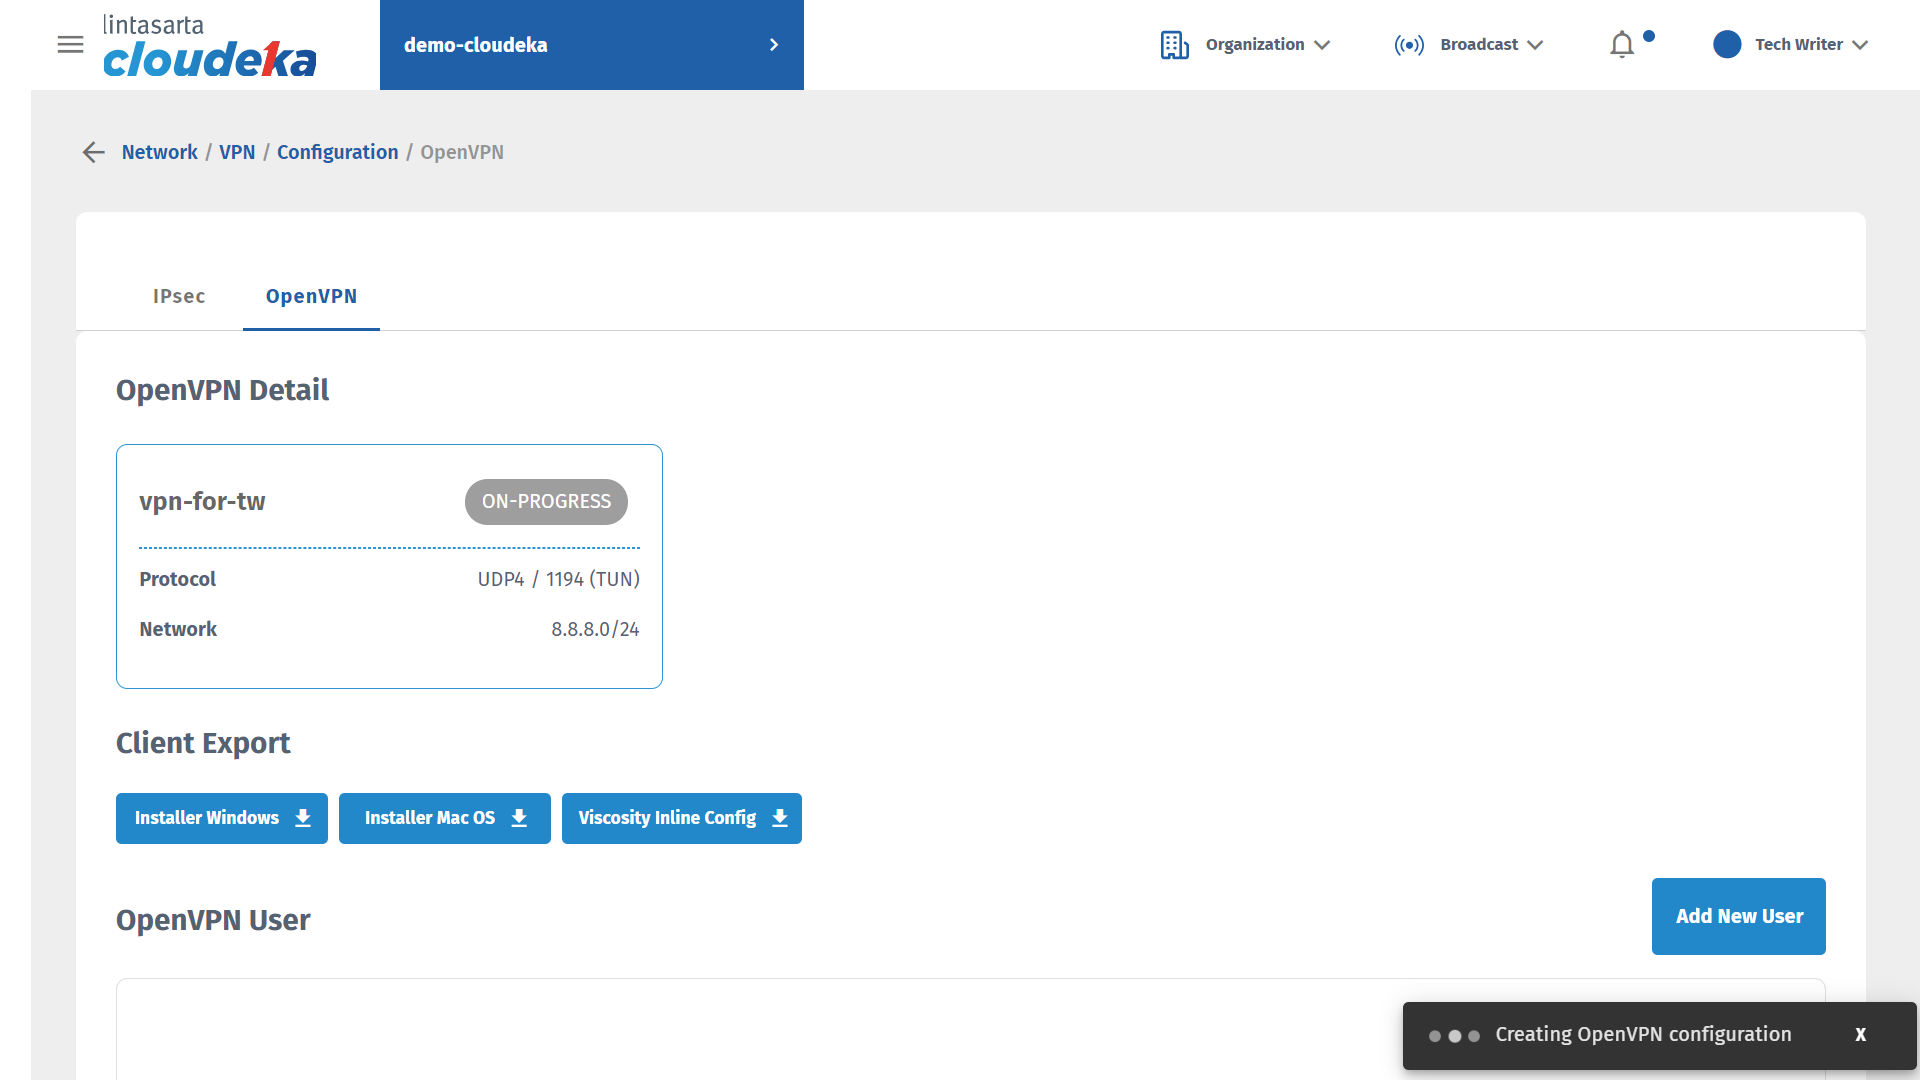
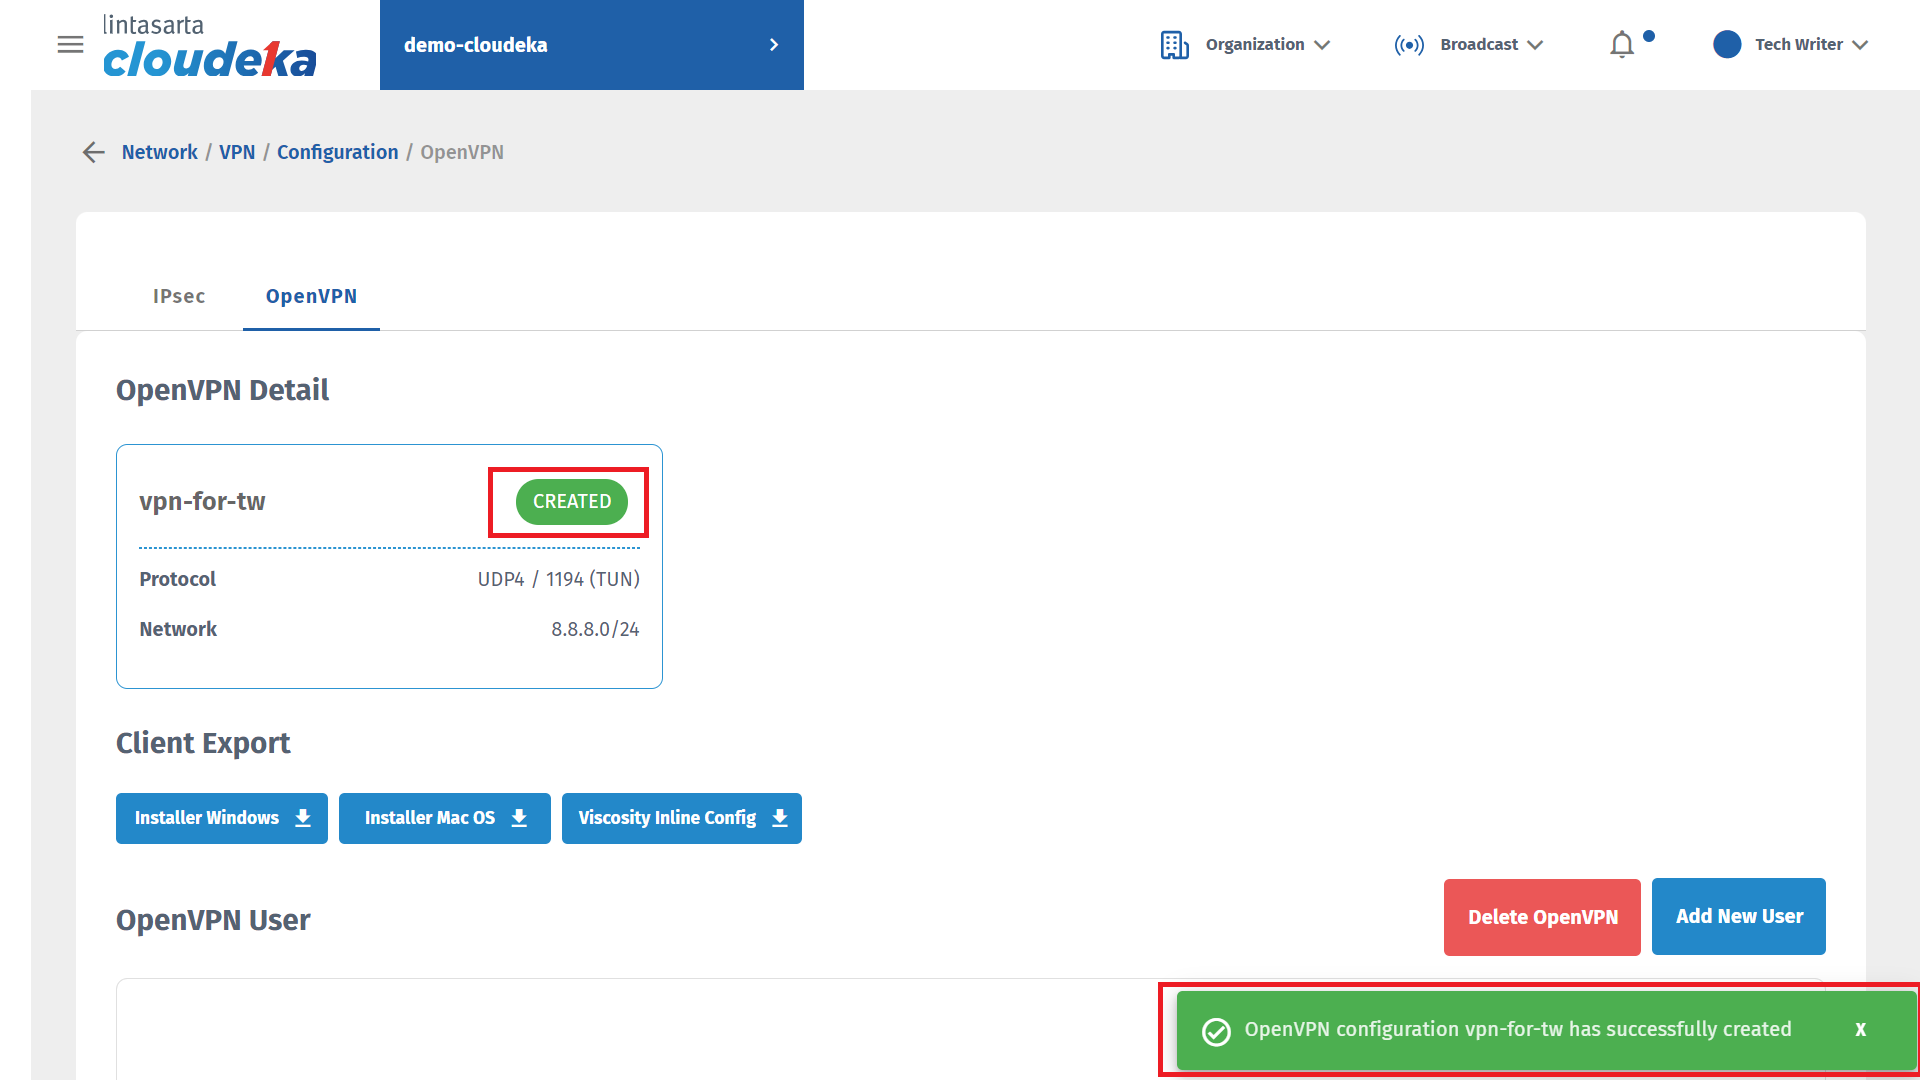
# Create OpenVPN

To create OpenVPN you will fill in several available columns including the following:

<table><thead><tr><th width="275">Column</th><th>Description</th></tr></thead><tbody><tr><td><strong>Username</strong></td><td>The username that will be used to identify the user when connecting to the OpenVPN server.</td></tr><tr><td><strong>Password</strong></td><td>The password that the user will use to authenticate when connecting to the OpenVPN server.</td></tr><tr><td><strong>Confirm Password</strong></td><td>Confirm the password that has been entered.
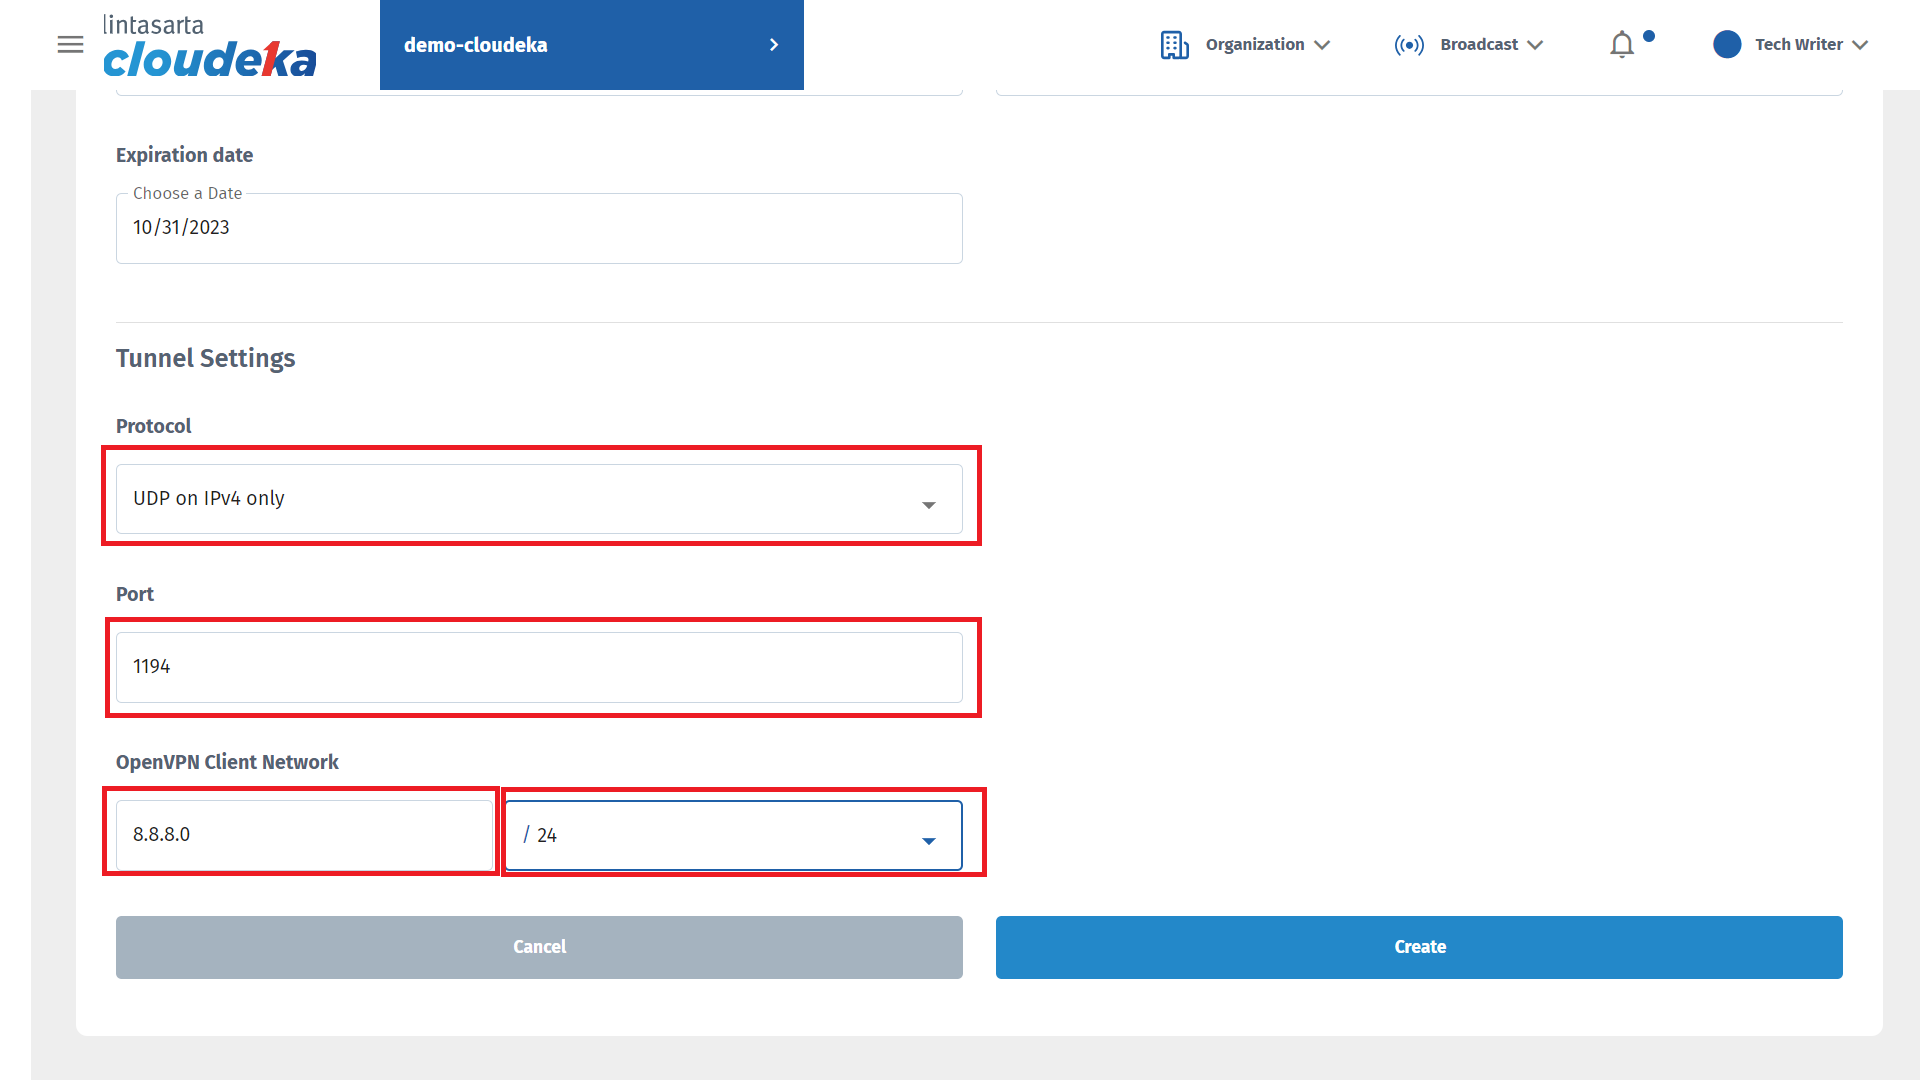
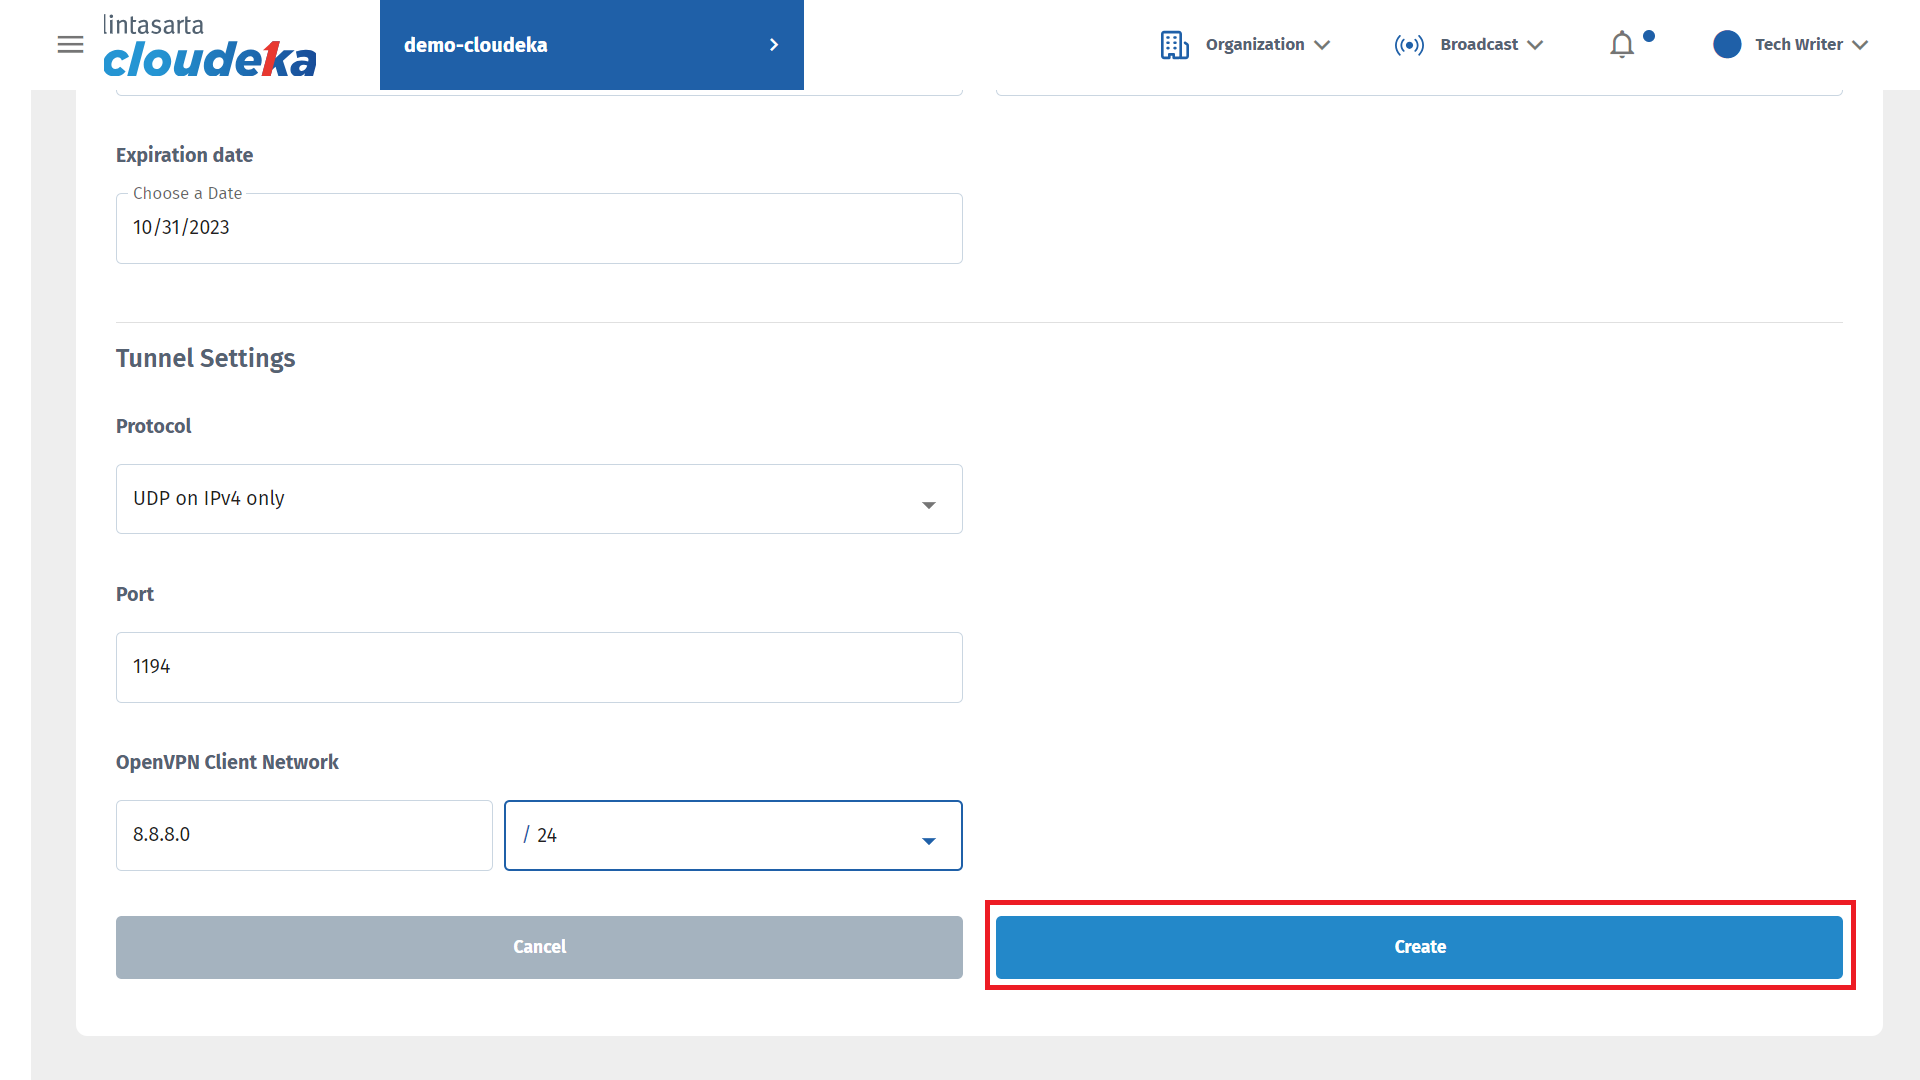
</td></tr><tr><td><strong>Tunnel Settings - Protocol</strong></td><td>The protocol that will be used in VPN connections is currently the UDP On IPV4 only protocol.</td></tr><tr><td><strong>Tunnel Settings - Ports</strong></td><td>The port number that will be used by the OpenVPN server is automatically filled in using port 1194.</td></tr><tr><td><strong>Tunnel Settings - OpenVPN Client Network</strong></td><td>The virtual network that users will use when connecting to an OpenVPN server.</td></tr></tbody></table>

Here are the steps to create OpenVPN: On the VPN page, in the More column, select Configuration.

<figure><img src="https://putri.box.cloudeka.id/cloudeka-assets/static/images/21vpn/21.5%20configuration.png" alt=""><figcaption><p>Create OpenVPN</p></figcaption></figure>

* Select the OpenVPN tab, and click the Create OpenVPN button.

<figure><img src="https://putri.box.cloudeka.id/cloudeka-assets/static/images/21vpn/21.6%20create-user-openvpn.png" alt=""><figcaption><p>Create OpenVPN</p></figcaption></figure>

* The Create OpenVPN page appears, in the Create User OpenVPN section, fill in the Username, Password, Confirm Password, and Expiration Date.

<figure><img src="https://putri.box.cloudeka.id/cloudeka-assets/static/images/21vpn/21.6%20create-user-openvpn.png" alt=""><figcaption><p>Create OpenVPN</p></figcaption></figure>

* In the Tunnel Settings section, fill in the Protocol, Port, and OpenVPN Client Network sections.

<figure><img src="https://putri.box.cloudeka.id/cloudeka-assets/static/images/21vpn/21.8%20create-user-openvpn.png" alt=""><figcaption><p>Create OpenVPN</p></figcaption></figure>

* Click the Create button after filling in all the columns on the OpenVPN Create User page.

<figure><img src="https://putri.box.cloudeka.id/cloudeka-assets/static/images/21vpn/21.9%20create-user-openvpn.png" alt=""><figcaption><p>Create OpenVPN</p></figcaption></figure>

* Wait until the process is complete.

<figure><img src="https://putri.box.cloudeka.id/cloudeka-assets/static/images/21vpn/21.10%20prosess-create.png" alt=""><figcaption><p>Create OpenVPN</p></figcaption></figure>

* The notification "OpenVPN configuration vpn-for-tw has been successfully created" appears and the status changes to Created.

<figure><img src="https://putri.box.cloudeka.id/cloudeka-assets/static/images/21vpn/21.11%20sukses%20create.png" alt=""><figcaption><p>Create OpenVPN</p></figcaption></figure>
